2011 BMW 328I COUPE window
[x] Cancel search: windowPage 38 of 278

Opening and closing
36
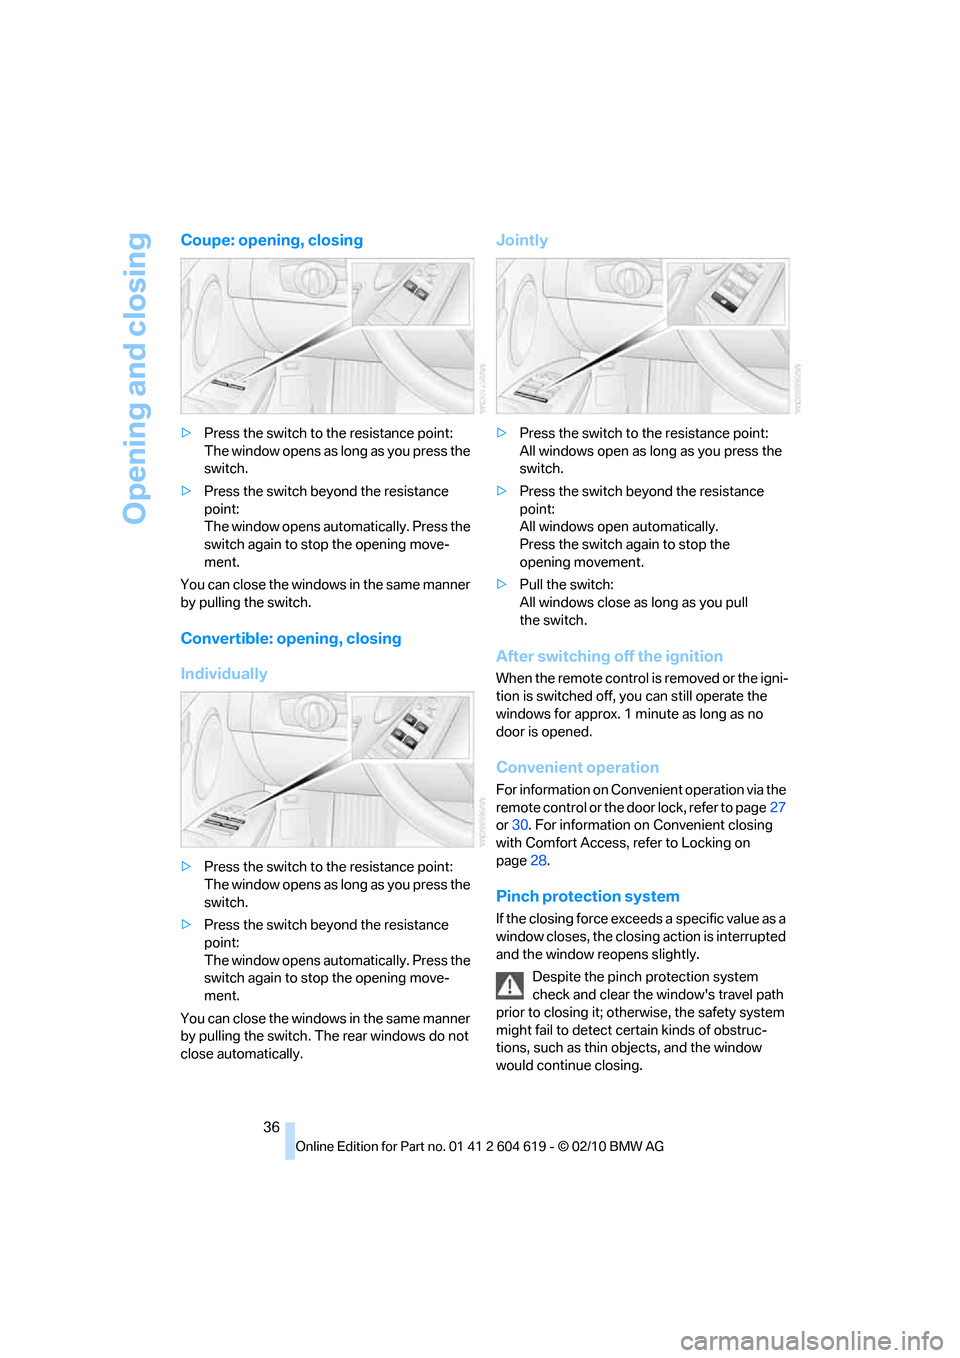
Coupe: opening, closing
>Press the switch to the resistance point:
The window opens as long as you press the
switch.
>Press the switch beyond the resistance
point:
The window opens automatically. Press the
switch again to stop the opening move-
ment.
You can close the windows in the same manner
by pulling the switch.
Convertible: opening, closing
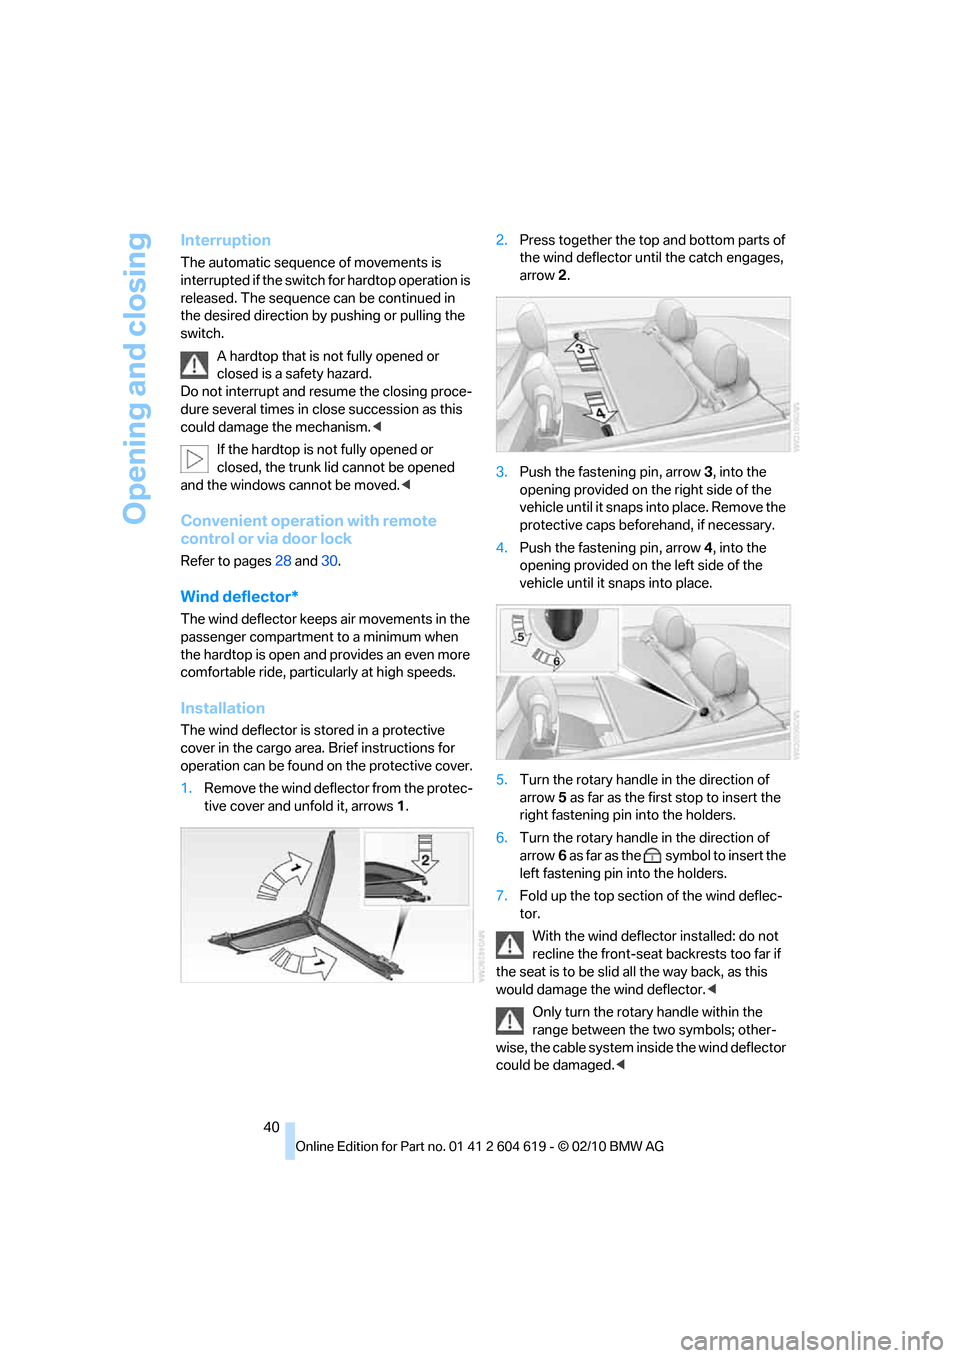
Individually
>Press the switch to the resistance point:
The window opens as long as you press the
switch.
>Press the switch beyond the resistance
point:
The window opens automatically. Press the
switch again to stop the opening move-
ment.
You can close the windows in the same manner
by pulling the switch. The rear windows do not
close automatically.
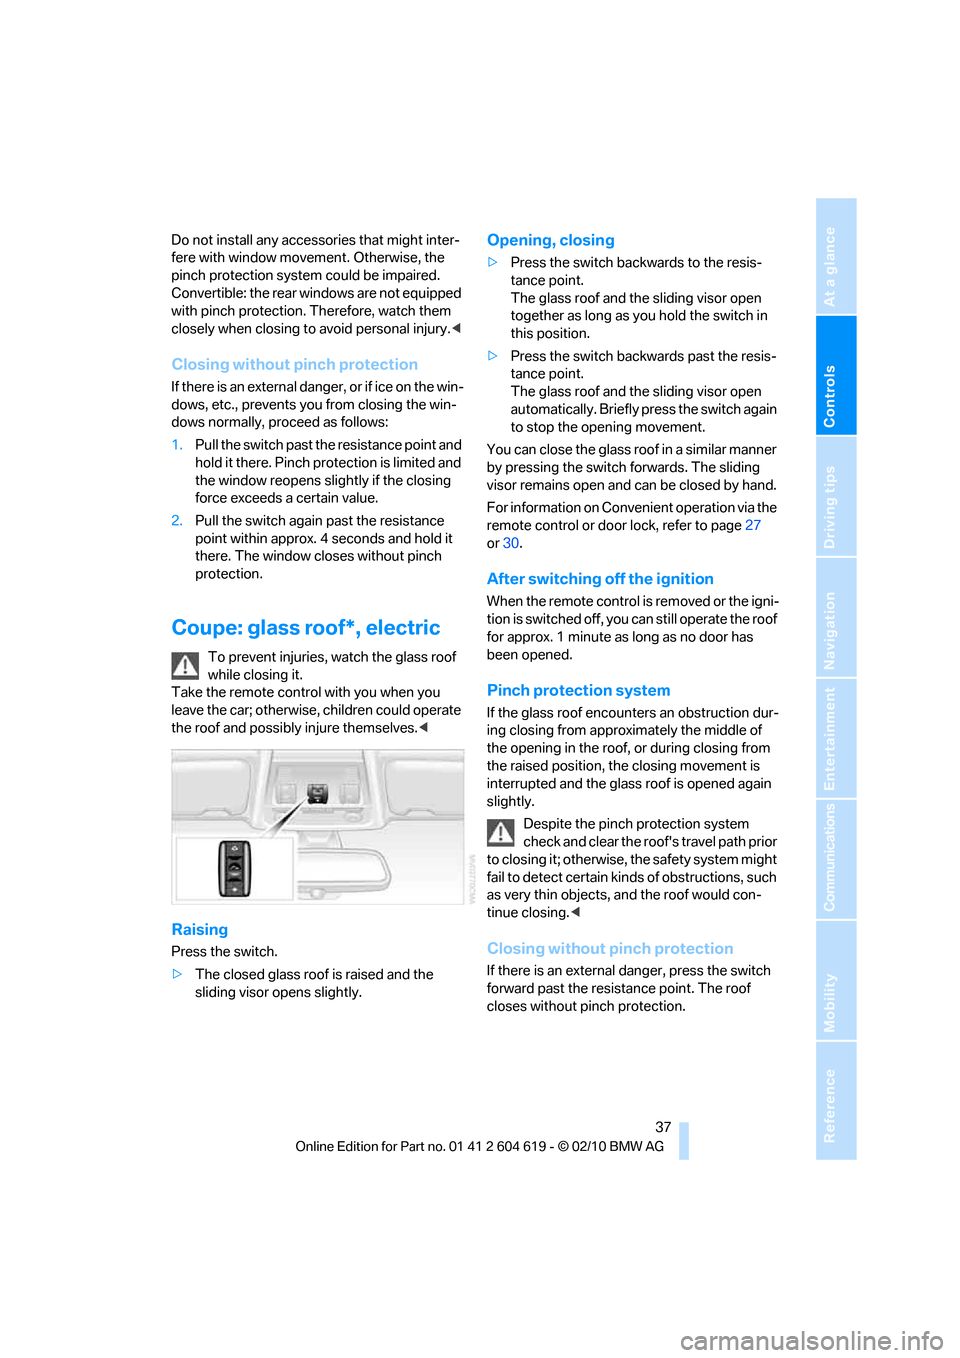
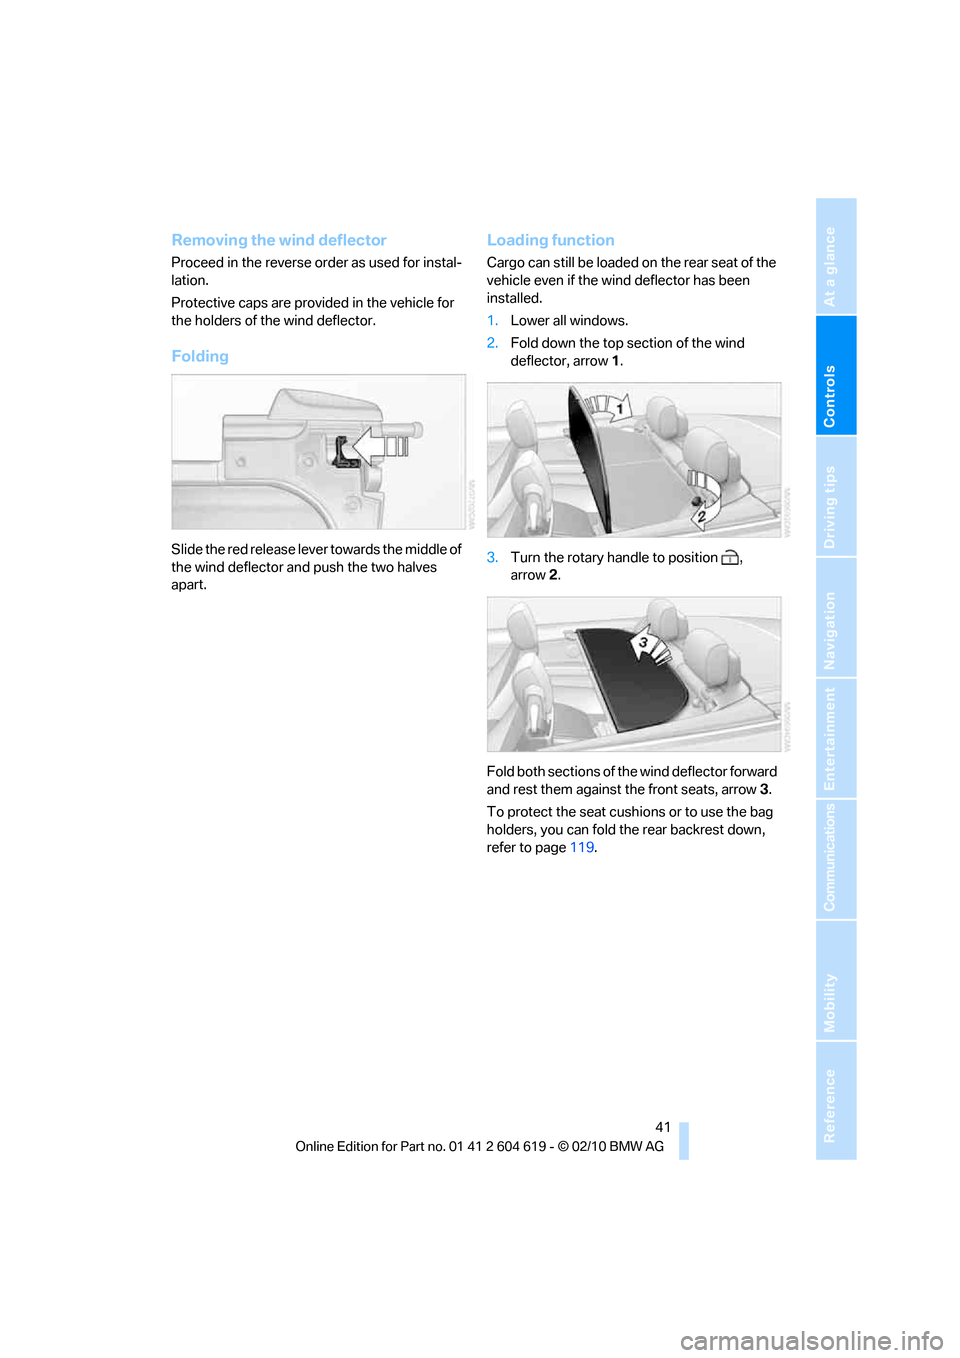
Jointly
>Press the switch to the resistance point:
All windows open as long as you press the
switch.
>Press the switch beyond the resistance
point:
All windows open automatically.
Press the switch again to stop the
opening movement.
>Pull the switch:
All windows close as long as you pull
the switch.
After switching off the ignition
When the remote control is removed or the igni-
tion is switched off, you can still operate the
windows for approx. 1 minute as long as no
door is opened.
Convenient operation
For information on Convenient operation via the
remote control or the door lock, refer to page27
or30. For information on Convenient closing
with Comfort Access, refer to Locking on
page28.
Pinch protection system
If the closing force exceeds a specific value as a
window closes, the closing action is interrupted
and the window reopens slightly.
Despite the pinch protection system
check and clear the window's travel path
prior to closing it; otherwise, the safety system
might fail to detect certain kinds of obstruc-
tions, such as thin objects, and the window
would continue closing.
Page 39 of 278

Controls
37Reference
At a glance
Driving tips
Communications
Navigation
Entertainment
Mobility
Do not install any accessories that might inter-
fere with window movement. Otherwise, the
pinch protection system could be impaired.
Convertible: the rear windows are not equipped
with pinch protection. Therefore, watch them
closely when closing to avoid personal injury.<
Closing without pinch protection
If there is an external danger, or if ice on the win-
dows, etc., prevents you from closing the win-
dows normally, proceed as follows:
1.Pull the switch past the resistance point and
hold it there. Pinch protection is limited and
the window reopens slightly if the closing
force exceeds a certain value.
2.Pull the switch again past the resistance
point within approx. 4 seconds and hold it
there. The window closes without pinch
protection.
Coupe: glass roof*, electric
To prevent injuries, watch the glass roof
while closing it.
Take the remote control with you when you
leave the car; otherwise, children could operate
the roof and possibly injure themselves.<
Raising
Press the switch.
>The closed glass roof is raised and the
sliding visor opens slightly.
Opening, closing
>Press the switch backwards to the resis-
tance point.
The glass roof and the sliding visor open
together as long as you hold the switch in
this position.
>Press the switch backwards past the resis-
tance point.
The glass roof and the sliding visor open
automatically. Briefly press the switch again
to stop the opening movement.
You can close the glass roof in a similar manner
by pressing the switch forwards. The sliding
visor remains open and can be closed by hand.
For information on Convenient operation via the
remote control or door lock, refer to page27
or30.
After switching off the ignition
When the remote control is removed or the igni-
tion is switched off, you can still operate the roof
for approx. 1 minute as long as no door has
been opened.
Pinch protection system
If the glass roof encounters an obstruction dur-
ing closing from approximately the middle of
the opening in the roof, or during closing from
the raised position, the closing movement is
interrupted and the glass roof is opened again
slightly.
Despite the pinch protection system
check and clear the roof's travel path prior
to closing it; otherwise, the safety system might
fail to detect certain kinds of obstructions, such
as very thin objects, and the roof would con-
tinue closing.<
Closing without pinch protection
If there is an external danger, press the switch
forward past the resistance point. The roof
closes without pinch protection.
Page 41 of 278

Controls
39Reference
At a glance
Driving tips
Communications
Navigation
Entertainment
Mobility
>If you open the hardtop while it is wet, e.g.
after driving in the rain, water may drip into
the cargo area. If necessary, remove items
from the cargo area beforehand to avoid
water stains or soiling.
Do not place any objects on the retract-
able hardtop or on the trunk lid; other-
wise, they could fall during movements of the
retractable hardtop and cause damage or injury.
Never move the retractable hardtop when the
rollover protection system is in the activated
position.
Driving when the hardtop is not fully opened or
closed may result in damage or injury.
Do not reach into the mechanism during the
opening or closing procedure. Keep children
away from the swiveling area of the retractable
hardtop.<
The retractable hardtop cannot be moved
at temperatures below + 147/–106. A
message appears on the Control Display.<
The retractable hardtop can only be
opened and closed when the vehicle is
stationary. To avoid causing damage, do not
drive off until the hardtop has stopped mov-
ing.<
Before opening and closing
>Comply with the safety precautions
described above.
>Ensure that the cargo area partition is
folded down and engaged on both sides,
refer to page119; otherwise, it will not be
possible to open the retractable hardtop.
>Do not place any objects next to or on the
cargo area partition and close the storage
compartment on the left side of the cargo
area.
>Do not exceed the maximum loading height
under the cargo area partition; refer to the
label in the cargo area showing a line indi-
cating the maximum height.
>Ensure that the trunk lid is closed.
>The vehicle should be parked on fairly
level ground. Excessive angle is indicated
by a lamp.
Opening and closing
When the vehicle is stationary and at radio
readiness or beyond, refer to page55:
If possible, conserve the battery by only
operating the retractable hardtop when
the engine is running.
Before closing the retractable hardtop, remove
all foreign objects from the windshield frame as
these could prevent the hardtop from closing
properly.<
1Push button: open the retractable hardtop.
Pull button: close the retractable hardtop.
2LEDs
The side windows move down when the
switch for hardtop operation is pulled or
pushed.<
LEDs
In the following situations, a message appears
on the Control Display or an acoustic signal
sounds in addition to the LED lighting up:
>While the hardtop is being operated, the left
LED lights up green. It goes out as soon as
the top is fully opened or closed.
>If the right-hand LED flashes red when you
release the switch, the opening or closing
action has not yet finished.
>If the right LED lights up red when the
switch is pressed, the cargo area partition is
folded up, the trunk lid is not closed, the
vehicle is standing on a strong incline or
there is a malfunction. The retractable hard-
top cannot be moved.
Page 42 of 278

Opening and closing
40
Interruption
The automatic sequence of movements is
interrupted if the switch for hardtop operation is
released. The sequence can be continued in
the desired direction by pushing or pulling the
switch.
A hardtop that is not fully opened or
closed is a safety hazard.
Do not interrupt and resume the closing proce-
dure several times in close succession as this
could damage the mechanism.<
If the hardtop is not fully opened or
closed, the trunk lid cannot be opened
and the windows cannot be moved.<
Convenient operation with remote
control or via door lock
Refer to pages28 and30.
Wind deflector*
The wind deflector keeps air movements in the
passenger compartment to a minimum when
the hardtop is open and provides an even more
comfortable ride, particularly at high speeds.
Installation
The wind deflector is stored in a protective
cover in the cargo area. Brief instructions for
operation can be found on the protective cover.
1.Remove the wind deflector from the protec-
tive cover and unfold it, arrows1.2.Press together the top and bottom parts of
the wind deflector until the catch engages,
arrow 2.
3.Push the fastening pin, arrow3, into the
opening provided on the right side of the
vehicle until it snaps into place. Remove the
protective caps beforehand, if necessary.
4.Push the fastening pin, arrow4, into the
opening provided on the left side of the
vehicle until it snaps into place.
5.Turn the rotary handle in the direction of
arrow5 as far as the first stop to insert the
right fastening pin into the holders.
6.Turn the rotary handle in the direction of
arrow6 as far as the symbol to insert the
left fastening pin into the holders.
7.Fold up the top section of the wind deflec-
tor.
With the wind deflector installed: do not
recline the front-seat backrests too far if
the seat is to be slid all the way back, as this
would damage the wind deflector.<
Only turn the rotary handle within the
range between the two symbols; other-
wise, the cable system inside the wind deflector
could be damaged.<
Page 43 of 278

Controls
41Reference
At a glance
Driving tips
Communications
Navigation
Entertainment
Mobility
Removing the wind deflector
Proceed in the reverse order as used for instal-
lation.
Protective caps are provided in the vehicle for
the holders of the wind deflector.
Folding
Slide the red release lever towards the middle of
the wind deflector and push the two halves
apart.
Loading function
Cargo can still be loaded on the rear seat of the
vehicle even if the wind deflector has been
installed.
1.Lower all windows.
2.Fold down the top section of the wind
deflector, arrow1.
3.Turn the rotary handle to position ,
arrow2.
Fold both sections of the wind deflector forward
and rest them against the front seats, arrow3.
To protect the seat cushions or to use the bag
holders, you can fold the rear backrest down,
refer to page119.
Page 56 of 278

Transporting children safely
54
Placement of the tether strap
Coupe
Make sure the upper retaining strap does
not run over sharp edges and is not
twisted as it passes to the top anchor. Other-
wise, the strap will not properly secure the child
restraint system in the event of an accident.<
1Direction of travel
2Head restraint
3Hook for upper retaining strap
4Anchor
5Rear window shelf
6Seat backrest
7Upper retaining strap of child restraint
system
If necessary, fold the anchors upward before
use.
1.Push the head restraint upward.
2.Guide the upper retaining strap between
the head restraint holders.
3.Use the hook to clip the retaining strap to
the anchor.
4.Push the head restraint into its lowermost
position.
5.Pull the retaining strap taut.
Page 100 of 278

Technology for driving comfort and safety
98
Airbags
The following airbags are located under the
marked covers:
1Front airbags
2Coupe: head airbags
3Side airbags in the seat backrests
4Convertible: knee airbags
Protective action
Observe the adjustment instructions on
page42 to ensure the best possible per-
sonal protection.<
The front airbags help protect the driver and
front passenger by responding to frontal
impacts in which safety belts alone cannot pro-
vide adequate restraint. When needed, the
head and side airbags help provide protection in
the event of side impact. The relevant side air-
bag supports the side upper body area. The
head air bag supports the head.
The airbags have been designed to not be trig-
gered in every collision situation, e.g. not in
minor accidents or rear-end collisions.
Do not apply adhesive materials to the
cover panels of the airbags, cover them or
modify them in any other way.
Keep the dashboard and windows on the front
passenger side clear, i.e. do not cover with
adhesive labels or coverings, and do not attach
holders such as for navigation instruments or
mobile phones.
Do not attach seat covers, cushions or other
objects not specifically approved for seats with
integral side airbags to the front seats. Do not
hang items of clothing such as coats or jackets over the backrests. Do not attempt to remove
the airbag retention system from the vehicle.
Do not modify the individual components of the
system or its wiring in any way. This includes
the upholstered covers on the steering wheel,
instrument panel, seats and roof posts, as well
as the sides of the roof lining. Do not attempt
to remove or dismantle the steering wheel.
Do not touch the individual components imme-
diately after the system has been triggered,
because there is a danger of burns.
In the event of malfunctions, deactivation or
triggering of the airbag restraint system, have
the testing, repair, removal and disposal of air-
bag generators executed only by a BMW center
or a workshop that works according to repair
procedures of BMW with correspondingly
trained personnel and that has the required
explosives licenses. Unprofessional attempts
to work on the system could lead to failure in an
emergency or to undesired airbag activation,
either of which could result in personal injury.<
Warning notices and information about the air-
bags can also be found on the sun visors.
Automatic deactivation of the front
passenger airbags
An analysis of the impression in the front pas-
senger seat cushion determines whether and
how the seat is occupied. The front and side air-
bags for the front passenger are activated or
deactivated by the system accordingly.
The indicator lamp above the interior
rearview mirror shows the current status
of the front passenger airbags, deactivated or
Page 108 of 278

Climate
106
Climate
1Airflow directed toward the windshield and
side windows
2Air to the upper body area
Draft-free ventilation109
3Air to the footwell
4Air distribution, manual
5Temperature, left side
6Maximum cooling
7AUTO program
8Air volume, manual adjustment;
AUTO intensity
9Automatic recirculated-air control
AUC/Recirculated-air mode10Temperature, right side
11ALL program
12Defrosting windows and removing
condensation
13Switching cooling function on/off manually
14Rear window defroster
15Seat heating
*, right side47
16Interior temperature sensor, please keep
clear
17Seat heating
*, left side47