2011 BMW 1 SERIES light
[x] Cancel search: lightPage 124 of 256

Destination entry
122 To delete letters:
>To delete individual letters:
Turn the controller to select , and
then press the controller.
>To delete all letters:
Turn the controller to select , and
then press the controller for an extended
period.
To enter spaces:
>Select the symbol.
The list gradually grows smaller each time
you enter a new letter.
3.Move the controller to the right.
4.Select the name of the town/city from the
list.
If there are several towns/cities with the same
name:
1.Change to the list of town/city names.
2.Highlight the town/city: a preview map is
displayed.
3.Select the town/city.
Entering the postal code
1.Select "Town/City/Postal Code" or the dis-
played town/city.
2.Select the symbol.
3.Select the digits.
4.Change to the list of postal codes and
towns/cities.
5.Highlight the postal code: a preview map is
displayed.
6.Select the postal code.
Entering street and intersection
1.Select "Street" or the displayed street.
2.Enter a street and intersection as you would
the town/city.
After the street you can also enter the intersec-
tion or the house number.
If there are several streets with the same name:1.Change to the list of street names.
2.Highlight the street: a preview map is dis-
played.
3.Select the street.
Entering a street without a destination
town/city
You can also enter a street without specifying a
town/city. In this case, all streets of the same
name in the designated state/province are
offered. The corresponding town/city is dis-
played after the street name.
If a town/city has already been entered, you can
negate this entry. This could be helpful in
instances where the desired street does not
exist in the entered town/city because it
belongs to another suburb, for example.
1."Navigation"
2."Enter address"
3.Select "Street" or the displayed street.
4.Change to the list of street names.
5.Select "In" with the state/province currently
displayed.
6.Select the letters.
7.Change to the list of street names.
8.Highlight the street: a preview map is dis-
played.
9.Select the street.
Page 126 of 256

Destination entry
124 4.Depending on the selection, select an exist-
ing contact from the list or the type of
address and enter the last and first name.
5."Store in vehicle"
Editing or deleting an address
1."Navigation"
2."Address book"
3.Highlight the entry.
4.Open "Options".
5."Edit in Contacts" or "Delete entry".
Using the home address as a
destination
The home address must be stored as a destina-
tion. Refer to Specifying a contact as the home
address, page182.
1."Navigation"
2."Address book"
3."Home"
4."Start guidance"
Last destinations
The last destinations are stored automatically.
These destinations can be called up and used
as a destination for destination guidance.
Opening the last destinations
1."Navigation"
2."Last destinations"
3.Select the destination.
4."Start guidance"
Editing a destination
Destinations can be edited, for example, to
change the house number of an existing entry.
1."Navigation"
2."Last destinations"
3.Highlight the destination.
4.Open "Options".
5."Edit destination"
Deleting the last destinations
1."Navigation"
2."Last destinations"
3.Highlight the destination.
4.Open "Options".
5."Delete entry" or "Delete all last destina-
tions".
Special destinations
You can search for a special destination, e.g. a
hotel or place of interest, and start destination
guidance to the corresponding location.
The scope of information provided
depends on the particular set of naviga-
tion data you are using.<
Page 127 of 256

Navigation
Driving tips
125Reference
At a glance
Controls
Communications
Entertainment
Mobility
Opening the search for special
destinations
1."Navigation"
2."Points of Interest"
The search can be narrowed by entering the
location and type of special destination.
Special destination location
Search for a special destination according to its
location relative to a locality or route.
1."Search area"
2.Select the location where the system is to
search for the special destination:
>"At current location"
>"At destination"
>"At a different destination"
>"Along route"
Special destination category
1."Category"
2.Select "All" or a specific category, e.g.
hotels or restaurants.
Category details
For some special destinations, additional
details can be displayed that are available in the
navigation data, e.g. Italian-style restaurant."Category details"
Starting the search for special
destinations
1."Start search"
2.A list of the special destinations is dis-
played.
>"At current location"
Special destinations are listed according
to their distance from the current loca-
tion and are displayed with a directional
arrow pointing to the destination.
>"At destination", "At a different destina-
tion", "Along route"
Special destinations are listed according
to their distance from the location where
the search is being performed.
>Destinations of the selected category
are displayed in the map view as sym-
bols. The display depends on the map
scale and the category.
3.Highlight a special destination: the destina-
tion is displayed in the preview map.
4.Select the special destination.
5.Select the symbol.
6."Start guidance" or "Add as another dest.".
If a phone number is available, a connection
can be established, if desired.
Destination entry via BMW Assist*
A connection is established to the BMW Con-
cierge service, refer to page185.
1."Navigation"
2."Enter address"
3.Open "Options".
4."BMW Assist dest. entry"
Page 128 of 256

Destination entry
126
Special destinations, entering by name
1."Navigation"
2."Points of Interest"
3."Name, A-Z search"
4.Enter the letters.
Depending on the distance, the search may
take some time. The list can contain a max-
imum of 100 entries.
5.Change to the list of special destinations.
6.Highlight a special destination: the destina-
tion is displayed in the preview map.
7.Select the special destination.
8.Select the symbol.
9."Start guidance" or "Add as another dest.".
Displaying special destinations in the
map
To display symbols of the special destinations
in the map:
1."Navigation"
2."Map"
3.Open "Options".
4."Display Points of Interest"
5.Select the settings.
Entering the destination via
the map
If you only know the location of the town or
street, you can enter the destination using the
map.
Opening the map
1."Navigation"
2."Map"
A map section is displayed on the Control Dis-
play. The map shows the current position of the
vehicle.
Selecting the destination
1.Select the symbol.
"Interactive map" is started.
2.Select the destination with the cross-hairs.
>To change the scale: turn the controller.
>To shift the map: move the controller in
the required direction.
>To shift the map diagonally: move the
controller in the required direction and
turn it.
3.Press the controller to display additional
menu items.
>Select the symbol: "Start guidance"
or "Add as another dest.".
>"Return": go back to the map view.
>"Find points of interest": the search for
special destinations is begun.
Specifying the street
If the system cannot recognize a street, it dis-
plays a street name in the vicinity or the coordi-
nates of the destination.
Interactive map
In the interactive map, the scale can be adjusted
and the visible map section can be shifted. In
Page 133 of 256

Navigation
Driving tips
131Reference
At a glance
Controls
Communications
Entertainment
Mobility
The setting applies to the current route and to
the planning of future routes.
Dynamic destination guidance
"Dynamic guidance" is switched on:
The route is automatically changed in the event
of traffic obstructions. The system does not
point out traffic obstructions along the original
route.
Depending on the type of road and the nature
and length of the traffic obstruction, the route
can also be calculated so that you travel
through the traffic obstruction.
Activating Dynamic destination
guidance
1."Navigation"
2.Open "Options".
3."Dynamic guidance"
If the route criteria "Avoid highways",
"Avoid toll roads", or "Avoid ferries" are
selected, route calculation may take longer.<
Route
General information
Depending on the equipment in your vehicle,
various views of the route are available during
destination guidance.
>List of streets and towns/cities
>Map view, refer to page132
Displaying a list of the streets or towns/
cities on the route
When destination guidance is started, a list of
the streets and towns/cities on the route is dis-
played. The driving distances and traffic bulle-
tins are displayed for each route section.
1."Navigation"
2."Route information"
3.Highlight a section.
The section is displayed in the preview map.
Bypassing a section of the route
During destination guidance, you can revise the
navigation system's route recommendations to
avoid particular stretches of road. Enter the
number of miles/kilometers that you want to
travel before returning to the original route.
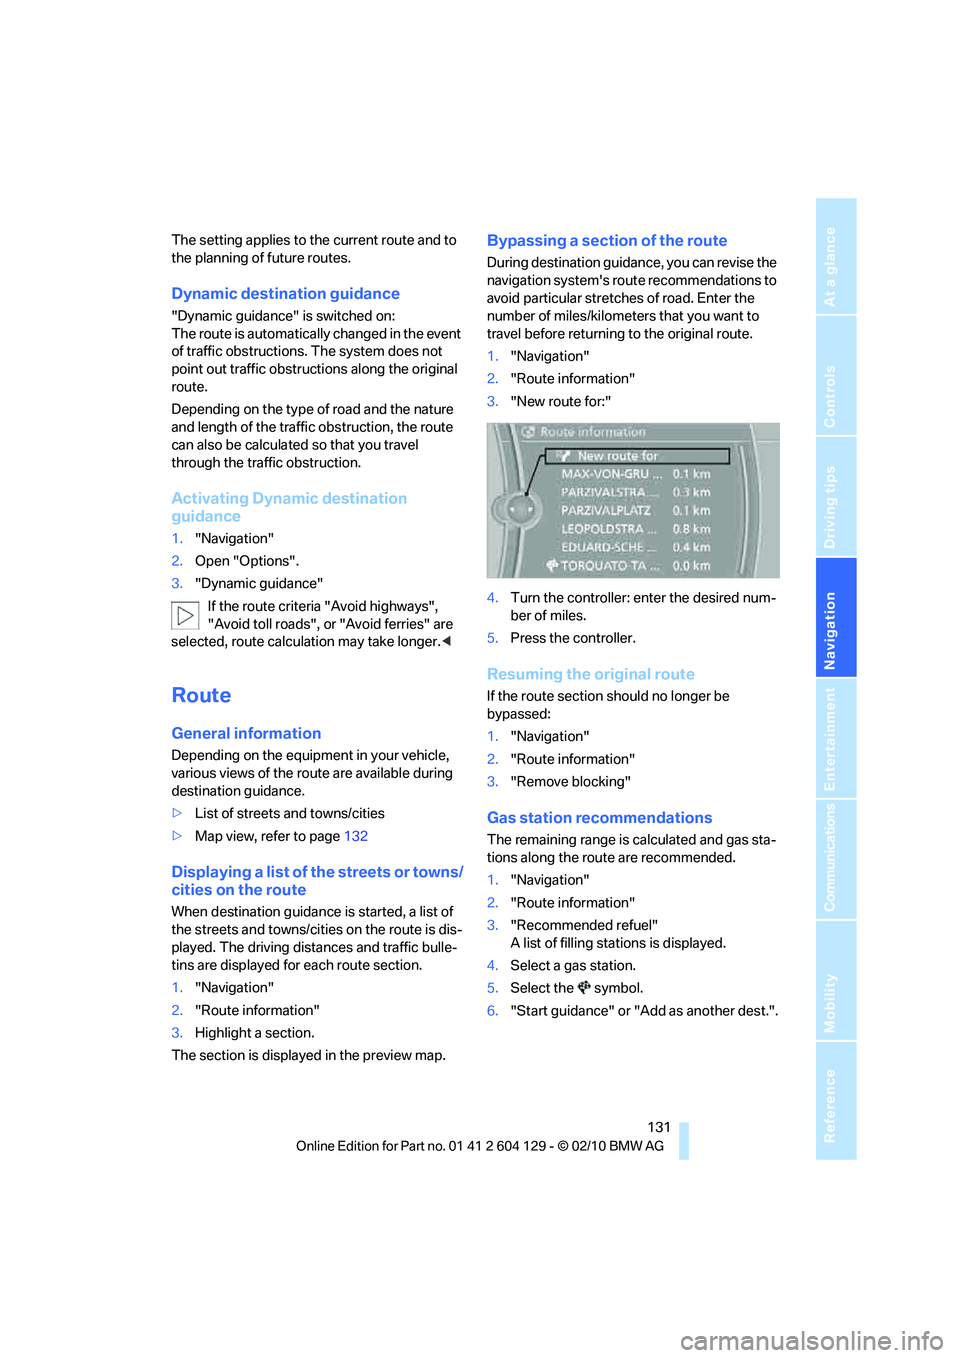
1."Navigation"
2."Route information"
3."New route for:"
4.Turn the controller: enter the desired num-
ber of miles.
5.Press the controller.
Resuming the original route
If the route section should no longer be
bypassed:
1."Navigation"
2."Route information"
3."Remove blocking"
Gas station recommendations
The remaining range is calculated and gas sta-
tions along the route are recommended.
1."Navigation"
2."Route information"
3."Recommended refuel"
A list of filling stations is displayed.
4.Select a gas station.
5.Select the symbol.
6."Start guidance" or "Add as another dest.".
Page 134 of 256

Destination guidance
132
Destination guidance
through voice instructions
Switching voice instructions on/off
Voice instructions can be switched on or off
during destination guidance.
1."Navigation"
2."Map"
3. Select the symbol.
For rapid access, the feature can be stored on a
programmable memory key, refer to page20.
Repeating a voice instruction
1."Navigation"
2."Map"
3. Highlight the symbol.
4.Press the controller twice.
Adjusting the volume of voice
instructions*
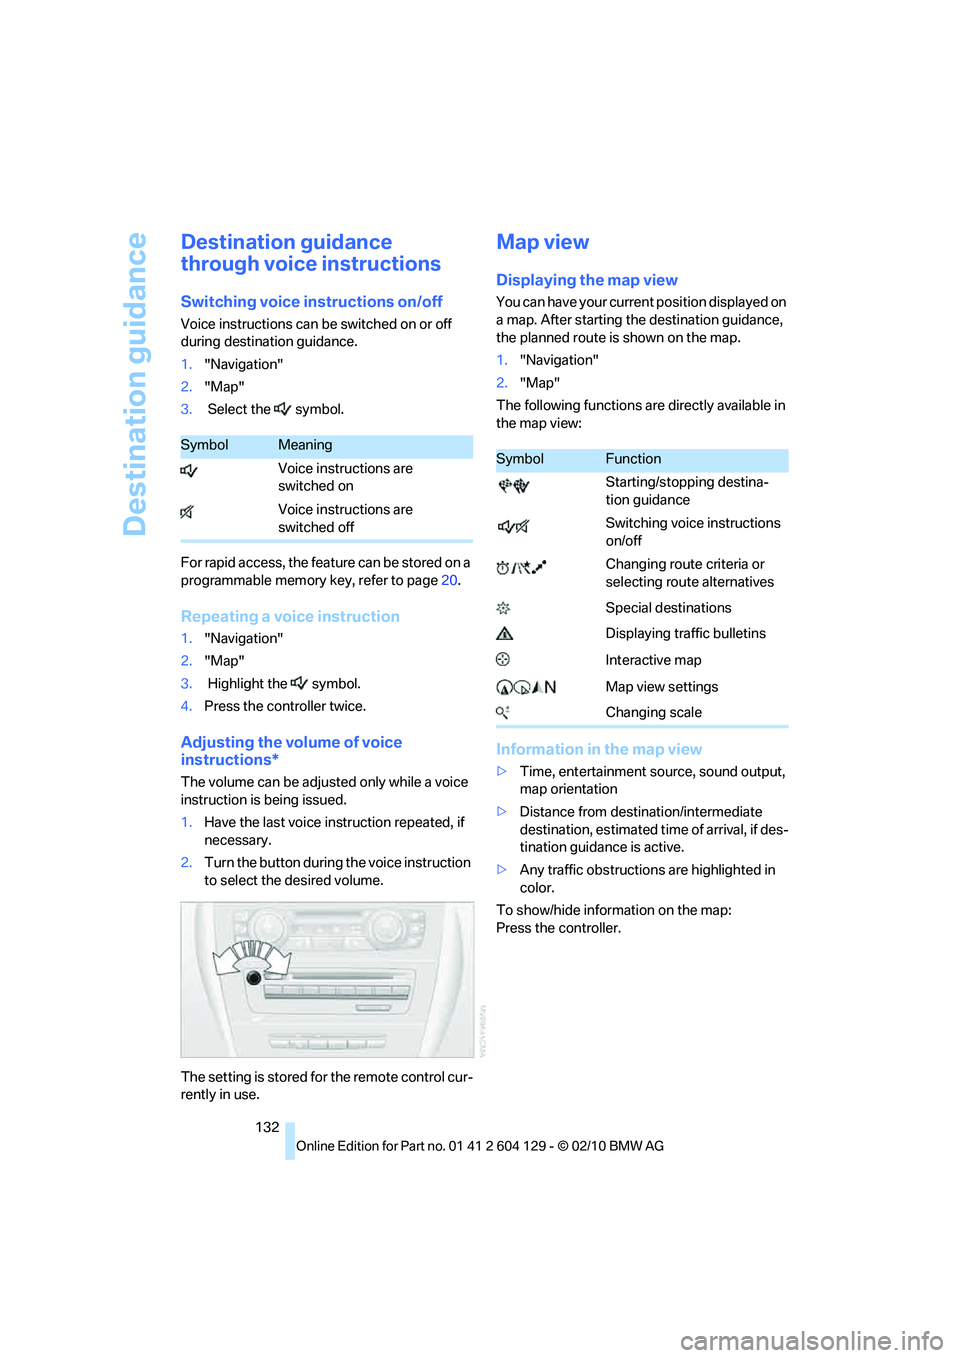
The volume can be adjusted only while a voice
instruction is being issued.
1.Have the last voice instruction repeated, if
necessary.
2.Turn the button during the voice instruction
to select the desired volume.
The setting is stored for the remote control cur-
rently in use.
Map view
Displaying the map view
You can have your current position displayed on
a map. After starting the destination guidance,
the planned route is shown on the map.
1."Navigation"
2."Map"
The following functions are directly available in
the map view:
Information in the map view
>Time, entertainment source, sound output,
map orientation
>Distance from destination/intermediate
destination, estimated time of arrival, if des-
tination guidance is active.
>Any traffic obstructions are highlighted in
color.
To show/hide information on the map:
Press the controller.
SymbolMeaning
Voice instructions are
switched on
Voice instructions are
switched offSymbolFunction
Starting/stopping destina-
tion guidance
Switching voice instructions
on/off
Changing route criteria or
selecting route alternatives
Special destinations
Displaying traffic bulletins
Interactive map
Map view settings
Changing scale
Page 135 of 256

Navigation
Driving tips
133Reference
At a glance
Controls
Communications
Entertainment
Mobility
Viewing the map
1.Select the symbol.
2.Select a setting:
>"View facing north"
>"View in dir. of travel"
>"Perspective view"
>"Arrow display"
3.Press the controller.
Changing the map section
Select "Interactive map".
>To shift the map: move the controller in the
required direction.
>To shift the map diagonally: move the con-
troller in the required direction and turn it.
Changing scale
1.Select the symbol.
2.Turn the controller to adjust the scale.
Automatic scaling of the map
In the map view facing north, turn the controller
in any direction until AUTO is displayed as the
map scale.
The map shows the entire range from your loca-
tion to the destination.
Settings for the map view
The map is shown on the Control Display.
1.Open "Options".
2."Settings"
3.Set the optimized map view.
>"Day/night mode"
Select and apply the necessary settings
depending on the light conditions. If the
"Traffic conditions/gray map" is acti-
vated, this setting is not taken into
account.
>"Satellite images"
Depending on the availability and resolu-
tion, satellite images
* are displayed in
scales of approx. 1 mile to 600 miles/
2km to 1,000km.>"Perspective view in 3D"
Displays a three-dimensional view.
Prominent areas that are contained in
the navigation data are displayed on the
map in 3D.
>"Traffic conditions/gray map"
The map is optimized for displaying traf-
fic bulletins. Symbols for the special
destinations are no longer displayed.
Map view for the split screen display
The map view for the split screen can be
selected separately from the main screen.
1.Open "Options".
2."Split screen"
The split screen is switched on.
3.Move the controller to the right repeatedly
until the split screen content is selected.
4.Select the map view:
>"Arrow display"
>"Map facing north"
>"Map direction of travel"
>"Map view with perspective"
>"Exit ramp view"
Changing scale
1.Move the controller to the right until the
split screen is selected.
2.Turn the controller.
Traffic bulletins*
You can display the traffic bulletins from radio
stations that broadcast the TMC (Traffic Mes-
sage Channel) of a traffic information service.
This information from the traffic information
service is continuously updated on the basis of
measurement data from traffic control centers
and information on traffic congestion.
During destination guidance, traffic bulletins
that are relevant to areas along the route are
automatically displayed and taken into account
in the route planning. You can open all traffic
bulletins manually via iDrive.
The traffic bulletins are shown in the map view.
Page 149 of 256

Navigation
Entertainment
Driving tips
147Reference
At a glance
Controls
Communications
Mobility
4."Manage subscription"
The phone number and an electronic serial
number, ESN, are displayed.
5.Call Sirius to unsubscribe from the chan-
nels.
Selecting a channel
You can only listen to enabled channels.
The selected channel is stored for the remote
control currently in use.
Via iDrive
1."Radio"
2."Satellite radio"
3.Select "All channels" or the desired cate-
gory.
4.Select the desired channel.
Via the button in the area of the CD/
DVD player
Press the button for the corresponding
direction.
The next channel is selected.
Via direct channel entry
1."Radio"
2."Satellite radio"
3."Select channel"
4.Turn the controller until the desired channel
is reached and press the controller.
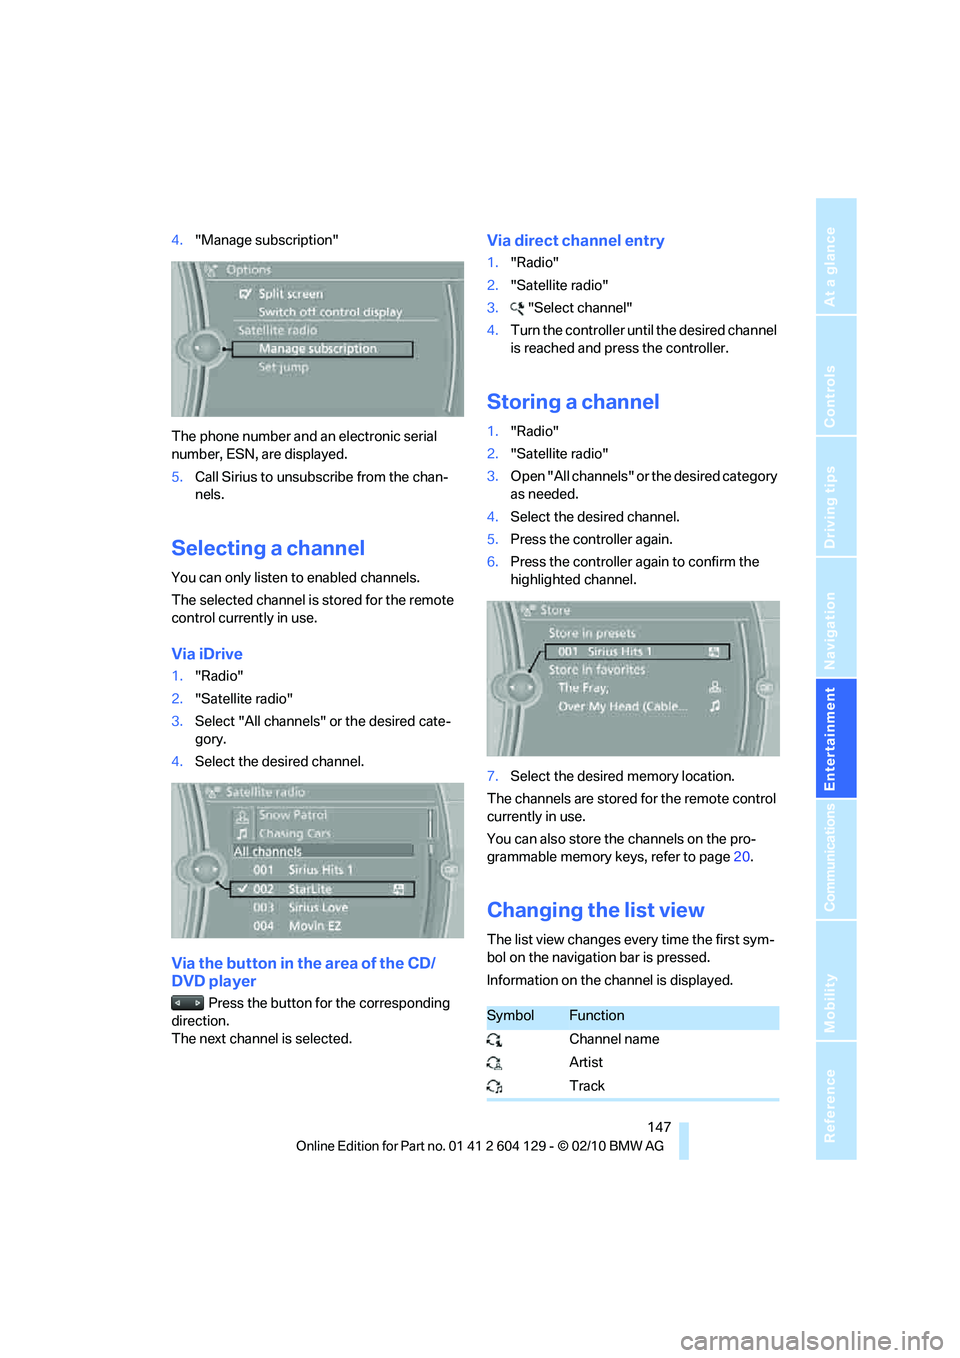
Storing a channel
1."Radio"
2."Satellite radio"
3.Open "All channels" or the desired category
as needed.
4.Select the desired channel.
5.Press the controller again.
6.Press the controller again to confirm the
highlighted channel.
7.Select the desired memory location.
The channels are stored for the remote control
currently in use.
You can also store the channels on the pro-
grammable memory keys, refer to page20.
Changing the list view
The list view changes every time the first sym-
bol on the navigation bar is pressed.
Information on the channel is displayed.
SymbolFunction
Channel name
Artist
Track