2011 Acura TSX buttons
[x] Cancel search: buttonsPage 6 of 253

4
Quick Reference GuideSystem Controls
8VOL 9 (Volume/Power)
Knob
(P6)
Display
9
8 (Sound) Button
(P170)
laDISC/HDD Button (P145)
3CATEGORY Bar (P6)
1FM/AM Button (P136)
2Preset Buttons (P6)
4TUNE Bar (P6)
5AUDIO Button (P7)
6XM Button (P140)
7TITLE Button (P6)
leMAP/GUIDE Button (P103)
lfCANCEL Button
lj Interface Dial/ENTER
Button
(P8)
maDisc Slot (P6)
mbE (Eject) Button
Navigation Screen
Audio Navigation
Voice Control
Bluetooth ® HandsFreeLink®
lbAUX Button (P159)
lcSKIP Bar (P6)
ldSCAN/A.SEL Bar (P6)
lgMENU Button (P68)
lhINFO/PHONE Button
(P174)
lia (Display Mode)
Button
(P29)
TSX_KA-31TL1820.book Page 4 Wednesday, September 22, 2010 3:17 PM
Page 8 of 253

6
Quick Reference GuideAudio System
You can play music from a wide array of media sources. You can also control the audio system using voice commands.
Basic Operation
Audio Buttons
aPress the VOL 9
(Volume/Power)
knob to turn the
audio system on/off.b Select the audio source.cRotate the VOL 9
(Volume/Power)
knob to adjust the
volume.
TITLE
Displays track title, artist, and other text
information, if available.
8
Bass, treble, and balance settings.
1 to 6
Preset stations (FM/AM) and channels (XM).
SKIP
Finds stations with strong signal (FM/AM).
Skip to start/end of tracks, or press and hold
to fast reverse/forward (Disc).
SCAN
Plays 10-second sample of each station (FM/
AM), channel (XM), or track (Disc).
Press again to play the current selection.
A.SEL
Scans and automatically stores the strongest
FM/AM station in each preset.
TUNE
Tunes to next frequency
(FM/AM) or channel (XM).
Fast-reverse/forward.
CATEGORY
Selects next category (XM) or
next folder (WMA, MP3, AAC).
Loading a Disc
a Press the DISC/HDD button.
bInsert a disc into the disc slot.
The disc automatically starts playing.
cPress the AUDIO button to display
the audio screen.
Select an audio source (e.g., FM/AM)
to stop the disc.
Press the E (Eject) button to remove
the disc. If you eject but do not
remove the disc, the disc
automatically reloads after a few
seconds.
TSX_KA-31TL1820.book Page 6 Wednesday, September 22, 2010 3:17 PM
Page 24 of 253
22
System Setup
Voice Control System
Your vehicle has a voice control system that allows hands-free operation of most of
the navigation system functions. You can also control the audio and climate control
system, and make and rece ive phone calls using Bluetooth ® HandsFreeLink®.
The voice control system uses the d (Talk) and K (Back) buttons on the steering
wheel and a microphone near the map lights on the ceiling.
A “Voice Help” feature provides a tutorial that explains how to use the voice control
system.
2 Voice Help P. 5
Command Input
If the system does not understand a command or you wait too long to give a
command, it responds with “Pardon,” “Please repeat,” or “Would you say again.”
When you give a command, the system ge nerally either repeats the command as a
confirmation or asks you for further informa tion. If you do not wish to hear this
feedback, you can turn it off. However, list ening to the feedback will help familiarize
you with the way the system expe cts commands to be phrased.
2Basic Settings P. 26
If the system cannot perform a command or the command is not appropriate for the
screen you are on, the system beeps.
If the system responds with prompts such as “Please use the Interface Dial to…” or
“Please choose an area with the Interface Di al,” the system is asking for input that
cannot be performed using the voice control system.
On character input screens, a list of possi ble characters is displayed if the system
does not recognize your command.
You can find out which voice commands are available for a particular screen using
the d Help command. The system will disp lay and read the list of available
commands to you.
1 d (Talk) Button
When you press the d (Talk) button, a helpful
prompt asks what you would like to do. Press
and release the d (Talk) button again to bypass
this prompt and give a command.
1 Command Input
The audio system is muted while using the voice
control system.
TSX_KA-31TL1820.book Page 22 Wednesday, September 22, 2010 3:17 PM
Page 32 of 253
30
Interface SettingsColor
System SetupIllumination control Priority Operation
a
button1Selects Day, Night, or Off display mode. This button has
the highest priority and overrides all other display control
adjustments listed below.
Remember : Once you press this button, you assume full
manual control of the display mode until the ignition is
turned off.
Sunlight sensor
(see your
Owner’s Manual
for location) 2 If the sunlight sensor detects daylight and the headlights
are turned on, the system automatically overrides the
Night display and displays the Day display mode.
Remember : If desired, use the a button to override
this automatic choice.
Dash illumination
adjustment
buttons (see your
Owner’s Manual
for location)3When headlights are turned on, and you wish to have the
Day display mode, adjust the illumination to the full
brightness setting (beeps).
Remember : Adjust the dash brightness back to mid-range
to allow auto switching by sensing the headlights are on or
off.
Headlights
(Auto/On/Off) 4 When turned on, the display changes to Night display
mode. The previous three controls listed above can
“cancel” this function.
Remember : Use the a button, or adjust the dash
illumination to full brightness, to set the display to your
desired choice.
Screen color
choiceN/AThe user can select the color of the screen that will be
displayed for the Day and Night display modes described
above.
Remember : For best contrast, ensure that the map color is
white for Day and black for Night.
TSX_KA-31TL1820.book Page 30 Wednesday, September 22, 2010 3:17 PM
Page 135 of 253

133
Audio
This section describes how to operate the audio system. You can play
music from a wide array of media s ources, and control the audio system
using the audio buttons, the Interface Dial, or voice control.
Audio System .................................................. 134
About Your Audio System .............................. 134
Auxiliary Input Jack ......... .......................... ..... 135
Audio System Theft Protection ....................... 135
Playing FM/AM Radio ..................................... 136
Selecting FM/AM Mode.................................. 136
Audio Screen Control ..................................... 136
Audio Menu .................................................. 137
Radio Data System (RDS) ................................ 138
Playing XM® Radio ......................................... 140
Selecting XM Mode........................................ 140
Audio Screen Control ..................................... 140
Audio Menu .................................................. 141
Note Function ................................................ 142
XM® Radio Service ........................................ 144
Playing a Disc ................................................... 145
Selecting Disc Mode ....................................... 145
Audio Screen Control ..................................... 145 Audio Menu ................................................... 146
Playing MP3/WMA/AAC Discs ........................ 147
Recommended Discs ...................................... 148
Playing Hard Disc Drive (HDD) Audio ............ 149
Selecting HDD Mode ...................................... 149
Audio Screen Control ..................................... 150
Audio Menu ................................................... 150
Recording a Music CD to HDD........................ 152
Searching for Music........................................ 154
Adding a Track to a User Playlist ..................... 155
Editing a Playlist ............................................. 155
Displaying Music Information ......................... 157
Updating Gracenote® Album Info .................. 158
Playing an iPod® ............................................. 159
Selecting iPod® Mode .................................... 160
Audio Screen Control ..................................... 160
Audio Menu ................................................... 161
Searching for Music........................................ 162 Searching for Music Using Song By Voice™
(SBV) ............................................................... 163
Playing a USB Flash Drive ............................... 164
Selecting USB Mode....................................... 165
Audio Screen Control..................................... 165
Audio Menu .................................................. 166
Playing Tracks in Folders................................. 167
Playing Bluetooth ® Audio............................. 168
Selecting Bluetooth ® Audio Mode ................ 168
Switching to HFL Mode .................................. 169
Audio Screen Control..................................... 169
Adjusting the Sound ....................................... 170
Audio Remote Controls .................................. 171
Steering Wheel Controls ................................ 171
TSX_KA-31TL1820.book Page 133 Wednesday, September 22, 2010 3:17 PM
Page 137 of 253
135
Audio SystemAuxiliary Input Jack
Audio
Auxiliary Input Jack
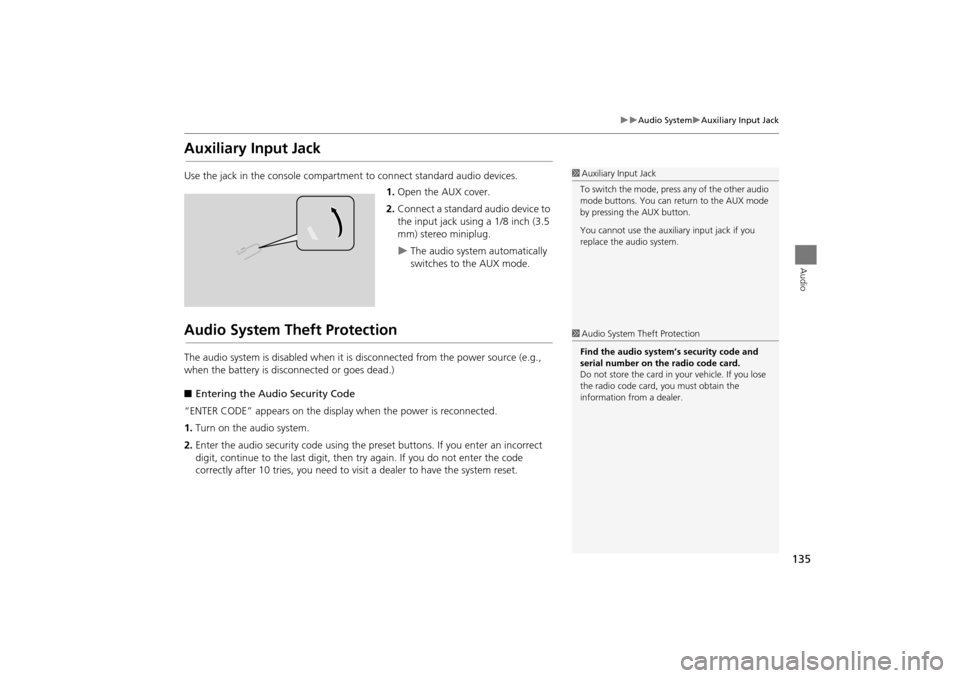
Use the jack in the console compartment to connect standard audio devices.
1. Open the AUX cover.
2. Connect a standard audio device to
the input jack using a 1/8 inch (3.5
mm) stereo miniplug.
The audio system automatically
switches to the AUX mode.
Audio System Theft Protection
The audio system is disabled when it is disconnected from the power source (e.g.,
when the battery is disc onnected or goes dead.)
■ Entering the Audio Security Code
“ENTER CODE” appears on the displa y when the power is reconnected.
1. Turn on the audio system.
2. Enter the audio security code using the pr eset buttons. If you enter an incorrect
digit, continue to the last digit, then try again. If you do not enter the code
correctly after 10 tries, you need to vi sit a dealer to have the system reset.
1Auxiliary Input Jack
To switch the mode, press any of the other audio
mode buttons. You can return to the AUX mode
by pressing the AUX button.
You cannot use the auxili ary input jack if you
replace the audio system.
1 Audio System Theft Protection
Find the audio system’s security code and
serial number on the radio code card.
Do not store the card in your vehicle. If you lose
the radio code card, you must obtain the
information from a dealer.
TSX_KA-31TL1820.book Page 135 Wednesday, September 22, 2010 3:17 PM
Page 138 of 253
136
Audio
Playing FM/AM Radio
Selecting FM/AM Mode
1.Press the FM/AM button.
Press the FM/AM button again, if necessary, to select the frequency band (AM,
FM1, FM2).
2. Select a station using the buttons (Preset, SCAN) or bars (SKIP, TUNE).
On the FM bands, you can also use the CATEGORY bar and TITLE button to
select a station provided by the Radio Data System (RDS).
The band and frequency are displayed on the display.
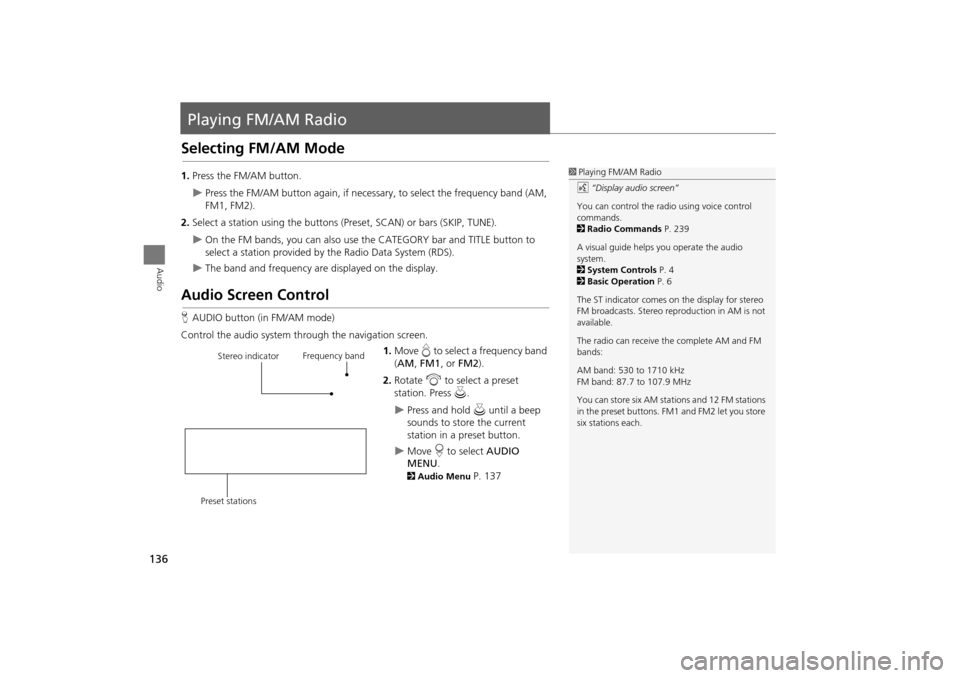
Audio Screen Control
H AUDIO button (in FM/AM mode)
Control the audio system through the navigation screen. 1.Move e to select a frequency band
( AM , FM1 , or FM2 ).
2. Rotate i to select a preset
station. Press u .
Press and hold u until a beep
sounds to store the current
station in a preset button.
Move r to select AUDIO
MENU .
2Audio Menu P. 137
1Playing FM/AM Radio
d “Display audio screen”
You can control the radio using voice control
commands.
2 Radio Commands P. 239
A visual guide helps you operate the audio
system.
2 System Controls P. 4
2 Basic Operation P. 6
The ST indicator comes on the display for stereo
FM broadcasts. Stereo re production in AM is not
available.
The radio can receive the complete AM and FM
bands:
AM band: 530 to 1710 kHz
FM band: 87.7 to 107.9 MHz
You can store six AM stati ons and 12 FM stations
in the preset buttons. FM1 and FM2 let you store
six stations each.
Stereo indicator Frequency band
Preset stations
TSX_KA-31TL1820.book Page 136 Wednesday, September 22, 2010 3:17 PM
Page 139 of 253
137
Playing FM/AM RadioAudio Menu
Audio
Audio Menu
HAUDIO button (in FM/AM mode) AUDIO MENU
Rotate i to select an item. Press u.
The following items are available:
• Sound Setup : Displays the sound preferences screen.
2Adjusting the Sound P. 170
• Read Radio Text : Displays the text information broadcast by the current RDS
station.
2 Radio Text Display P. 139
• RDS Search : Searches for programs by RDS category.
2Searching for Programs by RDS Category P. 138
• Scan : Scans for stations with a strong signal in the current band and plays a 10-
second sample. Select Scan again to stop scanning and play the current selection.
• A.SEL (Auto Select) : When set to ON, scans and automatically stores up to six
AM stations and 12 FM stations with a strong signal in the preset buttons.
• Tune : Tunes the radio to the frequency you select. Rotate i to select a
frequency.
1 Audio Menu
The A.SEL indicator comes on the display when
A.SEL is ON . If you do not like the stations Auto
Select has stored, you can change the
frequencies stored in the preset buttons
manually. Set A.SEL to OFF to restore the
previous preset button settings.
TSX_KA-31TL1820.book Page 137 Wednesday, September 22, 2010 3:17 PM