2011 Acura MDX audio
[x] Cancel search: audioPage 15 of 22

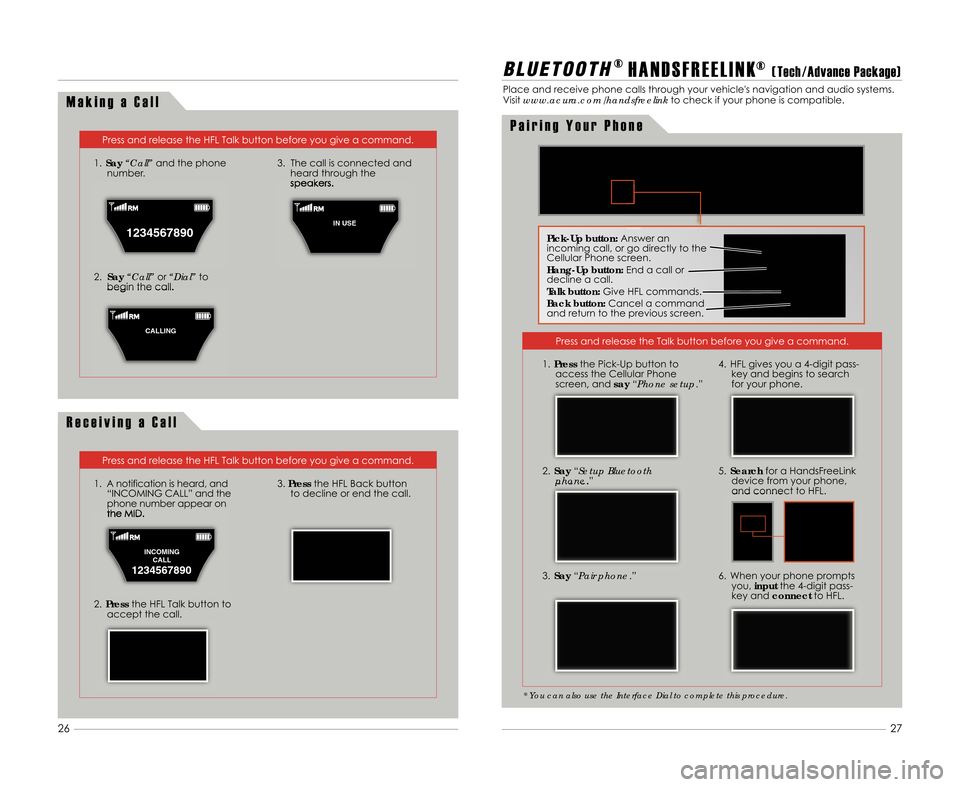
M a k i n g a C a l l
Press and release the HFL Talk button before you give a command.
1. Say “Call” and the phone
number.
2. Say “Call” or“Dial” to
begin the call. 3. The call is connected and
heard through the
speakers.
R e c e i v i n g a C a l l
Press and release the HFL Talk button before you give a command.
1. A notification is heard\b and “INCOMING CALL” and the
phone number appear on
the MID.
2. Press the HFL Talk button to
accept the call.
3. Press the HFL Back button
to decline or end the call.
B L \b E T O O T H® H A N D S F R E E L I N K®( Tech \bAdvance Package)
Place and receive phone calls through your vehicle's navigation and audio systems.
Visitwww.acura.com/handsfreelink to check if your phone is compatible.
Press and release the Talk button before you give a command.
3. Say “Pair phone .”
2.
Say “Setup Bluetooth
phone .”
4. HFL gives you a 4-digit pass-
key and begins to search
for your phone.
5. Search for a HandsFreeLink
device from your phone\b
and connect to HFL.
6. When your phone prompts you\b input the 4-digit pass-
key and connect to HFL.
* You can also use the Interface Dial to complete this procedure.
1.Press the Pick-Up button to
access the Cellular Phone
screen\b and say“Phone setup.”
Pick�Up button: Answer an
incoming call\b or go directly to the
Cellular Phone screen.
Hang�Up button: End a call or
decline a call.
Talk button: Give HFL commands.
Back button: Cancel a command
and return to the previous screen.
P a i r i n g Y o u r P h o n e
1234567890
1
IN USE
C
CALLING
INCOMING CALL
1234567890
27
26
11 MDX ATG\fATG_NEW STYLE 7/21/2010 5\f53 PM Page 15
Page 16 of 22

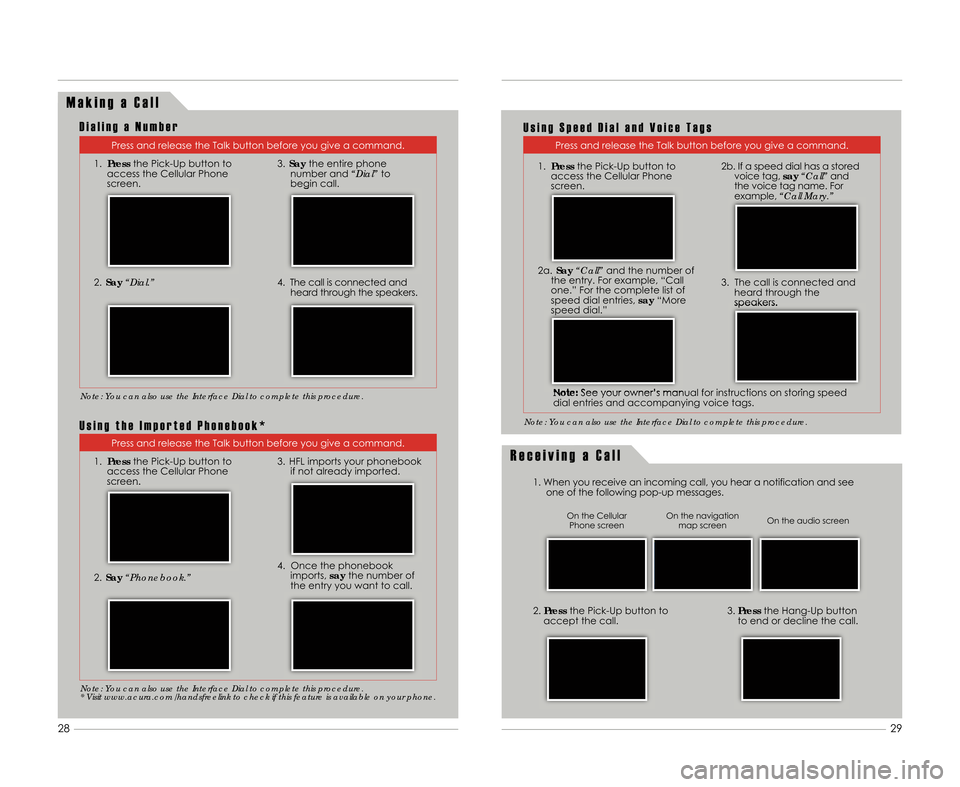
M a k i n g a C a l l
Press and release the Talk button before you give a command.
1. Press the Pick-Up button to
access the Cellular Phone
screen.
2. Say “Dial.”
3.Say the entire phone
number and “Dial”to
begin call.
4. The call is connected and heard through the speakers.
R e c e i v i n g a C a l l
1. When you receive an incoming call\b you hear a notification and seeone of the following pop-up messages.
3.Press the Hang-Up button
to end or decline the call.2. Press the Pick-Up button to
accept the call.
Note: You can also use the Interface Dial to complete this procedure.
On the audio screen
On the navigation
map screen
On the Cellular
Phone screen
D i a l i n g a N u m b e r
Press and release the Talk button before you give a command.
Note: You can also use the Interface Dial to complete this procedure.
U s i n g S p e e d D i a l a n d V o i c e T a g s
Press and release the Talk button before you give a command.
1. Press the Pick-Up button to
access the Cellular Phone
screen.
2. Say “Phonebook.”
3. HFL imports your phonebook
if not already imported.
4. Once the phonebookimports\b saythe number of
the entry you want to call.
Note: You can also use the Interface Dial to complete this procedure.
* Visit www.acura.com/handsfreelink to check if this feature is available on your phone.
U s i n g t h e I m p o r t e d P h o n e b o o k *
Note: See your owner’s manual for instructions on storing speed
dial entries and accompanying voice tags. 3. The call is connected and
heard through the
speakers.
29
28
2a. Say “Call” and the number of
the entry. For example\b “Call
one.” For the complete list of
speed dial entries\b say“More
speed dial.” 2b. If a speed dial has a stored
voice tag\b say“Call” and
the voice tag name. For
example\b “Call Mary.”
1.
Press the Pick-Up button to
access the Cellular Phone
screen.
11 MDX ATG\fATG_NEW STYLE 7/21/2010 5\f53 PM Page 1\b
Page 17 of 22

3.Push USB/AUX to begin playing.
2. Connect the USB connector to your
iPod dock connector or flash drive.1. Open the center console\b and
pull out the USB adapter cable.
1. To record a song sample\b press
and hold XM for about 2 seconds.
2. To replay stored information\b push
the interface dial down. 3.
Turn the selector knob to select
“NOTE\b” then pressENTER.
4. Turn the selector knob to select a
sound file\b then pressENTER. The
selected recording plays.
B L \b E T O O T H® A U D I O( T e c h \b A d v a n c e P a c k a g e )
Play audio files from your compatible phone through your vehicle’s audio system. Visit
www.acura.com/handsfreelink to check if this feature is available on your phone.
i P o d ® o r U S B F l a s h M e m o r y( T e c h \b A d v a n c e P a c k a g e )
Play audio files from your compatible iPod or USB flash memory device through your
vehicle’s audio system. See your Owner’s Manual for a list of compatible devices.
C o n n e c t i n g a n d P l a y i n g A u d i o F i l e s
R e c o r d i n g S o n g S a m p l e s
1. Make sure your phone is on and paired to HandsFreeLink (See
page \b7).
•Press (�) or (�) on the audio
control panel. •
Press (+) or (�) on the remote
audio controls.
There are two ways to skip through audio files*:
2.
Press USB/AUX repeatedly until
“Bluetooth Audio” appears.
3. Press “play” on your phone;
sound is redirected to the audio
system. Make sure the phone’s
volume is adjusted.
iPod is a registered trademark of Apple Computer\b Inc.\b registered in the U.S. and other countries. iPod not included.
P l a y i n gBluet\f\fthA u d i o F i l e s
S k i p p i n g
Bluet\f\fthA u d i o F i l e sN o t e F u n c t i o n( T e c h \b A d v a n c e P a c k a g e )
Use the Note function to store up to 3\f ten-second recordings of songs and song
information from XM®Radio (with an active subscription).
31
3\f
* not supported on all phones
11 MDX ATG\fATG_NEW STYLE 7/21/2010 5\f54 PM Page 17
Page 18 of 22

H A R D D I S C D R I V E ( H D D ) A U D I O( T e c h \b A d v a n c e P a c k a g e )
Automatically record CDs onto your vehicle’s hard drive (by system default). Songs
begin to record once a CD is inserted into the disc slot.
P l a y i n g H D D A u d i o F i l e s
S e a r c h i n g f o r M u s i c
1. Press AUDIO.
2.Press HDD. 3. The first song of the last
recorded album plays. Press
(�) or (�) or (+) or (�) to skip
through songs.
1. Push the selector up to select
MUSIC SEARCH.
2. Select one of the categories. 3.
Select a track and pressENTER
to begin play.
33
32
S O N G B Y V O I C ET M( S B V )( i P o d ® \b H D D )
Play songs from your iPod and HDD from most navigation/audio screens by using
simple voice commands.
P l a y i n g A u d i o F i l e s u s i n g V o i c e C o m m a n d s
U s i n g t h e “ P l a y ” C o m m a n d
Press and release the Talk button before you give a command.
The system
provides voice
feedback and
lists possible
matches.
The system
plays the
selection
and returns
to the Search
Mode
screen.
Say "iPod
search" or
"HDD search."
Say "Play" and
one of the
options on the
Search Mode
screen. For
example\b say
"Play Artist
XYZ."
Saythe
number of the
corresponding
selection you
wish to play.
For example\b
say "Four."
if exact
matchfound if exact
match
not found
11 MDX ATG\fATG_NEW STYLE 7/21/2010 5\f55 PM Page 18
Page 19 of 22

35
34
P l a y i n g A u d i o F i l e s u s i n g V o i c e C o m m a n d s ( c o n t i n u e d )
Press and release the Talk button before you give a command.
U s i n g t h e “ L i s t ” C o m m a n d
The system
provides
voice
feedback
and lists
possible
matches.
A list of tracks
from the
selected artist
displays.
Say
"iPod search"
or "HDD search."
Say "List" and
one of the
options on the
Search Mode
screen. For
example\b say
"List Artist XYZ."
Say the
number of
your selection.
For example\b
say "One."
The system
plays the
selection and
returns to the
Search Mode
screen. Say
the
number of
the artist.
For
example\b
say "Four."
if exact
matchfound if exact
match
not found
O p e r a t i n g t h e R E S f r o m t h e F r o n t S e a t
R E A R E N T E R T A I N M E N T S Y S T E M ( R E S )( i f e q u i p p e d )
Rear passengers can enjoy a different entertainment source than the front seat
occupants. If listening to the same media source\b both the driver and the rear
passenger have the ability to control functions for that source.
1.Press REAR PWR; the DVD
monitor automatically opens.
Rear passengers hear audio
through the wireless
headphones.
2. Press REAR CTRL OFF to
disable rear audio controls.
3. Press REAR SOURCE to
temporarily hear what is
playing in the rear.
4. Select a media source for
the rear passengers. Press
FRONT SOURCE to return to
the front audio controls.
O p e r a t i n g t h e R E S f r o m t h e R e a r S e a t
1. From the front audio panel\b make sure REAR PWR is on
and rear control is not
disabled.
2. From the rear control panel\b press DVD/AUX\b DISC/HDD\b XM\b
or FM/AM to make a selection.
4. The rear control panel can be detached and used as
a remote control. Press the
RELEASE button to remove it
from the ceiling.
3. Use the ( �)(
�)(
�)(� ) buttons
to navigate the menu on the
display. Pressthe ENT button
to select a function.
11 MDX ATG\fATG_NEW STYLE 7/21/2010 5\f55 PM Page 19