Page 4 of 724

TABLE OF CONTENTSIndex
4
3-4. Using the rear audio/video system
Rear seat entertainment system .............................. 377
Using the DVD player (DVD video)...................... 386
Using the DVD player (video CD) ........................ 395
Using the DVD player (audio CD/CD text) ........... 398
Using the DVD player (MP3 discs) ...................... 400
Using the video mode ........ 403
Changing the Setup Menu settings ............................. 405
3-5. Using the hands-free phone system (for cellular phone)
Hands-free phone system features ............................ 413
Using the hands-free phone system ................... 417
Making a phone call ........... 425
Setting a cellular phone...... 429
Security and system setup ................................ 433
Using the phone book ........ 436
3-6. Using the interior lights Interior lights list ................. 442
• Personal/interior light main switch ...................... 443
• Personal/interior lights...... 444
• Cargo lamp main switch ... 446 3-7. Using the storage features
List of storage features ....... 447
• Glove boxes ..................... 449
• Console box ..................... 450
• Card holder ....................... 453
• Map holder ....................... 456
• Pen holder ........................ 459
• Tissue pocket ................... 461
• Overhead console ............ 463
• Front cup holders ............. 464
• Rear cup holders .............. 466
• Bottle holders ................... 467
• Auxiliary boxes ................. 469
• Storage box ...................... 471
3-8. Other interior features Sun visors ........................... 474
Vanity mirrors ..................... 475
Clock................................... 476
Outside temperature display .............................. 477
Ashtray ............................... 479
Cigarette lighter .................. 481
Power outlets (12V DC) ...... 482
Power outlets (115V AC) .... 487
Seat heaters ....................... 491
Seat heaters and ventilators ......................... 493
Armrest (CrewMax models only) .... 495
Seatback table .................... 496
Floor mat ............................ 497
Luggage compartment features ............................ 498
Garage door opener ........... 501
Compass ............................ 506
Page 132 of 724
132 1-7. Safety information
Passenger airbag off switch (Regular Cab models)The passenger airbag off switch is designed to disable the front pas-
senger airbag in order to allow us age, if necessary, of the right pas-
senger seat by a member of a passenger risk group identified in
TABLE 1 ( P. 133).
AUTO position
This position makes the front pas-
senger airbag system opera-
tional.
At this time, the indicator light
condition varies depending on the
size of the occupant in the right
passenger seat.
OFF position
The front passenger airbag is dis-
abled.
At this time, the AIR BAG OFF
indicator light will come on.
■Operation of the passenger airbag off switch
Turn the key clockwise to the
AUTO position.
Turn the key counterclock-
wise to the OFF position and
remove it.
If the key is removed at any other
position than OFF, the switch will
automatically return to the AUTO
position.
Page 151 of 724

151
1-7. Safety information
1
Before driving
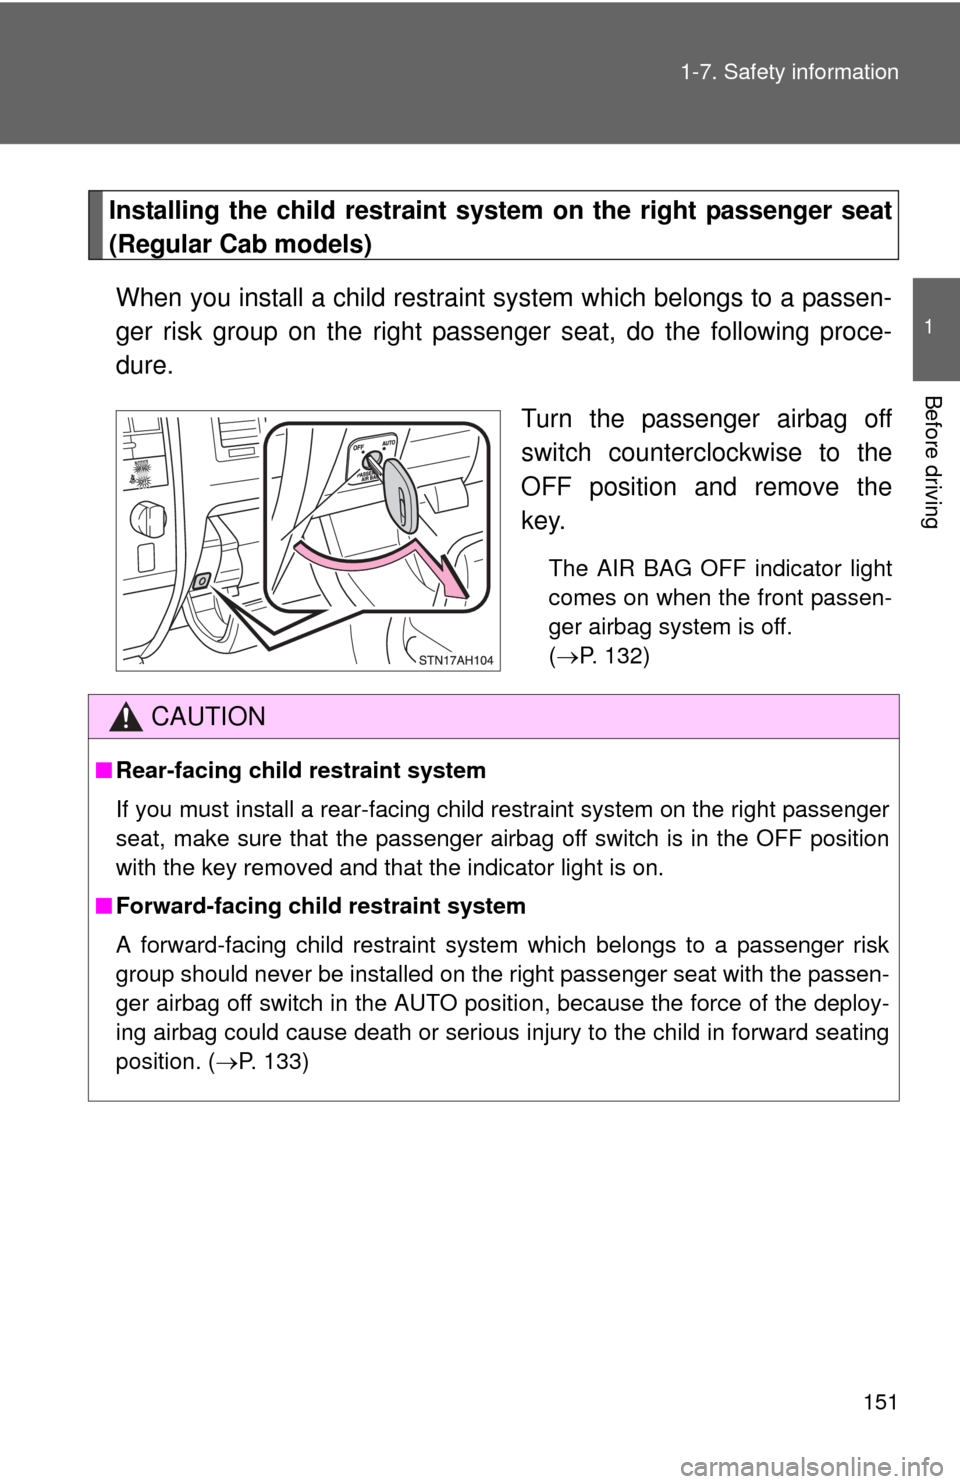
Installing the child restraint system on the right passenger seat
(Regular Cab models)
When you install a child restraint system which belongs to a passen-
ger risk group on the right passenger seat, do the following proce-
dure.
Turn the passenger airbag off
switch counterclockwise to the
OFF position and remove the
key.
The AIR BAG OFF indicator light
comes on when the front passen-
ger airbag system is off.
(P. 132)
CAUTION
■ Rear-facing child restraint system
If you must install a rear-facing child restraint system on the right passenger
seat, make sure that the passenger airbag off switch is in the OFF position
with the key removed and that the indicator light is on.
■ Forward-facing child restraint system
A forward-facing child restraint system which belongs to a passenger risk
group should never be installed on the right passenger seat with the passen-
ger airbag off switch in the AUTO position, because the force of the deploy-
ing airbag could cause death or serious injury to the child in forward seating
position. ( P. 133)
Page 210 of 724
210
2-2. Instrument cluster
Accessor y meter
Outside temperature display (if equipped)
Displays the outside air temperature. (P. 477)
Outside temperature and trip information display (if equipped)
Displays the outside temperature and trip information.
(P. 2 1 1 477)
Clock ( P. 476)
H (Hour) button
( P. 476)
M (Minute) button ( P. 476)
INFO button (if equipped)
SELECT RESET button (if equipped)
SETUP button (if equipped)
Page 237 of 724

237
2-4. Using other
driving systems
2
When driving
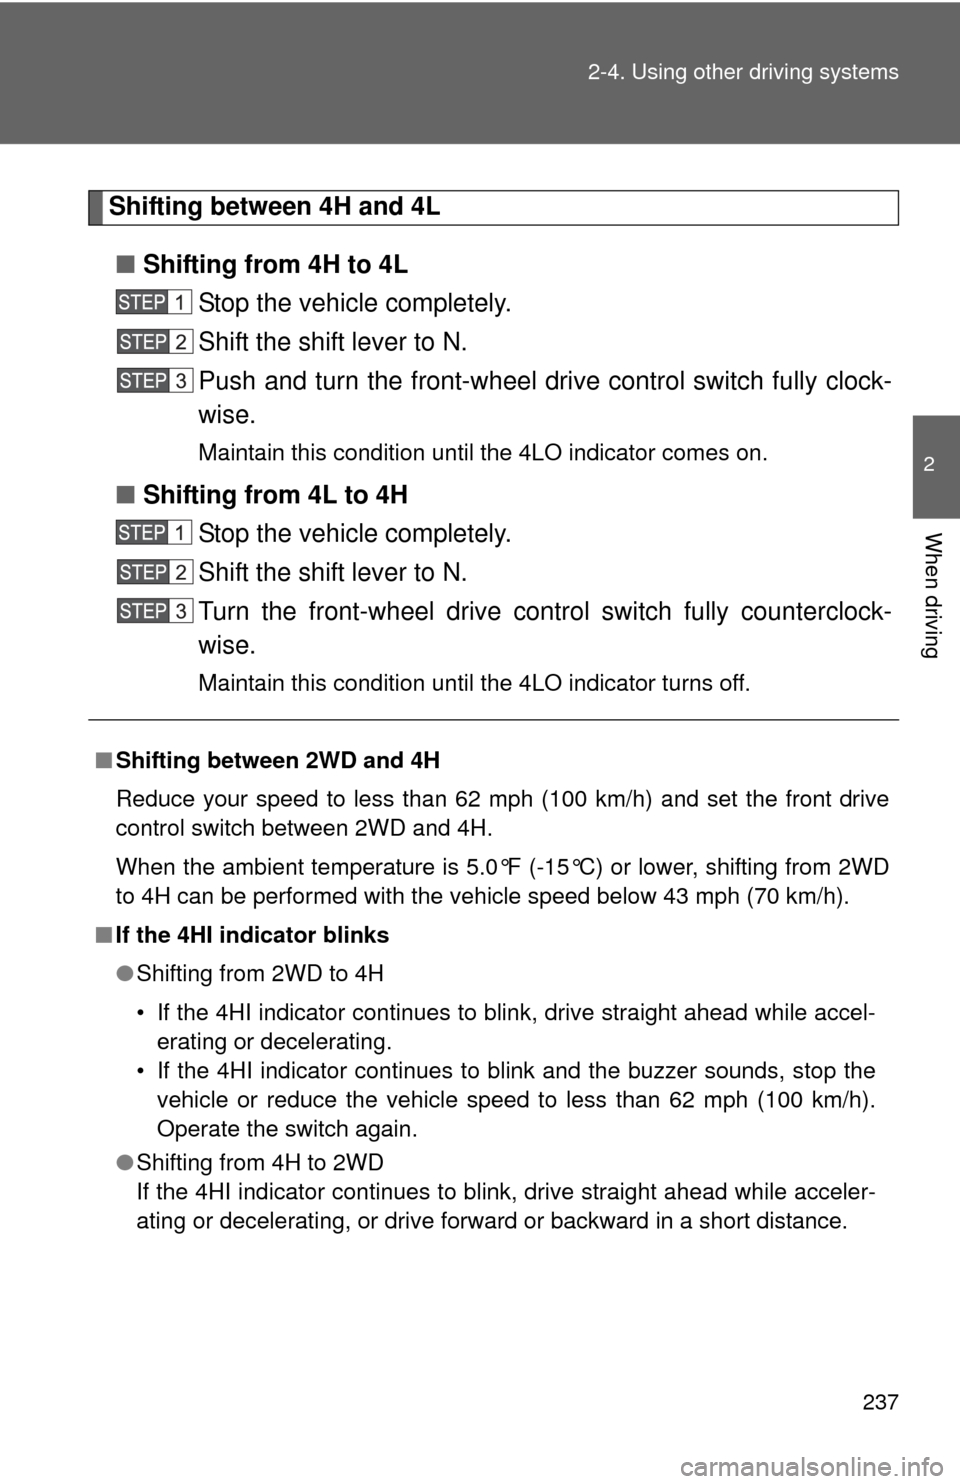
Shifting between 4H and 4L
■ Shifting from 4H to 4L
Stop the vehicle completely.
Shift the shift lever to N.
Push and turn the front-wheel drive control switch fully clock-
wise.
Maintain this condition until the 4LO indicator comes on.
■Shifting from 4L to 4H
Stop the vehicle completely.
Shift the shift lever to N.
Turn the front-wheel drive control switch fully counterclock-
wise.
Maintain this condition until the 4LO indicator turns off.
■Shifting between 2WD and 4H
Reduce your speed to less than 62 mph (100 km/h) and set the front drive
control switch between 2WD and 4H.
When the ambient temperature is 5.0°F (-15°C) or lower, shifting from 2WD
to 4H can be performed with the vehicle speed below 43 mph (70 km/h).
■ If the 4HI indicator blinks
●Shifting from 2WD to 4H
• If the 4HI indicator continues to blink, drive straight ahead while accel-
erating or decelerating.
• If the 4HI indicator continues to blink and the buzzer sounds, stop the vehicle or reduce the vehicle speed to less than 62 mph (100 km/h).
Operate the switch again.
● Shifting from 4H to 2WD
If the 4HI indicator continues to blink, drive straight ahead while acce\
ler-
ating or decelerating, or drive forward or backward in a short distance.
Page 287 of 724

Interior and exteriorfeatures3
287
3-5. Using the hands-free phone
system (for cellular phone)
Hands-free phone system features .......................... 413
Using the hands-free phone system ................ 417
Making a phone call ......... 425
Setting a cellular phone ... 429
Security and system setup .............................. 433
Using the phone book ...... 436
3-6. Using the interior lights Interior lights list ............... 442
• Personal/interior light main switch .................... 443
• Personal/interior lights ... 444
• Cargo lamp main switch ............................. 446
3-7. Using the storage features List of storage features .... 447
• Glove boxes ................... 449
• Console box ................... 450
• Card holder .................... 453
• Map holder ..................... 456
• Pen holder ..................... 459
• Tissue pocket................. 461
• Overhead console.......... 463
• Front cup holders ........... 464
• Rear cup holders ........... 466
• Bottle holders ................. 467
• Auxiliary boxes............... 469
• Storage box ................... 471 3-8. Other interior features
Sun visors ........................ 474
Vanity mirrors ................... 475
Clock ................................ 476
Outside temperature display............................ 477
Ashtray ............................. 479
Cigarette lighter................ 481
Power outlets (12V DC) ... 482
Power outlets (115V AC) ...................... 487
Seat heaters..................... 491
Seat heaters and ventilators ...................... 493
Armrest (CrewMax models only) .................. 495
Seatback table ................. 496
Floor mat .......................... 497
Luggage compartment features .......................... 498
Garage door opener......... 501
Compass .......................... 506
Page 289 of 724
289
3-1. Using the air conditioning system
and defogger
3
Interior and exterior features
Using the automatic mode
Press .
The air conditioning system will begin to operate. Air outlets and fan
speed are automatically adjusted according to the temperature set-
ting.
Turn the temperature control dial clockwise (warm) or coun-
terclockwise (cool).
The temperature for the driver and front passenger seats can be set
separately.
Display
Front passenger’s side
temperature setting display
Fan speed display Airflow display
Driver’s side temperature
setting display
Page 290 of 724
290 3-1. Using the air conditioning system and defogger
Adjusting the settings
■ Adjusting the temperature setting
Turn the temperature control dial clockwise (warm) or counter-
clockwise (cool).
The air conditioning system sw itches between individual and
simultaneous modes each time is pressed.
● Individual mode (the indicator on is on)
The temperature for the driver and front passenger seats can be
adjusted separately.
● Simultaneous mode (the indicator on is off)
The driver’s side temperature control dial can be used to adjust
the temperature for driver and front passenger seats.
■ Adjusting the fan speed
Turn the fan speed control dial clockwise (increase) or counter-
clockwise (decrease).
The fan speed is shown on the display. (7 levels)
Press to turn the fan off.