Page 215 of 724

215
2-3. Operating the lights and wipers
2
When driving
■
Daytime running light system (if equipped)
To make your vehicle more visible to other drivers, the front turn signal lights
turn on automatically whenever the engine is started and the parking brake
is released. Daytime running lights are not designed for use at night.
■ Headlight control sensor (vehicles with automatic light control system)
■ Automatic light off system
●When the headlights come on: The headlights and tail lights automati-
cally turn off after 30 seconds when all doors are closed with the engine
switch turned to the ACC or LOCK position. (The lights turn off immedi-
ately if the button on the wireless remote control is pressed after all
doors are locked.)
● When only the tail lights come on: The tail lights turn off automatically
with the engine switch turned to the ACC or LOCK position and the
driver’s door is opened.
Vehicles with automatic light control system: If any of the doors is kept open,
the lights automatically turn off after 20 minutes.
To turn the lights on again, turn the engine switch to the ON position, or turn
the headlight switch off once and then back to the or position.
■ Customization
●That can be configured at Toyota dealer (vehicles without multi-informa-
tion display)
Settings (automatic light off system) can be changed. (Customizable
features P. 684)
● It is possible to change the settings (vehicles with multi-information dis-
play) (Feature customization P. 206)
The sensor may not function properly if
an object is placed on the sensor, or any-
thing that blocks the sensor is affixed to
the windshield.
Doing so interferes with the sensor
detecting the level of ambient light and
may cause the automatic headlight sys-
tem to malfunction.
Page 287 of 724

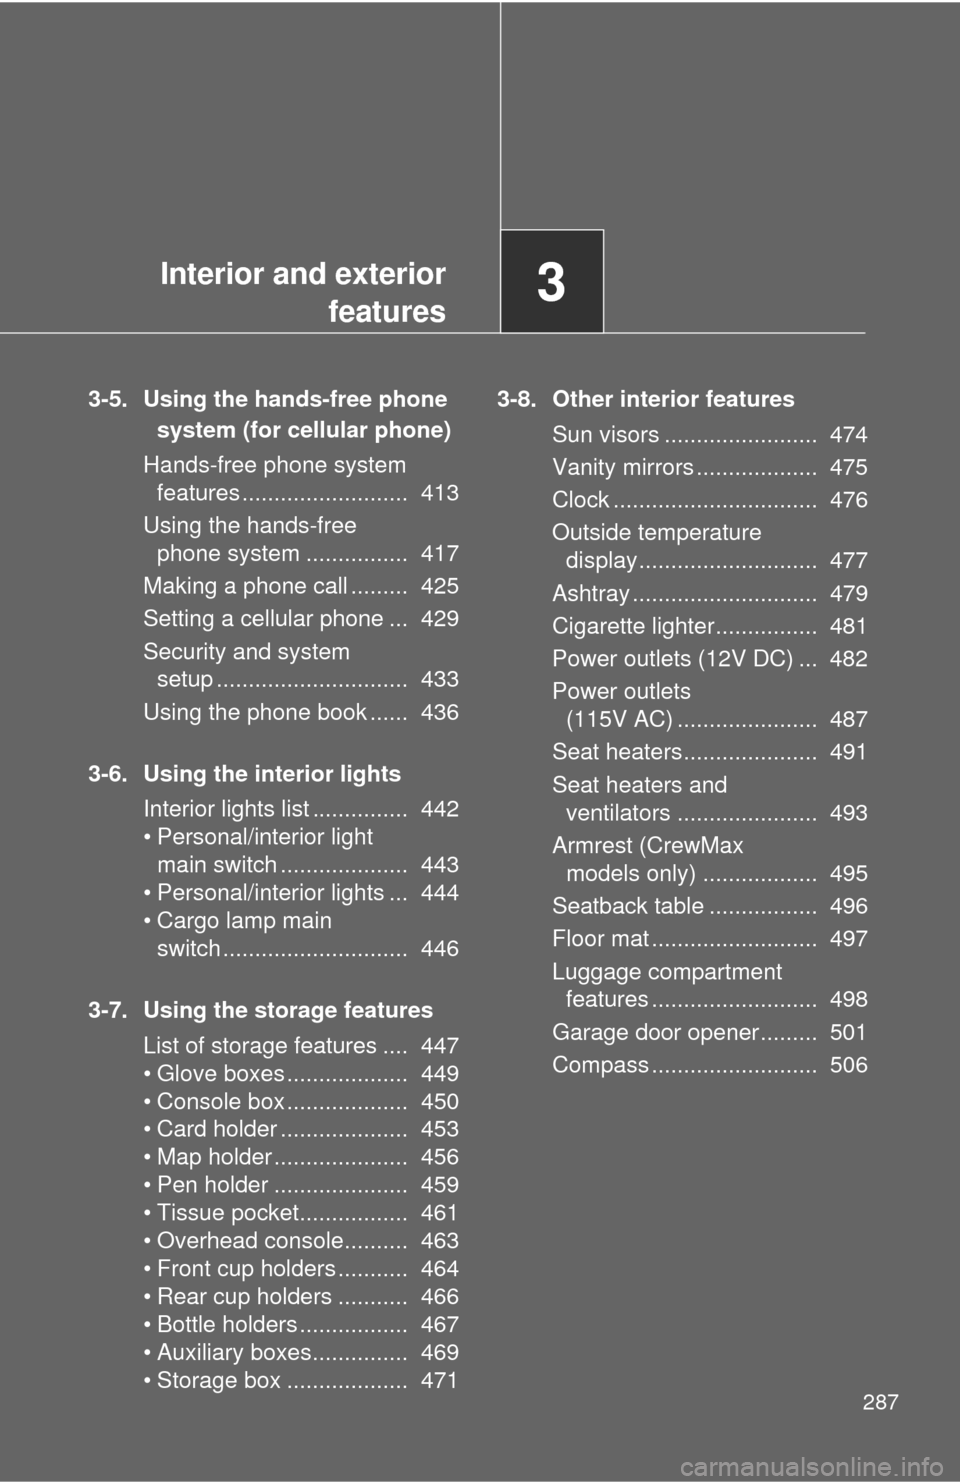
Interior and exteriorfeatures3
287
3-5. Using the hands-free phone
system (for cellular phone)
Hands-free phone system features .......................... 413
Using the hands-free phone system ................ 417
Making a phone call ......... 425
Setting a cellular phone ... 429
Security and system setup .............................. 433
Using the phone book ...... 436
3-6. Using the interior lights Interior lights list ............... 442
• Personal/interior light main switch .................... 443
• Personal/interior lights ... 444
• Cargo lamp main switch ............................. 446
3-7. Using the storage features List of storage features .... 447
• Glove boxes ................... 449
• Console box ................... 450
• Card holder .................... 453
• Map holder ..................... 456
• Pen holder ..................... 459
• Tissue pocket................. 461
• Overhead console.......... 463
• Front cup holders ........... 464
• Rear cup holders ........... 466
• Bottle holders ................. 467
• Auxiliary boxes............... 469
• Storage box ................... 471 3-8. Other interior features
Sun visors ........................ 474
Vanity mirrors ................... 475
Clock ................................ 476
Outside temperature display............................ 477
Ashtray ............................. 479
Cigarette lighter................ 481
Power outlets (12V DC) ... 482
Power outlets (115V AC) ...................... 487
Seat heaters..................... 491
Seat heaters and ventilators ...................... 493
Armrest (CrewMax models only) .................. 495
Seatback table ................. 496
Floor mat .......................... 497
Luggage compartment features .......................... 498
Garage door opener......... 501
Compass .......................... 506
Page 442 of 724
442
3-6. Using the interior lights
Interior lights list
Your Toyota is equipped with an illuminated entry system to assist in
entering the vehicle. Due to the fu nction of the system, the lights
shown in the following illustration automatically turn on/off accord-
ing to whether the doo rs are locked/unlocked, whether the doors are
opened/closed, and the en gine switch position.
Outer foot lights (if equipped)
Personal/interior lights (P. 444)
Engine switch light (if equipped)
Foot well lighting (if equipped)
Cargo lamp ( P. 446)
Page 501 of 724
501
3-8. Other interior features
3
Interior and exterior features
Garage door opener
The garage door opener (HomeLink® Universal Transceiver) is manufac-
tured under license from HomeLink®.
Programming the HomeLink® (for U.S.A. owners)
The HomeLink
® compatible transceiver in your vehicle has 3 buttons
which can be programmed to operate 3 different devices. Refer to the
programming method below appropriate for the device.
Indicator
Buttons
: If equipped
The garage door opener can be programmed to operate garage
doors, gates, entry doors, door locks, home lighting systems, secu-
rity systems, and other devices.
Page 504 of 724

504 3-8. Other interior features
When the indicator on the HomeLink® compatible transceiver
start to flashing rapidly, release the buttons.
Test the operation of the HomeLink
® by pressing the newly
programmed button. Check to se e if the gate/device operates
correctly.
Repeat the steps above to program another device for each of
the remaining HomeLink
® buttons.
■ Programming other devices
To program other devices such as home security systems, home
door locks or lighting, contact your authorized Toyota dealer for
assistance.
■ Reprogramming a button
The individual HomeLink
® buttons cannot be erased but can be
reprogrammed. To reprogram a button, follow the programming
instructions.
Operating the HomeLink®
Press the appropriate HomeLink® button. The HomeLink® indicator
on the HomeLink® transceiver should turn on.
The HomeLink® continues to send a signal for a maximum of 20 seconds
if the button is held in.
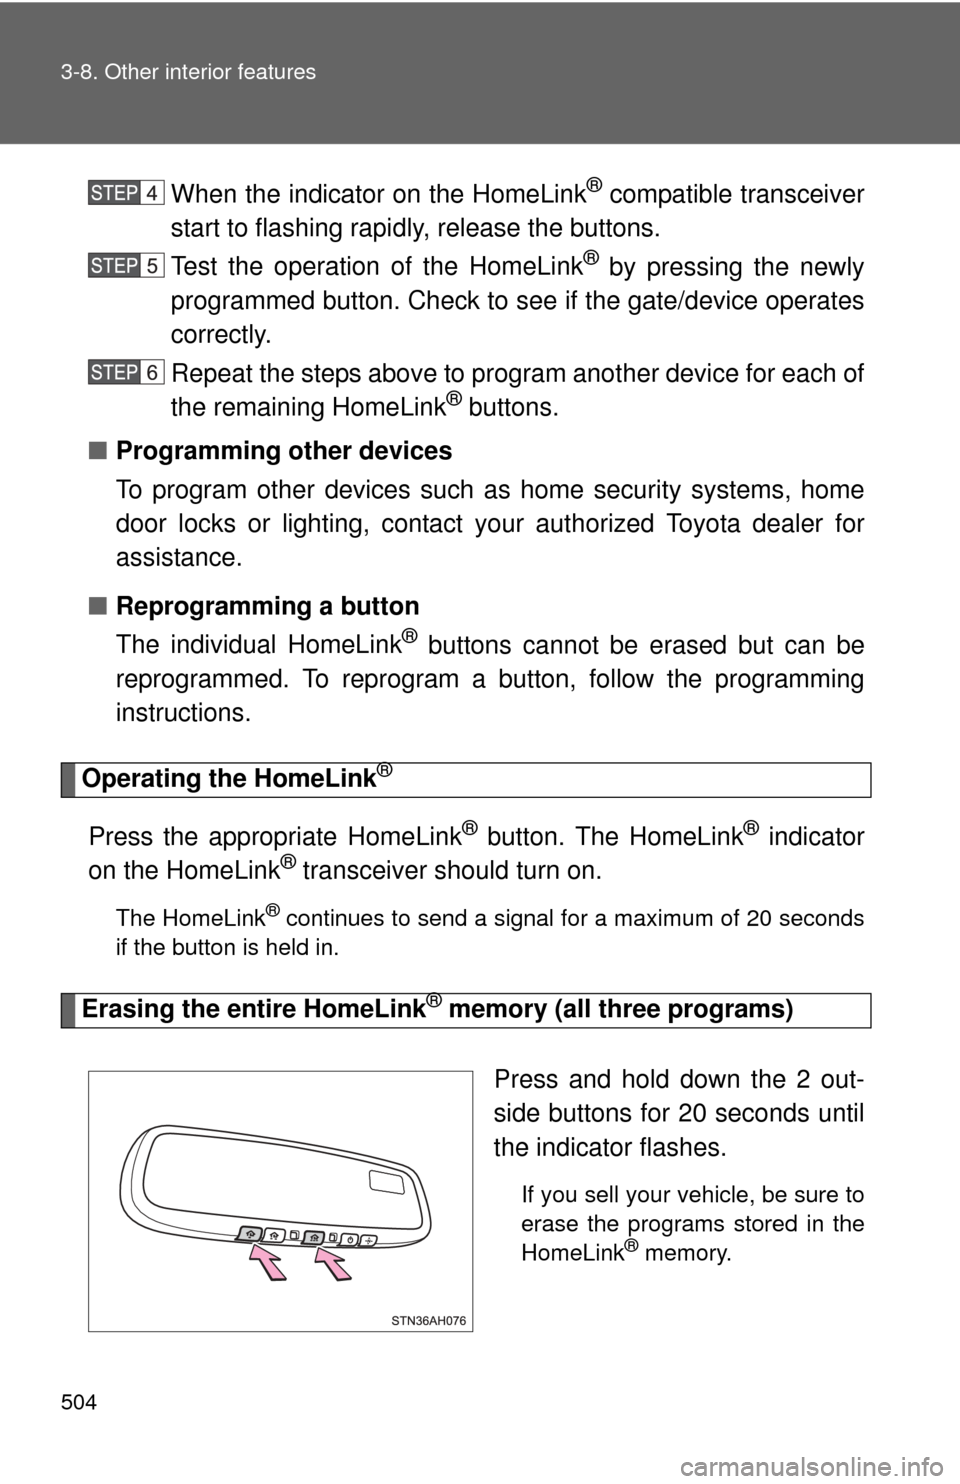
Erasing the entire HomeLink® memory (all three programs)
Press and hold down the 2 out-
side buttons for 20 seconds until
the indicator flashes.
If you sell your vehicle, be sure to
erase the programs stored in the
HomeLink
® memory.
Page 508 of 724

508 3-8. Other interior features
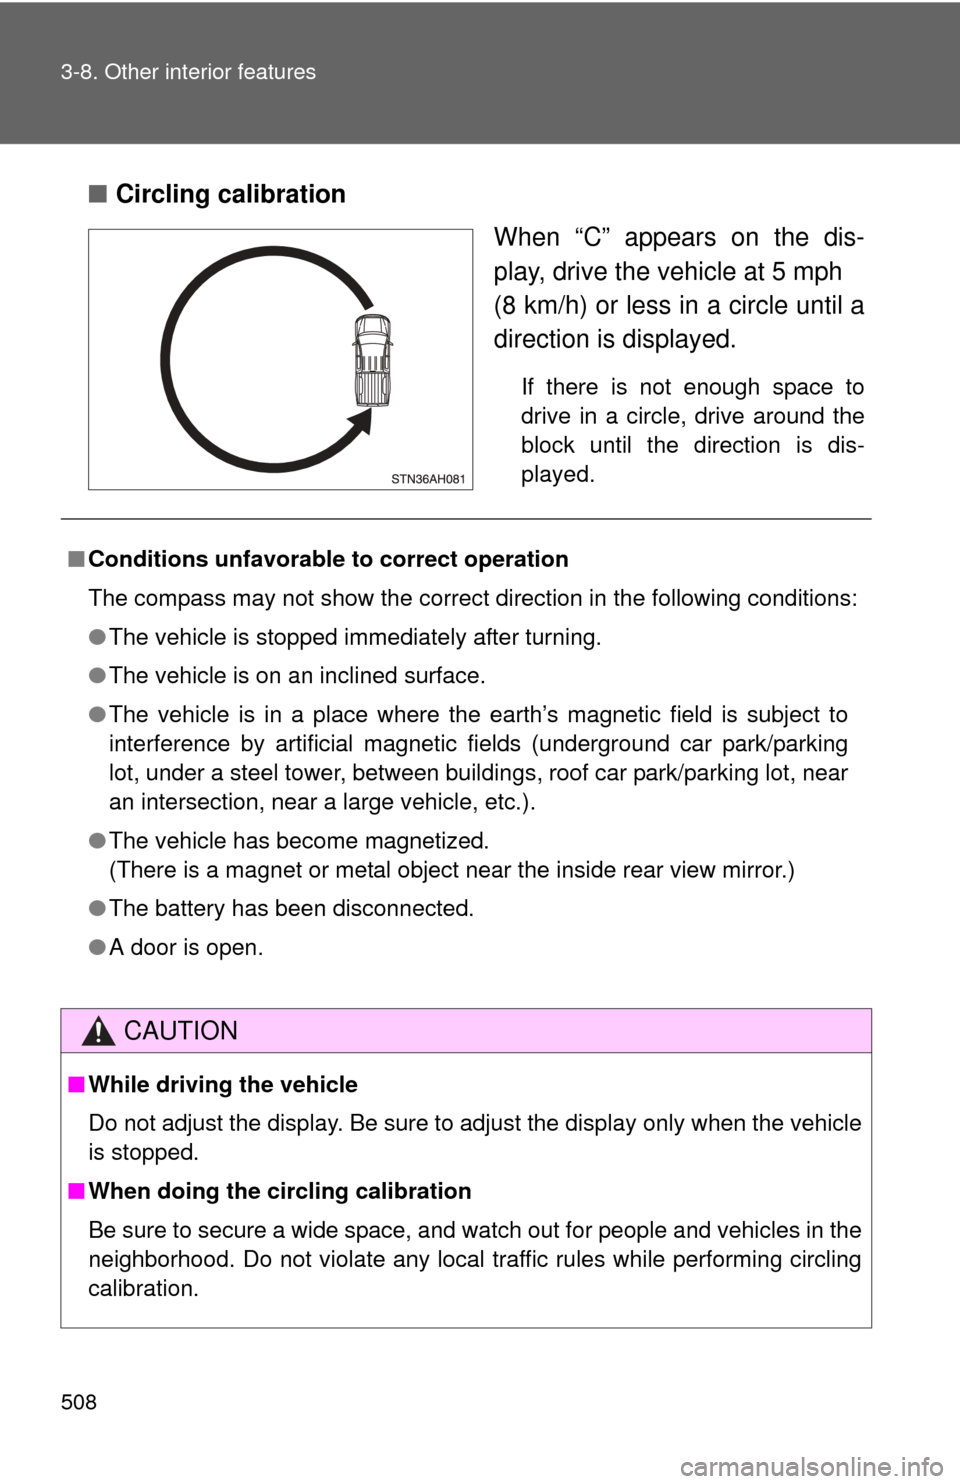
■Circling calibration
When “C” appears on the dis-
play, drive the vehicle at 5 mph
(8 km/h) or less in a circle until a
direction is displayed.
If there is not enough space to
drive in a circle, drive around the
block until the direction is dis-
played.
■Conditions unfavorable to correct operation
The compass may not show the correct direction in the following conditions:
●The vehicle is stopped immediately after turning.
● The vehicle is on an inclined surface.
● The vehicle is in a place where the earth’s magnetic field is subject to
interference by artificial magnetic fields (underground car park/parking
lot, under a steel tower, between buildings, roof car park/parking lot, near
an intersection, near a large vehicle, etc.).
● The vehicle has become magnetized.
(There is a magnet or metal object near the inside rear view mirror.)
● The battery has been disconnected.
● A door is open.
CAUTION
■While driving the vehicle
Do not adjust the display. Be sure to adjust the display only when the vehicle
is stopped.
■ When doing the circling calibration
Be sure to secure a wide space, and watch out for people and vehicles in the
neighborhood. Do not violate any local traffic rules while performing circling
calibration.
Page 521 of 724
521
4-2. Maintenance
4
Maintenance and care
Vehicle exterior
ItemsCheck points
Doors • Operate smoothly?
Engine hood • The lock system works properly?
Fluid leaks • Is there any leakage after park-
ing?
Tire • Inflation pressure is correct?
• Tire surfaces not worn or dam-
aged?
• Tires rotated according to the maintenance schedule?
• Wheel nuts are not loose?
CAUTION
■ If the engine is running
Turn the engine off and ensure that there is adequate ventilation before per-
forming maintenance checks.
Page 599 of 724

5
When trouble arises
599
5-2. Steps to take in an emergency
*1: Open door warning buzzer:
The buzzer sounds to indicate that any door is opened (with the vehicle hav-
ing reached a speed of 3 mph [5 km/h])
*2: Driver’s seat belt reminder:
The driver’s seat belt reminder sounds to alert the driver that his or her seat
belt is not fastened. Once the engine switch is turned to the ON or START
position, the buzzer sounds for 6 seconds. If the vehicle has reached a
speed of at least 12 mph (20 km/h), the buzzer sounds intermittently for 10
seconds. Then, if the seat belt is still unfastened, the buzzer will sound in a
different tone for 20 more seconds.
*3: Front passenger’s seat belt reminder:
The front passenger’s seat belt reminder sounds to alert the right front pas-
senger that his or her seat belt is not fastened. The buzzer sounds intermit-
tently for 10 seconds after the vehicle has reached a speed of at least 12
mph (20 km/h). Then, if the seat belt is still unfastened, the buzzer will sound
in a different tone for 20 more seconds.
*4: Vehicles without multi-information display
*5: Vehicles with multi-information display
■ Four-wheel drive system warning buzzer
The buzzer indicated that the transfer mode is not selected correctly.
■ Key reminder buzzer
The buzzer indicates that the key has not been removed (with the engine
switch in the ACC or LOCK position and the driver’s door opened).
■ Open moon roof reminder buzzer
The buzzer indicate that the moon roof is still opened (with the engine switch
in the ACC or LOCK position and the driver’s door opened).
■ If the malfunction indicator lamp comes on while driving
First check the following:
● Is your vehicle low on gas?
If it is, refuel the vehicle immediately.
● Is the fuel tank cap loose?
If it is, tighten it securely.