Page 160 of 513

160 2-2. Instrument cluster
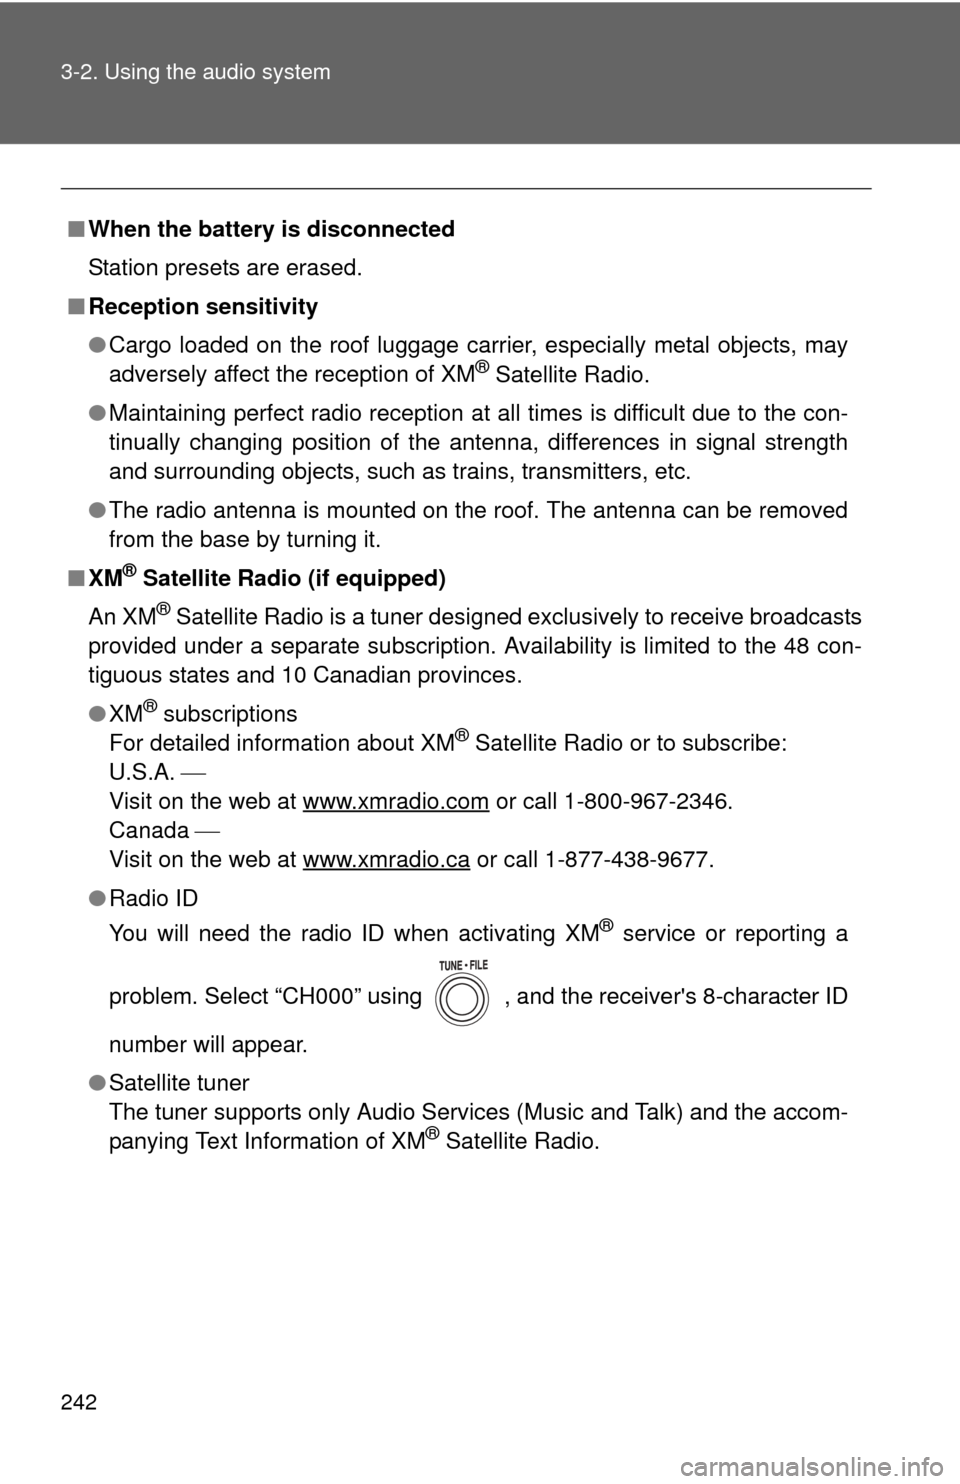
■Indicators
The indicators inform the driver of the operating state of the
vehicle’s various systems.
*1: These lights turn on when the “ENGINE START STOP” switch is
turned to IGNITION ON mode (vehicles with smart key system) or
the engine switch is turned to the “ON” position (vehicles without
smart key system) to indicate that a system check is being per-
formed. They will turn off after the engine is started, or after a few
seconds. There may be a malfunction in a system if a light does not
come on, or if the lights do not turn off. Have the vehicle inspected
by your Toyota dealer for details.
Turn signal indicator
(P. 153)
(U.S.A.)
Headlight indicator
( P. 165)
Headlight high beam
indicator ( P. 165)
(Canada)
Tail light indicator
(P. 165)
(if equipped)
Downhill assist control
system indicator
(P. 189)
(if equipped)
Front fog light indicator
( P. 168)
Slip indicator
(P. 181)
(2WD models)
“AUTO LSD” indicator
( P. 182)
(4WD models)
Four-wheel drive lock
indicator ( P. 192)
VSC OFF indicator
(P. 182)Cruise control indicator
( P. 172)
Engine immobilizer sys-
tem indicator ( P. 92)
(4WD models)
“TRAC OFF” indicator
(P. 183)
*1
*1, 2*1
*1“AIR BAG ON”
and “AIR BAG
OFF” indica-
tor ( P. 111 )*1
*1
*1
Page 243 of 513

242 3-2. Using the audio system
■When the battery is disconnected
Station presets are erased.
■ Reception sensitivity
●Cargo loaded on the roof luggage carrier, especially metal objects, may
adversely affect the reception of XM
® Satellite Radio.
● Maintaining perfect radio reception at all times is difficult due to the con-
tinually changing position of the antenna, differences in signal strength
and surrounding objects, such as trains, transmitters, etc.
● The radio antenna is mounted on the roof. The antenna can be removed
from the base by turning it.
■ XM
® Satellite Radio (if equipped)
An XM
® Satellite Radio is a tuner designed exclusively to receive broadcasts
provided under a separate subscription. Availability is limited to the 48 con-
tiguous states and 10 Canadian provinces.
● XM
® subscriptions
For detailed information about XM® Satellite Radio or to subscribe:
U.S.A.
Visit on the web at www.xmradio.com
or call 1-800-967-2346.
Canada
Visit on the web at www.xmradio.ca
or call 1-877-438-9677.
● Radio ID
You will need the radio ID when activating XM
® service or reporting a
problem. Select “CH000” using , and the receiver's 8-character ID
number will appear.
● Satellite tuner
The tuner supports only Audio Services (Music and Talk) and the accom-
panying Text Information of XM
® Satellite Radio.
Page 244 of 513

243
3-2. Using the audio system
3
Interior features
■
If the satellite radio does not operate normally (if equipped)
If a problem occurs with the XM
® tuner, a message will appear on the dis-
play. Refer to the table below to identify the problem, and take the suggested
corrective action.
“ANTENNA” The XM
® antenna is not connected. Check
whether the XM® antenna cable is attached
securely.
There is a short-circuit in the antenna or the sur-
rounding antenna cable. See a Toyota certified
dealer.
“UPDATING” You have not subscribed to the XM
® Satellite
Radio. The radio is being updated with the latest
encryption code. Contact the XM
® Satellite Radio
for subscription information. When a contract is
canceled, you can choose the “CH000” and all
free-to-air channels.
The premium channel you selected is not autho-
rized. Wait for about 2 seconds until the radio
returns to the previous channel or “CH001”. If it
does not change automatically, select another
channel. If you want to listen to the premium chan-
nel, contact the XM
® Satellite Radio.
“NO SIGNAL” The XM
® signal is too weak at the current location.
Wait until your vehicle reaches a location with a
stronger signal.
“LOADING” The unit is acquiring audio or program information.
Wait until the unit has received the information.
“OFF AIR”The channel you selected is not broadcasting any
programming. Select another channel.
“-----”There is no song/program title or artist name/fea-
ture associated with the channel at that time. No
action is needed.
Page 397 of 513
396
4-3. Do-it-yourself maintenance
Light bulbs
You may replace the following bulbs yourself. The difficulty level of
replacement varies depending on the bulb. If necessary bulb
replacement seems difficult to perfor m, contact your Toyota dealer.
For more information about replacing other light bulbs, contact your
Toyota dealer.
■ Preparing a light bulb for replacement
Check the wattage of the light bulb being replaced. ( P. 473)
■ Removing the engine compartment cover
P. 352
■ Front bulb locations
Headlight
low beam
Front turn signal, parking and
front side marker lights
Headlight high beam
Front fog lights
(if equipped)
Page 398 of 513
397
4-3. Do-it-yourself maintenance
4
Maintenance and care
■
Rear bulb locations
Vehicles without a spare tire
Vehicles with a spare tire
Rear turn signal and back-up lightsLicense plate
lights
Rear side marker lights
Rear turn signal and back-up lights
License plate
light
Rear side marker lights
Page 400 of 513
399
4-3. Do-it-yourself maintenance
4
Maintenance and care
Reinstalling the clip
■ Front turn signal, parking a nd front side marker lights
Right side only: Remove the clip
and move it aside to allow easy
access to the light bulbs.
Turn the bulb base counterclock-
wise.
Remove the light bulb.
STEP 1
STEP 2
STEP 3
Page 402 of 513
401
4-3. Do-it-yourself maintenance
4
Maintenance and care
Unplug the connector while
depressing the lock release.
Turn the bulb base counterclock-
wise.
■ Back-up lights, rear turn signal and rear side marker lights
Open the back door (P. 46)
and remove the cover.
Turn the bulb base counterclock-
wise.
Rear side marker light
Rear turn signal light
Back-up lightSTEP 4
STEP 5
STEP 1
STEP 2
Page 403 of 513
402 4-3. Do-it-yourself maintenance
Remove the light bulb.Rear side marker light
Rear turn signal light
Back-up light
■ License plate lights
Vehicles without a spare tire
Remove the cover as shown in
the illustration.
Turn the bulb base counterclock-
wise.
Remove the light bulb.STEP 3
STEP 1
STEP 2
STEP 3