Page 26 of 448

26
1-2. Opening, closing and locking the doors
Wireless remote control
■Operation signals
A buzzer sounds and the emergency flashers flash to indicate that the doors
have been locked/unlocked. (Locked: Once; Unlocked: Twice)
■Door lock buzzer
If a door is not fully closed, a buzzer sounds continuously for 10 seconds if
an attempt to lock the door is made. Fully close the door to stop the buzzer,
and lock the vehicle once more.
■Panic mode
The wireless remote control can be used to lock and unlock the vehi-
cle from outside the vehicle.
Locks all doors
Sounds an alarm
(press and hold)
Unlocks doors
Pressing the button unlocks
the driver’s door. Pressing the
button again within 3 seconds
unlocks the other doors.
When is pressed for longer
than about one second, an alarm will
sound intermittently and the vehicle
lights will flash to deter any person from
trying to break into or damage your
vehicle.
To stop the alarm, press any button on
the wireless remote control.
: If equipped
Page 110 of 448

110 2-1. Driving procedures
CAUTION
■If the vehicle becomes stuck or bogged (AWD models)
Do not spin the wheels recklessly when any of the tires is up in the air, or
stuck in sand or mud, etc. This may damage the drive system components
or propel the vehicle forward (or in another direction) and cause an accident.
NOTICE
■When driving the vehicle
Manual transmission
●Do not shift gears unless the clutch pedal is fully depressed. After shifting,
do not release the clutch abruptly. Doing so may damage the clutch, tran-
saxle and gears.
●Do not rest your foot on the clutch pedal while driving.
Doing so may cause clutch trouble.
●Do not use any gears other than the first gear when starting off and mov-
ing forward.
Doing so may damage the clutch.
●Do not use the clutch to hold the vehicle when stopping on an uphill grade.
Doing so may damage the clutch.
●Do not shift into reverse when the vehicle is still moving. Doing so may
damage the clutch, transaxle and gears.
Automatic transmission
Do not use the accelerator pedal or depress the accelerator and brake ped-
als together to hold the vehicle on a hill.
■When parking the vehicle (vehicles with an automatic transmission)
Always put the shift lever in P. Failure to do so may cause the vehicle to
move or the vehicle may accelerate suddenly if the accelerator pedal is acci-
dentally depressed.
■Avoiding damage to vehicle parts
●Do not turn the steering wheel fully in either direction and hold it there for a
long time. Doing so may damage the power steering motor.
Page 117 of 448
117 2-1. Driving procedures
2
When driving
■Shift position uses
*1: Shifting to the D position allows the system to select a gear suitable
for driving conditions. Setting the shift lever to the D position is recom-
mended for normal driving.
*2: Selecting shift ranges using S mode restricts the upper limit of the
possible gear ranges, controls engine braking forces, and prevents
unnecessary upshifting.
Shift positionFunction
Standard typeMulti-mode type
P Parking the vehicle or starting the engine
R Reversing
N Neutral
D Normal driving
*1
SS mode driving*2
(P. 1 1 8 )
3Position for engine
braking
2Position for more
powerful engine braking
LPosition for maximum
engine braking
Page 173 of 448

173 3-1. Using the air conditioning system and defogger
3
Interior features
■Using the recirculated air mode
The windows will fog up more easily if the recirculated air mode is used for an
extended period.
■When outside air temperature approaches 32°F (0°C) (vehicles with air
conditioning system)
The air conditioning system may not operate even when
is pressed.
■When
is selected for the air outlets used
For your driving comfort, air flowing to the feet may be warmer than air flowing
to the upper body depending on the position of the temperature adjustment
dial.
■Air conditioning odors
●During use, various odors from inside and outside the vehicle may enter
into and accumulate in the air conditioning system. This may then cause
odor to be emitted from the vents.
●To reduce potential odors from occurring:
It is recommended that the air conditioning system be set to outside air
mode prior to turning the vehicle off.
CAUTION
■To prevent the windshield from fogging up
Do not set the air outlet selection dial to during cool air operation in
extremely humid weather. The difference between the temperature of the
outside air and that of the windshield can cause the outer surface of the
windshield to fog up, blocking your vision.
NOTICE
■To prevent battery discharge
Do not leave the air conditioning system on longer than necessary when the
engine is stopped.
Page 178 of 448
178
3-2. Using the audio system
Using the radio
Setting station presets (excluding XM® Satellite Radio)
Search for desired stations by turning or pressing “
”
or “” on .
Press and hold the button (from to ) the station
is to be set to until you hear a beep.
Scanning radio stations (excluding XM® Satellite Radio)
■Scanning the preset radio stations
Press and hold until you hear a beep.
Preset stations will be played for 5 seconds each.
When the desired station is reached, press once
again.
Vo l u m e
Scanning for
receivable stationsStation selector
Seeking the frequencyAdjusting the frequency
(AM, FM mode) or channel
(SAT mode)
AMSAT/FM
mode buttonsPower
Displaying radio
text messages
Changing the channel
STEP1
STEP2
STEP1
STEP2
Page 195 of 448

195 3-2. Using the audio system
3
Interior features
■MP3 and WMA files
MP3 (MPEG Audio LAYER3) is a standard audio compression format.
Files can be compressed to approximately 1/10 of their original size by using
MP3 compression.
WMA (Windows Media
TM Audio) is a Microsoft audio compression format.
This format compresses audio data to a size smaller than that of the MP3
format.
There is a limit to the MP3 and WMA file standards and to the media/formats
recorded by them that can be used.
●MP3 file compatibility
• Compatible standards
MP3 (MPEG1 LAYER3, MPEG2 LSF LAYER3)
• Compatible sampling frequencies
MPEG1 LAYER3: 32, 44.1, 48 (kHz)
MPEG2 LSF LAYER3: 16, 22.05, 24 (kHz)
• Compatible bit rates (compatible with VBR)
MPEG1 LAYER3: 64, 80, 96, 112, 128, 160, 192, 224, 256, 320 (kbps)
MPEG2 LSF LAYER3: 64, 80, 96, 112, 128, 144, 160 (kbps)
• Compatible channel modes: stereo, joint stereo, dual channel and
monaural
●WMA file compatibility
• Compatible standards
WMA Ver. 7, 8, 9
• Compatible sampling frequencies
32, 44.1, 48 (kHz)
• Compatible bit rates (only compatible with 2-channel playback)
Ver. 7, 8: CBR 48, 64, 80, 96, 128, 160, 192 (kbps)
Ver. 9: CBR 48, 64, 80, 96, 128, 160, 192, 256, 320 (kbps)
Page 196 of 448

196 3-2. Using the audio system
●Compatible media
Media that can be used for MP3 and WMA playback are CD-Rs and CD-
RWs.
Playback in some instances may not be possible, depending on the status
of the CD-R or CD-RW. Playback may not be possible or the audio may
jump if the disc is scratched or marked with fingerprints.
●Compatible disc formats
The following disc formats can be used.
• Disc formats: CD-ROM Mode 1 and Mode 2
CD-ROM XA Mode 2, Form 1 and Form 2
• File formats: ISO9660 Level 1, Level 2, (Romeo, Joliet)
MP3 and WMA files written in any format other than those listed above
may not play correctly, and their file names and folder names may not
be displayed correctly.
Items related to standards and limitations are as follows.
• Maximum directory hierarchy: 8 levels
• Maximum length of folder names/file names: 32 characters
• Maximum number of folders: 192 (including the root)
• Maximum number of files per disc: 255
●File names
The only files that can be recognized as MP3/WMA and played are those
with the extension .mp3 or .wma.
●Multi-sessions
As the audio system is compatible with multi-sessions, it is possible to play
discs that contain MP3 and WMA files. However, only the first session can
be played.
Page 213 of 448

213 3-3. Using the hands-free phone system (for cellular phone)
3
Interior features
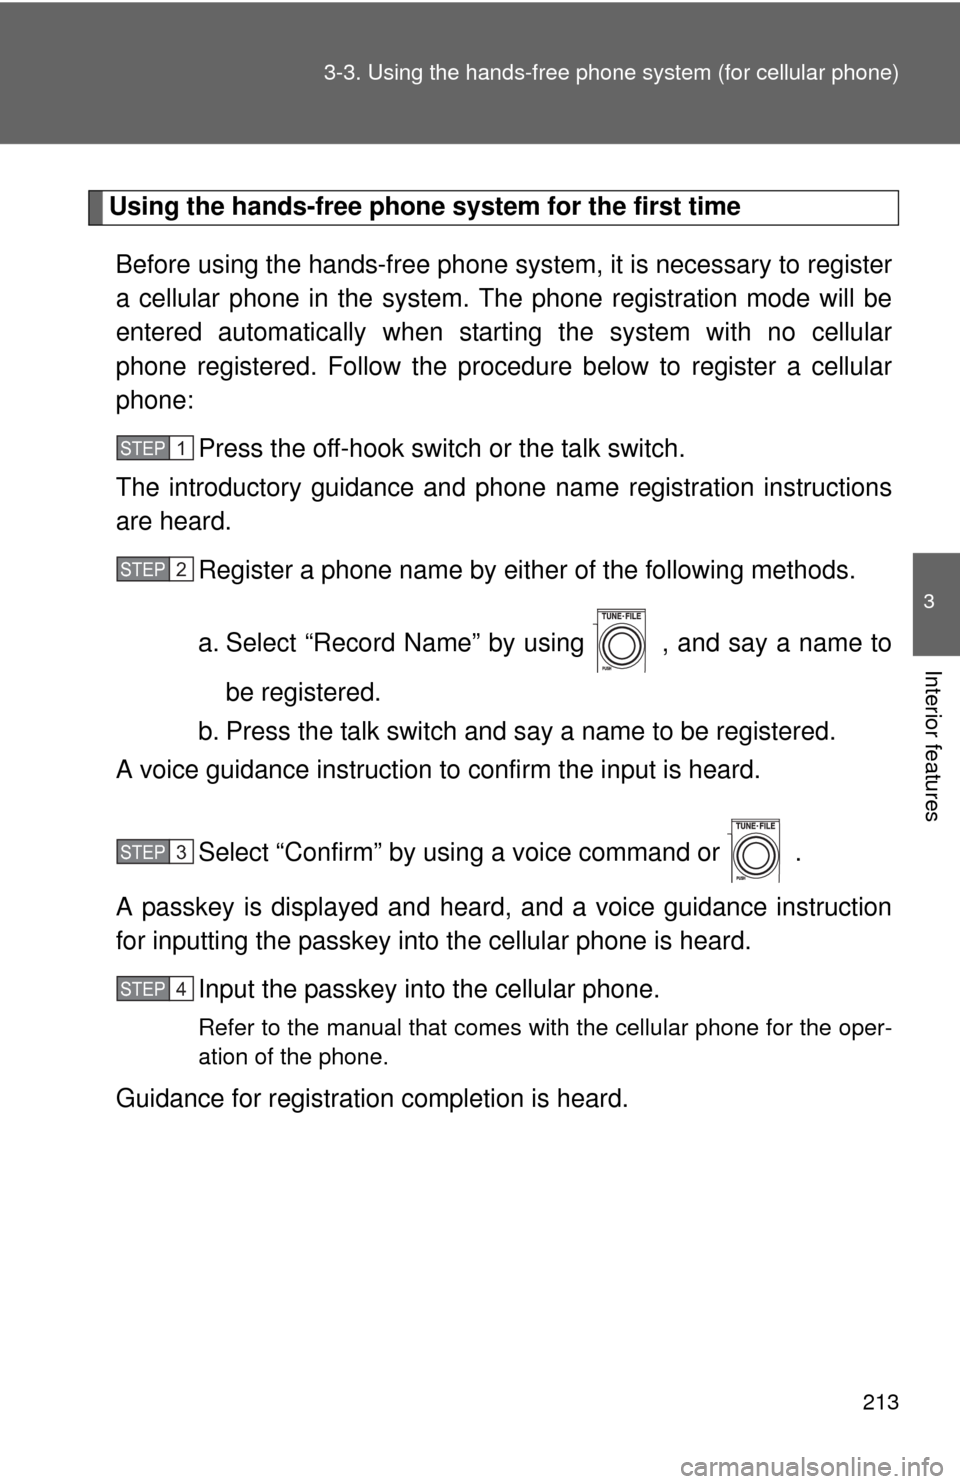
Using the hands-free phone system for the first time
Before using the hands-free phone system, it is necessary to register
a cellular phone in the system. The phone registration mode will be
entered automatically when starting the system with no cellular
phone registered. Follow the procedure below to register a cellular
phone:
Press the off-hook switch or the talk switch.
The introductory guidance and phone name registration instructions
are heard.
Register a phone name by either of the following methods.
a. Select “Record Name” by using , and say a name to
be registered.
b. Press the talk switch and say a name to be registered.
A voice guidance instruction to confirm the input is heard.
Select “Confirm” by using a voice command or .
A passkey is displayed and heard, and a voice guidance instruction
for inputting the passkey into the cellular phone is heard.
Input the passkey into the cellular phone.
Refer to the manual that comes with the cellular phone for the oper-
ation of the phone.
Guidance for registration completion is heard.
STEP1
STEP2
STEP3
STEP4