2010 SUZUKI SX4 lights
[x] Cancel search: lightsPage 139 of 297
4-6
DRIVING TIPS
80J23-03E
WARNING
In addition to following the driving
tips in this section, it is important to
observe the following precautions.
Make sure your tires are in good
condition and always maintain the
specified tire pressure. Refer to
“Tires” in the “INSPECTION AND
MAINTENANCE” section for
details.
Do not use tires other than those
specified by SUZUKI. Never use dif-
ferent sizes or types of tires on the
front and rear wheels. For informa-
tion regarding the specified tires,
refer to the Tire Information Label
located on the driver’s side door
pillar.
Never use oversized tires or special
shocks and springs to raise (jack
up) your vehicle. This will change
its handling characteristics. Over-
sized tires may also rub against the
fender over bumps, causing vehicle
damage or tire failure.
(Continued)
WARNING
(Continued)
After driving through water, test the
brakes while driving at a slow
speed to see if they have main-
tained their normal effectiveness. If
the brakes are less effective than
normal, dry them by repeatedly
applying the brakes while driving
slowly until the brakes have
regained their normal effective-
ness.
Warning and Indicator Lights: 8
Page 140 of 297
4-7DRIVING TIPS
80J23-03E
MEMO
Warning and Indicator Lights: 8
A/T Selector Position Indicator: 8
Speedometer/Odometer/Trip meter: 8
Page 165 of 297
5-24
OTHER CONTROLS AND EQUIPMENT
80J23-03E
NOTE:
About Single CDs (8 cm CDs)
No adapter is required to play a single
CD.
A single CD is inserted from the center
of the CD insertion slot.
Since an ejected single CD is not auto-
matically reloaded, be sure to remove
the ejected single CD.Loading a CD
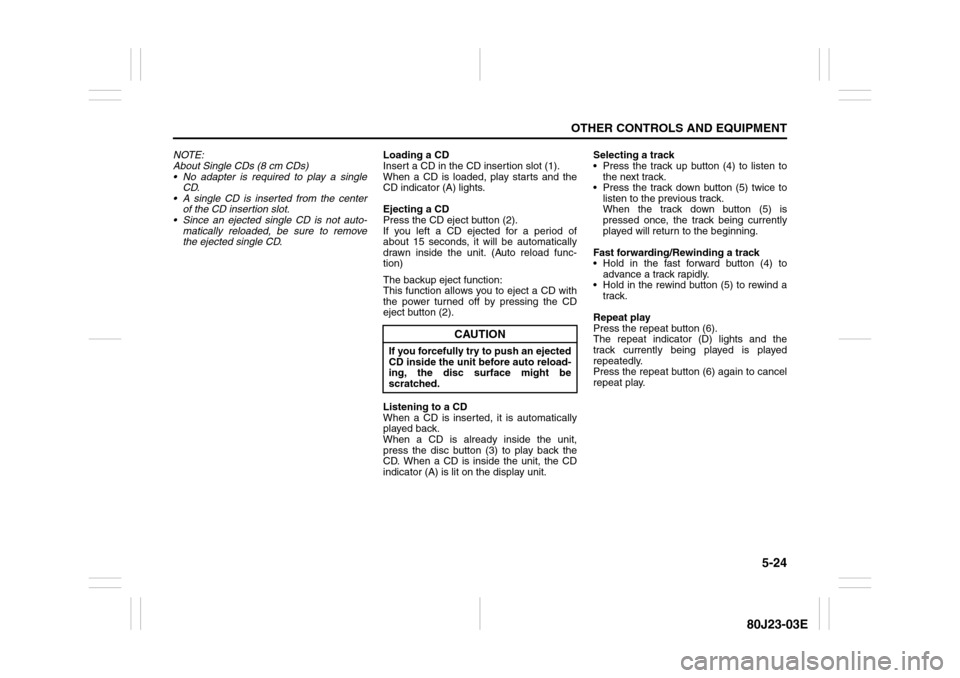
Insert a CD in the CD insertion slot (1).
When a CD is loaded, play starts and the
CD indicator (A) lights.
Ejecting a CD
Press the CD eject button (2).
If you left a CD ejected for a period of
about 15 seconds, it will be automatically
drawn inside the unit. (Auto reload func-
tion)
The backup eject function:
This function allows you to eject a CD with
the power turned off by pressing the CD
eject button (2).
Listening to a CD
When a CD is inserted, it is automatically
played back.
When a CD is already inside the unit,
press the disc button (3) to play back the
CD. When a CD is inside the unit, the CD
indicator (A) is lit on the display unit.Selecting a track
Press the track up button (4) to listen to
the next track.
Press the track down button (5) twice to
listen to the previous track.
When the track down button (5) is
pressed once, the track being currently
played will return to the beginning.
Fast forwarding/Rewinding a track
Hold in the fast forward button (4) to
advance a track rapidly.
Hold in the rewind button (5) to rewind a
track.
Repeat play
Press the repeat button (6).
The repeat indicator (D) lights and the
track currently being played is played
repeatedly.
Press the repeat button (6) again to cancel
repeat play.
CAUTION
If you forcefully try to push an ejected
CD inside the unit before auto reload-
ing, the disc surface might be
scratched.
Page 168 of 297
5-27OTHER CONTROLS AND EQUIPMENT
80J23-03E
Ejecting all the CDs
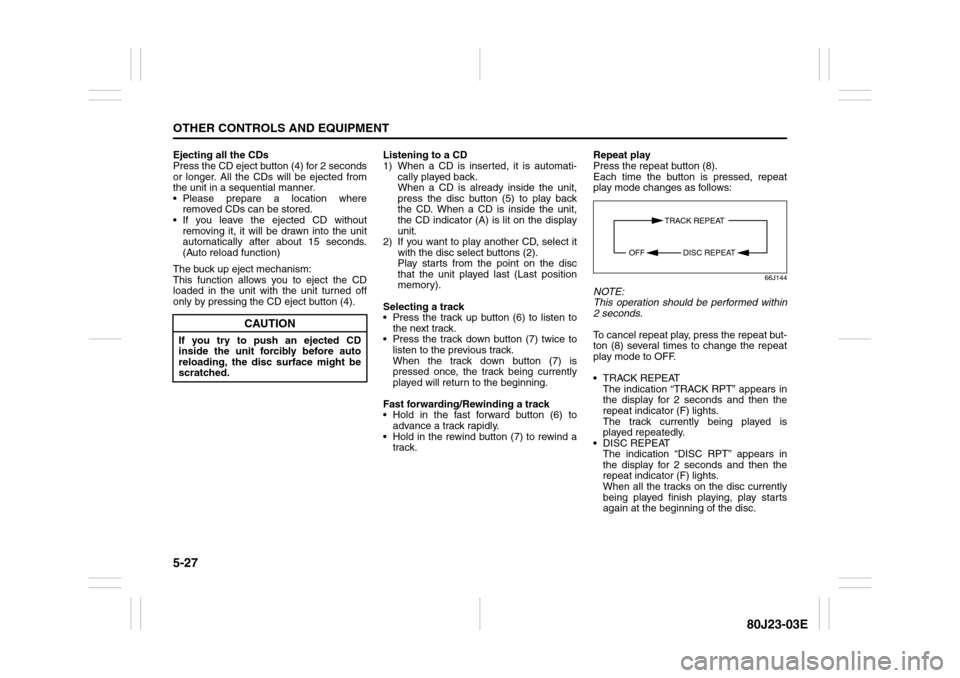
Press the CD eject button (4) for 2 seconds
or longer. All the CDs will be ejected from
the unit in a sequential manner.
Please prepare a location where
removed CDs can be stored.
If you leave the ejected CD without
removing it, it will be drawn into the unit
automatically after about 15 seconds.
(Auto reload function)
The buck up eject mechanism:
This function allows you to eject the CD
loaded in the unit with the unit turned off
only by pressing the CD eject button (4).Listening to a CD
1) When a CD is inserted, it is automati-
cally played back.
When a CD is already inside the unit,
press the disc button (5) to play back
the CD. When a CD is inside the unit,
the CD indicator (A) is lit on the display
unit.
2) If you want to play another CD, select it
with the disc select buttons (2).
Play starts from the point on the disc
that the unit played last (Last position
memory).
Selecting a track
Press the track up button (6) to listen to
the next track.
Press the track down button (7) twice to
listen to the previous track.
When the track down button (7) is
pressed once, the track being currently
played will return to the beginning.
Fast forwarding/Rewinding a track
Hold in the fast forward button (6) to
advance a track rapidly.
Hold in the rewind button (7) to rewind a
track.Repeat play
Press the repeat button (8).
Each time the button is pressed, repeat
play mode changes as follows:
66J144
NOTE:
This operation should be performed within
2 seconds.
To cancel repeat play, press the repeat but-
ton (8) several times to change the repeat
play mode to OFF.
TRACK REPEAT
The indication “TRACK RPT” appears in
the display for 2 seconds and then the
repeat indicator (F) lights.
The track currently being played is
played repeatedly.
DISC REPEAT
The indication “DISC RPT” appears in
the display for 2 seconds and then the
repeat indicator (F) lights.
When all the tracks on the disc currently
being played finish playing, play starts
again at the beginning of the disc.
CAUTION
If you try to push an ejected CD
inside the unit forcibly before auto
reloading, the disc surface might be
scratched.
TRACK REPEAT
DISC REPEAT OFF
Page 171 of 297
5-30
OTHER CONTROLS AND EQUIPMENT
80J23-03E
Maximum number of files in one folder:
255
Maximum depth of trees: 8
Maximum number of folders: 255
(Root folder is included.)
MP3/WMA MODE
Selecting a folder
Turn the sound control knob (1) to select a
folder.
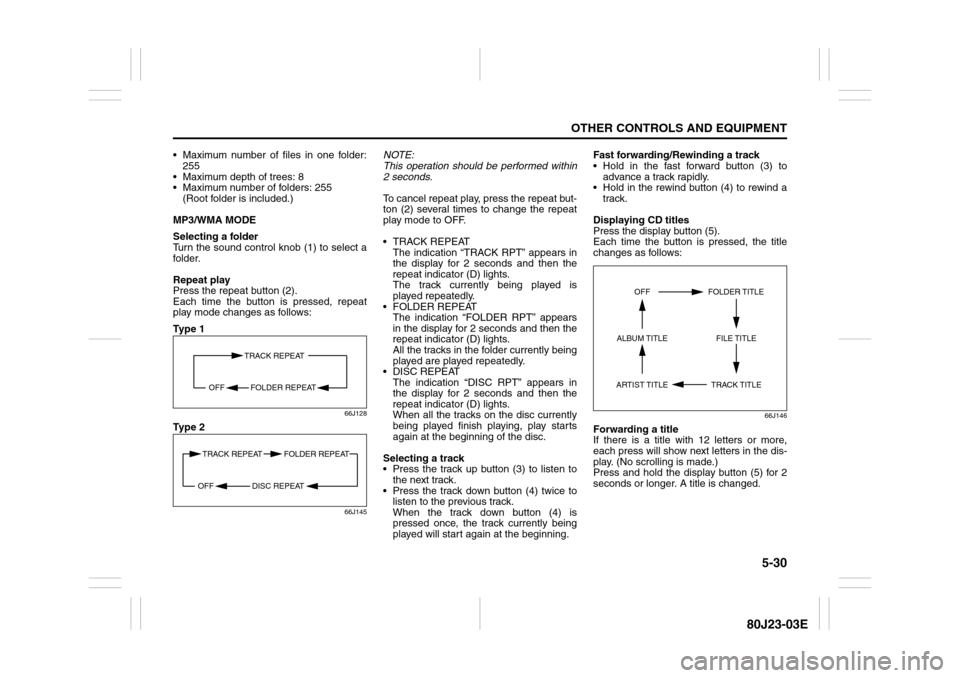
Repeat play
Press the repeat button (2).
Each time the button is pressed, repeat
play mode changes as follows:
Ty p e 1
66J128
Ty p e 2
66J145
NOTE:
This operation should be performed within
2 seconds.
To cancel repeat play, press the repeat but-
ton (2) several times to change the repeat
play mode to OFF.
TRACK REPEAT
The indication “TRACK RPT” appears in
the display for 2 seconds and then the
repeat indicator (D) lights.
The track currently being played is
played repeatedly.
FOLDER REPEAT
The indication “FOLDER RPT” appears
in the display for 2 seconds and then the
repeat indicator (D) lights.
All the tracks in the folder currently being
played are played repeatedly.
DISC REPEAT
The indication “DISC RPT” appears in
the display for 2 seconds and then the
repeat indicator (D) lights.
When all the tracks on the disc currently
being played finish playing, play starts
again at the beginning of the disc.
Selecting a track
Press the track up button (3) to listen to
the next track.
Press the track down button (4) twice to
listen to the previous track.
When the track down button (4) is
pressed once, the track currently being
played will start again at the beginning.Fast forwarding/Rewinding a track
Hold in the fast forward button (3) to
advance a track rapidly.
Hold in the rewind button (4) to rewind a
track.
Displaying CD titles
Press the display button (5).
Each time the button is pressed, the title
changes as follows:
66J146
Forwarding a title
If there is a title with 12 letters or more,
each press will show next letters in the dis-
play. (No scrolling is made.)
Press and hold the display button (5) for 2
seconds or longer. A title is changed.
TRACK REPEAT
FOLDER REPEAT OFF
TRACK REPEAT FOLDER REPEAT
DISC REPEAT OFF
TRACK TITLE FOLDER TITLE
ARTIST TITLEOFF
FILE TITLE ALBUM TITLE
Page 173 of 297
5-32
OTHER CONTROLS AND EQUIPMENT
80J23-03E
XM MODE
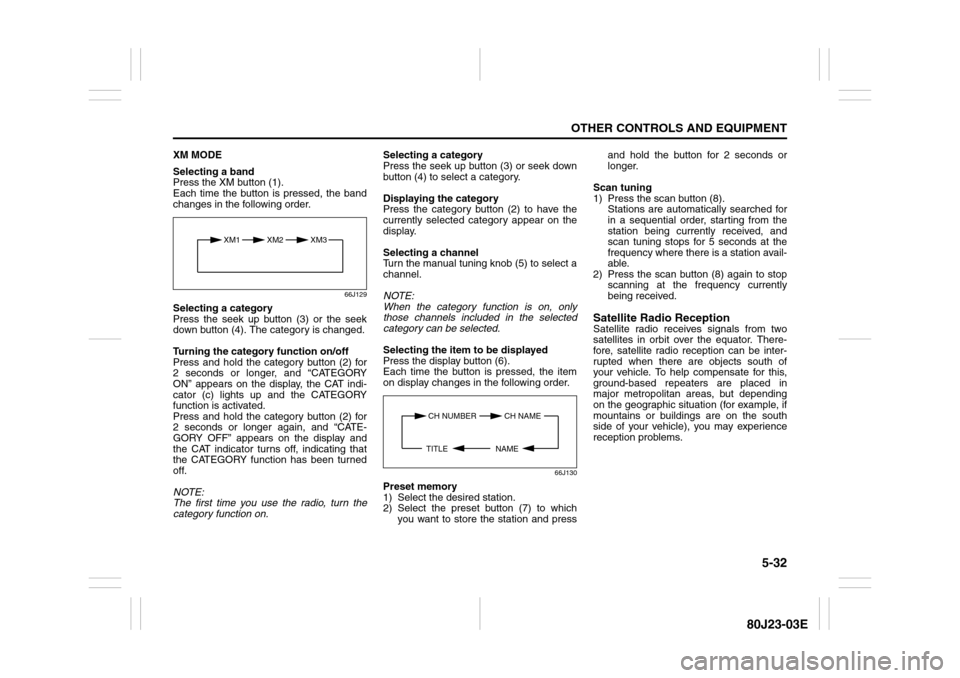
Selecting a band
Press the XM button (1).
Each time the button is pressed, the band
changes in the following order.
66J129
Selecting a category
Press the seek up button (3) or the seek
down button (4). The category is changed.
Turning the category function on/off
Press and hold the category button (2) for
2 seconds or longer, and “CATEGORY
ON” appears on the display, the CAT indi-
cator (c) lights up and the CATEGORY
function is activated.
Press and hold the category button (2) for
2 seconds or longer again, and “CATE-
GORY OFF” appears on the display and
the CAT indicator turns off, indicating that
the CATEGORY function has been turned
off.
NOTE:
The first time you use the radio, turn the
category function on.Selecting a category
Press the seek up button (3) or seek down
button (4) to select a category.
Displaying the category
Press the category button (2) to have the
currently selected category appear on the
display.
Selecting a channel
Turn the manual tuning knob (5) to select a
channel.
NOTE:
When the category function is on, only
those channels included in the selected
category can be selected.
Selecting the item to be displayed
Press the display button (6).
Each time the button is pressed, the item
on display changes in the following order.
66J130
Preset memory
1) Select the desired station.
2) Select the preset button (7) to which
you want to store the station and pressand hold the button for 2 seconds or
longer.
Scan tuning
1) Press the scan button (8).
Stations are automatically searched for
in a sequential order, starting from the
station being currently received, and
scan tuning stops for 5 seconds at the
frequency where there is a station avail-
able.
2) Press the scan button (8) again to stop
scanning at the frequency currently
being received.
Satellite Radio ReceptionSatellite radio receives signals from two
satellites in orbit over the equator. There-
fore, satellite radio reception can be inter-
rupted when there are objects south of
your vehicle. To help compensate for this,
ground-based repeaters are placed in
major metropolitan areas, but depending
on the geographic situation (for example, if
mountains or buildings are on the south
side of your vehicle), you may experience
reception problems.
XM1 XM2
XM3
CH NUMBER CH NAME
NAME TITLE
Page 177 of 297
5-36
OTHER CONTROLS AND EQUIPMENT
80J23-03E
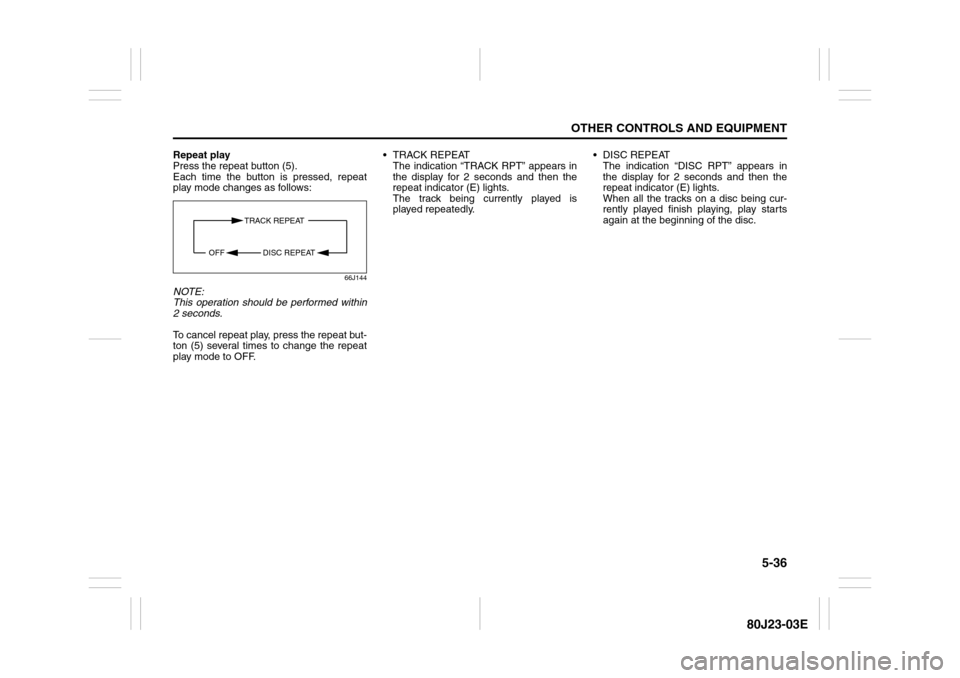
Repeat play
Press the repeat button (5).
Each time the button is pressed, repeat
play mode changes as follows:
66J144
NOTE:
This operation should be performed within
2 seconds.
To cancel repeat play, press the repeat but-
ton (5) several times to change the repeat
play mode to OFF. TRACK REPEAT
The indication “TRACK RPT” appears in
the display for 2 seconds and then the
repeat indicator (E) lights.
The track being currently played is
played repeatedly. DISC REPEAT
The indication “DISC RPT” appears in
the display for 2 seconds and then the
repeat indicator (E) lights.
When all the tracks on a disc being cur-
rently played finish playing, play starts
again at the beginning of the disc.
TRACK REPEAT
DISC REPEAT OFF
Page 201 of 297
6-2
VEHICLE LOADING AND TOWING
80J23-03E
Trailer Towing
54G639
Do not use your vehicle to tow a trailer. The
vehicle is not designed or intended for
such use. Towing a trailer can adversely
affect handling, durability and fuel econ-
omy.
Towing Your Vehicle
(recreational towing)Your vehicle may be towed behind another
vehicle (such as a motorhome), provided
you use the proper towing method speci-
fied for your vehicle. The towing method
you must use depends on the specifica-
tions of your vehicle: whether it is a 2-
wheel drive (2WD) or intelligent All Wheel
Drive (i-AWD) vehicle.
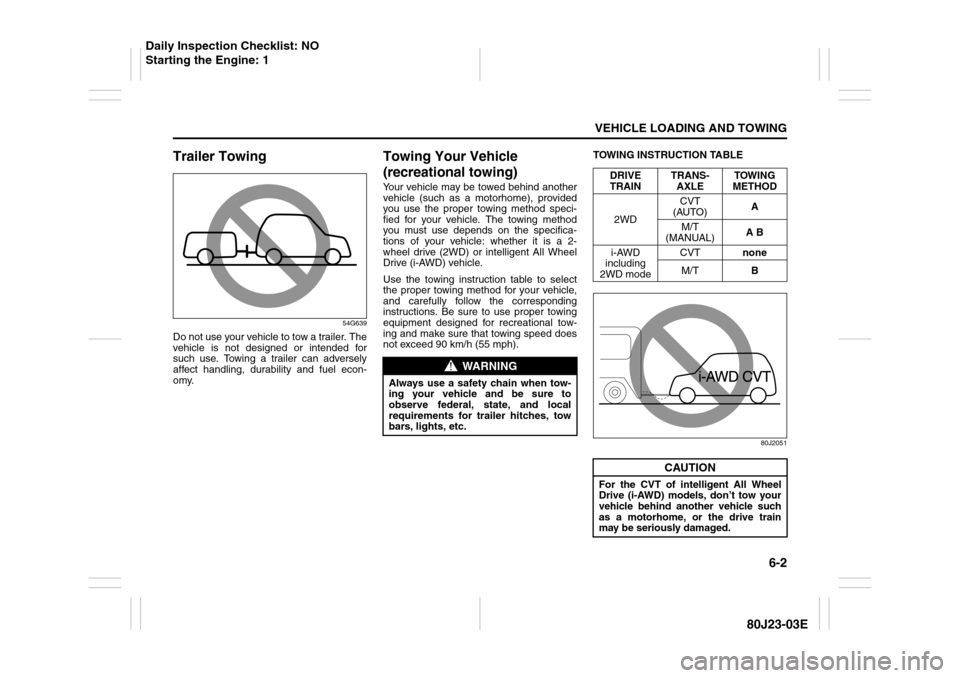
Use the towing instruction table to select
the proper towing method for your vehicle,
and carefully follow the corresponding
instructions. Be sure to use proper towing
equipment designed for recreational tow-
ing and make sure that towing speed does
not exceed 90 km/h (55 mph).TOWING INSTRUCTION TABLE
80J2051
WARNING
Always use a safety chain when tow-
ing your vehicle and be sure to
observe federal, state, and local
requirements for trailer hitches, tow
bars, lights, etc.
DRIVE
TRAINTRANS-
AXLETOWING
METHOD
2WDCVT
(AUTO)A
M/T
(MANUAL)A B
i-AWD
including
2WD modeCVTnone
M/TB
CAUTION
For the CVT of intelligent All Wheel
Drive (i-AWD) models, don’t tow your
vehicle behind another vehicle such
as a motorhome, or the drive train
may be seriously damaged.
Daily Inspection Checklist: NO
Starting the Engine: 1