2010 SUZUKI KIZASHI oil type
[x] Cancel search: oil typePage 303 of 388

7-18
INSPECTION AND MAINTENANCE
57L20-03E
NOTE:
When it is difficult to remove the oil filter,
we recommend you take your vehicle to
your SUZUKI dealer for oil filter replace-
ment.Refill with Oil and Check for Leaks1) Pour oil through the filler hole and
install the filler cap.
For the approximate capacity of the oil,
refer to the “Capacities” item in the
“SPECIFICATIONS” section.
2) Start the engine and look carefully for
leaks at the oil filter and drain plug. Run
the engine at various speeds for at least
5 minutes.
3) Stop the engine and wait about 5 min-
utes. Check the oil level again and add
oil if necessary. Check for leaks again.
83E010
Engine CoolantSelection of CoolantTo maintain optimum performance and
durability of your engine, use SUZUKI
Genuine Coolant or equivalent.
NOTE:
If you replace the engine coolant other
than the SUZUKI LLC: Super (Blue), follow
the schedule of SUZUKI LLC: Standard
(Green). To see the detail of the mainte-
nance schedule, refer to “Periodic Mainte-
nance Schedule” in this section.
This type of coolant is best for your cooling
system as it:
Helps maintain proper engine tempera-
ture.
Gives proper protection against freezing
and boiling.
Gives proper protection against corro-
sion and rust.
CAUTION
When replacing the oil filter, it is rec-
ommended that you use a genuine
SUZUKI replacement filter. If you use
an after-market filter, make sure it is
of equivalent quality and carefully fol-
low the manufacturer’s instructions
and precautions.
CAUTION
Oil leaks from around the oil filter or
drain plug indicate incorrect installa-
tion or gasket damage. If you find any
leaks or are not sure that the filter
has been properly tightened, have
the vehicle inspected by your SUZUKI
dealer.EXAMPLE
CAUTION
SUZUKI LLC: Super (Blue) coolant;
SUZUKI LLC: Super (Blue) coolant is
already diluted to the proper percent-
age. Do not dilute with distilled water
additionally. Doing so may result in
the possibility of freezing coolant
and/or overheating.
Page 306 of 388

7-21INSPECTION AND MAINTENANCE
57L20-03E
57L71005
2) Disconnect the coupler (3) while push-
ing the release lever,
3) Remove the bolt, and
4) Pull the ignition coil out.
80G093
(3)
EXAMPLE
CAUTION
When servicing the iridium/plati-
num spark plugs (slender center
electrode type plugs), do not touch
the center electrode, as it is easy to
damage.
When installing the spark plugs,
screw them in with your fingers to
avoid stripping the threads. Tighten
with a torque wrench to 25 Nm (2.5
kg-m, 18.0 lb-ft). Do not allow con-
taminants to enter the engine
through the spark plug holes when
the plugs are removed.
Never use spark plugs with the
wrong thread size.
CAUTION
When replacing spark plugs, you
should use the brand and type speci-
fied for your vehicle. For the speci-
fied plugs, refer to the
“SPECIFICATIONS” section at the
end of this book. If you wish to use a
brand of spark plug other than the
specified plugs, consult your SUZUKI
dealer.
1.0 – 1.1 mm
(0.039 – 0.043 in.)
Page 354 of 388

9-1APPEARANCE CARE
57L20-03E
Corrosion PreventionIt is important to take good care of your
vehicle to protect it from corrosion.
Listed below are instructions for how to
maintain your vehicle to prevent corrosion.
Please read and follow these instructions
carefully.Important Information About
CorrosionCommon causes of corrosion
1) Accumulation of road salt, dirt, moisture
or chemicals in hard-to-reach areas of
the vehicle underbody or frame.
2) Chipping, scratches and any damage to
treated or painted metal surfaces
resulting from minor accidents or
impact from stones and gravel.
Environmental conditions which accel-
erate corrosion
1) Road salt, dust control chemicals, sea
air or industrial pollution will all acceler-
ate the corrosion of metal.
2) High humidity will increase the rate of
corrosion particularly when the temper-
ature range is just above the freezing
point.
3) Moisture in certain areas of a vehicle
for an extended period of time may pro-
mote corrosion even though other body
sections may be completely dry.
4) High temperatures will cause an accel-
erated rate of corrosion to parts of thevehicle which are not well ventilated to
permit quick drying.
52D151
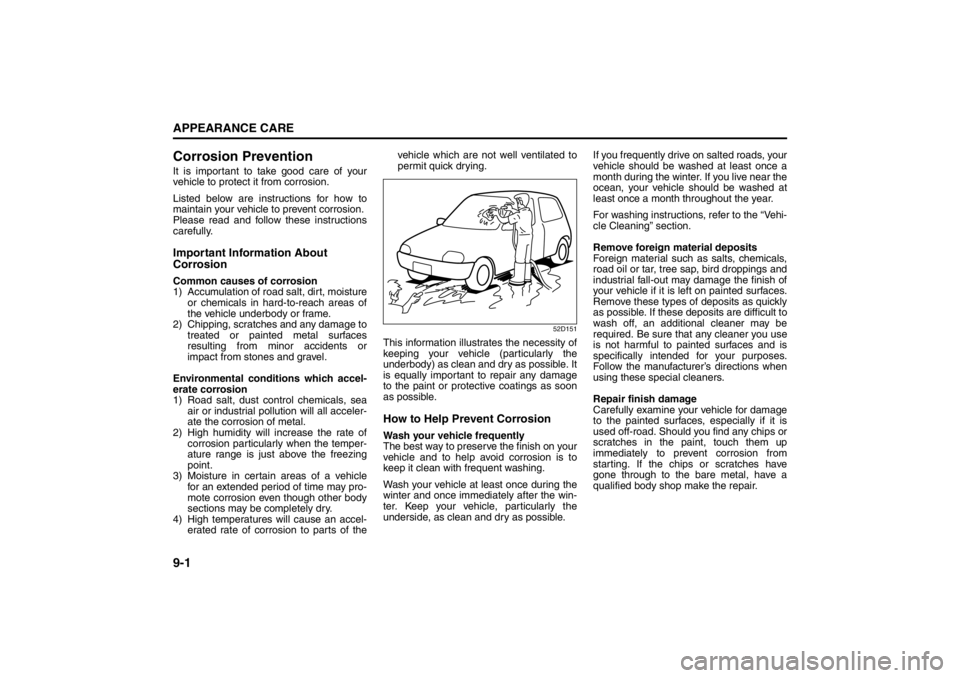
This information illustrates the necessity of
keeping your vehicle (particularly the
underbody) as clean and dry as possible. It
is equally important to repair any damage
to the paint or protective coatings as soon
as possible.How to Help Prevent CorrosionWash your vehicle frequently
The best way to preserve the finish on your
vehicle and to help avoid corrosion is to
keep it clean with frequent washing.
Wash your vehicle at least once during the
winter and once immediately after the win-
ter. Keep your vehicle, particularly the
underside, as clean and dry as possible.If you frequently drive on salted roads, your
vehicle should be washed at least once a
month during the winter. If you live near the
ocean, your vehicle should be washed at
least once a month throughout the year.
For washing instructions, refer to the “Vehi-
cle Cleaning” section.
Remove foreign material deposits
Foreign material such as salts, chemicals,
road oil or tar, tree sap, bird droppings and
industrial fall-out may damage the finish of
your vehicle if it is left on painted surfaces.
Remove these types of deposits as quickly
as possible. If these deposits are difficult to
wash off, an additional cleaner may be
required. Be sure that any cleaner you use
is not harmful to painted surfaces and is
specifically intended for your purposes.
Follow the manufacturer’s directions when
using these special cleaners.
Repair finish damage
Carefully examine your vehicle for damage
to the painted surfaces, especially if it is
used off-road. Should you find any chips or
scratches in the paint, touch them up
immediately to prevent corrosion from
starting. If the chips or scratches have
gone through to the bare metal, have a
qualified body shop make the repair.
Page 356 of 388

9-3APPEARANCE CARE
57L20-03E
Vehicle Cleaning
76G044S
Cleaning InteriorVinyl upholstery
Prepare a solution of soap or mild deter-
gent mixed with warm water. Apply the
solution to the vinyl with a sponge or soft
cloth and let it soak for a few minutes to
loosen dirt. Rub the surface with a clean,damp cloth to remove dirt and the soap
solution. If some dirt still remains on the
surface, repeat this procedure.
Fabric upholstery
Remove loose dirt with a vacuum cleaner.
Using a mild soap solution, rub stained
areas with a clean damp cloth. To remove
soap, rub the areas again with a cloth
dampened with water. Repeat this until the
stain is removed, or use a commercial fab-
ric cleaner for tougher stains. If you use a
fabric cleaner, carefully follow the manu-
facturer’s instructions and precautions.
Leather upholstery
Remove loose dirt with a vacuum cleaner.
Using a mild soap or saddle soap solution,
wipe dirt off with a clean damp soft cloth.
To remove soap, wipe the areas again with
a soft cloth dampened with water. Wipe the
areas dry with a soft dry cloth. Repeat this
until the dirt or stain is removed, or use a
commercial leather cleaner for tougher dirt
or stains. If you use a leather cleaner, care-
fully follow the manufacture’s instructions
and precautions. Do not use solvent type
cleaners or abrasive cleaners.
NOTE:
In order to keep leather upholstery look-
ing good, it should be cleaned at least
twice a year.
If leather upholstery becomes wet,
immediately wipe it dry with tissue paperor a soft cloth. Water may cause leather
to harden and shrink if it is not wiped off.
When parking on sunny days, select a
shady place or use a sunshade. If
leather upholstery is exposed to direct
sunlight for a long time, it may discolor
and shrink.
As is common with natural materials,
leather is inherently irregular in grain and
cowhide has spots in its natural state.
These do not affect the performance of
the leather in any way.
Seat belts
Clean seat belts with a mild soap and
water. Do not use bleach or dye on the
belts. They may weaken the fabric in the
belts.
Vinyl floor mats
Ordinary dirt can be removed from vinyl
with water or mild soap. Use a brush to
help loosen dirt. After dirt is loosened,
rinse the mat thoroughly with water and
dry it in the shade.
Carpets
Remove dirt and soil as much as possible
with a vacuum cleaner. Using a mild soap
solution, rub stained areas with a clean
damp cloth. To remove soap, rub the areas
again with a cloth dampened with water.
Repeat this until the stain is removed, or
use a commercial carpet cleaner for
tougher stains. If you use a carpet cleaner,
WARNING
When cleaning the interior or exterior
of the vehicle, NEVER USE flammable
solvents such lacquer thinners, gas-
oline, benzene or cleaning materials
such as bleaches and strong house-
hold detergents. The materials could
cause personal injury or damage to
the vehicle.
Periodic Maintenance Schedule: 1, 2, 3, 4, 5, 6, 9, 10
Page 357 of 388

9-4
APPEARANCE CARE
57L20-03E
carefully follow the manufacturer’s instruc-
tions and precautions.
Instrument panel and console
NOTE:
Wipe up spills containing chemicals, alco-
hol, etc., immediately with a soft, damp
cloth. Use a mild soap solution if neces-
sary. Do not use cleaners or polishes con-
taining strong solvents or acidic solutions.
These chemicals may stain and discolor
the instrument panel and console.Cleaning the Exterior
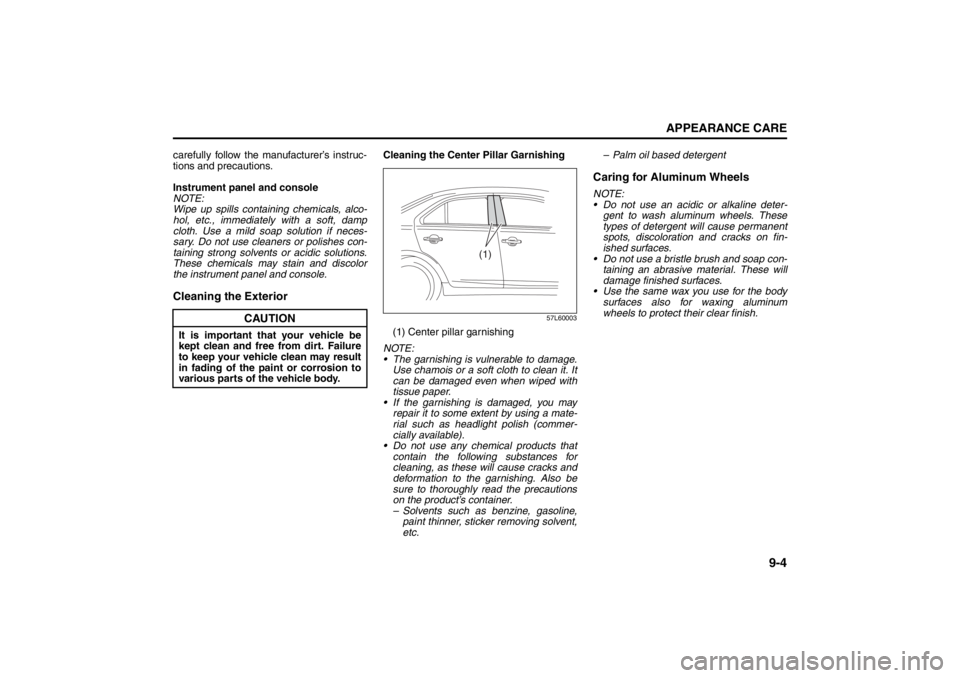
Cleaning the Center Pillar Garnishing
57L60003
(1) Center pillar garnishing
NOTE:
The garnishing is vulnerable to damage.
Use chamois or a soft cloth to clean it. It
can be damaged even when wiped with
tissue paper.
If the garnishing is damaged, you may
repair it to some extent by using a mate-
rial such as headlight polish (commer-
cially available).
Do not use any chemical products that
contain the following substances for
cleaning, as these will cause cracks and
deformation to the garnishing. Also be
sure to thoroughly read the precautions
on the product’s container.
– Solvents such as benzine, gasoline,
paint thinner, sticker removing solvent,
etc.– Palm oil based detergent
Caring for Aluminum WheelsNOTE:
Do not use an acidic or alkaline deter-
gent to wash aluminum wheels. These
types of detergent will cause permanent
spots, discoloration and cracks on fin-
ished surfaces.
Do not use a bristle brush and soap con-
taining an abrasive material. These will
damage finished surfaces.
Use the same wax you use for the body
surfaces also for waxing aluminum
wheels to protect their clear finish.
CAUTION
It is important that your vehicle be
kept clean and free from dirt. Failure
to keep your vehicle clean may result
in fading of the paint or corrosion to
various parts of the vehicle body.
(1)
Periodic Maintenance Schedule: 1, 2, 3, 4, 5, 6, 9, 10