Page 8 of 79
2 Getting started
Control buttons and functions.......................2-2
Control panel ..................................2-2
Steering wheel switch. . . ........................2-3
Basic operation ...................................2-3 Touch screen operation
.........................2-3
Menu screen operation ..........................2-5
How to input characters .........................2-5
Page 9 of 79

CONTROL PANEL
�1button:
Press to change the display brightness be-
tween day and night modes. While the
mode is being displayed, the brightness can
be adjusted using the scroll knob.
Press and hold to turn the display off. Press
again to turn the display on.
“Display settings” (page 5-3)
�2Touch screen display
�3MAP button: Press to display the current location map
screen.
�4NAV button:Press to access the functions of the Navi-
gation system.
�5TRAF button:Press to view traffic information on the
route.
�6SETUP button:Press to access the system settings.
�7BACK button:Press to return to the previous screen.
�8Scroll knob:Turn to scroll through the items in a list.
Press to select a menu item. When the
screen is not displaying a list or menu, the
knob is used to control the audio system.
�9SD-card location:An SD-card with MAP data can be inserted
here.
�10Volume control knob/ON-OFF button:Rotate clockwise to increase the volume or
counterclockwise to lower the volume.
Press to turn the audio system on or off.LNV0915
CONTROL BUTTONS AND FUNC-
TIONS
2-2Getting started
Page 10 of 79
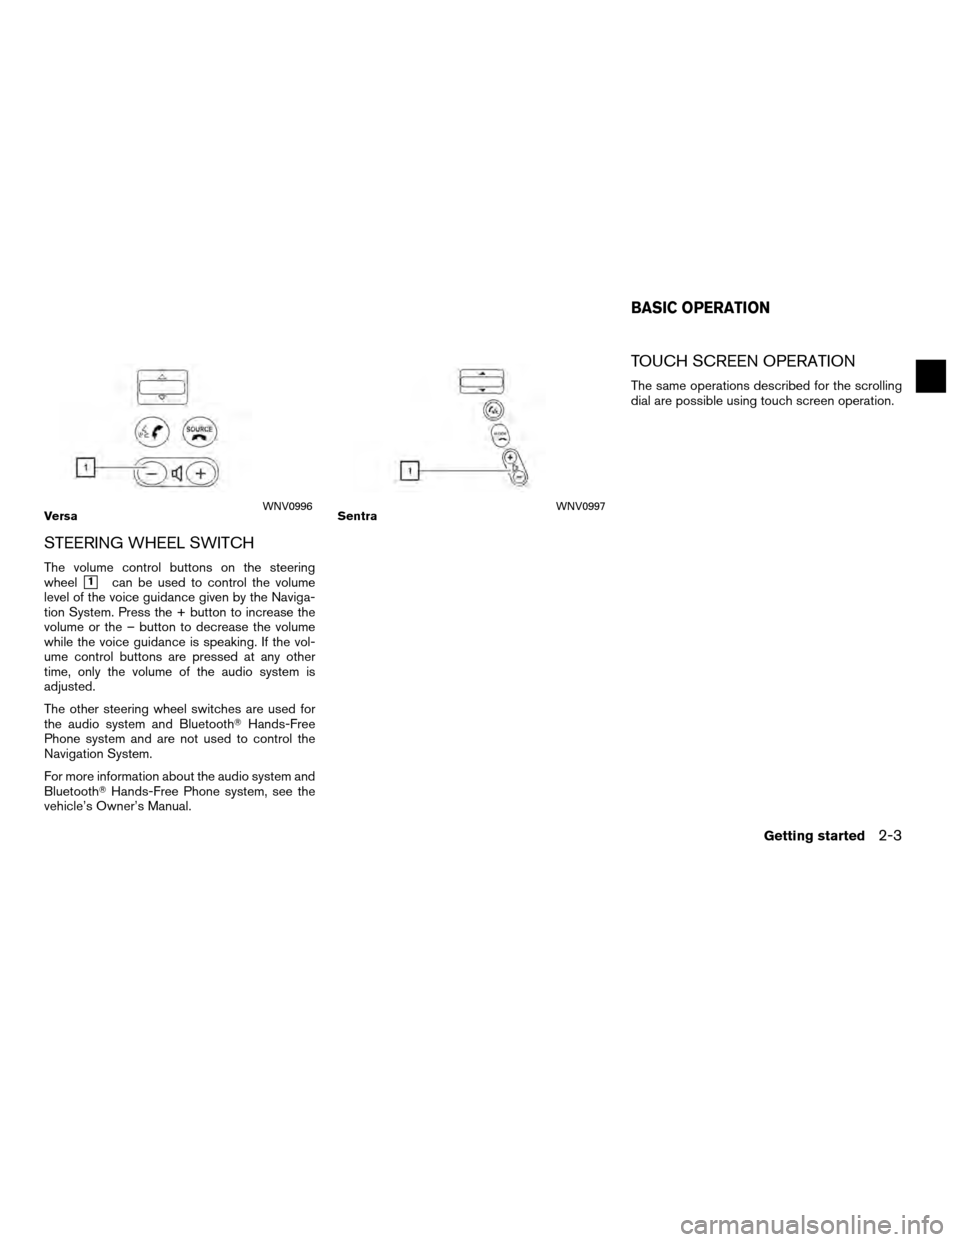
STEERING WHEEL SWITCH
The volume control buttons on the steering
wheel
�1can be used to control the volume
level of the voice guidance given by the Naviga-
tion System. Press the + button to increase the
volume or the – button to decrease the volume
while the voice guidance is speaking. If the vol-
ume control buttons are pressed at any other
time, only the volume of the audio system is
adjusted.
The other steering wheel switches are used for
the audio system and Bluetooth� Hands-Free
Phone system and are not used to control the
Navigation System.
For more information about the audio system and
Bluetooth� Hands-Free Phone system, see the
vehicle’s Owner’s Manual.
TOUCH SCREEN OPERATION
The same operations described for the scrolling
dial are possible using touch screen operation.
VersaWNV0996SentraWNV0997
BASIC OPERATION
Getting started2-3
Page 12 of 79

● MAP
● SETUP (Settings)
● TRAF (Traffic)")
MENU SCREEN OPERATION
Menu screens and their purpose
Press one of the application buttons to activate
the corresponding menu screen:
●NAV (Navigation)
● MAP
● SETUP (Settings)
● TRAF (Traffic)
How to select a menu item
1. As an alternative to using the touch screen,
turn the scrolling dial clockwise or counter-
clockwise to scroll through the menu items
until the preferred item is highlighted. 2. To select the preferred item, press the
scrolling dial to enter.
3. Press the
BACK button. The previ-
ous screen will be displayed and the
changes will be saved.
HOW TO INPUT CHARACTERS
Character (letter and number) input
screen
Alphanumeric characters are used when setting
a destination, searching for an address, editing
stored locations, etc. 1. Touch characters on the touch keyboard
and they will appear in the field at the top of
the screen. When the entry is complete,
touch the “OK” key.
Alternatively, use the scrolling dial to high-
light a character and press the dial to select
that character.
NOTE:
● Press the
BACK button to return
to the previous screen.
● On every character entry, the touch key-
board display will narrow to only the let-
ters that are possible to enter after the
current letter.
● Symbol and number keys are available
when the “123/ABC” key is touched.
LNV0918LNV0922
Getting started2-5
Page 40 of 79
SEARCHING FOR NEARBY RES-
TAURANTS OR GAS STATIONS
While a wide variety of places can be searched
in the system, shortcut buttons are available for
restaurants and gas stations.1. Press the NAV button.
2. Touch “Destination”.
3. Touch “Places”. 4. Touch “Nearby Restaurants” or “Nearby
Gas Stations”.
5. The system searches for destinations within 50 miles (80 km) of the current position. 6. Places are shown based on the straight line
distance to the current position. The arrow
on the right shows the direction of the
destination. Touch the desired destination
on the list.
NOTE:
A maximum of 200 destinations will be
listed when searching with this method.
LNV0968LNV0969LNV0970
Navigation4-15
Page 78 of 79

8 Index
A
Address book...................6-3
B
Basic operations .................7-2
Basics of voice guidance ............6-6
C
Clock settings..................5-4
Control buttons and functions ..........2-2
Current vehicle location .............6-4
D
Directions provided and the distances to guide
points.......................6-6
Display of current vehicle location ........6-4
Display settings ..................5-3
F
Features of this navigation system .......6-2
For safe operation ................1-2
H
How to use this manual .............1-2
L
Laser product...................1-3
M
Moving a map...................3-4
My Places ....................4-21
N
Notes on voice guidance ............6-6
P
Points Of Interest (POI) directory ........6-3
R
Reference symbols................1-2
Repeating voice guidance ............6-6
Returning to the current vehicle location . . . .3-4
Route calculation .................6-4
Route calculation and visual guidance .....7-5
Route guidance ..................6-2
S
Safety information ................1-2
Steering wheel switch ..............2-3
U
User-defined points of interest (POIs) .....4-21
V
Vehicle icon....................7-3
Voice guidance ...............6-3, 7-6
W
What is GPS (Global Positioning System)? . .6-4
When a gray road is displayed on the map . . .6-4