Page 128 of 338
●To prevent the Intelligent Key from being left
inside the vehicle, make sure you carry the
Intelligent Key with you and then lock the
doors.
● Do not pull the door handle before pushing
the door handle request switch. The door
will be unlocked but will not open. Release
the door handle once and pull it again to
open the door.
NISSAN INTELLIGENT KEY™
OPERATION
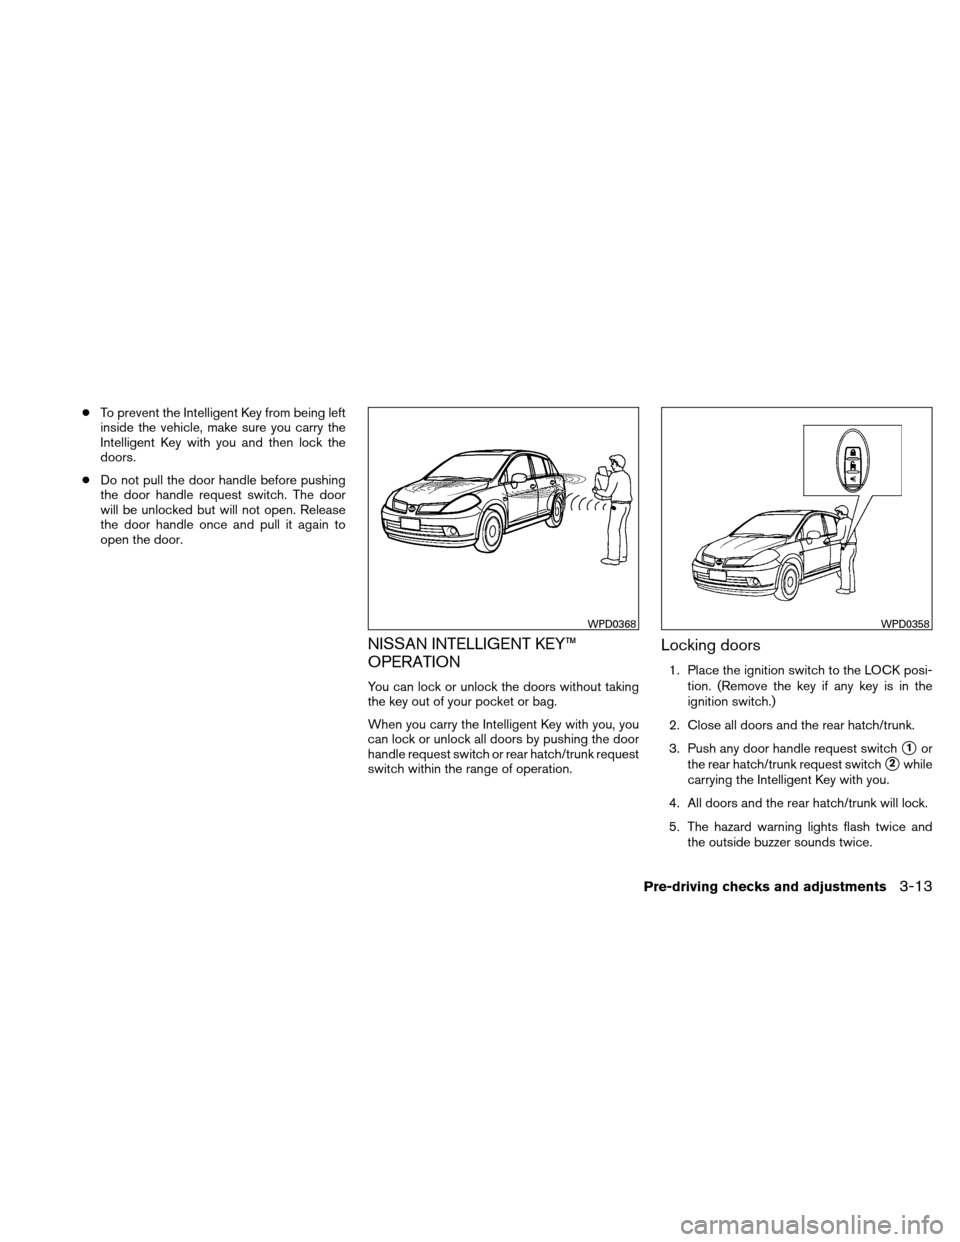
You can lock or unlock the doors without taking
the key out of your pocket or bag.
When you carry the Intelligent Key with you, you
can lock or unlock all doors by pushing the door
handle request switch or rear hatch/trunk request
switch within the range of operation.
Locking doors
1. Place the ignition switch to the LOCK posi-
tion. (Remove the key if any key is in the
ignition switch.)
2. Close all doors and the rear hatch/trunk.
3. Push any door handle request switch
�1or
the rear hatch/trunk request switch
�2while
carrying the Intelligent Key with you.
4. All doors and the rear hatch/trunk will lock.
5. The hazard warning lights flash twice and the outside buzzer sounds twice.
WPD0368WPD0358
Pre-driving checks and adjustments3-13
Page 130 of 338
●The request switch is operational only
when the Intelligent Key has been de-
tected by the Intelligent Key system.
Lockout protection
To prevent the Intelligent Key from being acci-
dentally locked inside the vehicle, lockout protec-
tion is equipped with the Intelligent Key.
When the driver’s side door is open, the doors
are locked, and then the Intelligent Key is put
inside the vehicle and all the doors are closed;
the lock will automatically unlock and the door
buzzer sounds.
NOTE:
The doors may not lock when the Intelli-
gent Key is in the same hand that is oper-
ating the request switch to lock the door.
Put the Intelligent Key in a purse, pocket or
your other hand.CAUTION
The lockout protection may not function
under the following conditions:
● When the Intelligent Key is placed on
top of the instrument panel.
● When the Intelligent Key is placed on
top of the rear parcel shelf.
● When the Intelligent Key is placed on
the cargo cover.
● When the Intelligent Key is placed in-
side the glove box or a storage bin.
● When the Intelligent Key is placed in-
side the door pockets.
● When the Intelligent Key is placed on or
under the spare tire area.
● When the Intelligent Key is placed in-
side or near metallic materials.
Unlocking doors
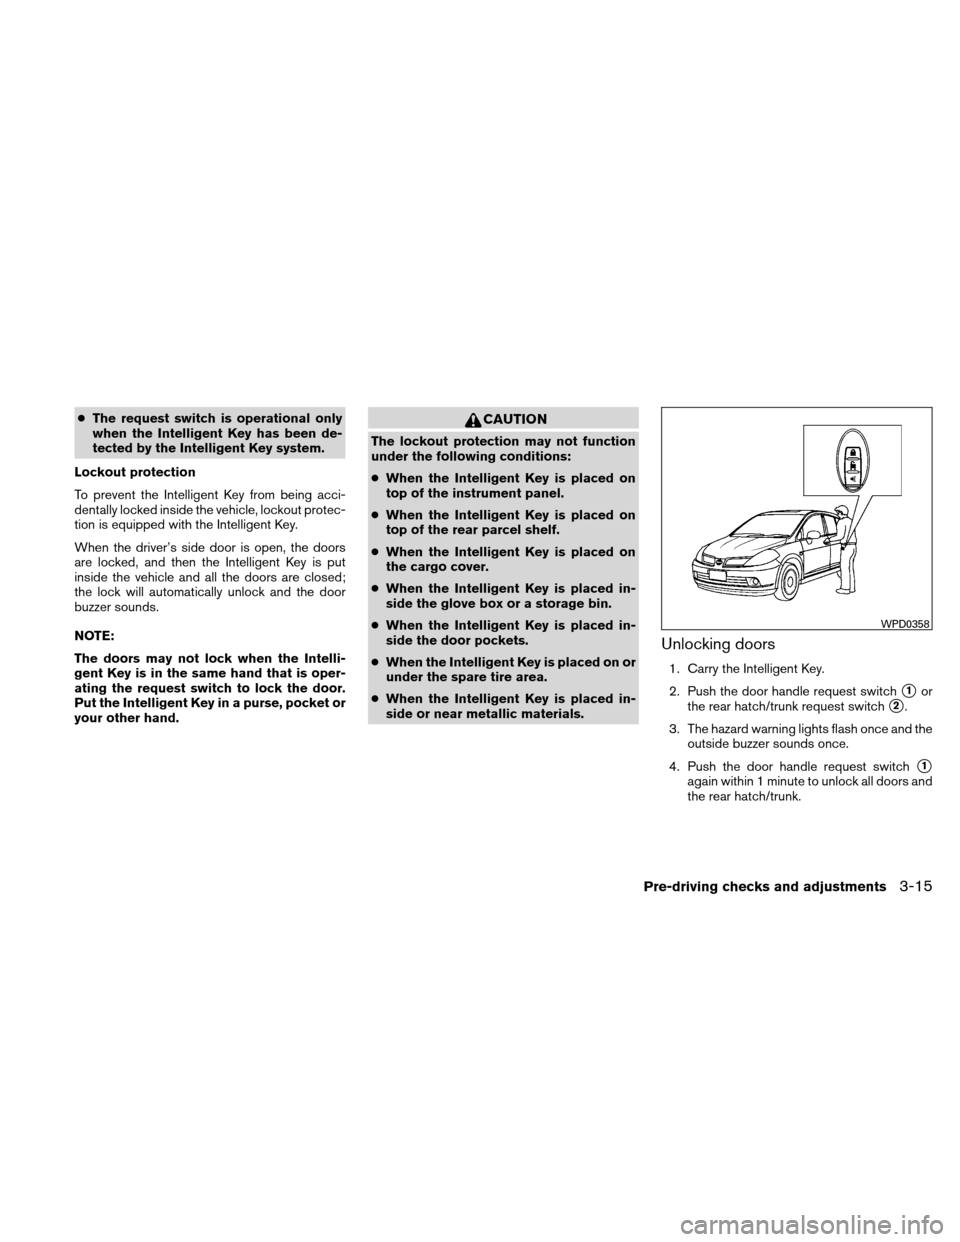
1. Carry the Intelligent Key.
2. Push the door handle request switch
�1or
the rear hatch/trunk request switch
�2.
3. The hazard warning lights flash once and the outside buzzer sounds once.
4. Push the door handle request switch
�1
again within 1 minute to unlock all doors and
the rear hatch/trunk.
WPD0358
Pre-driving checks and adjustments3-15
Page 132 of 338
The remote keyless entry function will not func-
tion under the following conditions:● When the Intelligent Key is not within the
operational range.
● When the doors or the rear hatch/trunk are
open or not closed securely.
● When the Intelligent Key battery is dis-
charged.
CAUTION
When locking the doors using the Intelli-
gent Key, be sure not to leave the key in
the vehicle.
Locking doors
1. Place the ignition switch in the LOCK posi-
tion.
2. Close all doors and the rear hatch/trunk.
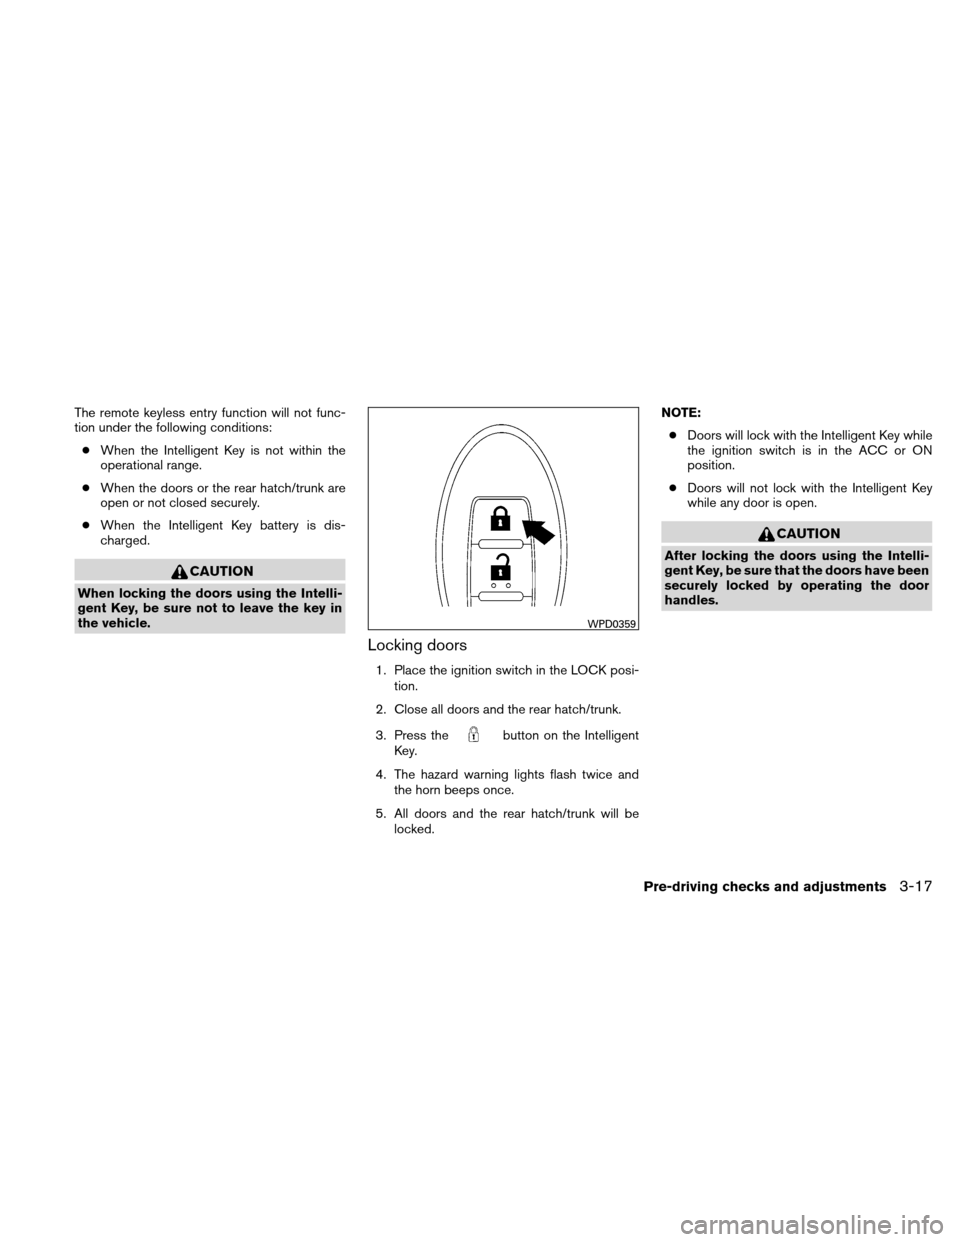
3. Press the
button on the Intelligent
Key.
4. The hazard warning lights flash twice and the horn beeps once.
5. All doors and the rear hatch/trunk will be locked. NOTE:
● Doors will lock with the Intelligent Key while
the ignition switch is in the ACC or ON
position.
● Doors will not lock with the Intelligent Key
while any door is open.
CAUTION
After locking the doors using the Intelli-
gent Key, be sure that the doors have been
securely locked by operating the door
handles.
WPD0359
Pre-driving checks and adjustments3-17
Page 133 of 338
Unlocking doors
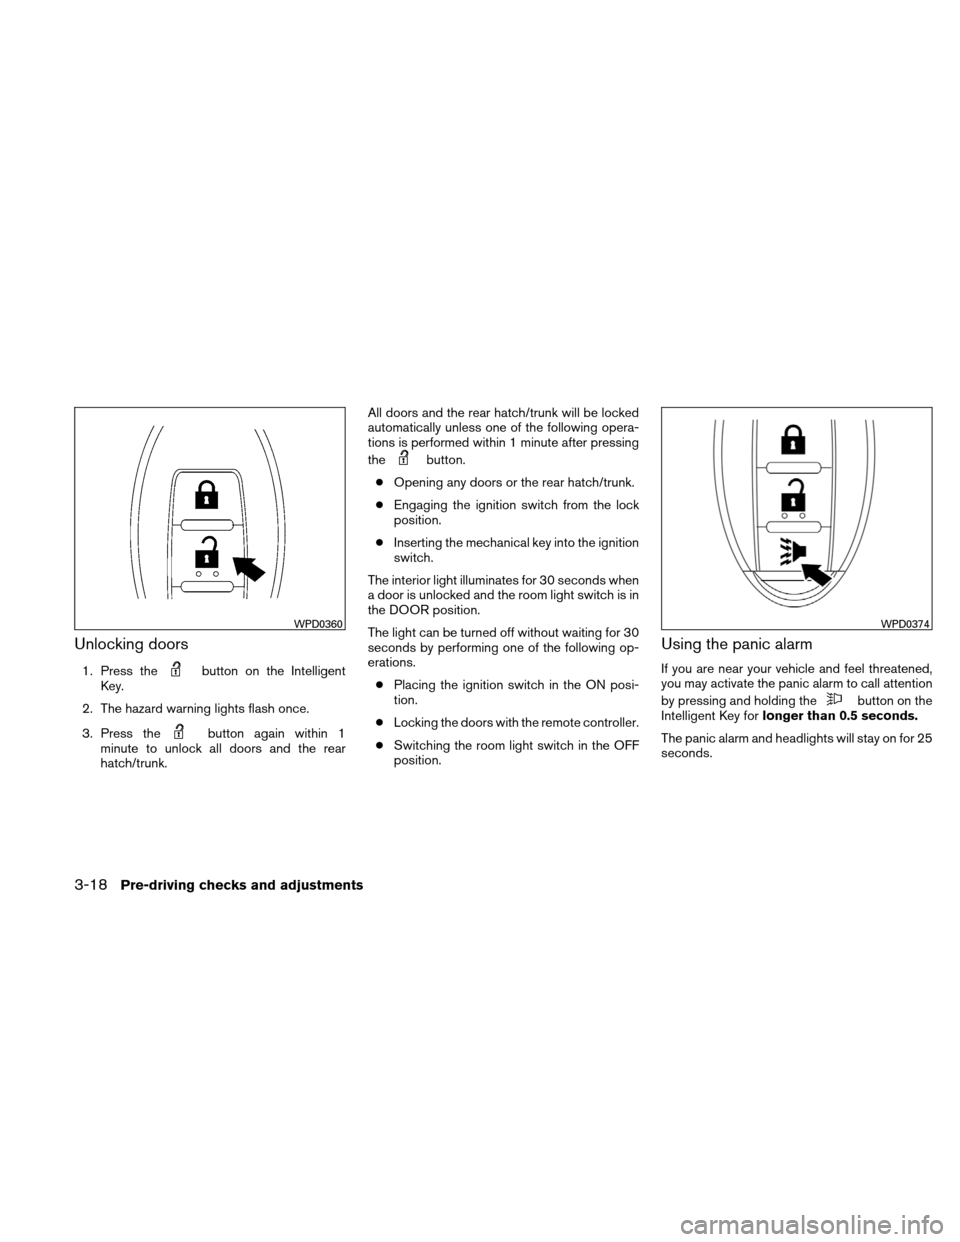
1. Press thebutton on the Intelligent
Key.
2. The hazard warning lights flash once.
3. Press the
button again within 1
minute to unlock all doors and the rear
hatch/trunk. All doors and the rear hatch/trunk will be locked
automatically unless one of the following opera-
tions is performed within 1 minute after pressing
the
button.
● Opening any doors or the rear hatch/trunk.
● Engaging the ignition switch from the lock
position.
● Inserting the mechanical key into the ignition
switch.
The interior light illuminates for 30 seconds when
a door is unlocked and the room light switch is in
the DOOR position.
The light can be turned off without waiting for 30
seconds by performing one of the following op-
erations. ● Placing the ignition switch in the ON posi-
tion.
● Locking the doors with the remote controller.
● Switching the room light switch in the OFF
position.
Using the panic alarm
If you are near your vehicle and feel threatened,
you may activate the panic alarm to call attention
by pressing and holding the
button on the
Intelligent Key for longer than 0.5 seconds.
The panic alarm and headlights will stay on for 25
seconds.
WPD0360WPD0374
3-18Pre-driving checks and adjustments
Page 134 of 338
The panic alarm stops when:● It has run for 25 seconds, or
● Any button is pressed on the Intelligent Key.
● Pushing the request switch on the driver or
passenger door with the Intelligent Key in
range of the door handle.
Silencing the horn beep feature
If desired, the horn beep feature can be deacti-
vated using the Intelligent Key.
To deactivate: Press and hold the
andbuttonsfor at least 2 seconds.
The hazard warning lights will flash 3 times to
confirm that the horn beep feature has been
deactivated.
To activate: Press and hold the
andbuttonsfor at least 2 seconds
once more. The hazard warning lights will flash once and the
horn will sound once to confirm that the horn
beep feature has been reactivated.
Deactivating the horn beep feature does not si-
lence the horn if the alarm is triggered.
WPD0362
Pre-driving checks and adjustments3-19
Page 135 of 338
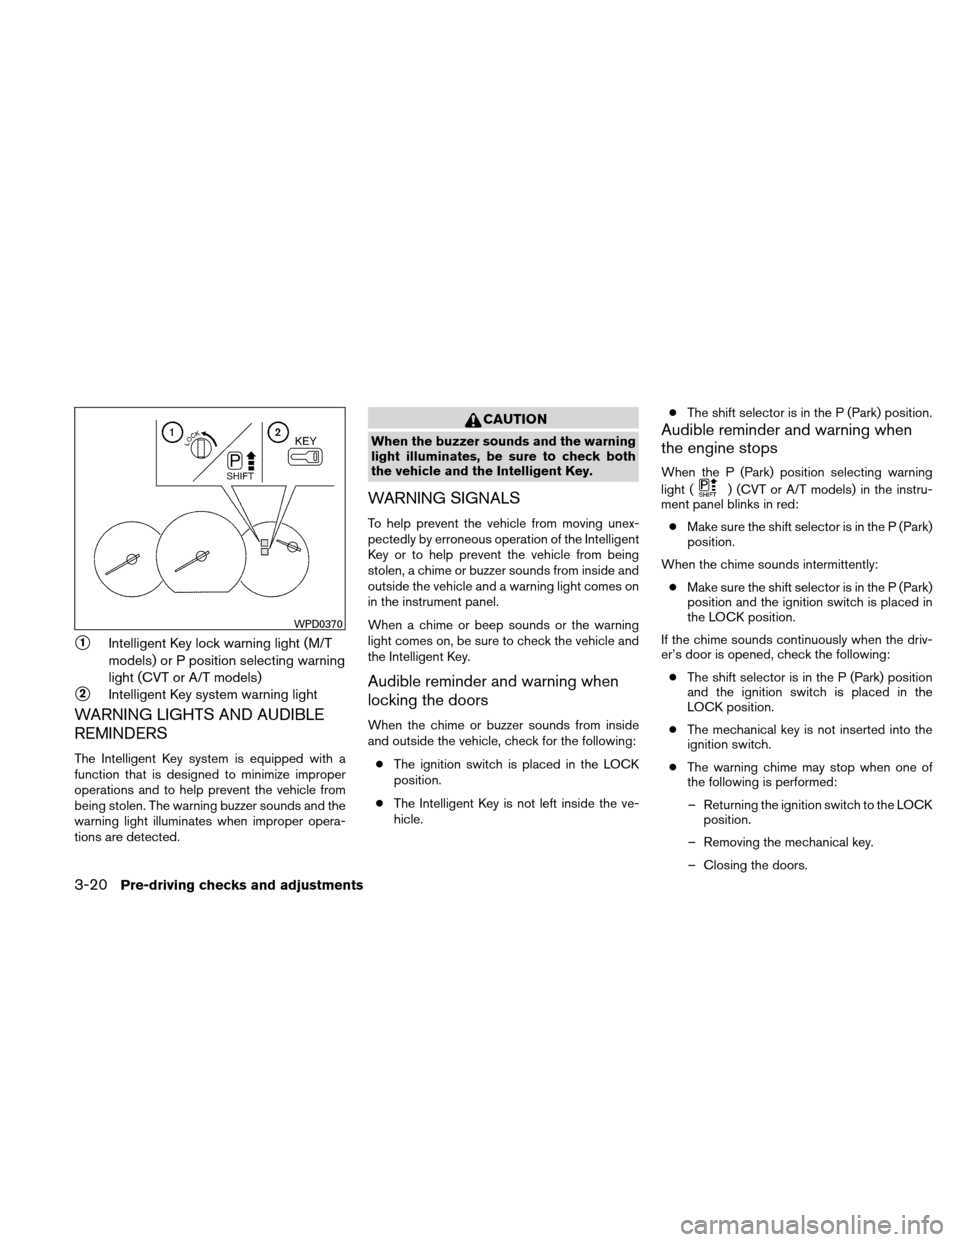
�1Intelligent Key lock warning light (M/T
models) or P position selecting warning
light (CVT or A/T models)
�2Intelligent Key system warning light
WARNING LIGHTS AND AUDIBLE
REMINDERS
The Intelligent Key system is equipped with a
function that is designed to minimize improper
operations and to help prevent the vehicle from
being stolen. The warning buzzer sounds and the
warning light illuminates when improper opera-
tions are detected.
CAUTION
When the buzzer sounds and the warning
light illuminates, be sure to check both
the vehicle and the Intelligent Key.
WARNING SIGNALS
To help prevent the vehicle from moving unex-
pectedly by erroneous operation of the Intelligent
Key or to help prevent the vehicle from being
stolen, a chime or buzzer sounds from inside and
outside the vehicle and a warning light comes on
in the instrument panel.
When a chime or beep sounds or the warning
light comes on, be sure to check the vehicle and
the Intelligent Key.
Audible reminder and warning when
locking the doors
When the chime or buzzer sounds from inside
and outside the vehicle, check for the following:● The ignition switch is placed in the LOCK
position.
● The Intelligent Key is not left inside the ve-
hicle. ●
The shift selector is in the P (Park) position.
Audible reminder and warning when
the engine stops
When the P (Park) position selecting warning
light (
) (CVT or A/T models) in the instru-
ment panel blinks in red:
● Make sure the shift selector is in the P (Park)
position.
When the chime sounds intermittently: ● Make sure the shift selector is in the P (Park)
position and the ignition switch is placed in
the LOCK position.
If the chime sounds continuously when the driv-
er’s door is opened, check the following: ● The shift selector is in the P (Park) position
and the ignition switch is placed in the
LOCK position.
● The mechanical key is not inserted into the
ignition switch.
● The warning chime may stop when one of
the following is performed:
– Returning the ignition switch to the LOCK position.
– Removing the mechanical key.
– Closing the doors.
WPD0370
3-20Pre-driving checks and adjustments
Page 145 of 338
VANITY MIRRORS (if so equipped)
To access the vanity mirror, pull the sun visor
down and slide the mirror cover open. Some
vanity mirrors are illuminated and turn on when
the mirror cover is open.
REARVIEW MIRROR
The night position�1reduces glare from the
headlights of vehicles behind you at night.
Use the day position
�2when driving in daylight
hours.
WARNING
Use the night position only when neces-
sary, because it reduces rear view clarity.
OUTSIDE MIRRORS
WARNING
● Objects viewed in the outside mirror on
the passenger side are closer than they
appear. Be careful when moving to the
right. Using only this mirror could cause
an accident. Use the inside mirror or
glance over your shoulder to properly
judge distances to other objects.
LPD0356WPD0126
MIRRORS
3-30Pre-driving checks and adjustments
Page 151 of 338
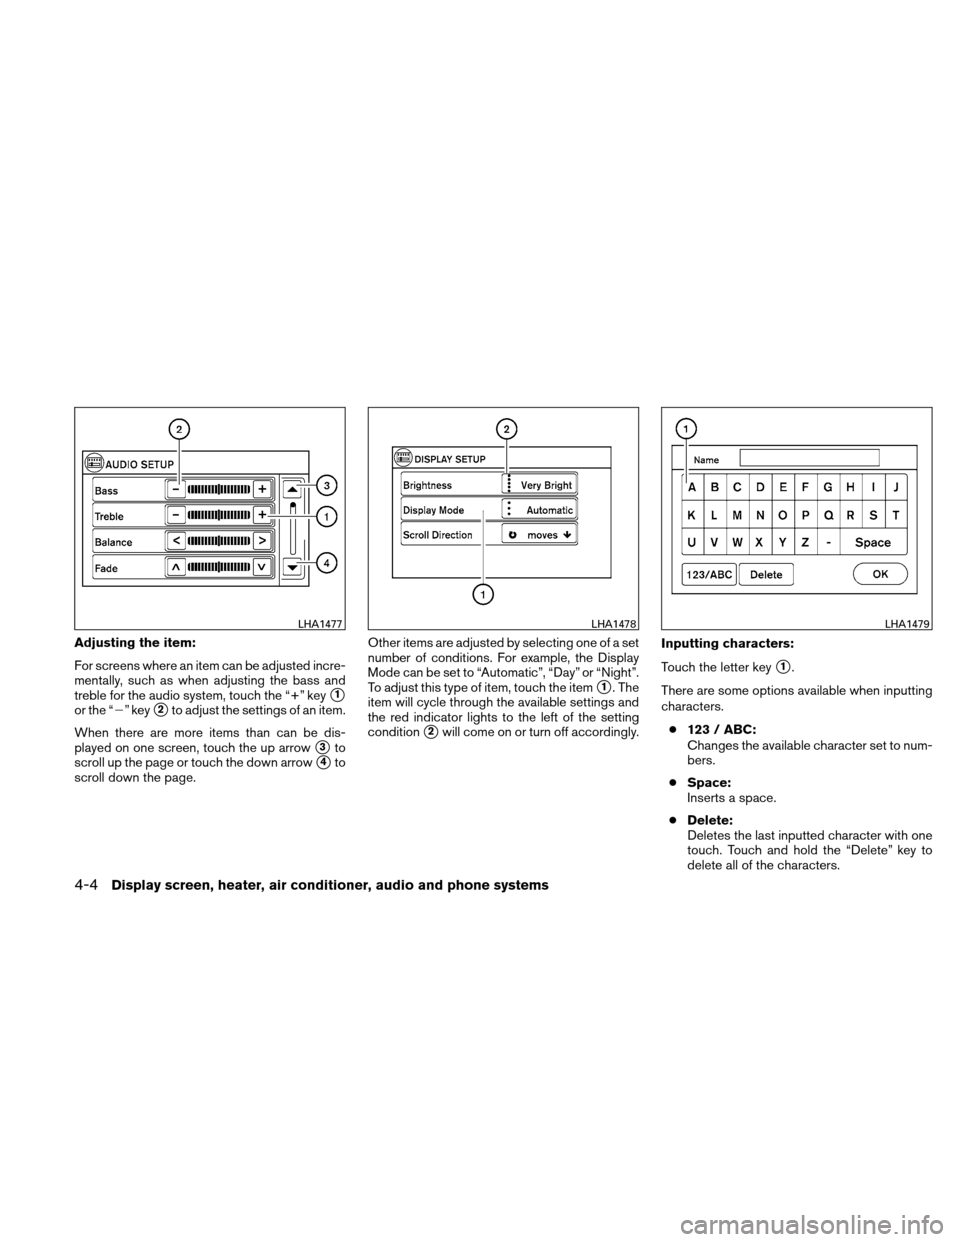
Adjusting the item:
For screens where an item can be adjusted incre-
mentally, such as when adjusting the bass and
treble for the audio system, touch the “+” key
�1
or the “�” key�2to adjust the settings of an item.
When there are more items than can be dis-
played on one screen, touch the up arrow
�3to
scroll up the page or touch the down arrow
�4to
scroll down the page. Other items are adjusted by selecting one of a set
number of conditions. For example, the Display
Mode can be set to “Automatic”, “Day” or “Night”.
To adjust this type of item, touch the item
�1. The
item will cycle through the available settings and
the red indicator lights to the left of the setting
condition
�2will come on or turn off accordingly. Inputting characters:
Touch the letter key
�1.
There are some options available when inputting
characters. ● 123 / ABC:
Changes the available character set to num-
bers.
● Space:
Inserts a space.
● Delete:
Deletes the last inputted character with one
touch. Touch and hold the “Delete” key to
delete all of the characters.
LHA1477LHA1478LHA1479
4-4Display screen, heater, air conditioner, audio and phone systems