Page 204 of 438

Explanation of terms:● DivX – DivX refers to the DivX� codec
owned by Div, Inc. used for a lossy compres-
sion of video based on MPEG-4.
●")
Compressed Video Files (models with
Navigation System)
Explanation of terms:● DivX – DivX refers to the DivX� codec
owned by Div, Inc. used for a lossy compres-
sion of video based on MPEG-4.
● AVI – AVI stands for Audio Video Interleave.
It is standard file format originated by Mi-
crosoft Corporation. A .divx encoded file can
be saved into the .avi file format for playback
on this system if it meets the requirements
stated in the table in this section. However,
all .avi files are not playable on this system
since different encodings can be used other
than the DivX� codec.
● ASF – ASF stands for Advanced Systems
Format. It is file format owned by Microsoft
Corporation. Note: Only .asf files that meet
the requirements stated in the table in this
section can be played.
● Bit rate — Bit rate denotes the number of
bits per second used by a digital video files.
The size and quality of a compressed digital
audio file is determined by the bit rate used
when encoding the file.
Monitor, climate, audio, phone and voice recognition systems4-43
Page 211 of 438
 for audio. When thi")
To turn the system off, press the VOL/ON·OFF
control knob.
Turn the VOL/ON·OFF control knob to adjust the
volume.
This vehicle may be equipped with Speed Sen-
sitive Volume (SSV) for audio. When this feature
is active, the audio volume changes as the driving
speed changes.
Setting control knob (Audio, Display and
Clock):
Press the SETTING button to adjust the audio,
display and clock settings as follows:
Bass→Treble →Fade →Balance →Speed
Sensitive Volume (SSV) (if so equipped) →
Brightness →Contrast →On-screen Clock →
Clock Adjust →Bass
Once the desired setting is displayed on the
screen, turn the SCROLL/TUNE knob left or right
to adjust the chosen setting. Press the SETTING
button to move to the next setting or wait approxi-
mately five seconds to exit the setting adjustment
mode. Audio settings:
Adjust the bass, treble, fade and balance by
selecting the desired setting with the SETTING
button and then adjusting the level with the
SCROLL/TUNE knob. Balance adjusts the
sound between the left and right speakers. Fade
adjusts the sound between the front and rear
speakers.
Speed Sensitive Volume (if so equipped):
To change the Speed Sensitive Volume (SSV)
level from 1 to 5, or to turn the feature off entirely,
choose the Speed Sensitive Volume (SSV) set-
ting with the SETTING button and then adjust the
level with the SCROLL/TUNE knob. Speed Sen-
sitive Volume (SSV) adjusts the volume of the
audio system as the vehicle’s driving speed
changes.
Page 217 of 438
:
Press the AUDIO control knob to change the
mode as follows:
Bass→Treble →Balance →Fade
To adjust Bass, Treble, Balance and Fade, press
the AU")
AUDIO control knob (Bass, Treble, Balance
and Fade):
Press the AUDIO control knob to change the
mode as follows:
Bass→Treble →Balance →Fade
To adjust Bass, Treble, Balance and Fade, press
the AUDIO control knob until the desired mode
appears in the display. Turn the tuning knob to
adjust Bass and Treble to the desired level. You
can also use the tuning knob to adjust Fade and
Balance modes. Fade adjusts the sound level
between the front and rear speakers and Balance
adjusts the sound between the right and left
speakers.
Once you have adjusted the sound quality to the
desired level, press the AUDIO control knob re-
peatedly until the radio or CD display reappears.
If the control knob is not pressed for approxi-
mately 10 seconds, the radio or CD display will
automatically reappear. Speed Sensitive Volume (SSV):
To change the SSV mode from OFF to 5, press
the SETTING button. Select the “Audio” key to
display the audio settings screen. Select the “–”
key or “+” key to change the SSV level.
While in this screen you can also adjust the other
audio settings by selecting the corresponding
key.
Once you have adjusted the sound quality to the
desired level, select the “Back” key.
Page 228 of 438

When this item is turned on, an angle mark
will be shown on the bottom of the screen if
the scene can be seen from a different angle.
● Menu Skip (DVD-VIDEO)
DVD menus are")
●Angle Mark (DVD-VIDEO)
When this item is turned on, an angle mark
will be shown on the bottom of the screen if
the scene can be seen from a different angle.
● Menu Skip (DVD-VIDEO)
DVD menus are automatically configured
and the contents will be played directly
when the “Menu Skip” key is turned on. Note
that some discs may not be played directly
even if this item is turned on.
● CM Skip (DVD-VIDEO)
Select the “CM Skip” key to choose the
setting time for CM backward and forward
operations. Use the “+” or “-” key to choose
a setting time of 15, 30 or 60 seconds.
● DRC (DVD-VIDEO, DVD-VR)
DRC (Dynamic Range Compression) auto-
matically adjusts the soundtrack volume
level to maintain a more even sound to the
speakers.
● DVD Language (DVD-VIDEO, VIDEO CD)
Select the “DVD Language” key to open the
number entry screen. Input the number cor-
responding to the preferred language and
select the “OK” key. The DVD top menu
language will be changed to the one speci-
fied. ●
Display
Adjust the image quality of the screen by
selecting the preferred adjustment items.
● Audio
Choose the preferred language for the au-
dio.
● Subtitle (DVD-VIDEO, DVD-VR)
Choose the preferred language for the sub-
titles.
● Display Mode (DVD-VIDEO, VIDEO CD,
DVD-VR)
Choose from the “Full”, “Wide”, “Normal” or
“Cinema” mode.
● Title List (DVD-VR)
Choose the preferred title from the list.
● Play Mode
Choose the preferred play mode.
● PG/PL Mode (DVD-VR)
Choose from the “PG” or “PL” mode.
USB INTERFACE (models without
Navigation System) (if so equipped)
Connecting a device to the USB input
jack
The USB input jack is located in the center con-
sole. Open the protective cover
�1on the USB
jack, then insert the USB device into the jack.
When a compatible storage device is plugged
into the jack, compatible audio files on the stor-
age device can be played through the vehicle’s
audio system.
Page 240 of 438

Automatic recording:
If the “Automatic Recording” function is turned to
ON, recording starts when a CD is inserted. For
more information, see “Music Box settings” in this
section.
Stopping recording:
To stop the recording, touch the “Stop REC” key
on the screen. If the CD is ejected, the audio
system is turned off or the ignition switch is
placed in the OFF position, the recording also
stops.
Playing recorded songs
Select the Music Box audio system by using one
of the following methods:● Press the SOURCE select switch on the
steering wheel.
For information, see “Steering wheel switch
for audio control” in this section.
● Press the DISC·AUX button repeatedly until
the center display changes to the Music Box
mode. ●
Give voice commands.
For information, see “NISSAN Voice Recog-
nition system” in this section.
Stopping playback:
The system stops playing when: ● Another mode (radio, CD, USB, Bluetooth�
Audio or AUX) is selected.
● The audio system is turned off.
● The ignition switch is placed in the OFF
position.
Seeking button:
Press the
Page 259 of 438
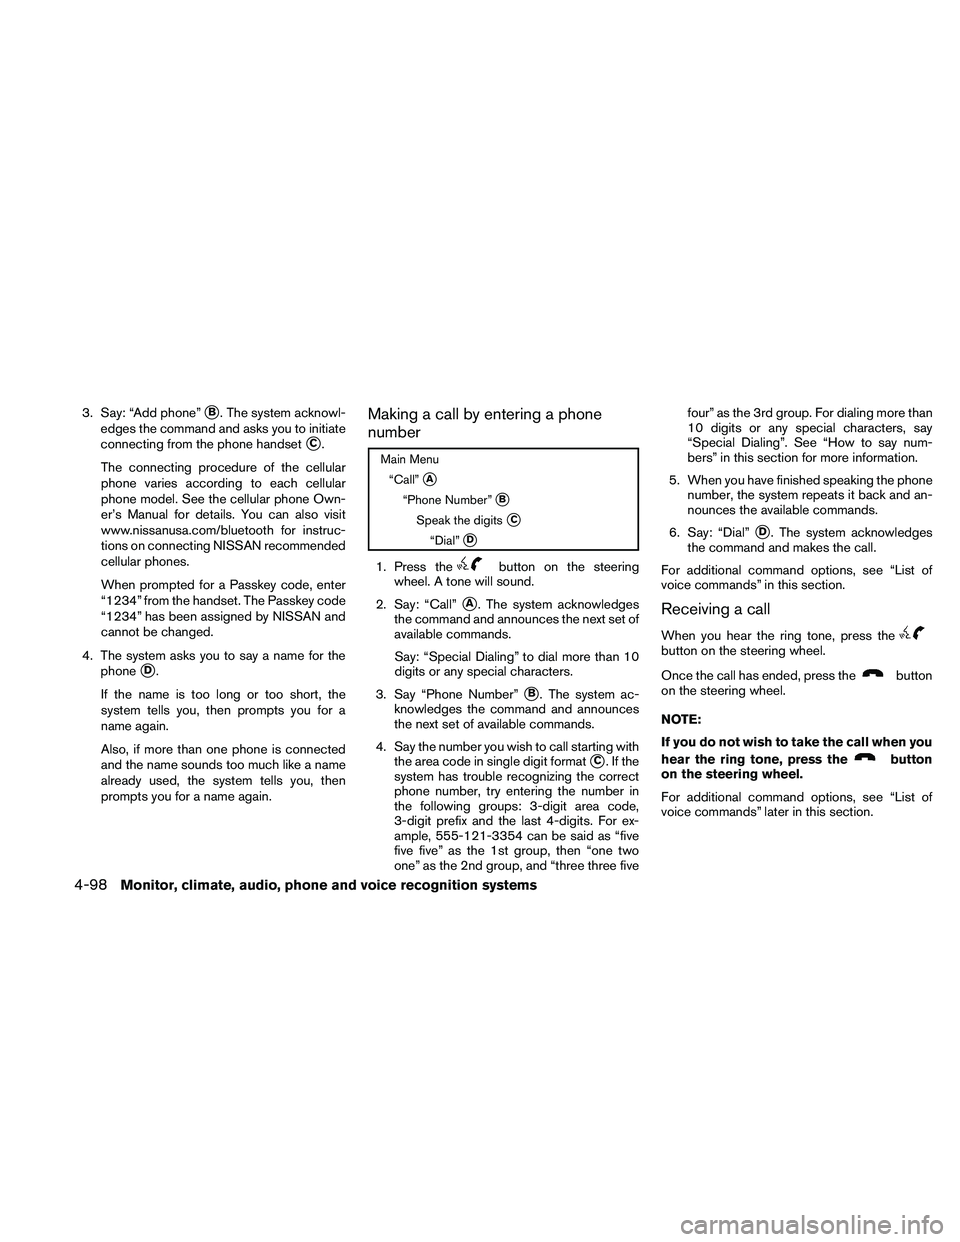
3. Say: “Add phone”�B. The system acknowl-
edges the command and asks you to initiate
connecting from the phone handset
�C.
The connecting procedure of the cellular
phone varies according to each cellular
phone model. See the cellular phone Own-
er’s Manual for details. You can also visit
www.nissanusa.com/bluetooth for instruc-
tions on connecting NISSAN recommended
cellular phones.
When prompted for a Passkey code, enter
“1234” from the handset. The Passkey code
“1234” has been assigned by NISSAN and
cannot be changed.
4. The system asks you to say a name for the phone
�D.
If the name is too long or too short, the
system tells you, then prompts you for a
name again.
Also, if more than one phone is connected
and the name sounds too much like a name
already used, the system tells you, then
prompts you for a name again.
Making a call by entering a phone
number
Page 266 of 438
●go back
● call five six two eight zero
● dial six six four three seven
MANUAL CONTROL
While using the voice recognition system, it is
possible to select menu options by using the
steering wheel controls instead of speaking voice
commands. The manual control mode does not
allow dialing a phone number by digits. The user
may select an entry from the Phonebook or Re-
cent Calls lists. To re-activate voice recognition,
exit the manual control mode by pressing and
holding the PHONE/END (
Page 279 of 438

CALL VOLUME
Adjusting the incoming or outgoing call volume
may improve clarity if reception between callers is
unclear.● Incoming call — adjusting this setting allows
you to hear a difference in volume.
● Outgoing call — adjusting this setting allows
the person you are talking with to hear a
difference in volume. To access the settings, press the SETTING but-
ton, then select “Volume & Beeps”.
You can also adjust the volume of an incoming
voice during a call by pushing the volume control
switch on the steering wheel or by turning the
volume control knob on the instrument panel.
NISSAN Voice Recognition allows hands-free
operation of the systems equipped on this ve-
hicle, such as phone and vehicle information.
There are two voice recognition modes of opera-
tion available. They are:
● Standard Mode
● Alternate Command Mode
In Standard Mode (the factory default setting) ,
commands that are available are always shown
on the display and announced by the system. You
can complete your desired operation by simply
following the prompts given by the system. Not all
NISSAN Voice Recognition options are available
while in Standard Mode.
For advanced operation, you can change to an
Alternate Command Mode that enables the op-
eration of the display, audio, and climate control
through NISSAN Voice Recognition. When this
mode is active, an expanded list of commands
can be spoken after pushing the TALK