Page 506 of 714

Comfort controls
5-79
5
To listen to the SIRIUS satellite radio
N00760500185
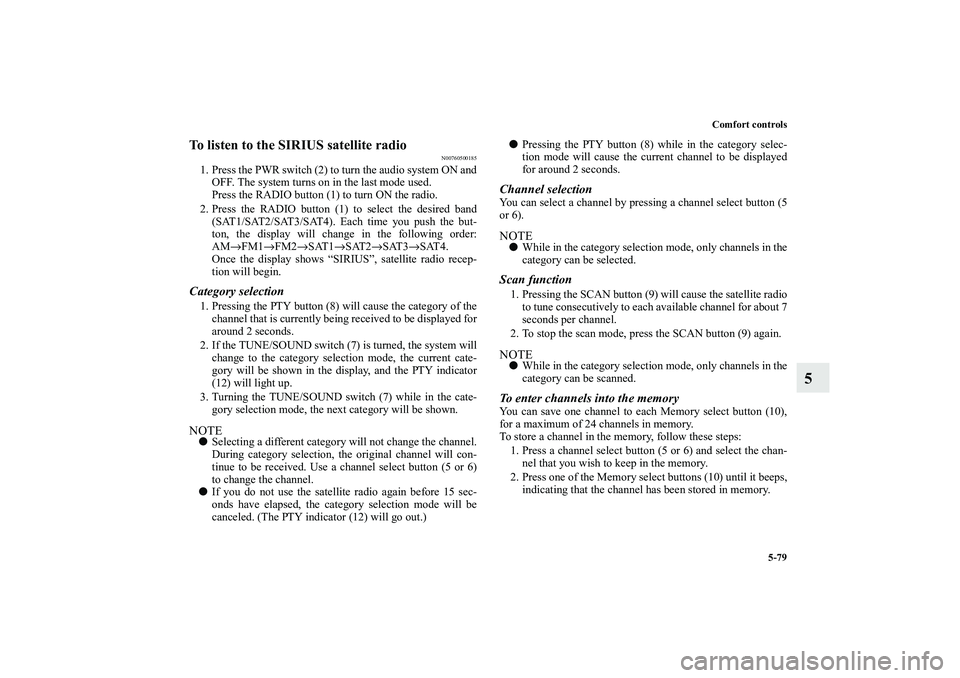
1. Press the PWR switch (2) to turn the audio system ON and
OFF. The system turns on in the last mode used.
Press the RADIO button (1) to turn ON the radio.
2. Press the RADIO button (1) to select the desired band
(SAT1/SAT2/SAT3/SAT4). Each time you push the but-
ton, the display will change in the following order:
AM→FM1→FM2→SAT1→SAT2→SAT3→SAT4.
Once the display shows “SIRIUS”, satellite radio recep-
tion will begin.Category selection1. Pressing the PTY button (8) will cause the category of the
channel that is currently being received to be displayed for
around 2 seconds.
2. If the TUNE/SOUND switch (7) is turned, the system will
change to the category selection mode, the current cate-
gory will be shown in the display, and the PTY indicator
(12) will light up.
3. Turning the TUNE/SOUND switch (7) while in the cate-
gory selection mode, the next category will be shown.NOTE�
Selecting a different category will not change the channel.
During category selection, the original channel will con-
tinue to be received. Use a channel select button (5 or 6)
to change the channel.
�
If you do not use the satellite radio again before 15 sec-
onds have elapsed, the category selection mode will be
canceled. (The PTY indicator (12) will go out.)
�
Pressing the PTY button (8) while in the category selec-
tion mode will cause the current channel to be displayed
for around 2 seconds.
Channel selectionYou can select a channel by pressing a channel select button (5
or 6). NOTE�
While in the category selection mode, only channels in the
category can be selected.
Scan function1. Pressing the SCAN button (9) will cause the satellite radio
to tune consecutively to each available channel for about 7
seconds per channel.
2. To stop the scan mode, press the SCAN button (9) again.NOTE�
While in the category selection mode, only channels in the
category can be scanned.
To enter channels into the memoryYou can save one channel to each Memory select button (10),
for a maximum of 24 channels in memory.
To store a channel in the memory, follow these steps:
1. Press a channel select button (5 or 6) and select the chan-
nel that you wish to keep in the memory.
2. Press one of the Memory select buttons (10) until it beeps,
indicating that the channel has been stored in memory.
BK0115300US.book 79 ページ 2009年7月16日 木曜日 午前9時13分
Page 516 of 714

Comfort controls
5-89
5
To eject all the discs
1. Press the eject button (15) for 2 seconds or longer (until
you hear a beep).
2. The currently selected disc will be ejected. When you
remove the ejected disc, the next disc will automatically
be ejected.
3. Repeat the above-described steps until all of the discs
have been ejected. The autochanger will then enter load-
ing standby mode.NOTE�
If you do not remove an ejected disc before 15 seconds
have elapsed, the disc will be reloaded and the eject mode
will be canceled. The reloaded disc will not be played.
To select a desired discYou can select your desired disc by using the DISC button (12
or 13). The active disc will be indicated by “ ” on the display.
Disc up
Press the DISC button (13) repeatedly until the desired disc
number appears on the display.
Disc down
Press the DISC button (12) repeatedly until the desired disc
number appears on the display.
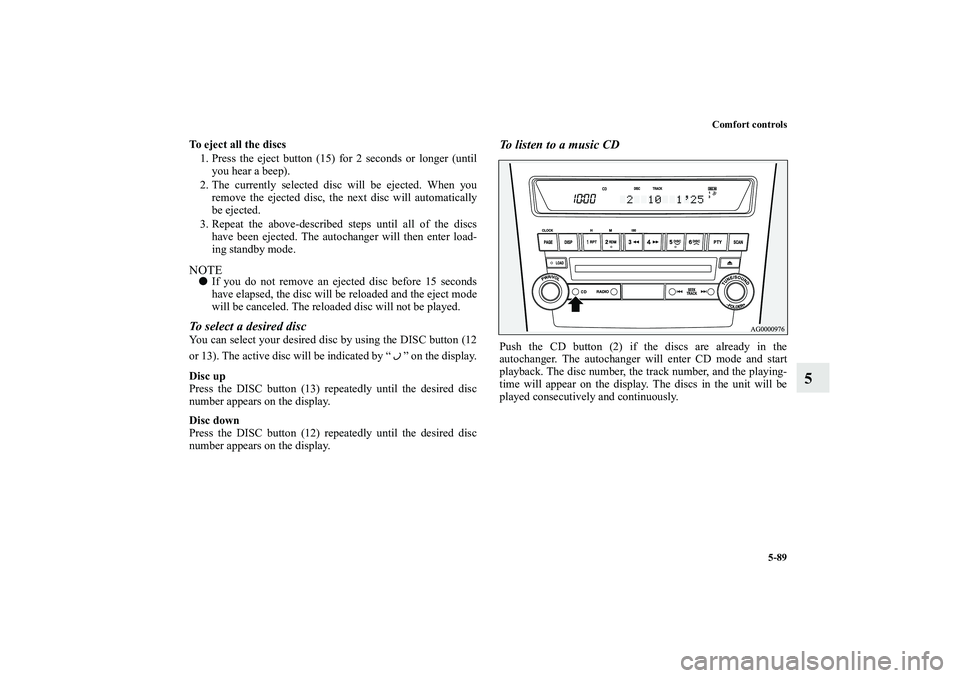
To listen to a music CDPush the CD button (2) if the discs are already in the
autochanger. The autochanger will enter CD mode and start
playback. The disc number, the track number, and the playing-
time will appear on the display. The discs in the unit will be
played consecutively and continuously.
BK0115300US.book 89 ページ 2009年7月16日 木曜日 午前9時13分
Page 552 of 714
Comfort controls
5-125
5 Error codes (SIRIUS Satellite Radio)
(if so equipped)
N00760300082
If an error code (1) appears in the display, take action in accordance with the table below.
Error display
Problem
Description
Repair
ANTENNA ↔ ERROR Antenna errorThe antenna may be faulty, not securely
connected, or open-circuited.Take the vehicle to your authorized
Mitsubishi Motors dealer or a repair
facility of your choice.
ACQUIRING Cannot pick up signal. The signal is too weak to be received.Move to a place where the signal is
easy to receive.
CALL ↔ 888-539-SIRIUS Unauthorized channelContract does not include reception of this
channel.Contact SIRIUS Satellite Radio and
obtain a contract.
NO CHANNELThere is no selectable
channel.There is no selectable channel. Cancel SKIP settings.
BK0115300US.book 125 ページ 2009年7月16日 木曜日 午前9時13分
Page 561 of 714
5-134 Comfort controls
5Antenna
N00734200400
Roof antenna (except for vehicles with SIRIUS
satellite radio)When listening to the radio, fold the antenna toward the rear of
the vehicle until you hear it click.
To r e m o v eTurn the pole (A) counterclockwise.To i n s t a l lScrew the pole (A) clockwise into the base (B) until it is
securely retained.NOTE�
Be sure to remove the roof antenna in the following cases:
When using an automatic car wash
When covering your vehicle with a car cover
�
Before driving into a structure that has a low ceiling, fold
down the antenna toward the front of the vehicle to pre-
vent it from hitting the ceiling.
BK0115300US.book 134 ページ 2009年7月16日 木曜日 午前9時13分
Page 562 of 714
Comfort controls
5-135
5
Roof antenna (for vehicles with SIRIUS satellite
radio)For securing the best satellite reception, the angle of the
antenna is fixed.
To r e m o v eTurn the pole (A) counterclockwise.To i n s t a l lScrew the pole (A) clockwise into the base (B) until it is
securely retained.NOTE�
Be sure to remove the roof antenna in the following cases:
When entering a place with low clearance
When using an automatic car wash
When covering your vehicle with a car cover
BK0115300US.book 135 ページ 2009年7月16日 木曜日 午前9時13分
Page 577 of 714
6-8 For emergencies
6
Removing and storing the jack and toolsTo r e m o v e1. Turn the knob (A) counterclockwise and remove the lid
(B).2. Undo the securing band (C) around the tools and remove
the tools.
BK0115300US.book 8 ページ 2009年7月16日 木曜日 午前9時13分
Page 578 of 714
For emergencies
6-9
6
3. Retract the jack to remove it from the attaching hardware
(D).
To s t o r e1. Retract the jack, then return it to its original position.
2. Extend the jack and firmly set it in its storage area.
3. Place the tools back in the tool case, return the case to its
original position and firmly fix it in place with the secur-
ing band.
4. Attach the lid and tighten the knob by turning it clock-
wise.
To retract
To retract
To e x t e n d
BK0115300US.book 9 ページ 2009年7月16日 木曜日 午前9時13分
Page 584 of 714
For emergencies
6-15
6
3. Open the lower gate.
Refer to “Flap-fold tailgate: To open” on page 3-60.
4. With the wheel nut wrench, firmly tighten the tire hanger
mounting bolt by turning it clockwise.
5. Install the cover over the tire hanger mounting bolt.
To change a tire
N00849800418
1. On vehicles with wheel covers, first remove the covers
(refer to “Wheel covers” on page 6-23). Then, loosen the
wheel nuts with the wheel nut wrench. Do not remove the
wheel nuts yet.
CAUTION
!�
Confirm that the tire hanger is firmly secured after
storing the spare tire. If the tire hanger is not
secured, it could drop out while driving, causing an
accident.
�
When hooking or unhooking the tire hanger, be sure
to hold the tire hanger firmly to prevent it from
dropping on your foot.
BK0115300US.book 15 ページ 2009年7月16日 木曜日 午前9時13分