Page 287 of 514
3-198 Features and controls
3
Interior light switch
N00537900132
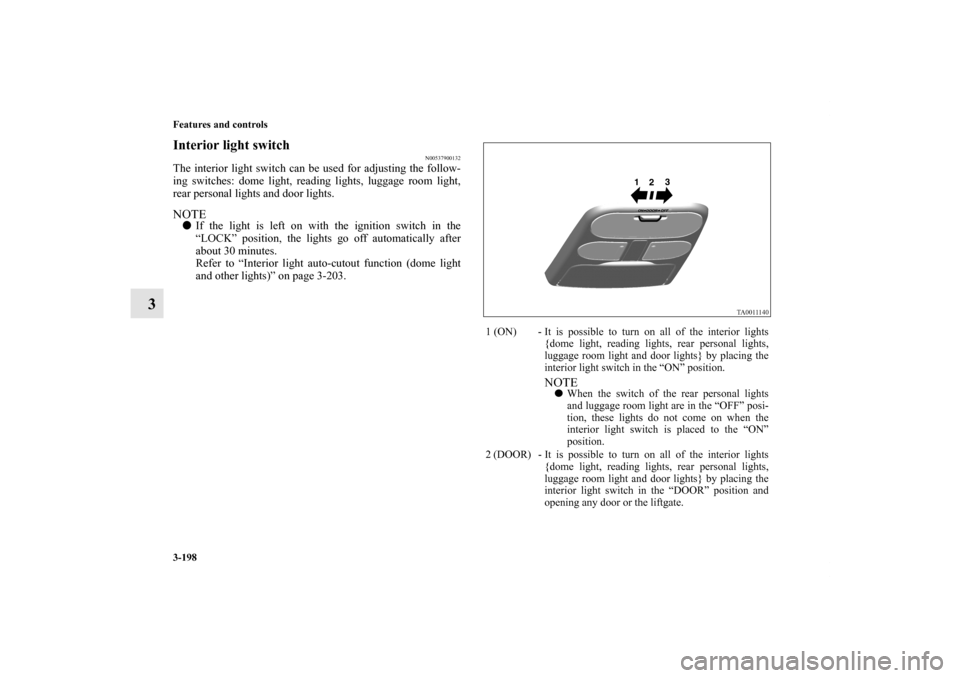
The interior light switch can be used for adjusting the follow-
ing switches: dome light, reading lights, luggage room light,
rear personal lights and door lights.NOTE�If the light is left on with the ignition switch in the
“LOCK” position, the lights go off automatically after
about 30 minutes.
Refer to “Interior light auto-cutout function (dome light
and other lights)” on page 3-203.
1 (ON) - It is possible to turn on all of the interior lights
{dome light, reading lights, rear personal lights,
luggage room light and door lights} by placing the
interior light switch in the “ON” position.
NOTE�When the switch of the rear personal lights
and luggage room light are in the “OFF” posi-
tion, these lights do not come on when the
interior light switch is placed to the “ON”
position.
2 (DOOR) - It is possible to turn on all of the interior lights
{dome light, reading lights, rear personal lights,
luggage room light and door lights} by placing the
interior light switch in the “DOOR” position and
opening any door or the liftgate.
BK0102600US.book 198 ページ 2009年3月30日 月曜日 午後2時2分
Page 288 of 514
Features and controls
3-199
3
NOTE�With the switches on the rear personal lights
and luggage room light in the “OFF” position,
the rear personal lights and luggage room light
stay off when the interior light switch is in the
“DOOR” position and a door or the liftgate is
opened.
When all the doors and the liftgate are closed, the
interior lights are dimmed gradually for 30 seconds
then go off. However, the lights go off immediately
without being dimmed if:
�The ignition switch is turned to the “ON”
position.
�All the doors and the liftgate are locked using
the lock knobs of the front doors, the power
door lock switch, or the remote control switch
from the keyless entry system.NOTE�If the ignition key is removed with the doors
and the liftgate closed, the interior lights come
on for 30 seconds period then go off.
�When the switches of the reading lights, rear
personal lights and luggage room light are in
the “ON” position, these lights do not go off
when all the doors and the liftgate are closed.
�In a vehicles with multi center display, the
multi center display can be used to change the
dimming period of interior lights.
For details, refer to “Setting and customiza-
tion” on page 3-108.3 (OFF) - It is possible to turn off all of the interior lights
{dome light, reading lights, rear personal lights,
luggage room light and door lights} by placing the
interior light switch in the “OFF” position.
NOTE�When the switches of the reading lights, rear
personal lights and luggage room light are in
the “ON” position, these lights do not go off
when the interior light switch is placed to the
“OFF” position.
BK0102600US.book 199 ページ 2009年3月30日 月曜日 午後2時2分
Page 289 of 514
3-200 Features and controls
3
Dome light
N00525400329
The dome light can be operated by sliding the interior light
switch.NOTE�The dome light switch is used for interior light switch. For
details, refer to “Interior light switch” on page 3-198.
�It is impossible to turn on or off only the dome light.
Reading lights
N00537600126
Push the reading light switch (A) to turn on the light. This light
produces a spot beam for convenient use as a map light.
Push the reading light switch again to turn the light off.
The reading light comes on when any door or the liftgate is
opened and goes off when all the doors and the liftgate are
closed.NOTE�When the interior light switch is in the “OFF” position,
the reading lights do not come on and go off when the
doors or liftgate are opened and closed.
BK0102600US.book 200 ページ 2009年3月30日 月曜日 午後2時2分
Page 292 of 514
Features and controls
3-203
3
Interior light auto-cutout function (dome light
and other lights)
N00526300367
If any of the interior lights are left on with the ignition switch
in the “LOCK” position, the lights go off automatically after
about 30 minutes.
The lights come on again if the ignition switch is turned to the
“ON” or “ACC” position, any door or the liftgate is opened and
closed, or the keyless entry system is operated.NOTE�In a vehicle with a multi center display, the multi center
display can be used to alter functions as listed below.
For details, please refer to “Setting and customization” on
page 3-108.
• The interior light auto-cutout function can be turned off.
• The interior light auto-cutout delay can be changed.
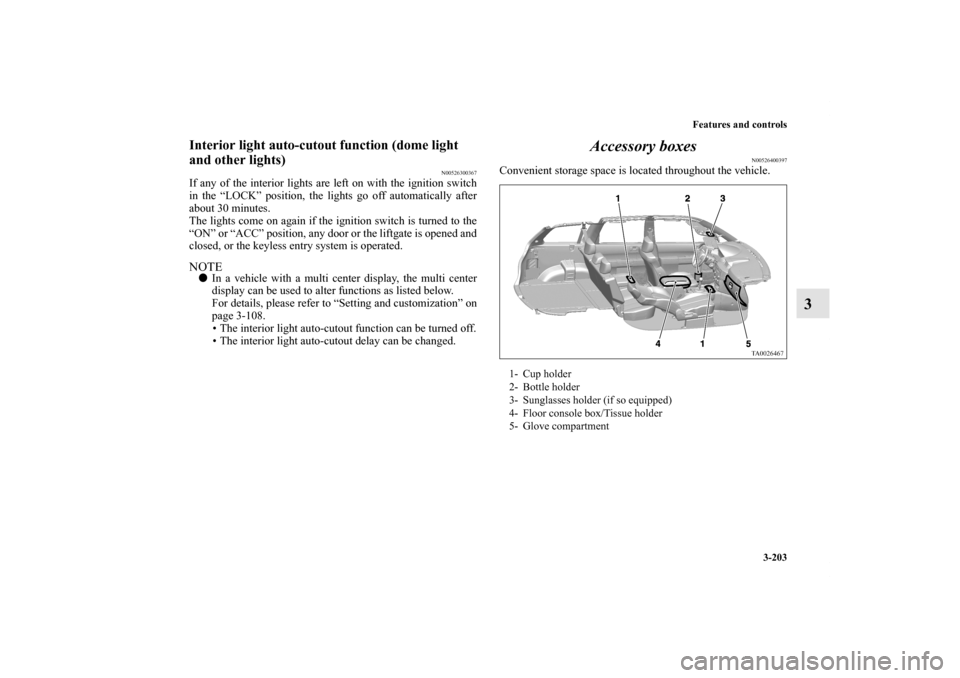
Accessory boxes
N00526400397
Convenient storage space is located throughout the vehicle.1- Cup holder
2- Bottle holder
3- Sunglasses holder (if so equipped)
4- Floor console box/Tissue holder
5- Glove compartment
BK0102600US.book 203 ページ 2009年3月30日 月曜日 午後2時2分
Page 303 of 514

4-4 Driving safety
4
Floor mats Defrosters
Check these by selecting the defroster mode, and set the blower
switch on high. You should be able to feel the air blowing
against the windshield.
(Refer to “Defrosting or defogging the windshield and door
windows” on page 5-12, 5-23.)TiresCheck all the tires for heavy tread wear or uneven wear pat-
terns. Look for stones, nails, glass, or other objects stuck in the
tread. Look for any tread cuts or sidewall cracks. Check the
wheel nuts for tightness, and the tires (including spare tire) for
proper pressures. Replace your tires before they are heavily
worn out.
As your vehicle is equipped with a tire pressure monitoring
system, there is a risk of damage to the tire inflation pressure
sensors when the tire is replaced on the rim. Tire replacement
should, therefore, be performed only by an authorized Mitsub-
ishi Motors dealer.LightsHave someone watch while you turn all the exterior lights on
and off. Also check the turn signal indicators and high-beam
indicators on the instrument panel. Fluid leaksCheck the ground under the vehicle after parking overnight, for
fuel, water, oil, or other leaks. Make sure all the fluid levels are
correct. Also, if you can smell fuel, you need to find out why
immediately and have it fixed.
WA R N I N G
!�Keep floor mats clear of the pedals by correctly lay-
ing floor mats that are suitable for the vehicle.
To prevent the floor mats from slipping out position,
securely retain them using the hooks etc.
Note that laying a floor mat over a pedal or laying
one floor mat on top of another can obstruct pedal
operation and lead to a serious accident.
BK0102600US.book 4 ページ 2009年3月30日 月曜日 午後2時2分
Page 308 of 514
Driving safety
4-9
4
Tire and loading information placard
N00630100136
The tire and loading information placard is located on the
inside sill of the driver’s door. This placard shows the maximum number of occupants permit-
ted to ride in your vehicle as well as “the combined weight of
occupants and cargo” (C), which is called the vehicle capacity
weight. The weight of any non-factory-installed options, as
well as the tongue weight of a trailer being towed and roof load
is included in the definition of “cargo” when determining the
vehicle capacity weight. This placard also tells you the size and
recommended inflation pressure for the original equipment
tires on your vehicle. For more information, refer to “Tires” on
page 7-20.
Ty p e 1
A- Vehicles sold in U.S.A. and Canada (Type 1)
B- Vehicles sold in Canada (Type 2)
BK0102600US.book 9 ページ 2009年3月30日 月曜日 午後2時2分
Page 311 of 514
4-12 Driving safety
4Cargo loads
N00629700318
Cargo load precautionsTo determine the cargo load capacity for your vehicle, subtract
the weight of all vehicle occupants from the vehicle capacity
weight. For added information, if needed, refer to “Step for
Determining Correct Load Limit” on page 4-10.
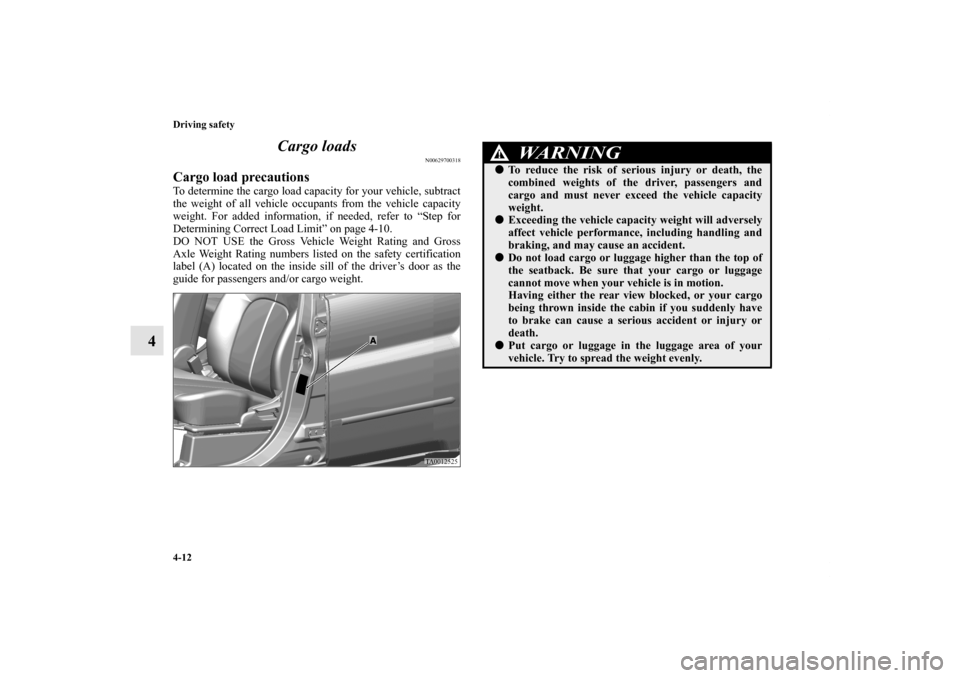
DO NOT USE the Gross Vehicle Weight Rating and Gross
Axle Weight Rating numbers listed on the safety certification
label (A) located on the inside sill of the driver’s door as the
guide for passengers and/or cargo weight.
WA R N I N G
!�To reduce the risk of serious injury or death, the
combined weights of the driver, passengers and
cargo and must never exceed the vehicle capacity
weight.�Exceeding the vehicle capacity weight will adversely
affect vehicle performance, including handling and
braking, and may cause an accident.�Do not load cargo or luggage higher than the top of
the seatback. Be sure that your cargo or luggage
cannot move when your vehicle is in motion.
Having either the rear view blocked, or your cargo
being thrown inside the cabin if you suddenly have
to brake can cause a serious accident or injury or
death.�Put cargo or luggage in the luggage area of your
vehicle. Try to spread the weight evenly.
BK0102600US.book 12 ページ 2009年3月30日 月曜日 午後2時2分
Page 312 of 514
Driving safety
4-13
4
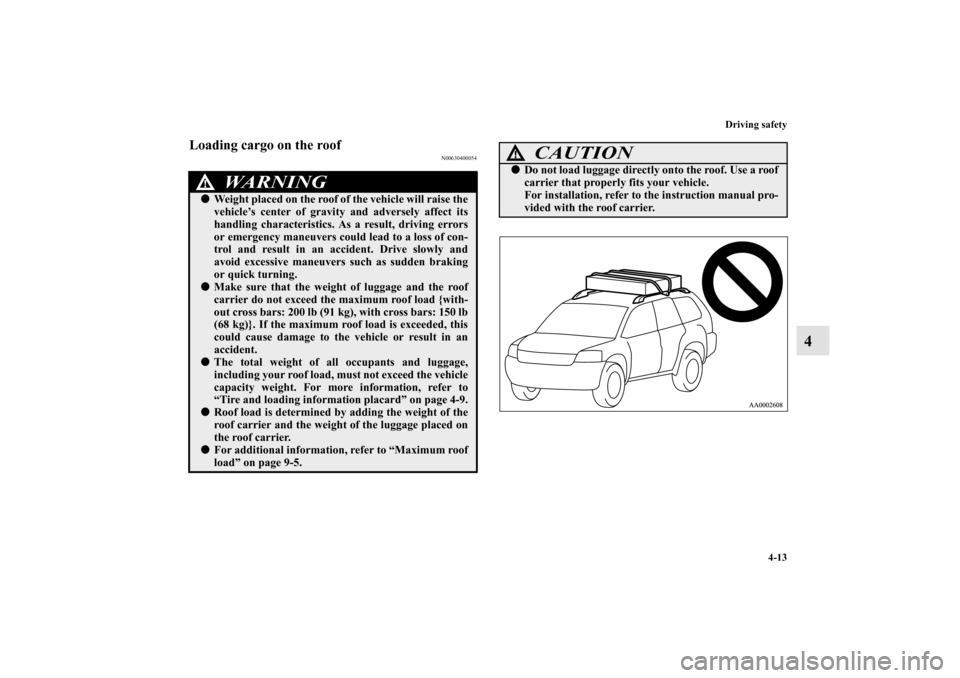
Loading cargo on the roof
N00630400054
WA R N I N G
!�Weight placed on the roof of the vehicle will raise the
vehicle’s center of gravity and adversely affect its
handling characteristics. As a result, driving errors
or emergency maneuvers could lead to a loss of con-
trol and result in an accident. Drive slowly and
avoid excessive maneuvers such as sudden braking
or quick turning.�Make sure that the weight of luggage and the roof
carrier do not exceed the maximum roof load {with-
out cross bars: 200 lb (91 kg), with cross bars: 150 lb
(68 kg)}. If the maximum roof load is exceeded, this
could cause damage to the vehicle or result in an
accident.�The total weight of all occupants and luggage,
including your roof load, must not exceed the vehicle
capacity weight. For more information, refer to
“Tire and loading information placard” on page 4-9.�Roof load is determined by adding the weight of the
roof carrier and the weight of the luggage placed on
the roof carrier.�For additional information, refer to “Maximum roof
load” on page 9-5.
CAUTION
!�Do not load luggage directly onto the roof. Use a roof
carrier that properly fits your vehicle.
For installation, refer to the instruction manual pro-
vided with the roof carrier.
BK0102600US.book 13 ページ 2009年3月30日 月曜日 午後2時2分