Page 19 of 230

MOBILITYAT A GLANCE CONTROLS DRIVING TIPS ENTERTAINMENT
17
NAVIGATION REFERENCE
Setup
>Switching off Control Display
>Tone and display settings
>Settings for your vehicle, e.g. for the central
locking system
>Display of service requirements and dates
for statutory emissions and vehicle inspec-
tions
>Check Control
Operating principle
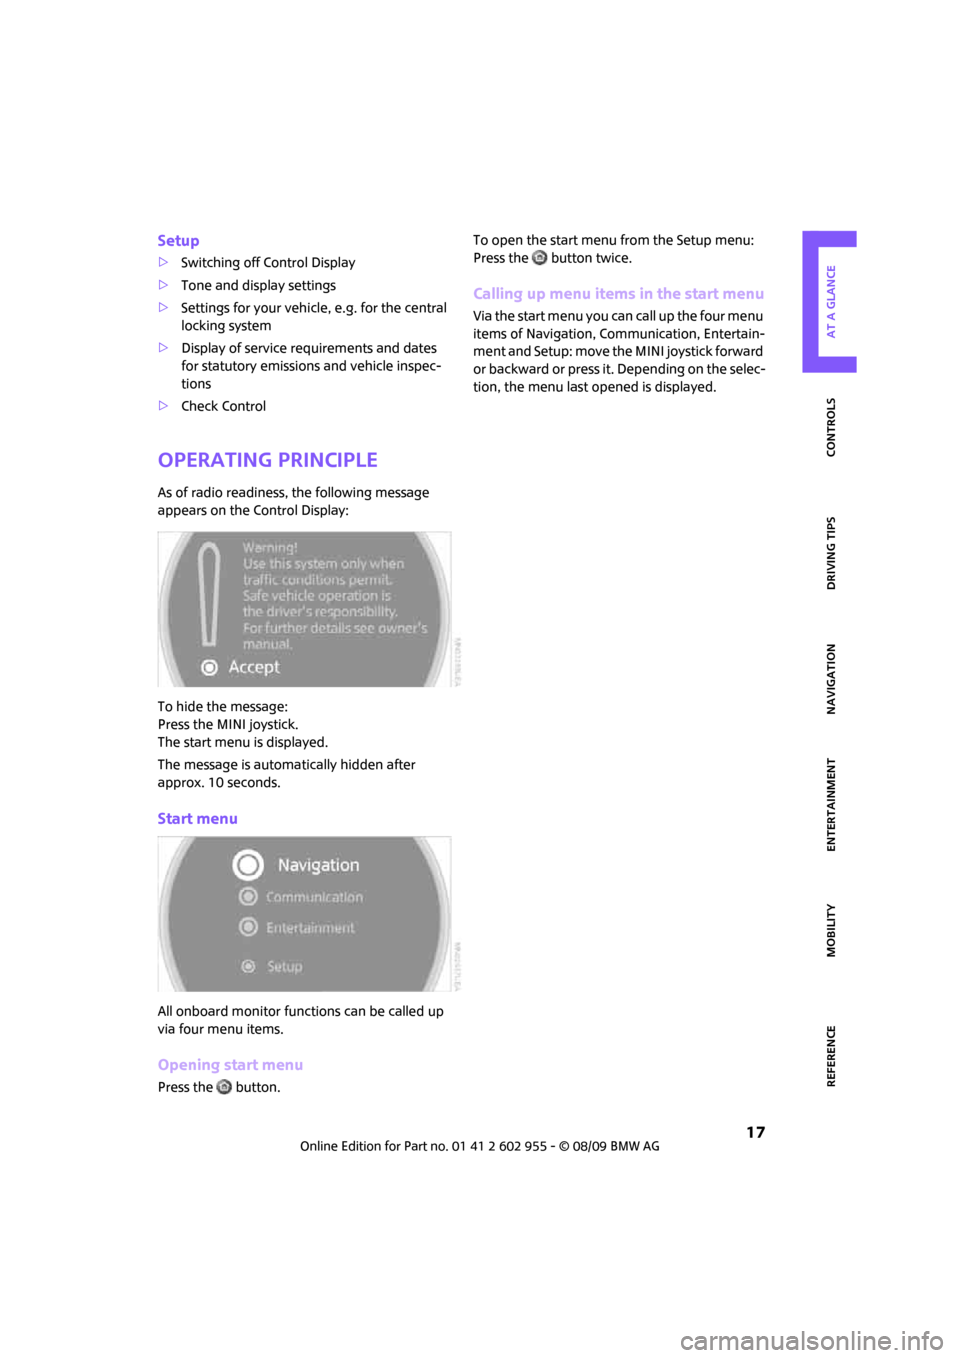
As of radio readiness, the following message
appears on the Control Display:
To hide the message:
Press the MINI joystick.
The start menu is displayed.
The message is automatically hidden after
approx. 10 seconds.
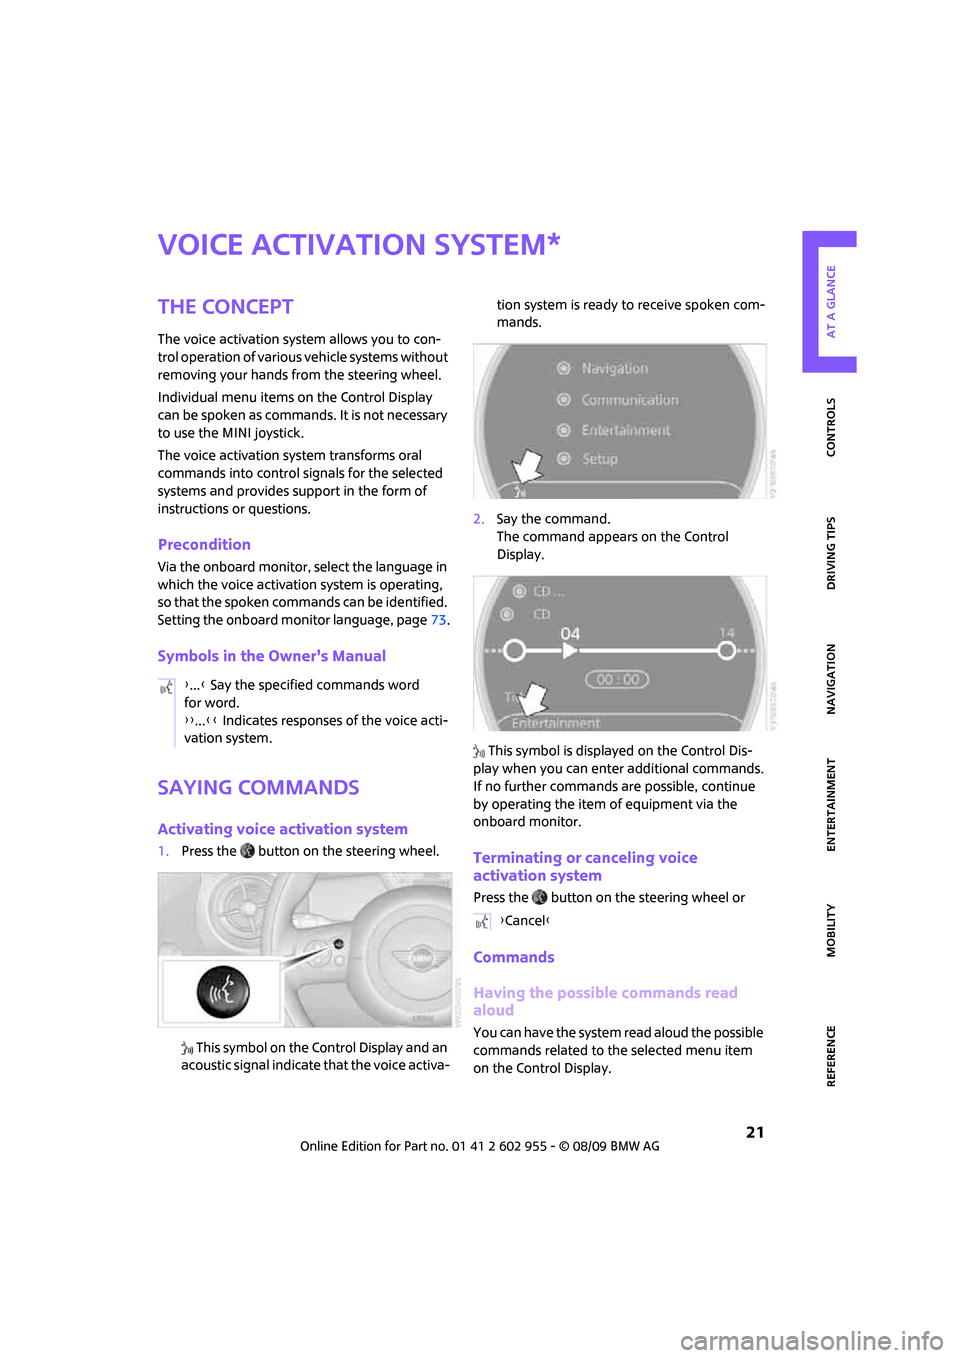
Start menu
All onboard monitor functions can be called up
via four menu items.
Opening start menu
Press the button.To open the start menu from the Setup menu:
Press the button twice.
Calling up menu items in the start menu
Via the start menu you can call up the four menu
items of Navigation, Communication, Entertain-
m e n t a n d S e t u p : m o v e t h e M I N I j o y s t i c k f o r w a r d
or backward or press it. Depending on the selec-
tion, the menu last opened is displayed.
Page 20 of 230
Onboard monitor
18
Changing between menu items
Press the button.
Pressing the button repeatedly opens the Com-
munication, Navigation and Entertainment
menu items in succession. The screen that was
last open is displayed.
Displays in menu
1Each menu is subdivided into fields.
2White symbol: the field is active.
Gray symbol: the field is inactive.
1Menu items are usually grouped in horizon-
tal or vertical lists.
2Additional menu items can be selected in
this field.
3Settings are represented graphically or as
numerical values.
4A curved line shows that menu items can be
selected in lists. The beginning and end of a
list are each marked by a circle.
Page 21 of 230
MOBILITYAT A GLANCE CONTROLS DRIVING TIPS ENTERTAINMENT
19
NAVIGATION REFERENCE
Operating principle at a glance
The following is a general description of opera-
tions using the onboard monitor.For an exemplary step-by-step application, refer
to Setting the time, page68.
1Highlighting a menu item:
>Turn the MINI joystick; the highlight
marker moves
>Menu items that are displayed in color on
the Control Display can be highlighted
2Confirming a menu item:
>Press the MINI joystick
>New menu items are displayed or the
function is executed
>Select a function by highlighting and con-
firming it
3Highlighting a menu item: refer to14Switching between fields:
>Briefly move the MINI joystick to the left,
right, forward or backward
>Release the MINI joystick
5Adjusting settings:
>Turn the MINI joystick
>Graphic display, numerical value or text
displays can be changed
>Confirm by switching to another field
Page 23 of 230

MOBILITYAT A GLANCE CONTROLS DRIVING TIPS ENTERTAINMENT
21
NAVIGATION REFERENCE
Voice activation system
The concept
The voice activation system allows you to con-
trol operation of various vehicle systems without
removing your hands from the steering wheel.
Individual menu items on the Control Display
can be spoken as commands. It is not necessary
to use the MINI joystick.
The voice activation system transforms oral
commands into control signals for the selected
systems and provides support in the form of
instructions or questions.
Precondition
Via the onboard monitor, select the language in
which the voice activation system is operating,
so that the spoken commands can be identified.
Setting the onboard monitor language, page73.
Symbols in the Owner's Manual
Saying commands
Activating voice activation system
1.Press the button on the steering wheel.
This symbol on the Control Display and an
acoustic signal indicate that the voice activa-tion system is ready to receive spoken com-
mands.
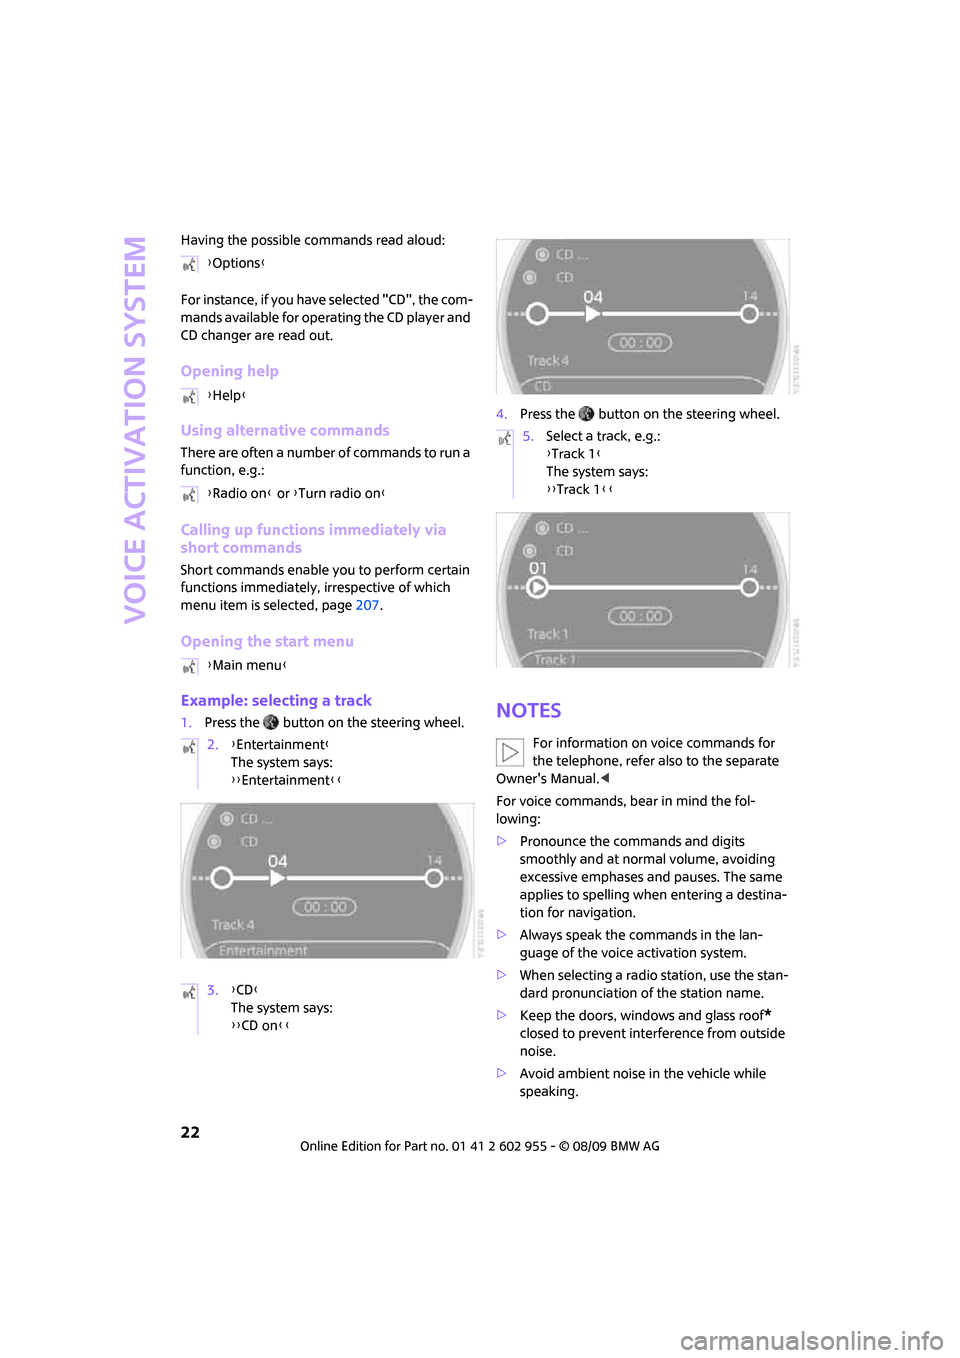
2.Say the command.
The command appears on the Control
Display.
This symbol is displayed on the Control Dis-
play when you can enter additional commands.
If no further commands are possible, continue
by operating the item of equipment via the
onboard monitor.Terminating or canceling voice
activation system
Press the button on the steering wheel or
Commands
Having the possible commands read
aloud
You can have the system read aloud the possible
commands related to the selected menu item
on the Control Display.
*
{...} Say the specified commands word
for word.
{{...}} Indicates responses of the voice acti-
vation system.
{Cancel}
Page 24 of 230

Voice activation system
22
Having the possible commands read aloud:
For instance, if you have selected "CD", the com-
mands available for operating the CD player and
CD changer are read out.
Opening help
Using alternative commands
There are often a number of commands to run a
function, e.g.:
Calling up functions immediately via
short commands
Short commands enable you to perform certain
functions immediately, irrespective of which
menu item is selected, page207.
Opening the start menu
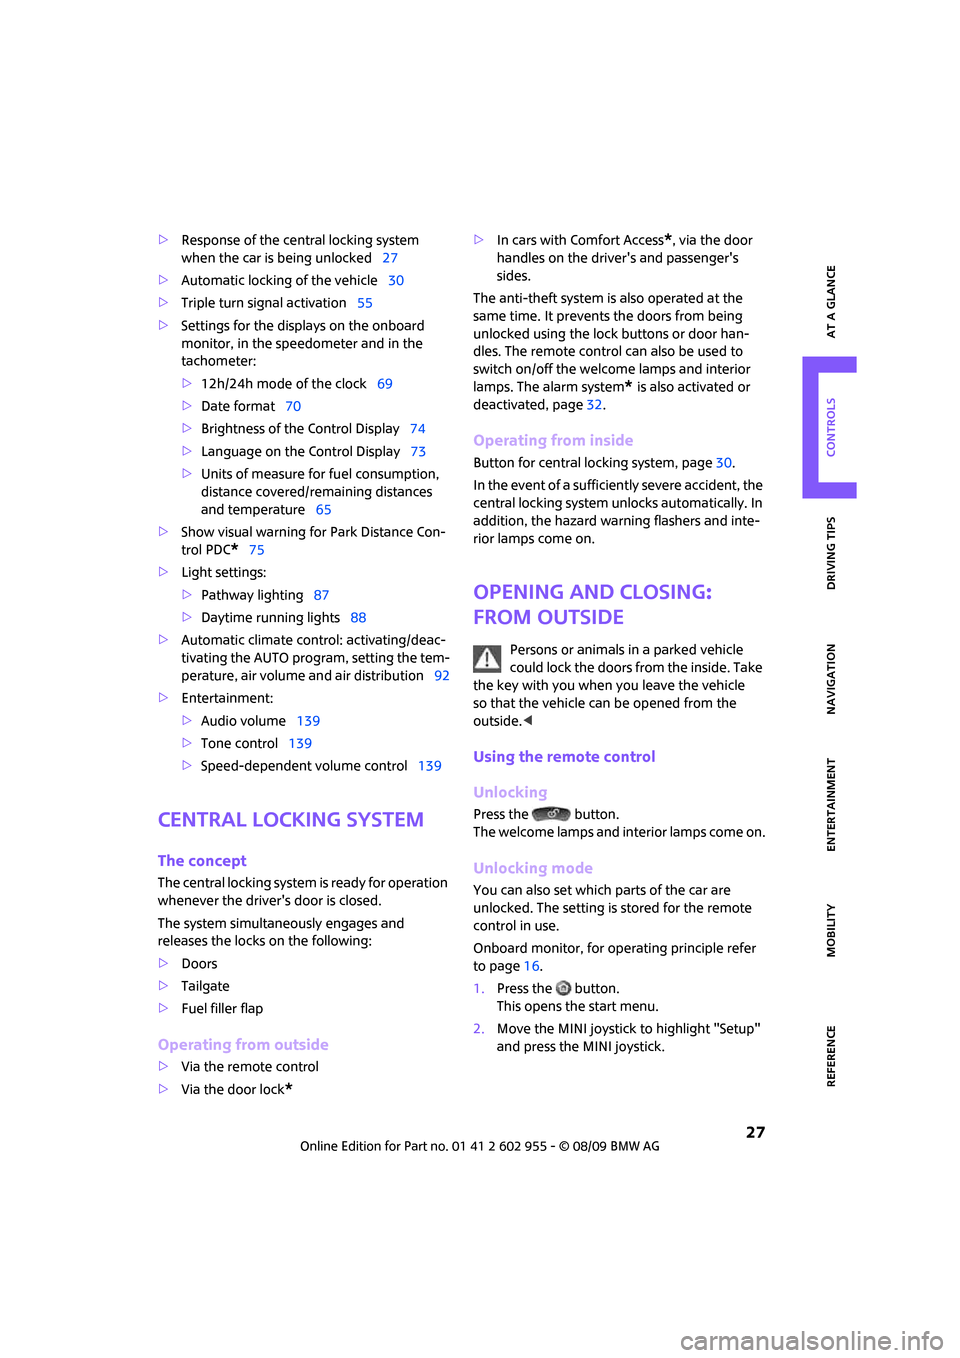
Example: selecting a track
1.Press the button on the steering wheel.4.Press the button on the steering wheel.Notes
For information on voice commands for
the telephone, refer also to the separate
Owner's Manual.<
For voice commands, bear in mind the fol-
lowing:
>Pronounce the commands and digits
smoothly and at normal volume, avoiding
excessive emphases and pauses. The same
applies to spelling when entering a destina-
tion for navigation.
>Always speak the commands in the lan-
guage of the voice activation system.
>When selecting a radio station, use the stan-
dard pronunciation of the station name.
>Keep the doors, windows and glass roof
*
closed to prevent interference from outside
noise.
>Avoid ambient noise in the vehicle while
speaking. {Options}
{Help}
{Radio on} or {Turn radio on}
{Main menu}
2.{Entertainment}
The system says:
{{Entertainment}}
3.{CD}
The system says:
{{CD on}}
5.Select a track, e.g.:
{Track 1}
The system says:
{{Track 1}}
Page 25 of 230
MOBILITYAT A GLANCE CONTROLS DRIVING TIPS ENTERTAINMENT
23
NAVIGATION REFERENCE
Page 27 of 230
CONTROLS
DRIVING TIPS
NAVIGATION
ENTERTAINMENT
MOBILITY
REFERENCE AT A GLANCE
CONTROLS
Page 29 of 230

MOBILITYAT A GLANCE CONTROLS DRIVING TIPS ENTERTAINMENT
27
NAVIGATION REFERENCE
>Response of the central locking system
when the car is being unlocked27
>Automatic locking of the vehicle30
>Triple turn signal activation55
>Settings for the displays on the onboard
monitor, in the speedometer and in the
tachometer:
>12h/24h mode of the clock69
>Date format70
>Brightness of the Control Display74
>Language on the Control Display73
>Units of measure for fuel consumption,
distance covered/remaining distances
and temperature65
>Show visual warning for Park Distance Con-
trol PDC
*75
>Light settings:
>Pathway lighting87
>Daytime running lights88
>Automatic climate control: activating/deac-
tivating the AUTO program, setting the tem-
perature, air volume and air distribution92
>Entertainment:
>Audio volume139
>Tone control139
>Speed-dependent volume control139
Central locking system
The concept
The central locking system is ready for operation
whenever the driver's door is closed.
The system simultaneously engages and
releases the locks on the following:
>Doors
>Tailgate
>Fuel filler flap
Operating from outside
>Via the remote control
>Via the door lock
*
>In cars with Comfort Access*, via the door
handles on the driver's and passenger's
sides.
The anti-theft system is also operated at the
same time. It prevents the doors from being
unlocked using the lock buttons or door han-
dles. The remote control can also be used to
switch on/off the welcome lamps and interior
lamps. The alarm system
* is also activated or
deactivated, page32.
Operating from inside
Button for central locking system, page30.
In the event of a sufficiently severe accident, the
central locking system unlocks automatically. In
addition, the hazard warning flashers and inte-
rior lamps come on.
Opening and closing:
from outside
Persons or animals in a parked vehicle
could lock the doors from the inside. Take
the key with you when you leave the vehicle
so that the vehicle can be opened from the
outside.<
Using the remote control
Unlocking
Press the button.
The welcome lamps and interior lamps come on.
Unlocking mode
You can also set which parts of the car are
unlocked. The setting is stored for the remote
control in use.
Onboard monitor, for operating principle refer
to page16.
1.Press the button.
This opens the start menu.
2.Move the MINI joystick to highlight "Setup"
and press the MINI joystick.