Page 24 of 330

Autounlock
This feature automatically unlocks all vehicle doors when the driver’s
door is opened within 10 minutes of the ignition being turned off.
1. To disable/enable autounlock
feature, select this function from the
SETUP menu for the current display
mode.
2. Press RESET to turn autounlock
on or off.
Blind spot system (if equipped)
The blind spot information system is designed to assist the driver by
monitoring the side areas on both sides of the vehicle.
1. Select this function from the
SETUP menu to disable the system.
2. Press RESET to turn blind spot
off or on.
Cross traffic alert system (if equipped)
The cross traffic alert system is designed to assist the driver by
monitoring the areas toward the rear of the vehicle.
1. Select this function from the
SETUP menu to disable/enable the
system.
2. Press RESET to cross traffic off
or on.
Park aid (Reverse sensing system) (if equipped)
This feature sounds a warning tone to warn the driver of obstacles near
the rear bumper, and functions only when R (Reverse) gear is selected.
1. Select this function from the
SETUP menu to disable the reverse
sensing system feature.
2. Press RESET to turn the rear
park assist off. When R (Reverse)
gear is selected, PARK AID OFF will be displayed.
Instrument Cluster
24
2010 Milan(mln)
Owners Guide, 3rd Printing
USA(fus)
Page 27 of 330

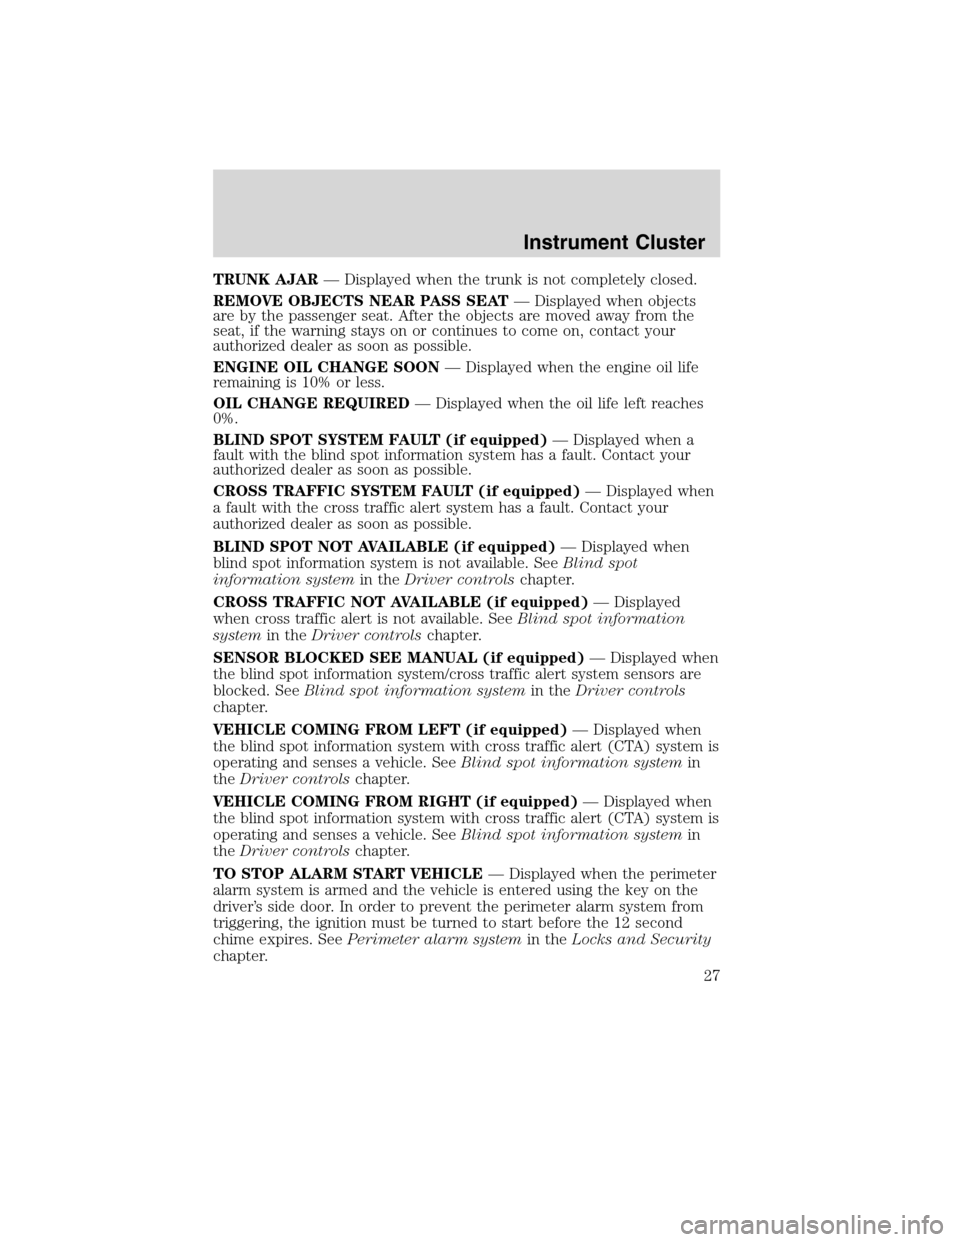
TRUNK AJAR— Displayed when the trunk is not completely closed.
REMOVE OBJECTS NEAR PASS SEAT— Displayed when objects
are by the passenger seat. After the objects are moved away from the
seat, if the warning stays on or continues to come on, contact your
authorized dealer as soon as possible.
ENGINE OIL CHANGE SOON— Displayed when the engine oil life
remaining is 10% or less.
OIL CHANGE REQUIRED— Displayed when the oil life left reaches
0%.
BLIND SPOT SYSTEM FAULT (if equipped)— Displayed when a
fault with the blind spot information system has a fault. Contact your
authorized dealer as soon as possible.
CROSS TRAFFIC SYSTEM FAULT (if equipped)— Displayed when
a fault with the cross traffic alert system has a fault. Contact your
authorized dealer as soon as possible.
BLIND SPOT NOT AVAILABLE (if equipped)— Displayed when
blind spot information system is not available. SeeBlind spot
information systemin theDriver controlschapter.
CROSS TRAFFIC NOT AVAILABLE (if equipped)— Displayed
when cross traffic alert is not available. SeeBlind spot information
systemin theDriver controlschapter.
SENSOR BLOCKED SEE MANUAL (if equipped)— Displayed when
the blind spot information system/cross traffic alert system sensors are
blocked. SeeBlind spot information systemin theDriver controls
chapter.
VEHICLE COMING FROM LEFT (if equipped)— Displayed when
the blind spot information system with cross traffic alert (CTA) system is
operating and senses a vehicle. SeeBlind spot information systemin
theDriver controlschapter.
VEHICLE COMING FROM RIGHT (if equipped)— Displayed when
the blind spot information system with cross traffic alert (CTA) system is
operating and senses a vehicle. SeeBlind spot information systemin
theDriver controlschapter.
TO STOP ALARM START VEHICLE— Displayed when the perimeter
alarm system is armed and the vehicle is entered using the key on the
driver’s side door. In order to prevent the perimeter alarm system from
triggering, the ignition must be turned to start before the 12 second
chime expires. SeePerimeter alarm systemin theLocks and Security
chapter.
Instrument Cluster
27
2010 Milan(mln)
Owners Guide, 3rd Printing
USA(fus)
Page 28 of 330
CHECK AWD (if equipped)— Displayed when a problem exists with
the AWD system. Contact your authorized dealer as soon as possible.
Temporary messages:
INTKEY COULD NOT PROGRAM— Displayed when an attempt is
made to program an invalid key or more than the maximum number of
integrated keys allowed. For more information on integrated key, refer to
theLocks and Securitychapter.
Instrument Cluster
28
2010 Milan(mln)
Owners Guide, 3rd Printing
USA(fus)
Page 29 of 330

AUDIO SYSTEMS
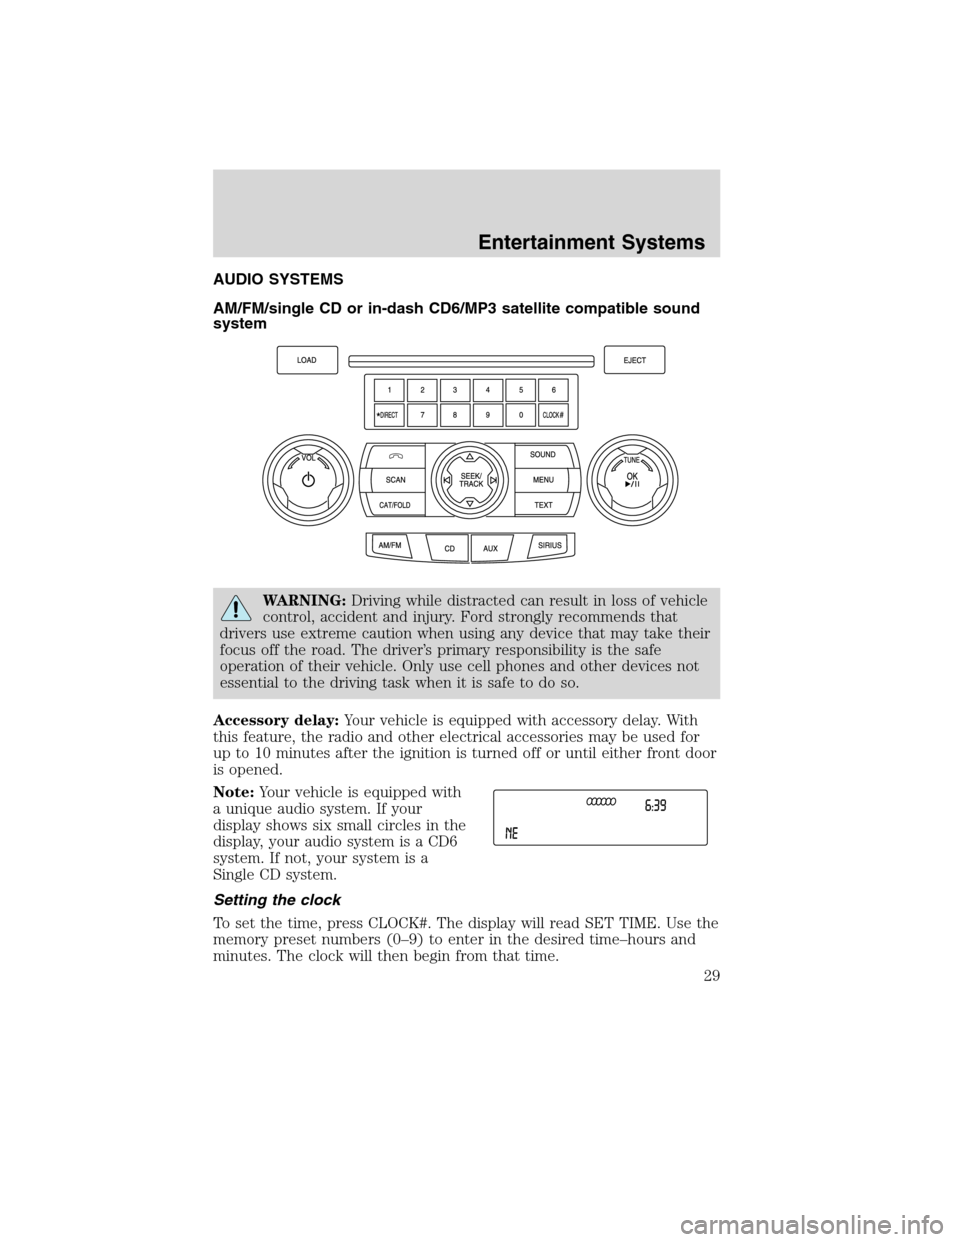
AM/FM/single CD or in-dash CD6/MP3 satellite compatible sound
system
WARNING:Driving while distracted can result in loss of vehicle
control, accident and injury. Ford strongly recommends that
drivers use extreme caution when using any device that may take their
focus off the road. The driver’s primary responsibility is the safe
operation of their vehicle. Only use cell phones and other devices not
essential to the driving task when it is safe to do so.
Accessory delay:Your vehicle is equipped with accessory delay. With
this feature, the radio and other electrical accessories may be used for
up to 10 minutes after the ignition is turned off or until either front door
is opened.
Note:Your vehicle is equipped with
a unique audio system. If your
display shows six small circles in the
display, your audio system is a CD6
system. If not, your system is a
Single CD system.
Setting the clock
To set the time, press CLOCK#. The display will read SET TIME. Use the
memory preset numbers (0–9) to enter in the desired time–hours and
minutes. The clock will then begin from that time.
Entertainment Systems
29
2010 Milan(mln)
Owners Guide, 3rd Printing
USA(fus)
Page 35 of 330

Note:If there are no songs presently saved, the display will read NO
SONGS.
c. DELETE ALL SONGS:Press OK to delete all song’s from the
system’s memory. The display will read ARE YOU SURE ? Press OK to
confirm deletion of all saved songs and the display will read ALL
DELETED.
Note:If there are no songs presently saved, the display will read NO
SONGS.
d. DISABLE ALERTS/ENABLE ALERTS:Press OK to
enable/disable the satellite alert status which alerts you when your
selected songs are playing on a satellite radio channel. (The system
default is disabled.) SONG ALERTS ENABLED/DISABLED will appear
in the display. The menu listing will display the opposite state. For
example, if you have chosen to enable the song alerts, the menu
listing will read DISABLE as the alerts are currently on, so your other
optionistoturnthemoff.
•CHANNEL LOCKOUT MENU-Press OK to enter the Channel
Lockout menu. Press the
/to scroll through the following
options:
a. LOCK/UNLOCK THIS CHANNEL:Press OK when
LOCK/UNLOCK THIS CHANNEL is displayed and the display will read
ENTER PIN. Enter your four-digit PIN (initial PIN is 1234) and the
system will lock/unlock the channel and CHANNEL LOCKED or
UNLOCKED will be displayed.
Note:You must be tuned to the specific channel you want to
lock/unlock when using this feature.
b. CHANGE PIN:Press OK when CHANGE PIN is displayed. The
display will read ENTER OLD PIN. Enter your current (old) PINand
when the system accepts your entry it will display ENTER NEW PIN.
Enter your new four-digit PIN and the system will save the new PIN
and PIN SAVED will display.
c. UNLOCK ALL CHANNELS:Press OK when UNLOCK ALL
CHANNELS is displayed and the display will read ENTER PIN. Enter
your four-digit PIN and the system will unlock all channels and the
display will read CHANNEL UNLOCKED.
d. RESET PIN:Press OK when RESET PIN is displayed. The display
will read ARE YOUR SURE. Press OK again to automatically reset the
PIN to its initial password setting (1234). PIN RESET TO DEFAULT
PIN will be displayed.
e. RETURN:Press OK when RETURN is displayed and the system
will exit back to the satellite radio menu.
Entertainment Systems
35
2010 Milan(mln)
Owners Guide, 3rd Printing
USA(fus)
Page 45 of 330

Radio Display Condition Action Required
NO TEXT Category information
not available.Category information
not available at this
time on this channel.
The system is working
properly.
NO SIGNAL Loss of signal from
the SIRIUS�satellite
or SIRIUS�tower to
the vehicle antenna.You are in a location
that is blocking the
SIRIUS�signal (i.e.,
tunnel, under an
overpass, dense foliage,
etc). The system is
working properly. When
you move into an open
area, the signal should
return.
UPDATING Update of channel
programming in
progress.No action required. The
process may take up to
three minutes.
CALL SIRIUS�
1–888–539–7474Satellite service has
been deactivated by
SIRIUS�satellite
radio.Call SIRIUS�at
1–888–539–7474 to
re-activate or resolve
subscription issues.
NAVIGATION SYSTEM (IF EQUIPPED)
Your vehicle may be equipped with a navigation system. Refer to the
Navigation Systemsupplement for further information.
SYNC�(IF EQUIPPED)
Your vehicle may be equipped with SYNC�, a hands-free communications
and entertainment system with special phone and media features. For
more information, please refer to theSYNC�supplement or to the
SYNC�section in theNavigation Systemsupplement (if equipped).
Entertainment Systems
45
2010 Milan(mln)
Owners Guide, 3rd Printing
USA(fus)
Page 59 of 330

AIMING THE HEADLAMPS
The headlamps on your vehicle are properly aimed at the assembly plant.
If your vehicle has been in an accident, the alignment of your headlamps
should be checked by your authorized dealer.
Vertical aim adjustment
1. Park the vehicle directly in front of a wall or screen on a level surface,
approximately 25 feet (7.6 meters) away.
•(1) 8 feet (2.4 meters)
•(2) Center height of lamp to
ground
•(3) 25 feet (7.6 meters)
•(4) Horizontal reference line
2. Measure the height of the
headlamp bulb center from the
ground and mark an 8 foot
(2.4 meter) horizontal reference line
on the vertical wall or screen at this
height (a piece of masking tape works well).
3. Turn on the low beam headlamps to illuminate the wall or screen and
open the hood.
To see a clearer light pattern for adjusting, you may want to block the
light from one headlamp while adjusting the other.
4. On the wall or screen you will
observe an area of high intensity
light. The top of the high intensity
area should touch the horizontal
reference line, if not, the beam will
need to be adjusted using the next
step.
Lights
59
2010 Milan(mln)
Owners Guide, 3rd Printing
USA(fus)
Page 60 of 330
5. Locate the vertical adjuster on
each headlamp. Using a Phillips #2
screwdriver, turn the adjuster either
clockwise (to adjust down) or
counterclockwise (to adjust up).
The horizontal edge of the brighter
light should touch the horizontal
reference line.
6. Close the hood and turn off the
lamps.
HORIZONTAL AIM IS NOT REQUIRED FOR THIS VEHICLE AND IS
NON-ADJUSTABLE.
TURN SIGNAL CONTROL
•Push down to activate the left
turn signal.
•Push up to activate the right turn
signal.
INTERIOR LAMPS
Dome lamps and map lamps
The map lamps are located on the
overhead console. Press the controls
to turn on the lamps.
Lights
60
2010 Milan(mln)
Owners Guide, 3rd Printing
USA(fus)