Page 61 of 339

Replacing tail/stop/turn/backup lamp bulbs
The tail/stop/turn/sidemarker/backup lamp bulbs are located in the same
portion of the tail lamp assembly, one just below the other. Follow the
same steps to replace either bulb:
1. Make sure the headlamp switch is
in the off position and then open
the liftgate to expose the lamp
assembly screws.
2. Remove the two screws from the
lamp assembly.
3. Carefully remove the lamp
assembly away from the vehicle by
pulling the assembly straight out to
expose the bulb socket. DO NOT
TIP THE LAMP ASSEMBLY SIDEWAYS.
4. Rotate the bulb socket counterclockwise and remove from lamp
assembly.
5. Pull bulb straight out of socket and push in the new bulb.
6. Install the bulb socket into the lamp assembly and rotate clockwise.
7. Carefully install the tail lamp assembly on the vehicle and secure with
two screws.
Replacing license plate lamp bulbs
1. Make sure the headlamp switch is
in the off position.
2. Depress the lever and carefully
pry the license plate lamp assembly
(located above the license plate)
from the liftgate.
3. Rotate the bulb socket
counterclockwise and remove from
lamp assembly.
Lights
61
2010 Mariner(mrn)
Owners Guide, 2nd Printing
USA(fus)
Page 62 of 339
4. Pull bulb straight out of socket
and push in the new bulb.
5. Install the bulb socket into the
lamp assembly and rotate clockwise.
6. To install, carefully press the
lamp assembly into liftgate.
Replacing high-mount brake lamp bulbs
1. Remove the two screws and move
the lamp assembly away from the
liftgate.
2. Remove the bulb holder from the
lamp assembly by depressing the
snaps.
3. Pull the bulb straight out of the
socket and push in the new bulb.
Install the new bulbs in reverse
order.
Lights
62
2010 Mariner(mrn)
Owners Guide, 2nd Printing
USA(fus)
Page 63 of 339
Replacing fog lamp bulbs (if equipped)
1. Make sure the fog lamp switch is
in the off position.
2. From underneath the vehicle,
rotate the harness/bulb assembly
counterclockwise, to remove from
the fog lamp.
3. Carefully disconnect the bulb
from the harness assembly via the
two snap clips.
Install the new bulb in reverse order.
Lights
63
2010 Mariner(mrn)
Owners Guide, 2nd Printing
USA(fus)
Page 65 of 339
Rear window wiper/washer controls
For rear wiper operation, rotate the
rear window wiper and washer
control to the desired position.
Select:
2 — Normal speed operation of rear
wiper.
1 — Intermittent operation of rear
wiper.
O (off) — Rear wiper and washer off.
For rear wash cycle, rotate (and hold as desired) the rear wiper/washer
control to either
position.
From either position, the control will automatically return to the INT 2
or O (off) position.
TILT STEERING WHEEL
To adjust the steering wheel:
1. Pull down the steering column tilt
lever.
2. Move the steering wheel up or
down until you find the desired
location.
3. Push the steering column tilt
lever up. This will lock the steering
wheel in position.
WARNING:Never adjust
the steering wheel when the
vehicle is moving.
Driver Controls
65
2010 Mariner(mrn)
Owners Guide, 2nd Printing
USA(fus)
Page 72 of 339

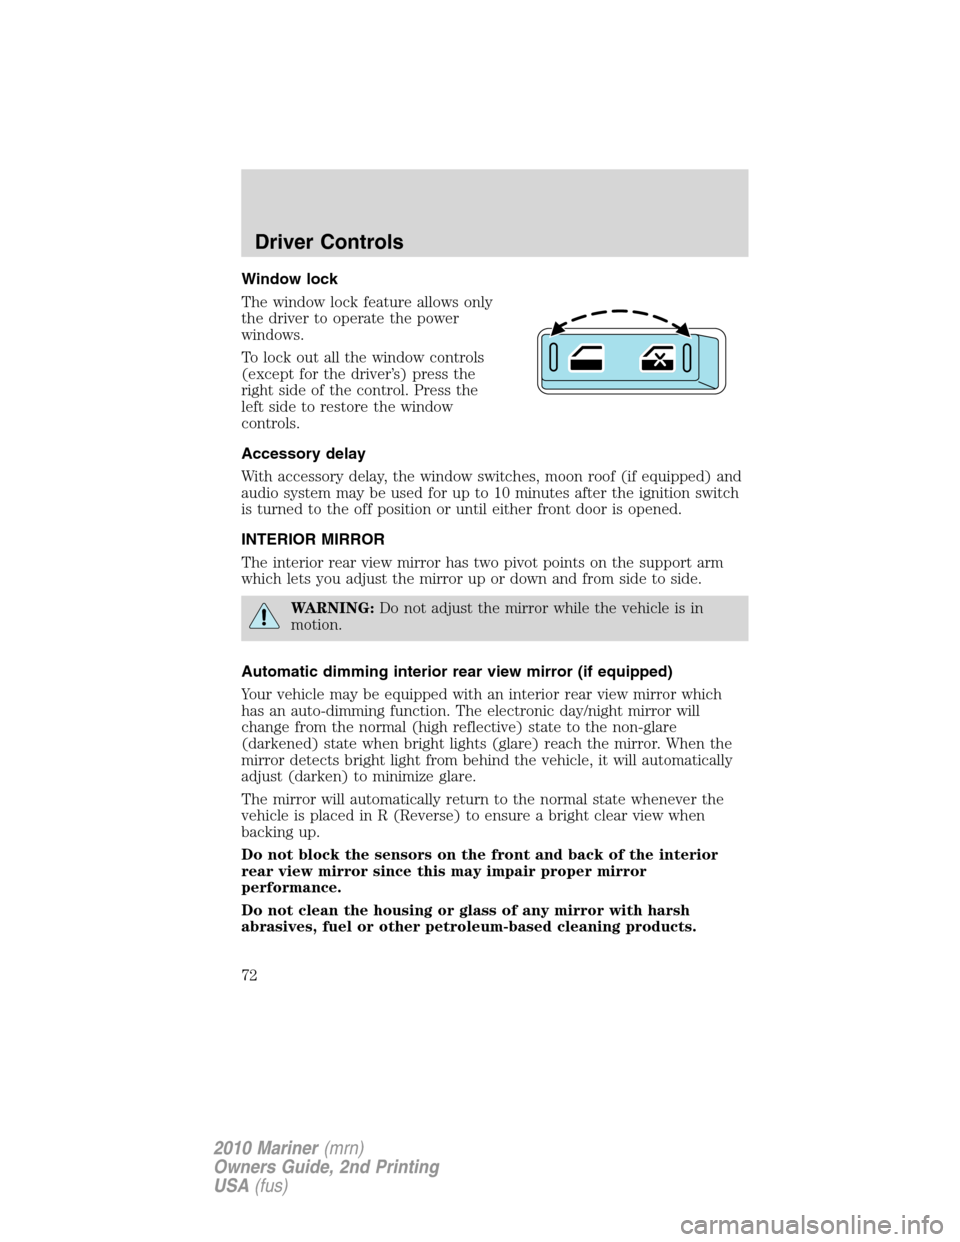
Window lock
The window lock feature allows only
the driver to operate the power
windows.
To lock out all the window controls
(except for the driver’s) press the
right side of the control. Press the
left side to restore the window
controls.
Accessory delay
With accessory delay, the window switches, moon roof (if equipped) and
audio system may be used for up to 10 minutes after the ignition switch
is turned to the off position or until either front door is opened.
INTERIOR MIRROR
The interior rear view mirror has two pivot points on the support arm
which lets you adjust the mirror up or down and from side to side.
WARNING:Do not adjust the mirror while the vehicle is in
motion.
Automatic dimming interior rear view mirror (if equipped)
Your vehicle may be equipped with an interior rear view mirror which
has an auto-dimming function. The electronic day/night mirror will
change from the normal (high reflective) state to the non-glare
(darkened) state when bright lights (glare) reach the mirror. When the
mirror detects bright light from behind the vehicle, it will automatically
adjust (darken) to minimize glare.
The mirror will automatically return to the normal state whenever the
vehicle is placed in R (Reverse) to ensure a bright clear view when
backing up.
Do not block the sensors on the front and back of the interior
rear view mirror since this may impair proper mirror
performance.
Do not clean the housing or glass of any mirror with harsh
abrasives, fuel or other petroleum-based cleaning products.
Driver Controls
72
2010 Mariner(mrn)
Owners Guide, 2nd Printing
USA(fus)
Page 73 of 339

Note:If equipped with a rearview camera system, a video image will
display in the mirror or the navigation system display (if equipped) when
the vehicle is put in R (Reverse). As you shift into any other gear from R
(Reverse), the image will remain for a few seconds and then turn off.
Refer toRearview camera systemin theDrivingchapter.
EXTERIOR MIRRORS
Power side view mirrors
WARNING:Do not adjust the mirror while the vehicle is in
motion.
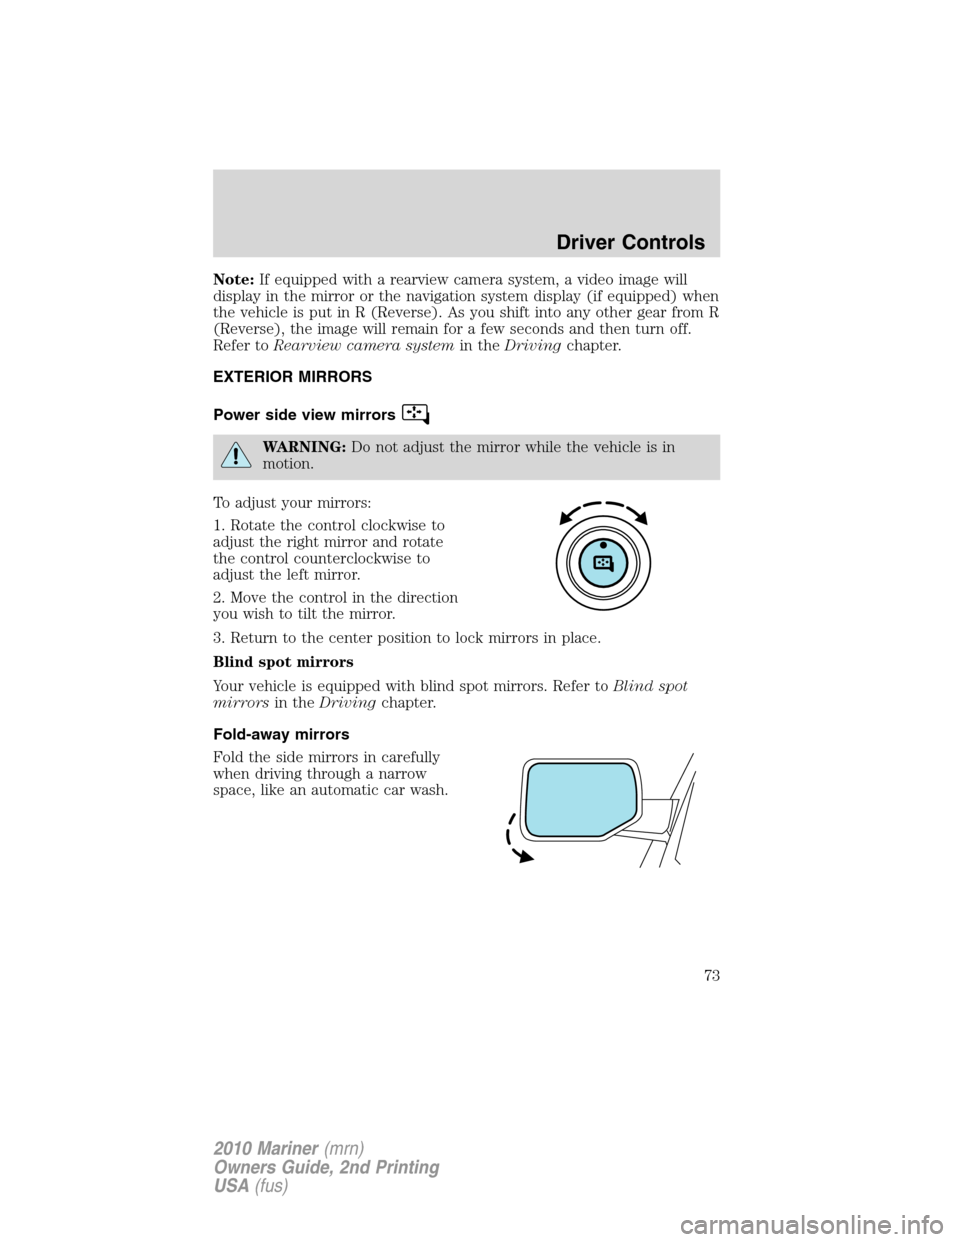
To adjust your mirrors:
1. Rotate the control clockwise to
adjust the right mirror and rotate
the control counterclockwise to
adjust the left mirror.
2. Move the control in the direction
you wish to tilt the mirror.
3. Return to the center position to lock mirrors in place.
Blind spot mirrors
Your vehicle is equipped with blind spot mirrors. Refer toBlind spot
mirrorsin theDrivingchapter.
Fold-away mirrors
Fold the side mirrors in carefully
when driving through a narrow
space, like an automatic car wash.
Driver Controls
73
2010 Mariner(mrn)
Owners Guide, 2nd Printing
USA(fus)
Page 86 of 339

FCC and RSS-210 Industry Canada Compliance
The Car2U�system complies with Part 15 of the FCC rules and with
RSS-210 of Industry Canada. Operation is subject to the following two
conditions: (1) This device may not cause harmful interference, and (2)
This device must accept any interference received including interference
that may cause undesired operation.
Changes and modifications to the Car2U�system transmitter by other
than an authorized service facility could void authorization to use the
equipment.
LIFTGATE
•To open the liftgate window,
unlock the liftgate (with the
power door locks or the remote
entry) and press the right side
control button located under the
license plate lamp shield.
•To open the liftgate, unlock the
liftgate (with the power door
locks or the remote entry) and
press the middle control button
located below the license plate.
To lock the liftgate and the liftgate window, use the power door locks.
Do not open the liftgate or liftgate window in a garage or other enclosed
area with a low ceiling. If the liftgate window is raised and the liftgate is
also opened, both liftgate and window could be damaged against a low
ceiling.
Do not leave the liftgate or liftgate window open while driving. Doing so
could cause serious damage to the liftgate and its components as well as
allowing carbon monoxide to enter the vehicle.
Driver Controls
86
2010 Mariner(mrn)
Owners Guide, 2nd Printing
USA(fus)
Page 88 of 339

Cargo management system (if equipped)
The cargo management system consists of two storage compartments
located in the floor of the rear cargo area.
The larger, rearward, compartment
is for customer storage. To open, lift
the lid with the pull latch. The lid
can be removed to allow for flexible
storage. To close, lower the lid and
press down at the latch area until
you hear the latch engage. A pad
lock or combination lock can be
applied to use the lockable storage
feature on the large customer
storage bin.
The smaller compartment contains the jack kit. There is also extra
storage space for customer use. The lid on the small compartment is
accessible and secured by two snap features.
WARNING:This storage compartment is not designed to
restrain objects during a collision with the lid removed.
Passenger side cargo compartment
Your vehicle is equipped with a passenger side cargo compartment
located in the right rear trim panel which is used to store small items
and may have the Easy Fuel™ white plastic funnel attached on the
inside of the access door. Make sure the access door is secured so it
does not rattle when you drive.
ROOF RACK SYSTEM (IF EQUIPPED)
Loads should never be placed directly on the roof panel. For proper
function of the roof rack system, loads must be placed directly on
crossbars affixed to the roof rack side rails. Your vehicle may be
equipped with factory-installed crossbars. Ford Genuine Accessory
crossbars, designed specifically for your vehicle, are also recommended
for use with your roof rack system.
The vehicle’s roof panel isNOTdesigned to directly carry a load.The
maximum recommended load is 100 lb (45 kg), evenly distributed
on the crossbars.Ensure that the load is securely fastened. When the
rail system is loaded, check the tightness of the load, including the
thumbwheels before driving and at each fuel stop.
Driver Controls
88
2010 Mariner(mrn)
Owners Guide, 2nd Printing
USA(fus)