2010 MERCEDES-BENZ SLK350 fault
[x] Cancel search: faultPage 74 of 312

G
Warning!
If the exterior lamp switch is set to Ã, the
headlamps will not automatically come on
under foggy conditions.
To
minimize risk to you and to others, activate
headlamps by turning exterior lamp switch to
L when driving or when traffic and/or
ambient lighting conditions require you to do
so.
In low ambient lighting conditions, only switch
from position à to L with the vehicle
at a standstill in a safe location. Switching
from à to L will briefly switch off the
headlamps. Doing so while driving in low
ambient lighting conditions may result in an
accident.
The automatic headlamp feature is only an aid
to the driver. The driver is responsible for the
operation of the vehicle’s lights at all times.
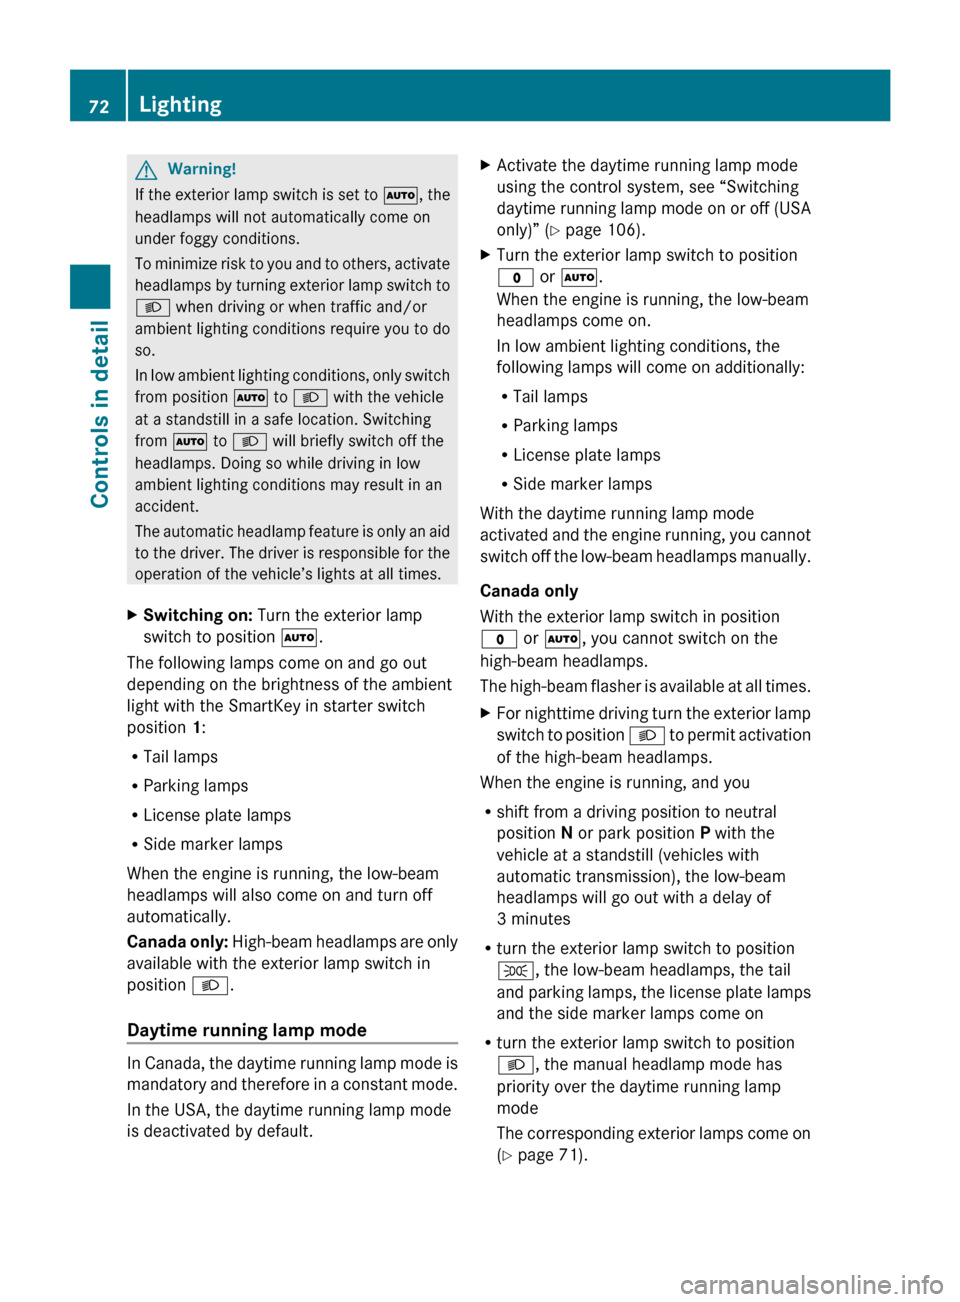
X Switching on: Turn the exterior lamp
switch to position Ã.
The following lamps come on and go out
depending on the brightness of the ambient
light with the SmartKey in starter switch
position 1:
R Tail lamps
R Parking lamps
R License plate lamps
R Side marker lamps
When the engine is running, the low-beam
headlamps will also come on and turn off
automatically.
Canada
only: High-beam headlamps are only
available with the exterior lamp switch in
position L.
Daytime running lamp mode In Canada, the daytime running lamp mode is
mandatory
and therefore in a constant mode.
In the USA, the daytime running lamp mode
is deactivated by default. X
Activate the daytime running lamp mode
using the control system, see “Switching
daytime
running lamp mode on or off (USA
only)” (Y page 106).
X Turn the exterior lamp switch to position
$ or Ã.
When the engine is running, the low-beam
headlamps come on.
In low ambient lighting conditions, the
following lamps will come on additionally:
R
Tail lamps
R Parking lamps
R License plate lamps
R Side marker lamps
With the daytime running lamp mode
activated
and the engine running, you cannot
switch off the low-beam headlamps manually.
Canada only
With the exterior lamp switch in position
$ or Ã, you cannot switch on the
high-beam headlamps.
The high-beam flasher is available at all times.
X For nighttime driving turn the exterior lamp
switch
to position L to permit activation
of the high-beam headlamps.
When the engine is running, and you
R shift from a driving position to neutral
position N or park position P with the
vehicle at a standstill (vehicles with
automatic transmission), the low-beam
headlamps will go out with a delay of
3 minutes
R turn the exterior lamp switch to position
T, the low-beam headlamps, the tail
and
parking lamps, the license plate lamps
and the side marker lamps come on
R turn the exterior lamp switch to position
L, the manual headlamp mode has
priority over the daytime running lamp
mode
The corresponding exterior lamps come on
(Y page 71). 72
Lighting
Controls in detail
171_AKB; 3; 60, en-US
d2ureepe,
Version: 2.11.8.1 2009-05-11T16:00:23+02:00 - Seite 72
Page 133 of 312

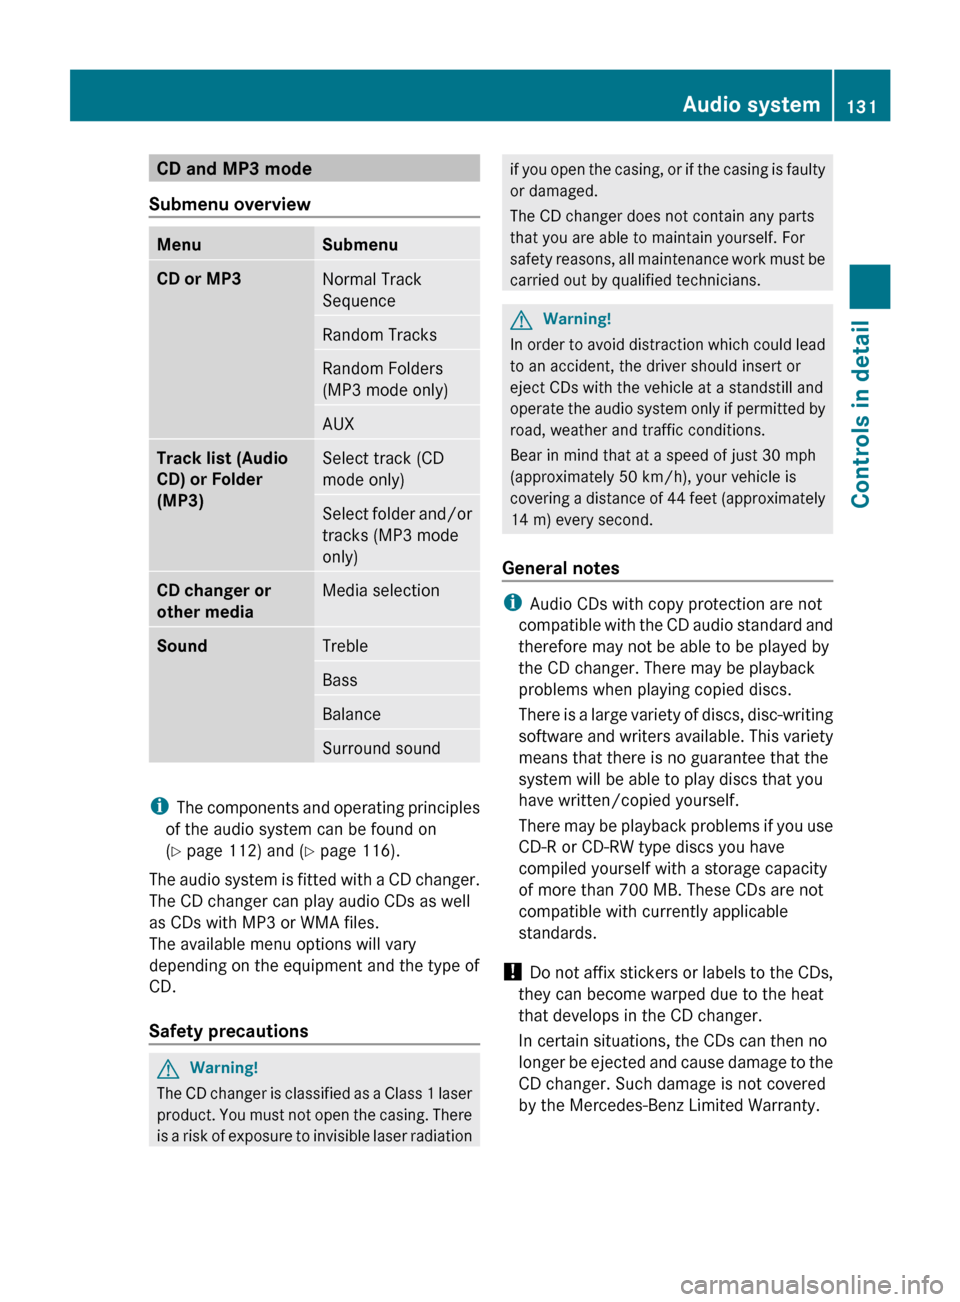
CD and MP3 mode
Submenu overview Menu Submenu
CD or MP3
Normal Track
Sequence
Random Tracks
Random Folders
(MP3 mode only)
AUX
Track list (Audio
CD) or Folder
(MP3)
Select track (CD
mode only)
Select folder and/or
tracks (MP3 mode
only)
CD changer or
other media
Media selection
Sound
Treble
Bass
Balance
Surround sound
i
The components and operating principles
of the audio system can be found on
(Y page 112) and ( Y page 116).
The audio system is fitted with a CD changer.
The CD changer can play audio CDs as well
as CDs with MP3 or WMA files.
The available menu options will vary
depending on the equipment and the type of
CD.
Safety precautions G
Warning!
The CD changer is classified as a Class 1 laser
product.
You must not open the casing. There
is a risk of exposure to invisible laser radiation if you open the casing, or if the casing is faulty
or damaged.
The CD changer does not contain any parts
that you are able to maintain yourself. For
safety
reasons, all maintenance work must be
carried out by qualified technicians. G
Warning!
In order to avoid distraction which could lead
to an accident, the driver should insert or
eject CDs with the vehicle at a standstill and
operate
the audio system only if permitted by
road, weather and traffic conditions.
Bear in mind that at a speed of just 30 mph
(approximately 50 km/h), your vehicle is
covering a distance of 44 feet (approximately
14 m) every second.
General notes i
Audio CDs with copy protection are not
compatible
with the CD audio standard and
therefore may not be able to be played by
the CD changer. There may be playback
problems when playing copied discs.
There is a large variety of discs, disc-writing
software and writers available. This variety
means that there is no guarantee that the
system will be able to play discs that you
have written/copied yourself.
There may be playback problems if you use
CD-R or CD-RW type discs you have
compiled yourself with a storage capacity
of more than 700 MB. These CDs are not
compatible with currently applicable
standards.
! Do not affix stickers or labels to the CDs,
they can become warped due to the heat
that develops in the CD changer.
In certain situations, the CDs can then no
longer be ejected and cause damage to the
CD changer. Such damage is not covered
by the Mercedes-Benz Limited Warranty. Audio system
131
Controls in detail
171_AKB; 3; 60, en-US
d2ureepe, Version: 2.11.8.1 2009-05-11T16:00:23+02:00 - Seite 131 Z
Page 148 of 312

Calling up AUX mode
G
Warning!
Due to the different volumes of the external
audio sources, system messages of the
vehicle may be much louder. You may need to
disable these system messages or adjust the
volume of these messages manually.
X Selecting audio AUX mode:
Press button h repeatedly until the
main menu for AUX operation appears.
or
X In CD mode: Select CD/MP3 Q Aux.
The audio AUX menu appears. The medium in
the external audio source is heard, provided
it is connected and switched to playback.
i Please refer to the relevant operating
guide for operation of the external audio
source.
The following settings can be made in the
audio AUX mode:
R Volume ( Y page 117)
R Balance control ( Y page 118)
R Bass and treble control (Y page 118)
R Surround sound ( Y page 119)
i The volume of external audio sources is
extremely variable. It is possible that a
device connected as an external audio
source will sound quieter or louder in the
vehicle or that the usual maximum volume
cannot be achieved. On certain devices the
volume can be set separately. In this case,
start at a moderate volume and increase it
slowly. In this way, you can determine
whether the system is capable of playback
without distortion, even at high volume.
Volume adjustment for the audio device
You can increase the volume for the AUX
socket in case the internal volume of the
connected audio device is too low. Use the
setting Boost for such devices. You should set the system back to
Standard before connecting a different audio
device to the AUX socket.
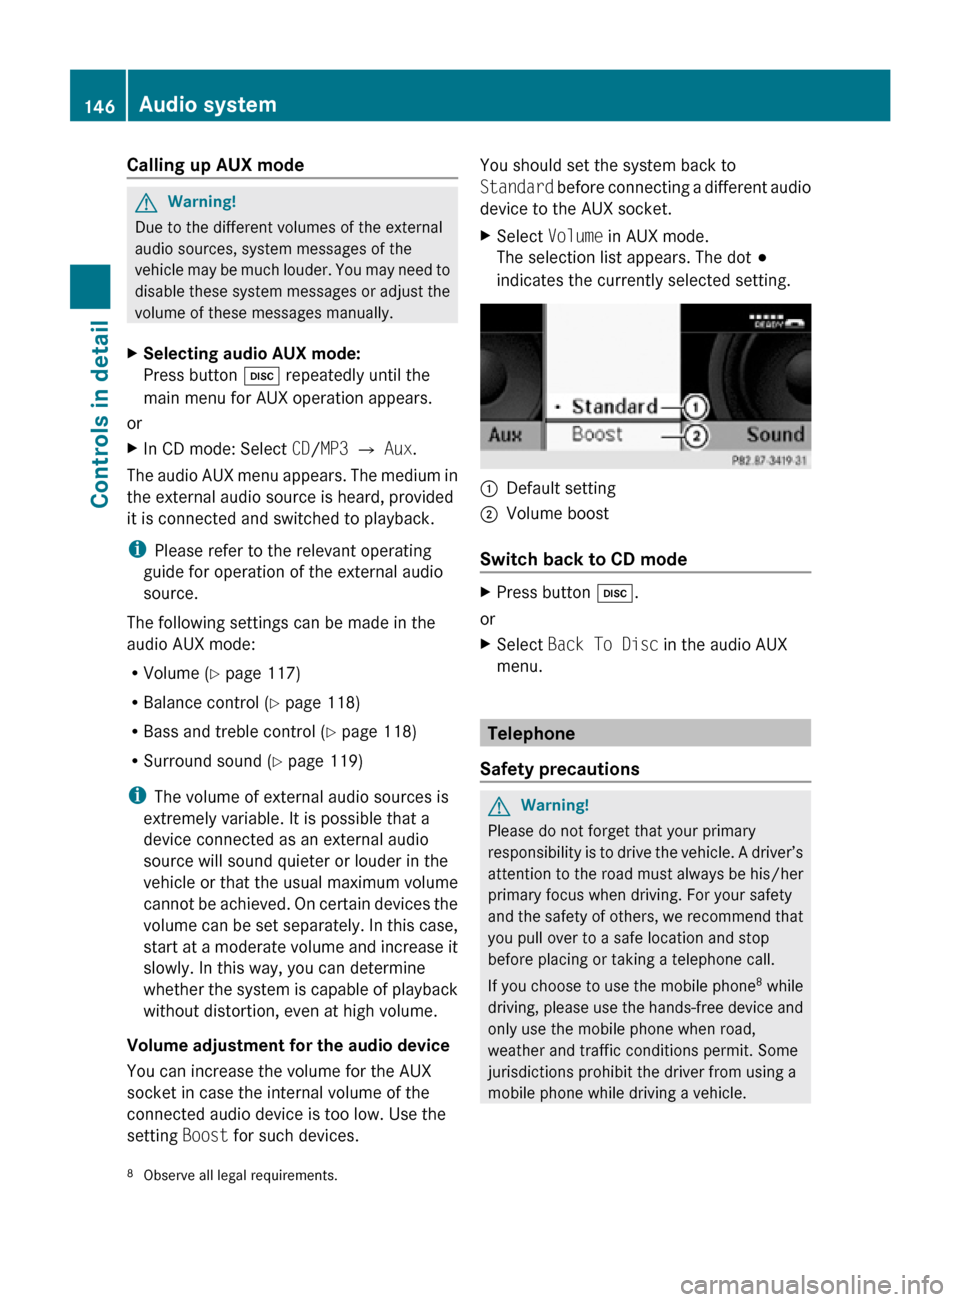
X
Select Volume in AUX mode.
The selection list appears. The dot #
indicates the currently selected setting. :
Default setting
; Volume boost
Switch back to CD mode X
Press button h.
or
X Select Back To Disc in the audio AUX
menu. Telephone
Safety precautions G
Warning!
Please do not forget that your primary
responsibility is to drive the vehicle. A driver’s
attention to the road must always be his/her
primary focus when driving. For your safety
and the safety of others, we recommend that
you pull over to a safe location and stop
before placing or taking a telephone call.
If you choose to use the mobile phone 8
while
driving, please use the hands-free device and
only use the mobile phone when road,
weather and traffic conditions permit. Some
jurisdictions prohibit the driver from using a
mobile phone while driving a vehicle.
8 Observe all legal requirements. 146
Audio systemControls in detail
171_AKB; 3; 60, en-US
d2ureepe,
Version: 2.11.8.1 2009-05-11T16:00:23+02:00 - Seite 146