2010 MERCEDES-BENZ S600 fuel
[x] Cancel search: fuelPage 279 of 548
Possibility 2 (One SmartKey in the vehicle,
no SmartKey outside the vehicle):
When exiting and trying to lock the vehicle,
the message Key Detected In Vehicle
appears in the multifunction display. The
vehicle will not be locked.
Factory setting
XGlobal unlocking: Pull an outside door
handle.
Unless you open a door or the trunk within
approximately 40 seconds after unlocking
the vehicle:
RThe vehicle will be locked again.
RThe anti-theft alarm system will be
rearmed.
XGlobal locking: Touch outside of a door
handle :.
Selective setting
If you frequently travel alone, you may wish
to reprogram the SmartKey. Pulling the
driver’s outside door handle will then only
unlock the driver’s door and the fuel filler flap.
XSwitching on/off: Press and hold buttons
% and & simultaneously for
approximately 6 seconds until the battery
check lamp (Y page 277) flashes twice.
KEYLESS-GO will then function as follows:
XUnlocking driver’s door and fuel filler
flap: Pull the driver’s outside door handle.
XGlobal unlocking: Pull any outside door
handle other than the driver’s outside door
handle.
XGlobal locking: Touch outside of a door
handle :.
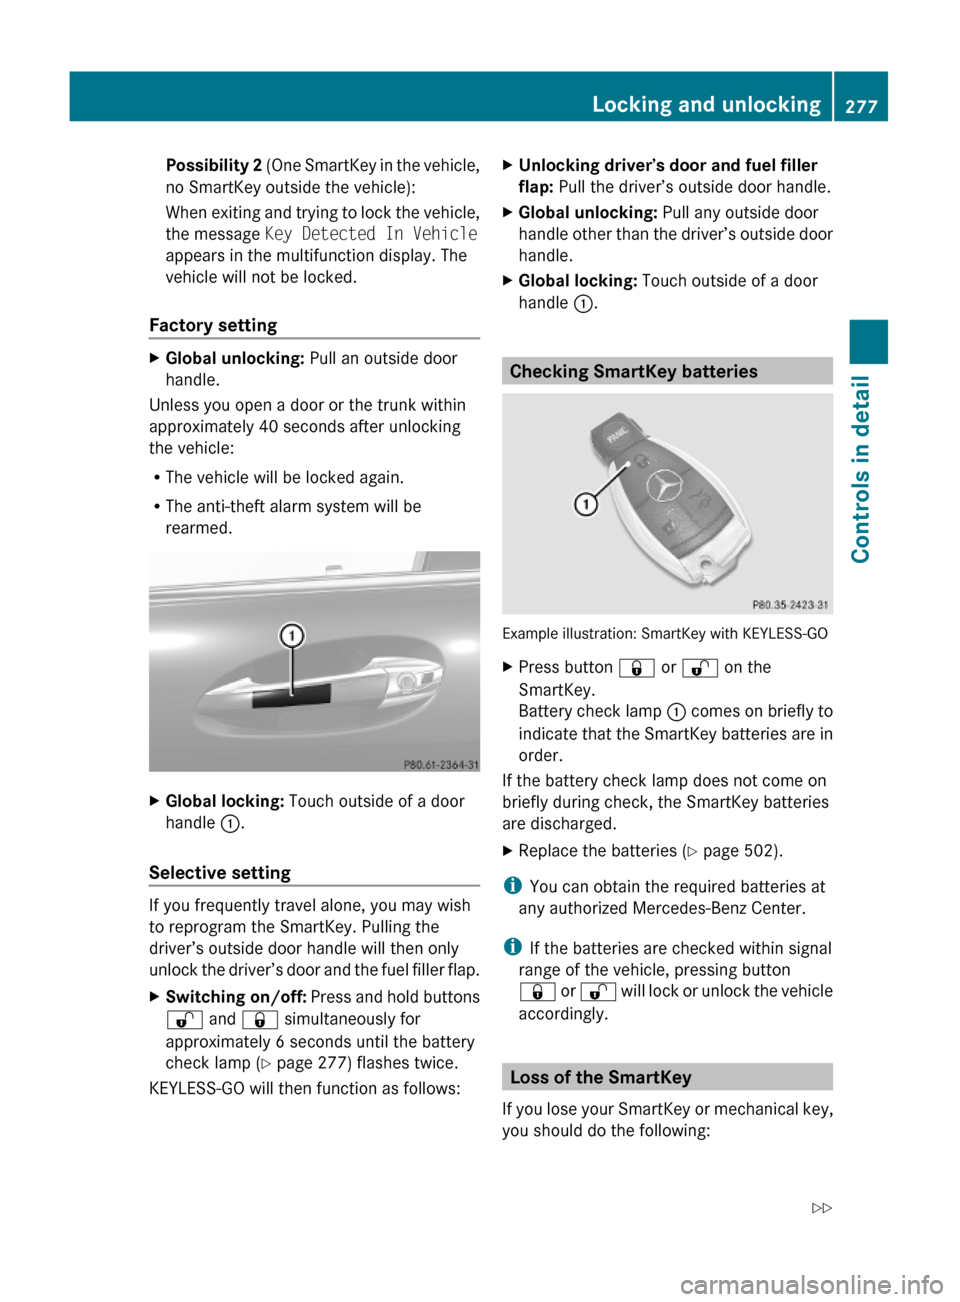
Checking SmartKey batteries
Example illustration: SmartKey with KEYLESS-GO
XPress button & or % on the
SmartKey.
Battery check lamp : comes on briefly to
indicate that the SmartKey batteries are in
order.
If the battery check lamp does not come on
briefly during check, the SmartKey batteries
are discharged.
XReplace the batteries (Y page 502).
iYou can obtain the required batteries at
any authorized Mercedes-Benz Center.
iIf the batteries are checked within signal
range of the vehicle, pressing button
& or % will lock or unlock the vehicle
accordingly.
Loss of the SmartKey
If you lose your SmartKey or mechanical key,
you should do the following:
Locking and unlocking277Controls in detail221_AKB; 6; 20, en-USd2ugruen,Version: 2.11.8.12009-09-24T13:28:17+02:00 - Seite 277Z
Page 281 of 548
The doors are designed to unlock
automatically after an accident if the force of
the impact exceeds a preset threshold.
The vehicle locks automatically when the
ignition is switched on and the wheels are
turning at a vehicle speed of above 9 mph
(15 km/h). You could therefore lock yourself
out when the vehicle is pushed or towed or is
on a test stand.
Locking and unlocking from the inside
GObserve Safety notes, see page 56.
You can lock or unlock the vehicle from the
inside using the central locking or unlocking
switch. This can be useful, for example, if you
want to lock the vehicle before starting to
drive.
The central locking or unlocking switch does
not lock or unlock the fuel filler flap or the
interior storage compartments, such as the
glove box.
XLocking: Press central locking switch ;.
When the front passenger door is closed,
the vehicle locks.
XUnlocking: Press central unlocking
switch :.
You can open a locked front door from the
inside. Open door only when conditions are
safe to do so.
If the vehicle was previously locked with the
central locking switch
Rand the SmartKey is set to factory settings,
the complete vehicle is unlocked when a
front door is opened from the inside
Rand the SmartKey is set to selective
settings, only the front door opened from
the inside is unlocked
If the vehicle has been locked centrally with
the SmartKey or with KEYLESS-GO, it will not
unlock using the central unlocking switch.
Opening the trunk
GWarning!
Make sure the trunk is closed when the engine
is running and while driving. Among other
dangers, deadly carbon monoxide (CO) gases
may enter vehicle interior resulting in
unconsciousness and death.
! When you open the trunk, the trunk lid
swings open upwards. Always make sure
there is sufficient overhead clearance.
You can open the trunk when the vehicle is
stationary.
A minimum height clearance of 5.9 ft (1.80 m)
is required to open the trunk lid.
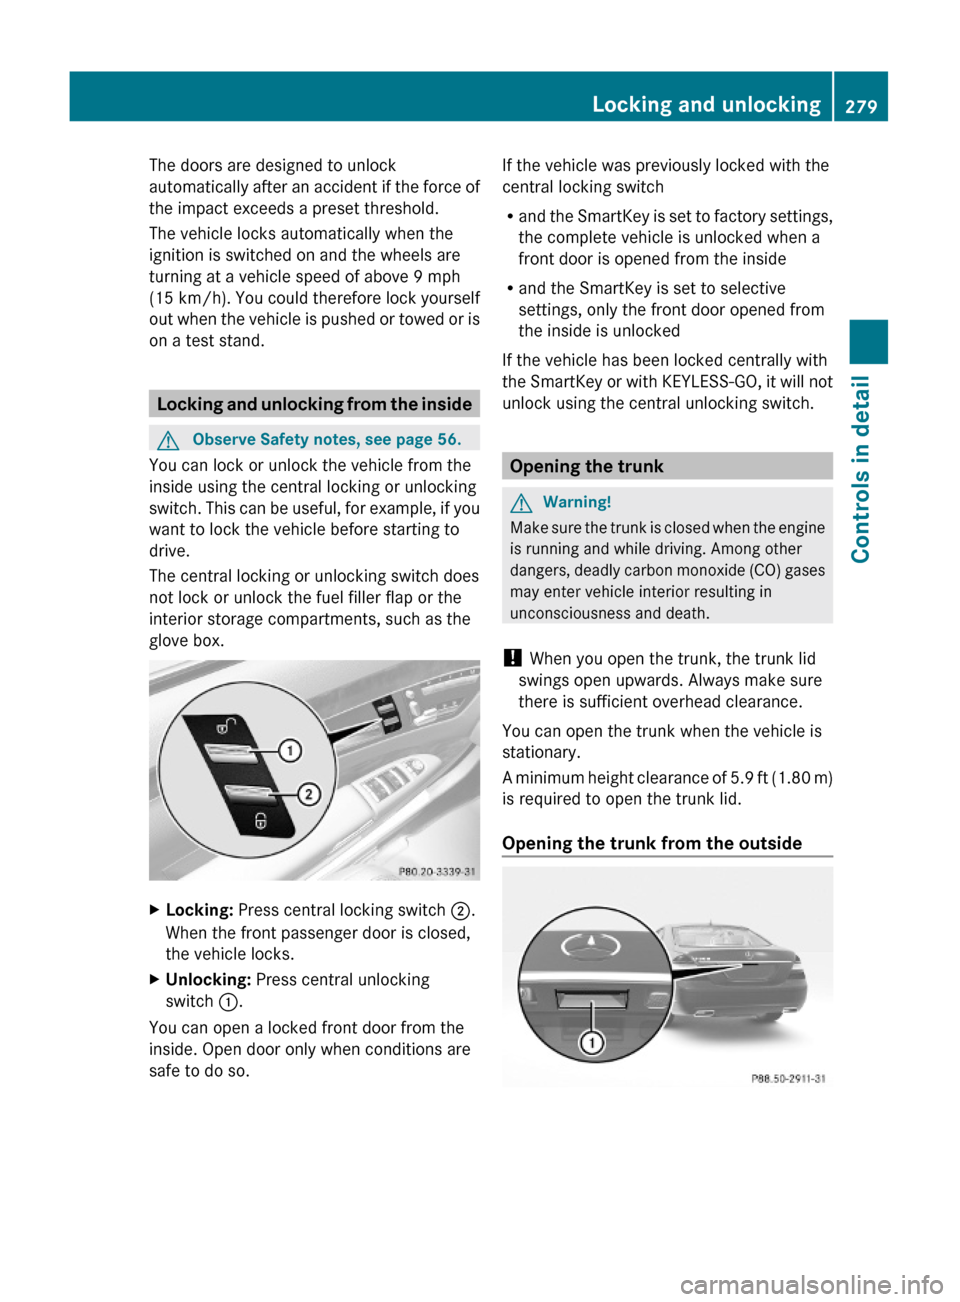
Opening the trunk from the outside
Locking and unlocking279Controls in detail221_AKB; 6; 20, en-USd2ugruen,Version: 2.11.8.12009-09-24T13:28:17+02:00 - Seite 279Z
Page 314 of 548
children unattended in the vehicle, as they
could otherwise accidentally start the engine.
When leaving the vehicle, always take the
SmartKey with you and lock the vehicle. Do
not leave children unattended in the vehicle,
or with access to an unlocked vehicle. A
child’s unsupervised access to a vehicle could
result in an accident and/or serious personal
injury.
You can start your vehicle without the
SmartKey in the starter switch using the
KEYLESS-GO start/stop button.
The SmartKey must be located in the vehicle.
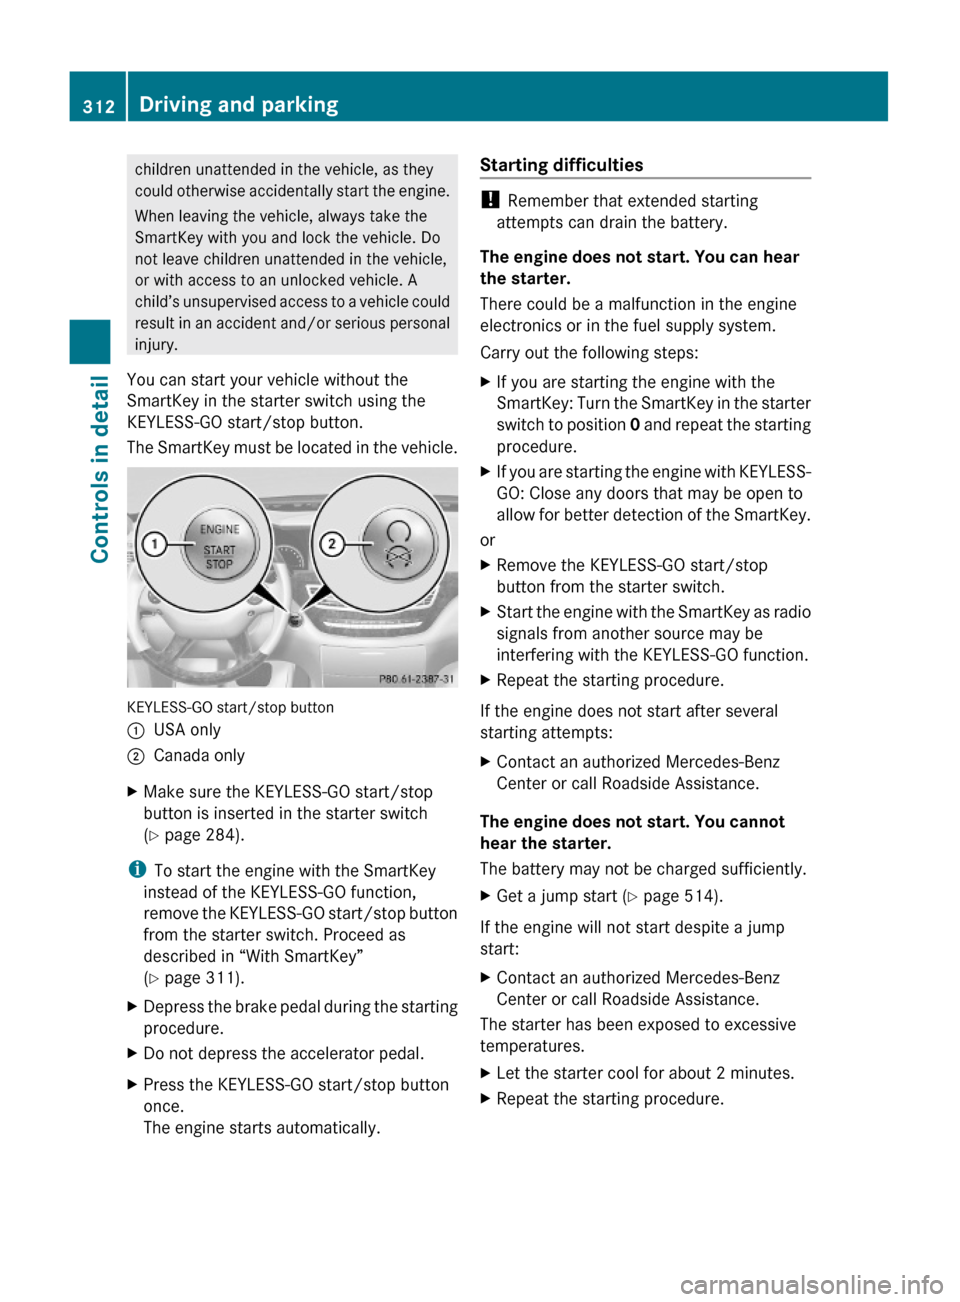
KEYLESS-GO start/stop button
:USA only;Canada onlyXMake sure the KEYLESS-GO start/stop
button is inserted in the starter switch
(Y page 284).
iTo start the engine with the SmartKey
instead of the KEYLESS-GO function,
remove the KEYLESS-GO start/stop button
from the starter switch. Proceed as
described in “With SmartKey”
(Y page 311).
XDepress the brake pedal during the starting
procedure.
XDo not depress the accelerator pedal.XPress the KEYLESS-GO start/stop button
once.
The engine starts automatically.
Starting difficulties
! Remember that extended starting
attempts can drain the battery.
The engine does not start. You can hear
the starter.
There could be a malfunction in the engine
electronics or in the fuel supply system.
Carry out the following steps:
XIf you are starting the engine with the
SmartKey: Turn the SmartKey in the starter
switch to position 0 and repeat the starting
procedure.
XIf you are starting the engine with KEYLESS-
GO: Close any doors that may be open to
allow for better detection of the SmartKey.
or
XRemove the KEYLESS-GO start/stop
button from the starter switch.
XStart the engine with the SmartKey as radio
signals from another source may be
interfering with the KEYLESS-GO function.
XRepeat the starting procedure.
If the engine does not start after several
starting attempts:
XContact an authorized Mercedes-Benz
Center or call Roadside Assistance.
The engine does not start. You cannot
hear the starter.
The battery may not be charged sufficiently.
XGet a jump start (Y page 514).
If the engine will not start despite a jump
start:
XContact an authorized Mercedes-Benz
Center or call Roadside Assistance.
The starter has been exposed to excessive
temperatures.
XLet the starter cool for about 2 minutes.XRepeat the starting procedure.312Driving and parkingControls in detail
221_AKB; 6; 20, en-USd2ugruen,Version: 2.11.8.12009-09-24T13:28:17+02:00 - Seite 312
Page 316 of 548
XWait for the gear selection process to
complete before setting the vehicle in
motion.XRelease the brake pedal.XCarefully depress the accelerator pedal.
The electronic parking brake releases
automatically.
The red indicator lamp F (USA only)
or ! (Canada only) in the instrument
cluster goes out.
After a cold start, the automatic transmission
shifts at a higher engine speed. This allows
the catalytic converter to reach its operating
temperature earlier.
For more information on driving, see “Driving
instructions” ( Y page 434).
Problems while driving
The engine runs erratically and misfires
R An ignition cable may be damaged.
R The engine electronics may not be
operating properly.
R Unburned gasoline may have entered the
catalytic converter and damaged it.
XGive very little gas.XHave the problem checked at an authorized
Mercedes-Benz Center as soon as possible.
The coolant temperature is above
248‡ (120†)
The coolant is too hot and is no longer cooling
the engine.
XStop the vehicle in a safe location as soon
as possible.XTurn off the engine immediately.XAllow the engine and coolant to cool off.XCheck the coolant level and add coolant if
necessary ( Y page 408).In case of accident
If the vehicle is leaking fuel:
XDo not start the engine under any
circumstances.XExit the vehicle at a safe distance from the
roadway.XNotify local fire and/or police authorities.
If the extent of the damage cannot be
determined:
XContact an authorized Mercedes-Benz
Center or call Roadside Assistance.
If no damage on major assemblies, fuel
system, and engine mount can be
determined:
XStart the engine in the usual manner.
Parking
GWarning!
Do not park in areas where the hot exhaust
system could come into contact with
combustible materials. Combustible
materials such as grass, hay or leaves could
be ignited and cause a vehicle fire.
Unintended vehicle movement could cause
serious personal injury or damage to the
vehicle or the vehicle drivetrain. To reduce
such risks, always do the following before
turning off the engine and leaving the vehicle:
R Keep right foot on the brake pedal.
R Engage the electronic parking brake.
R Shift the automatic transmission into park
position P.
R Slowly release the brake pedal.
R When parked on an incline, always turn the
front wheels towards the road curb.
R Turn the SmartKey in the starter switch to
position 0 and remove the SmartKey from
314Driving and parkingControls in detail
221_AKB; 6; 20, en-USd2ugruen,Version: 2.11.8.12009-09-24T13:28:17+02:00 - Seite 314
Page 327 of 548

In manual program mode M, upshift
indicator ; in the multifunction display
advises you to upshift before the engine
reaches the overspeed range. Thus you can
drive at the maximum engine speed for each
gear without overrevving the engine.XShift the automatic transmission from
current gear : into the next higher gear.
The fuel supply will otherwise be
interrupted to prevent the engine from
overrevving.
Downshifting
GWarning!
On slippery road surfaces, never downshift in
order to obtain braking action. This could
result in drive wheel slip and reduced vehicle
control. Your vehicle’s ABS will not prevent
this type of loss of control.
XBriefly pull left gearshift control :
( Y page 323).
The automatic transmission shifts into the
next lower gear.
i For maximum acceleration, pull and hold
the left gearshift control. Depending on the
engine speed the automatic transmission
selects the optimal gear for maximum
acceleration.
i When you brake or stop, the automatic
transmission shifts down into a gear from
which you can easily accelerate or take off.
Kickdown
Using the kickdown while driving in manual
program mode M is not possible.
Deactivating manual shift programXPress the program mode selector switch
repeatedly until C or S appears in the
multifunction display.
or
XRestart the engine.
The automatic transmission will go to
automatic program mode C.
Manual program mode M is not stored.
Emergency operation (limp-home
mode)
If vehicle acceleration becomes less
responsive or sluggish or the automatic
transmission no longer shifts, the automatic
transmission is most likely operating in limp-
home (emergency operation) mode. In this
mode only second gear and reverse gear R
can be selected.
XStop the vehicle in a safe location.XShift the automatic transmission into park
position P.XTurn off the engine.XWait at least 10 seconds before restarting.XRestart the engine.XShift the automatic transmission into drive
position D (for second gear) or reverse gear
R .XHave the automatic transmission checked
at an authorized Mercedes-Benz Center as
soon as possible.
Transfer case
This section applies to vehicles equipped with
all-wheel drive (4MATIC) only. Both the front
and rear axles are powered at all times when
the vehicle is being operated.
! Only conduct operational or performance
tests on a two-axle dynamometer. If such
tests are necessary, contact an authorized
Mercedes-Benz Center. You could
Transfer case325Controls in detail221_AKB; 6; 20, en-USd2ugruen,Version: 2.11.8.12009-09-24T13:28:17+02:00 - Seite 325Z
Page 329 of 548
Coolant temperature gauge
The coolant temperature gauge is located on
the left side in the instrument cluster
( Y page 32).GWarning!
Driving when your engine is overheated can
cause some fluids which may have leaked into
the engine compartment to catch fire. You
could be seriously burned.
Steam from an overheated engine can cause
serious burns which can occur just by opening
the engine hood. Stay away from the engine
if you see or hear steam coming from it.
Stop the vehicle in a safe location away from
other traffic. Turn off the engine, get out of the
vehicle and do not stand near the vehicle until
the engine has cooled down.
During severe operating conditions, e.g. stop-
and-go traffic, the coolant temperature may
rise close to 248‡ (120†), i.e close to the
red zone of the temperature gauge.
! Excessive coolant temperature triggers a
warning in the multifunction display.
The engine should not be operated with a
coolant temperature above 248‡ (120†),
i.e. in the red zone of the coolant
temperature gauge. Doing so may cause
serious engine damage which is not
covered by the Mercedes-Benz Limited
Warranty.
Tachometer
The red marking on the tachometer
( Y page 32) denotes excessive engine speed.
! Avoid driving at excessive engine speeds,
as it may result in serious engine damage
that is not covered by the Mercedes-Benz
Limited Warranty.
To help protect the engine, the fuel supply is
interrupted if the engine is operated within
the red marking.
Outside temperature indicator
The outside temperature indicator is on the
bottom left-hand side of the instrument
cluster ( Y page 32).GWarning!
The outside temperature indicator is not
designed to serve as an ice-warning device
and is therefore unsuitable for that purpose.
Indicated temperatures just above the
freezing point do not guarantee that the road
surface is free of ice. The road may still be icy,
especially in wooded areas or on bridges.
Fuel gauge
The fuel gauge is on the left-hand side of the
instrument cluster (Y page 32). Once the fuel
level has fallen below the reserve mark, the
yellow segment indicator for the fuel reserve
comes on.
Driving systems
Introduction
This section describes the following driving
systems of your vehicle:
R Cruise control
R DISTRONIC PLUS
R Hill-start assist system
R HOLD function
R AIRMATIC
R Active Body Control (ABC)
R All-wheel drive (4MATIC)
R Parktronic system with Parking Guidance
R Rear view camera
R Night View Assist Plus
R ATTENTION ASSIST
R Blind Spot Assist
R Lane Keeping Assist
Driving systems327Controls in detail221_AKB; 6; 20, en-USd2ugruen,Version: 2.11.8.12009-09-24T13:28:17+02:00 - Seite 327Z
Page 346 of 548
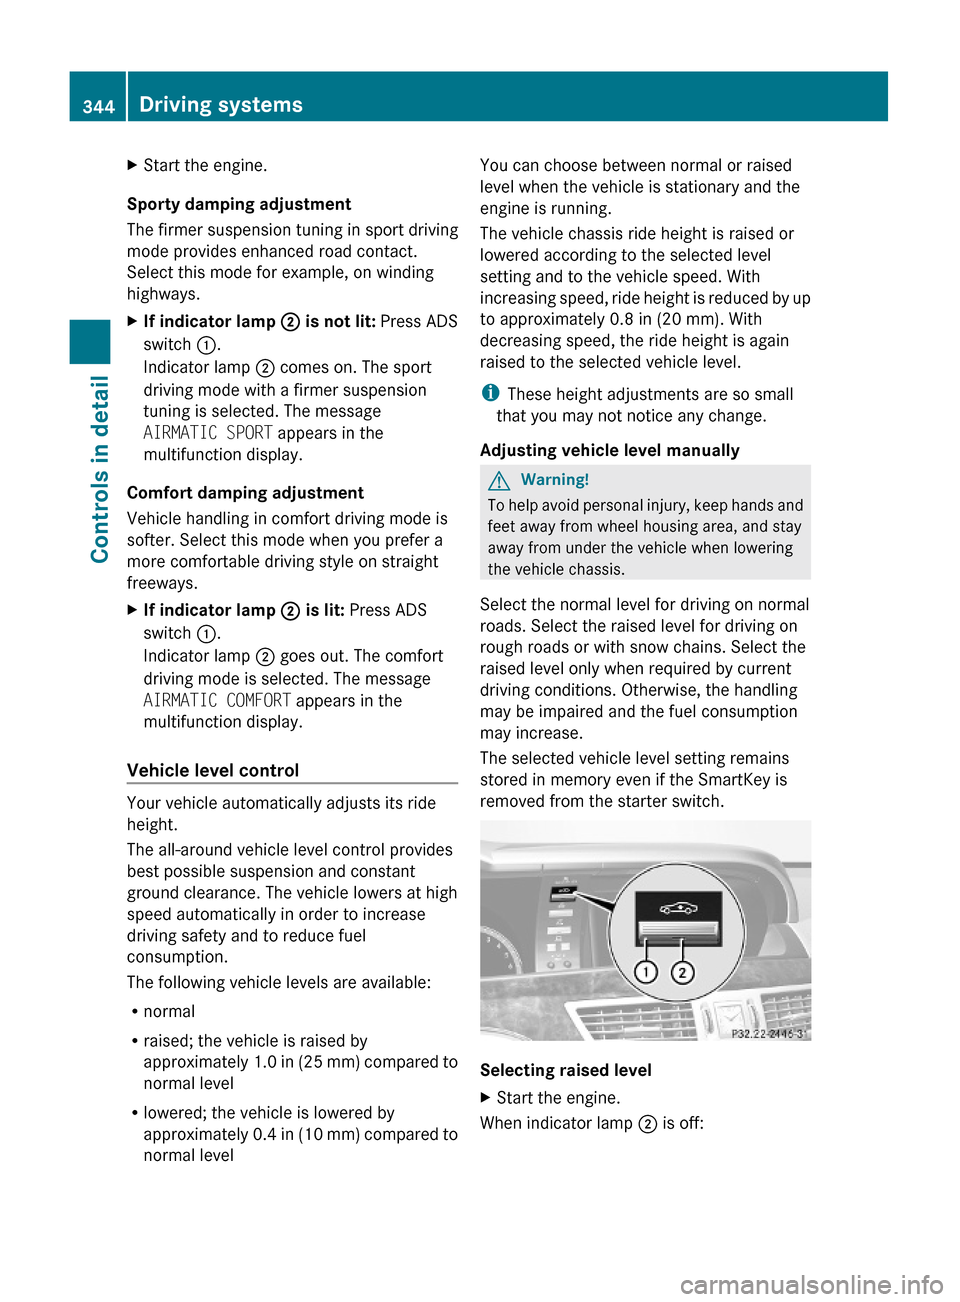
XStart the engine.
Sporty damping adjustment
The firmer suspension tuning in sport driving
mode provides enhanced road contact.
Select this mode for example, on winding
highways.
XIf indicator lamp ; is not lit: Press ADS
switch :.
Indicator lamp ; comes on. The sport
driving mode with a firmer suspension
tuning is selected. The message
AIRMATIC SPORT appears in the
multifunction display.
Comfort damping adjustment
Vehicle handling in comfort driving mode is
softer. Select this mode when you prefer a
more comfortable driving style on straight
freeways.
XIf indicator lamp ; is lit: Press ADS
switch :.
Indicator lamp ; goes out. The comfort
driving mode is selected. The message
AIRMATIC COMFORT appears in the
multifunction display.
Vehicle level control
Your vehicle automatically adjusts its ride
height.
The all-around vehicle level control provides
best possible suspension and constant
ground clearance. The vehicle lowers at high
speed automatically in order to increase
driving safety and to reduce fuel
consumption.
The following vehicle levels are available:
Rnormal
Rraised; the vehicle is raised by
approximately 1.0 in (25 mm) compared to
normal level
Rlowered; the vehicle is lowered by
approximately 0.4 in (10 mm) compared to
normal level
You can choose between normal or raised
level when the vehicle is stationary and the
engine is running.
The vehicle chassis ride height is raised or
lowered according to the selected level
setting and to the vehicle speed. With
increasing speed, ride height is reduced by up
to approximately 0.8 in (20 mm). With
decreasing speed, the ride height is again
raised to the selected vehicle level.
iThese height adjustments are so small
that you may not notice any change.
Adjusting vehicle level manually
GWarning!
To help avoid personal injury, keep hands and
feet away from wheel housing area, and stay
away from under the vehicle when lowering
the vehicle chassis.
Select the normal level for driving on normal
roads. Select the raised level for driving on
rough roads or with snow chains. Select the
raised level only when required by current
driving conditions. Otherwise, the handling
may be impaired and the fuel consumption
may increase.
The selected vehicle level setting remains
stored in memory even if the SmartKey is
removed from the starter switch.
Selecting raised level
XStart the engine.
When indicator lamp ; is off:
344Driving systemsControls in detail
221_AKB; 6; 20, en-USd2ugruen,Version: 2.11.8.12009-09-24T13:28:17+02:00 - Seite 344
Page 347 of 548
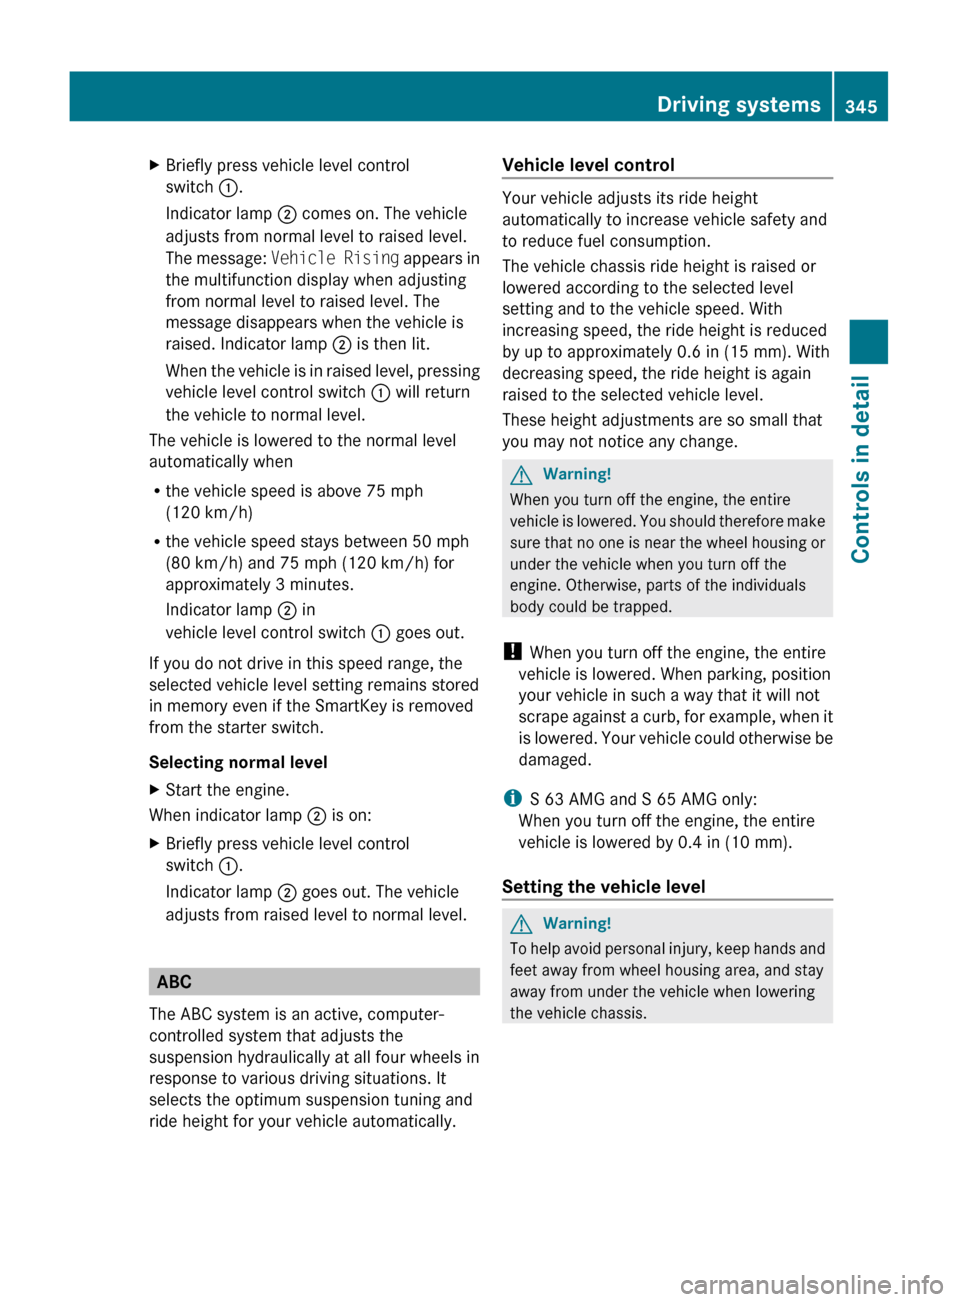
XBriefly press vehicle level control
switch :.
Indicator lamp ; comes on. The vehicle
adjusts from normal level to raised level.
The message: Vehicle Rising appears in
the multifunction display when adjusting
from normal level to raised level. The
message disappears when the vehicle is
raised. Indicator lamp ; is then lit.
When the vehicle is in raised level, pressing
vehicle level control switch : will return
the vehicle to normal level.
The vehicle is lowered to the normal level
automatically when
R the vehicle speed is above 75 mph
(120 km/h)
R the vehicle speed stays between 50 mph
(80 km/h) and 75 mph (120 km/h) for
approximately 3 minutes.
Indicator lamp ; in
vehicle level control switch : goes out.
If you do not drive in this speed range, the
selected vehicle level setting remains stored
in memory even if the SmartKey is removed
from the starter switch.
Selecting normal level
XStart the engine.
When indicator lamp ; is on:
XBriefly press vehicle level control
switch :.
Indicator lamp ; goes out. The vehicle
adjusts from raised level to normal level.
ABC
The ABC system is an active, computer-
controlled system that adjusts the
suspension hydraulically at all four wheels in
response to various driving situations. It
selects the optimum suspension tuning and
ride height for your vehicle automatically.
Vehicle level control
Your vehicle adjusts its ride height
automatically to increase vehicle safety and
to reduce fuel consumption.
The vehicle chassis ride height is raised or
lowered according to the selected level
setting and to the vehicle speed. With
increasing speed, the ride height is reduced
by up to approximately 0.6 in (15 mm). With
decreasing speed, the ride height is again
raised to the selected vehicle level.
These height adjustments are so small that
you may not notice any change.
GWarning!
When you turn off the engine, the entire
vehicle is lowered. You should therefore make
sure that no one is near the wheel housing or
under the vehicle when you turn off the
engine. Otherwise, parts of the individuals
body could be trapped.
! When you turn off the engine, the entire
vehicle is lowered. When parking, position
your vehicle in such a way that it will not
scrape against a curb, for example, when it
is lowered. Your vehicle could otherwise be
damaged.
i S 63 AMG and S 65 AMG only:
When you turn off the engine, the entire
vehicle is lowered by 0.4 in (10 mm).
Setting the vehicle level
GWarning!
To help avoid personal injury, keep hands and
feet away from wheel housing area, and stay
away from under the vehicle when lowering
the vehicle chassis.
Driving systems345Controls in detail221_AKB; 6; 20, en-USd2ugruen,Version: 2.11.8.12009-09-24T13:28:17+02:00 - Seite 345Z