2010 MERCEDES-BENZ S550 4MATIC lock
[x] Cancel search: lockPage 317 of 548

the starter switch, or press the KEYLESS-
GO start/stop button.
RTake the SmartKey with you and lock the
vehicle when leaving.
Electronic parking brake
GWarning!
When leaving the vehicle, always remove the
SmartKey from the starter switch, take it with
you, and lock the vehicle. Do not leave
children unattended in the vehicle, or with
access to an unlocked vehicle. Children could
release the electronic parking brake and/or
shift the automatic transmission out of park
position P, either of which could result in an
accident and/or serious personal injury.
Releasing electronic parking brake
manually
XSwitch on the ignition.XPull handle :.
The red indicator lamp F (USA only)
or ! (Canada only) in the instrument
cluster goes out.
Releasing electronic parking brake
automatically
The electronic parking brake releases
automatically when all of the following
conditions are fulfilled:
RThe engine is running.
RThe automatic transmission is in drive
position D or reverse gear R. With the
automatic transmission in reverse gear R
the trunk lid must be closed.
RThe hood is closed.
RYou have fastened your seat belt.
RYou depress on the accelerator pedal.
iIf you have not fastened your seat belt,
the following conditions must be met in
order for the electronic parking brake to
release automatically:
RThe driver’s door is closed and you shift
the automatic transmission out of park
position P.
or
RThe driver’s door is closed and you drive
faster than 2 mph (3 km/h).
Engaging electronic parking brake
manually
XPress handle :.
The red indicator lamp F (USA only)
or ! (Canada only) in the instrument
cluster comes on.
iYou can engage the electronic parking
brake even when the SmartKey is removed
from the starter switch.
Engaging electronic parking brake
automatically
When at least one of the following conditions
is met, the electronic parking brake engages
automatically when the HOLD function
(Y page 342) or DISTRONIC PLUS
(Y page 330) has brought your vehicle to a
standstill.RThe engine is turned off.
RThe driver’s door is opened and the seat
belt is not inserted in the seat belt buckle.
RThe hood lock is released.
RThe trunk lid is opened while the automatic
transmission is in reverse gear R.
RThe vehicle is stationary for an extended
period of time.
Driving and parking315Controls in detail221_AKB; 6; 20, en-USd2ugruen,Version: 2.11.8.12009-09-24T13:28:17+02:00 - Seite 315Z
Page 320 of 548

GWarning!
It is dangerous to shift the automatic
transmission out of park position P or neutral
position N if the engine speed is higher than
idle speed. If your foot is not firmly on the
brake pedal, the vehicle could accelerate
quickly forward or in reverse. You could lose
control of the vehicle and hit someone or
something. Only shift into gear when the
engine is idling normally and when your right
foot is firmly on the brake pedal.
! The vehicle must be stopped when you
shift the automatic transmission
R directly between drive position D and
reverse gear R
R directly between reverse gear R and
drive position D
R directly into park position P
Otherwise the automatic transmission
could be damaged.
When trying to free a vehicle stuck in mud or
snow, see “Rocking the vehicle”
( Y page 321).
i Shifting the automatic transmission out of
park position P is only possible with the
brake pedal depressed.
Without the brake pedal depressed, the
gear selector lever can be moved up or
down, but the parking pawl remains
engaged, not allowing shifting to occur.
i Depending on vehicle production date:
The automatic transmission will shift into
park position P automatically when
R you open the driver’s door while driving
at low speed, and
R the automatic transmission is in drive
position D or reverse gear R
After the vehicle has engaged park position
P automatically, you can engage drive
position D or reverse gear R again to
override this locking feature purposely.
i The gear selector lever always returns to
its original position.
The current transmission position P, R , N ,
or D appears in the multifunction display
( Y page 320).
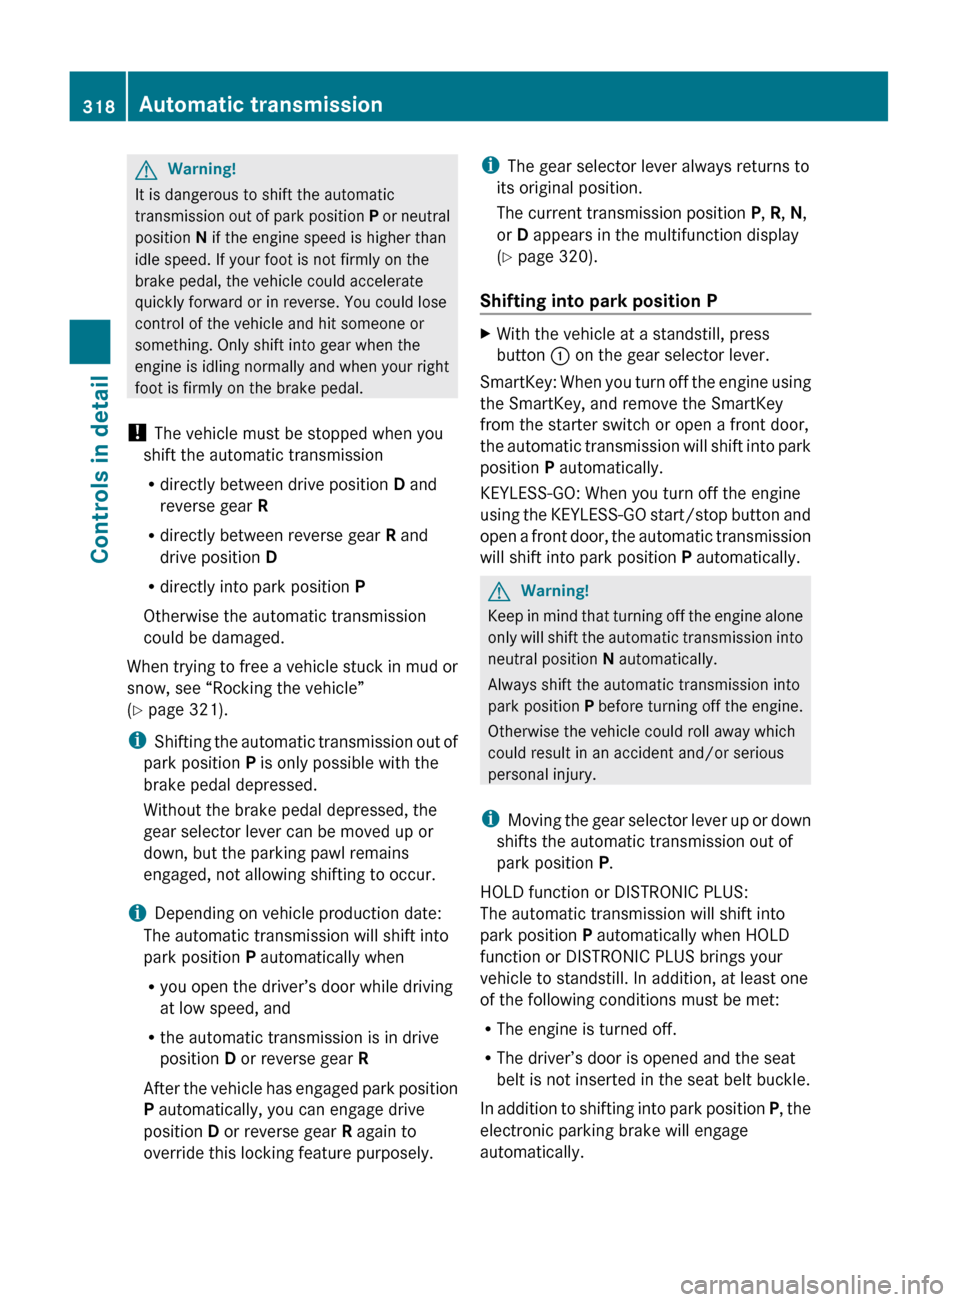
Shifting into park position PXWith the vehicle at a standstill, press
button : on the gear selector lever.
SmartKey: When you turn off the engine using
the SmartKey, and remove the SmartKey
from the starter switch or open a front door,
the automatic transmission will shift into park
position P automatically.
KEYLESS-GO: When you turn off the engine
using the KEYLESS-GO start/stop button and
open a front door, the automatic transmission
will shift into park position P automatically.
GWarning!
Keep in mind that turning off the engine alone
only will shift the automatic transmission into
neutral position N automatically.
Always shift the automatic transmission into
park position P before turning off the engine.
Otherwise the vehicle could roll away which
could result in an accident and/or serious
personal injury.
i Moving the gear selector lever up or down
shifts the automatic transmission out of
park position P.
HOLD function or DISTRONIC PLUS:
The automatic transmission will shift into
park position P automatically when HOLD
function or DISTRONIC PLUS brings your
vehicle to standstill. In addition, at least one
of the following conditions must be met:
R The engine is turned off.
R The driver’s door is opened and the seat
belt is not inserted in the seat belt buckle.
In addition to shifting into park position P, the
electronic parking brake will engage
automatically.
318Automatic transmissionControls in detail
221_AKB; 6; 20, en-USd2ugruen,Version: 2.11.8.12009-09-24T13:28:17+02:00 - Seite 318
Page 322 of 548

Rthe selected gear range (Y page 321)
Rthe selected program mode:
C/S (Y page 322)
or
M (AMG vehicles only) (Y page 324)
Rthe position of the accelerator pedal
Rthe vehicle speed
With drive position D selected, you can
influence transmission shifting by
Rlimiting the gear range
Rextending the gear range
Rchanging the gears manually (AMG vehicles
only)
Transmission positions
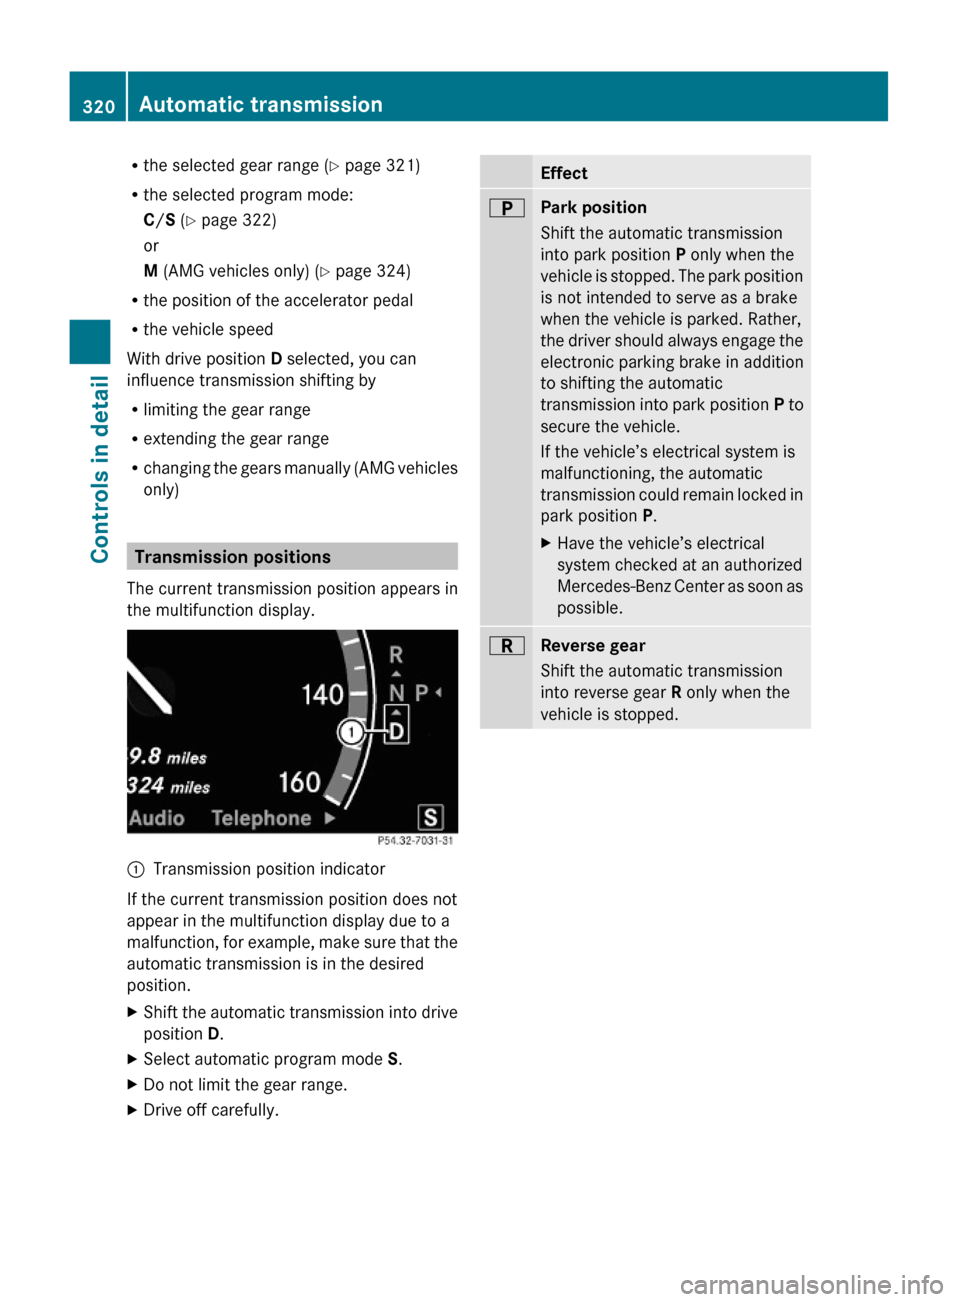
The current transmission position appears in
the multifunction display.
:Transmission position indicator
If the current transmission position does not
appear in the multifunction display due to a
malfunction, for example, make sure that the
automatic transmission is in the desired
position.
XShift the automatic transmission into drive
position D.
XSelect automatic program mode S.XDo not limit the gear range.XDrive off carefully.EffectBPark position
Shift the automatic transmission
into park position P only when the
vehicle is stopped. The park position
is not intended to serve as a brake
when the vehicle is parked. Rather,
the driver should always engage the
electronic parking brake in addition
to shifting the automatic
transmission into park position P to
secure the vehicle.
If the vehicle’s electrical system is
malfunctioning, the automatic
transmission could remain locked in
park position P.
XHave the vehicle’s electrical
system checked at an authorized
Mercedes-Benz Center as soon as
possible.
CReverse gear
Shift the automatic transmission
into reverse gear R only when the
vehicle is stopped.
320Automatic transmissionControls in detail
221_AKB; 6; 20, en-USd2ugruen,Version: 2.11.8.12009-09-24T13:28:17+02:00 - Seite 320
Page 328 of 548

otherwise seriously damage the brake
system or the transfer case which is not
covered by the Mercedes-Benz Limited
Warranty.
! Because the ESC operates automatically,
the engine and ignition must be shut off
(SmartKey in starter switch position 0 or
1 or KEYLESS-GO start/stop button in
position 0 or 1) when the electronic parking
brake is being tested on a brake test
dynamometer or when the vehicle is being
towed with one axle raised.
Active braking action through the ESC may
otherwise seriously damage the brake
system which is not covered by the
Mercedes-Benz Limited Warranty.
Instrument cluster
Introduction
For a full view illustration of the instrument
cluster, see “Instrument cluster”
(Y page 32).
GWarning!
No messages will be displayed if either the
instrument cluster or the multifunction
display is inoperative.
As a result, you will not be able to see
information about your driving conditions,
such as
Rspeed
Routside temperature
Rwarning/indicator lamps
Rmalfunction/warning messages
Rfailure of any systems
Driving characteristics may be impaired.
If you must continue to drive, do so with added
caution. Contact an authorized Mercedes-
Benz Center as soon as possible.
GWarning!
HYBRID vehicles: It is imperative that you read
the HYBRID Supplemental Operating
Instructions included in your vehicle literature
portfolio. You may otherwise not receive all
necessary safety information and warning for
the operation of your vehicle.
The language setting for the multifunction
display can be changed via COMAND
(Y page 94).
Activating the instrument cluster
The instrument cluster is activated when you
Ropen a door
Rswitch on the ignition
Rswitch on the exterior lamps
Adjusting the instrument cluster
illumination
XTo brighten illumination: Turn knob :
clockwise.
XTo dim illumination: Turn knob :
counterclockwise.
iThe instrument cluster illumination is
dimmed or brightened automatically to suit
ambient light conditions.
The instrument cluster illumination will also
be adjusted automatically when you switch
on the vehicle’s exterior lamps.
326Instrument clusterControls in detail
221_AKB; 6; 20, en-USd2ugruen,Version: 2.11.8.12009-09-24T13:28:17+02:00 - Seite 326
Page 360 of 548

and cannot check the function of the Night
View Assist Plus.
Image on multifunction display
When you switch on the Night View Assist
Plus, the dial for the speedometer changes on
the multifunction display. The speedometer
dial is shown as a bar on the lower edge of
the multifunction display. The line for main
menus is no longer available. If you would like
to change a setting using the steering wheel
buttons, you must first switch off the Night
View Assist Plus.
Pedestrian detection
The Night View Assist Plus detects
pedestrians by means of specific
characteristics, e.g. a human silhouette.
Pedestrian detection is activated when
Rthe Night View Assist Plus is switched on
Rthe vehicle speed is above approximately
6 mph (10 km/h)
Rdriving in darkness, e.g. on highways
without road lighting
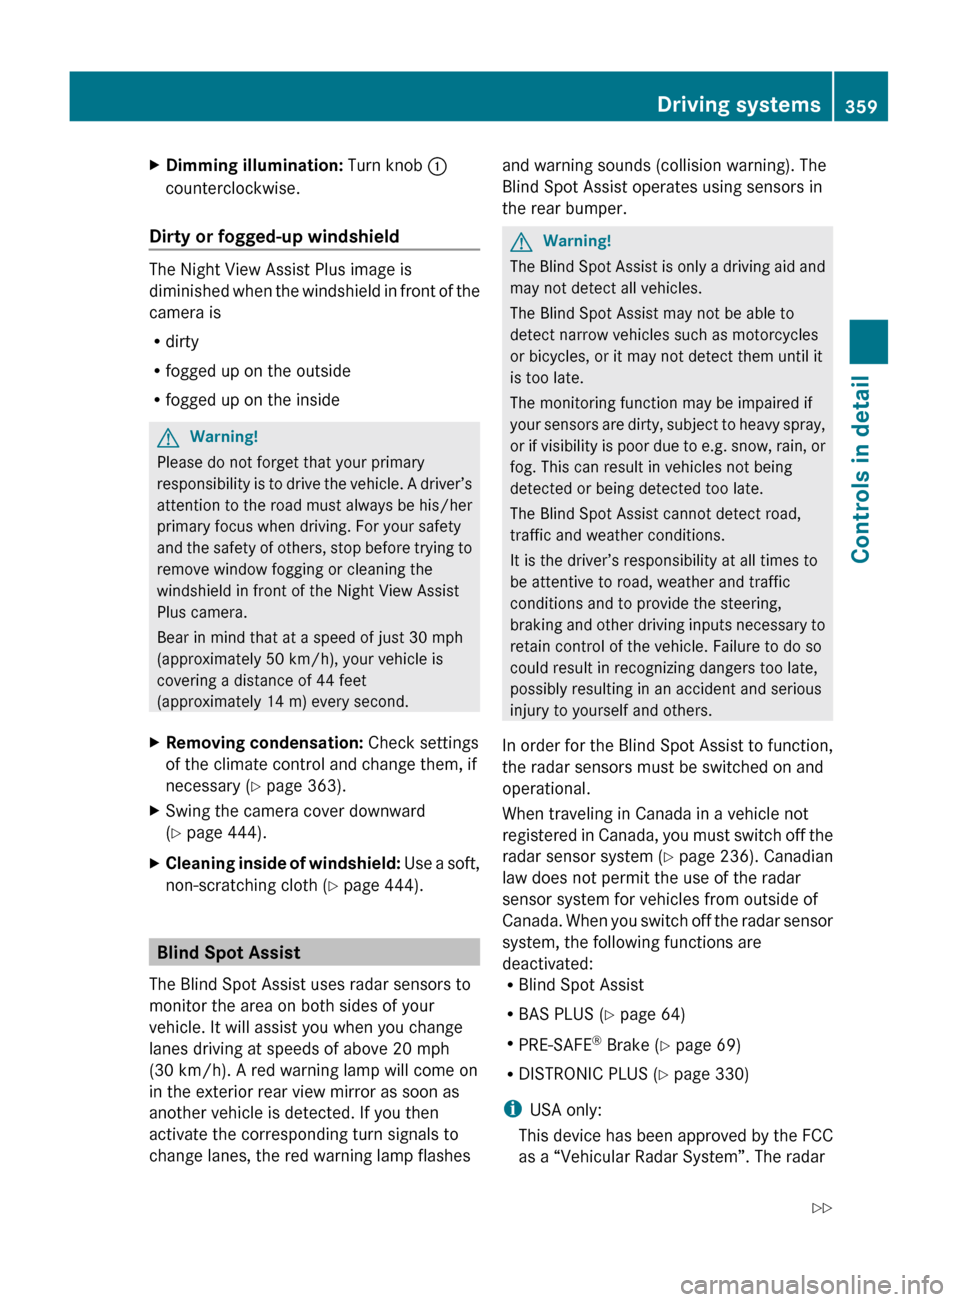
:Night View Assist Plus image;Detected pedestrian=Frame?Symbol for active pedestrian detectionASpeedometer dial
When pedestrian detection is active,
symbol ? appears in the Night View Assist
Plus image. Once a pedestrian is detected,
that pedestrian is highlighted by frame =.
When you have been made aware of a
pedestrian, assess the situation by looking
through the windshield. The actual distance
between your vehicle and objects or
pedestrians cannot be assessed properly via
a screen display.
Other objects apart from pedestrians may
also be highlighted.
GWarning!
The pedestrian detection may be impaired or
unavailable when
Rpedestrians are obstructed fully or in part
by other objects such as parking vehicles
Rthe silhouette in the Night View Assist Plus
image is displayed incomplete or
interrupted, e.g. by significant light
reflection
Ra pedestrian’s silhouette is not rich enough
in contrast compared to the background
Rpedestrians are not in erected position but,
for example, sit, crouch down, or lie
iAnimals cannot be detected.
Adjusting instrument cluster illumination
If you change the brightness of the
instrument cluster while the Night View
Assist Plus is switched on, only the brightness
of the multifunction display is changed.
XMake sure the Night View Assist Plus is
switched on.
XBrightening illumination: Turn knob :
clockwise.
358Driving systemsControls in detail
221_AKB; 6; 20, en-USd2ugruen,Version: 2.11.8.12009-09-24T13:28:17+02:00 - Seite 358
Page 361 of 548

XDimming illumination: Turn knob :
counterclockwise.
Dirty or fogged-up windshield
The Night View Assist Plus image is
diminished when the windshield in front of the
camera is
R dirty
R fogged up on the outside
R fogged up on the inside
GWarning!
Please do not forget that your primary
responsibility is to drive the vehicle. A driver’s
attention to the road must always be his/her
primary focus when driving. For your safety
and the safety of others, stop before trying to
remove window fogging or cleaning the
windshield in front of the Night View Assist
Plus camera.
Bear in mind that at a speed of just 30 mph
(approximately 50 km/h), your vehicle is
covering a distance of 44 feet
(approximately 14 m) every second.
XRemoving condensation: Check settings
of the climate control and change them, if
necessary ( Y page 363).XSwing the camera cover downward
( Y page 444).XCleaning inside of windshield: Use a soft,
non-scratching cloth ( Y page 444).
Blind Spot Assist
The Blind Spot Assist uses radar sensors to
monitor the area on both sides of your
vehicle. It will assist you when you change
lanes driving at speeds of above 20 mph
(30 km/h). A red warning lamp will come on
in the exterior rear view mirror as soon as
another vehicle is detected. If you then
activate the corresponding turn signals to
change lanes, the red warning lamp flashes
and warning sounds (collision warning). The
Blind Spot Assist operates using sensors in
the rear bumper.GWarning!
The Blind Spot Assist is only a driving aid and
may not detect all vehicles.
The Blind Spot Assist may not be able to
detect narrow vehicles such as motorcycles
or bicycles, or it may not detect them until it
is too late.
The monitoring function may be impaired if
your sensors are dirty, subject to heavy spray,
or if visibility is poor due to e.g. snow, rain, or
fog. This can result in vehicles not being
detected or being detected too late.
The Blind Spot Assist cannot detect road,
traffic and weather conditions.
It is the driver’s responsibility at all times to
be attentive to road, weather and traffic
conditions and to provide the steering,
braking and other driving inputs necessary to
retain control of the vehicle. Failure to do so
could result in recognizing dangers too late,
possibly resulting in an accident and serious
injury to yourself and others.
In order for the Blind Spot Assist to function,
the radar sensors must be switched on and
operational.
When traveling in Canada in a vehicle not
registered in Canada, you must switch off the
radar sensor system ( Y page 236). Canadian
law does not permit the use of the radar
sensor system for vehicles from outside of
Canada. When you switch off the radar sensor
system, the following functions are
deactivated:
R Blind Spot Assist
R BAS PLUS ( Y page 64)
R PRE-SAFE ®
Brake ( Y page 69)
R DISTRONIC PLUS ( Y page 330)
i USA only:
This device has been approved by the FCC
as a “Vehicular Radar System”. The radar
Driving systems359Controls in detail221_AKB; 6; 20, en-USd2ugruen,Version: 2.11.8.12009-09-24T13:28:17+02:00 - Seite 359Z
Page 371 of 548

Side air vents
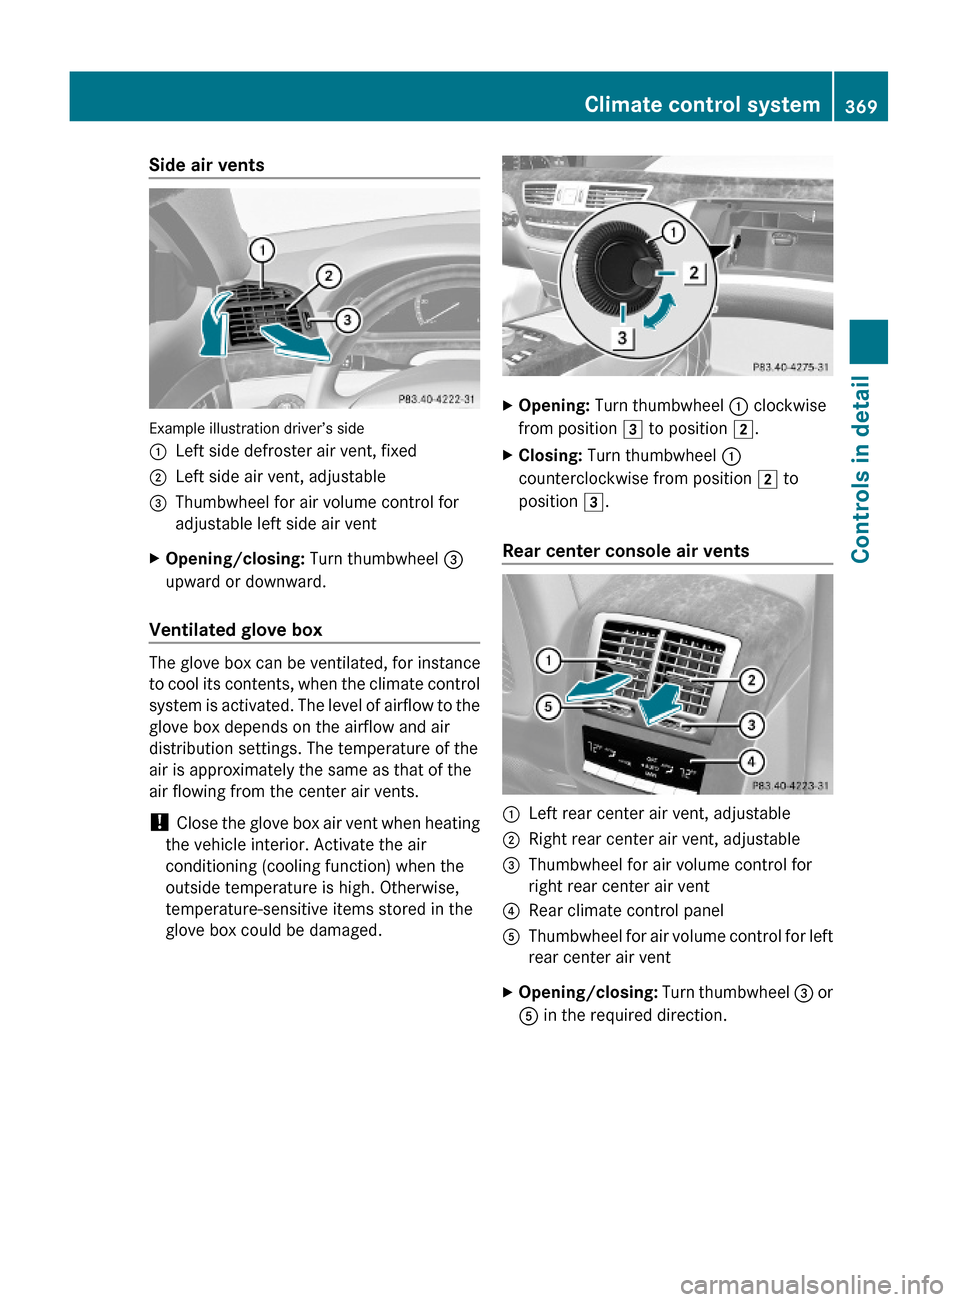
Example illustration driver’s side
:Left side defroster air vent, fixed;Left side air vent, adjustable=Thumbwheel for air volume control for
adjustable left side air vent
XOpening/closing: Turn thumbwheel =
upward or downward.
Ventilated glove box
The glove box can be ventilated, for instance
to cool its contents, when the climate control
system is activated. The level of airflow to the
glove box depends on the airflow and air
distribution settings. The temperature of the
air is approximately the same as that of the
air flowing from the center air vents.
! Close the glove box air vent when heating
the vehicle interior. Activate the air
conditioning (cooling function) when the
outside temperature is high. Otherwise,
temperature-sensitive items stored in the
glove box could be damaged.
XOpening: Turn thumbwheel : clockwise
from position 3 to position 2.
XClosing: Turn thumbwheel :
counterclockwise from position 2 to
position 3.
Rear center console air vents
:Left rear center air vent, adjustable;Right rear center air vent, adjustable=Thumbwheel for air volume control for
right rear center air vent
?Rear climate control panelAThumbwheel for air volume control for left
rear center air vent
XOpening/closing: Turn thumbwheel = or
A in the required direction.
Climate control system369Controls in detail221_AKB; 6; 20, en-USd2ugruen,Version: 2.11.8.12009-09-24T13:28:17+02:00 - Seite 369Z
Page 375 of 548

XSwitch on the ignition.XSwitching on: Press rocker switch ¤
up or down.
The indicator lamp in the rocker switch
comes on.XSwitching off: Press rocker switch ¤
up or down.
The rear window defroster switches off when
the battery voltage is too low. Too many
electrical consumers may be operating
simultaneously.
XSwitch off consumers that are currently not
needed if required.
Power tilt/sliding sunroof
Opening and closing
GObserve Safety notes, see page 56.GWarning!
When opening or closing the tilt/sliding
sunroof, make sure there is no danger of
anyone being harmed by the opening/closing
procedure.
The tilt/sliding sunroof is equipped with the
express operation and automatic reversal
function. If the movement of the tilt/sliding
sunroof is blocked during the closing
procedure, the tilt/sliding sunroof will stop
and open slightly.
The tilt/sliding sunroof operates differently
when the sunroof switch is pressed and held.
See the “Closing when the tilt/sliding sunroof
is blocked” section for details.
The opening/closing procedure of the tilt/
sliding sunroof can be immediately halted by
releasing the sunroof switch or, if the sunroof
switch was moved past the resistance point
and released, by moving the sunroof switch in
any direction.
GWarning!
The tilt/sliding sunroof is made out of glass.
In the event of an accident, the glass may
shatter. This may result in an opening in the
roof.
In a vehicle rollover, occupants not wearing
their seat belts or not wearing them properly
may be thrown out of the opening. Such an
opening also presents a potential for injury for
occupants wearing their seat belts properly as
entire body parts or portions of them may
protrude from the passenger compartment.
! To avoid damaging the seals, do not
transport any objects with sharp edges
which can stick out of the tilt/sliding
sunroof.
Do not open the tilt/sliding sunroof if there
is snow or ice on the roof, as this could
result in malfunctions.
If you cannot open or close the tilt/sliding
sunroof due to a malfunction contact
Roadside Assistance or an authorized
Mercedes-Benz Center.
! Please keep in mind that weather
conditions can sometimes change rapidly.
Make sure to close the tilt/sliding sunroof
when leaving the vehicle. If water enters
the vehicle interior, vehicle electronics
could be damaged which is not covered by
the Mercedes-Benz Limited Warranty.
i You can also open or close the tilt/sliding
sunroof using the SmartKey or the
KEYLESS-GO function, see “Summer
opening feature” ( Y page 309) and
“Convenience closing feature”
( Y page 309).
i After switching off the ignition or
removing the SmartKey from the starter
switch, you can operate the tilt/sliding
sunroof until you open the driver’s or front
passenger door. If no door was opened you
can operate the tilt/sliding sunroof for up
to 5 minutes.Power tilt/sliding sunroof373Controls in detail221_AKB; 6; 20, en-USd2ugruen,Version: 2.11.8.12009-09-24T13:28:17+02:00 - Seite 373Z