2010 MERCEDES-BENZ S CLASS manual transmission
[x] Cancel search: manual transmissionPage 327 of 548

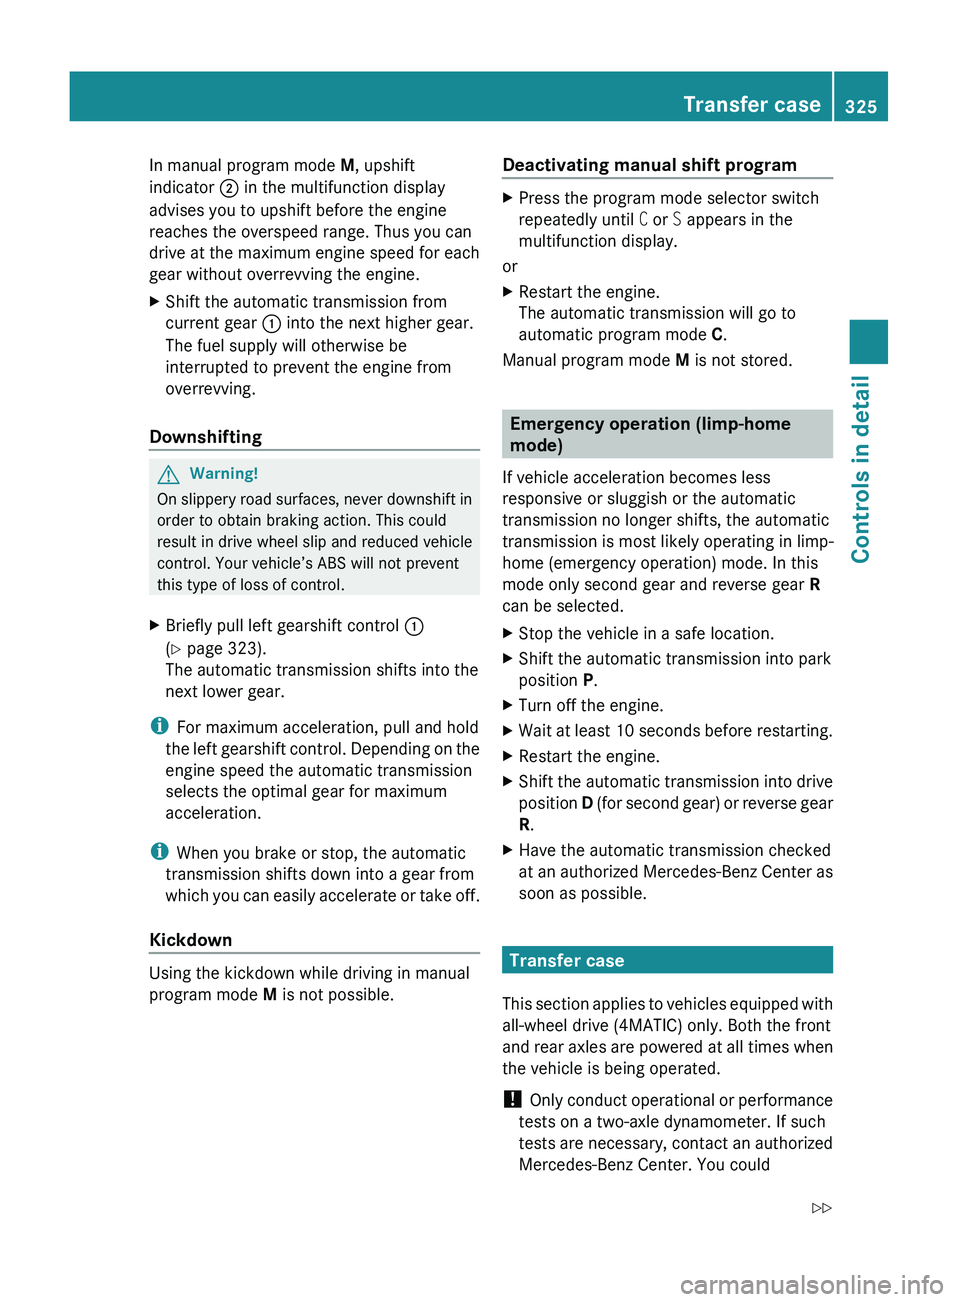
In manual program mode M, upshift
indicator 0047 in the multifunction display
advises you to upshift before the engine
reaches the overspeed range. Thus you can
drive at the maximum engine speed for each
gear without overrevving the engine.XShift the automatic transmission from
current gear 0046 into the next higher gear.
The fuel supply will otherwise be
interrupted to prevent the engine from
overrevving.
Downshifting
GWarning!
On slippery road surfaces, never downshift in
order to obtain braking action. This could
result in drive wheel slip and reduced vehicle
control. Your vehicle’s ABS will not prevent
this type of loss of control.
XBriefly pull left gearshift control 0046
( Y page 323).
The automatic transmission shifts into the
next lower gear.
i For maximum acceleration, pull and hold
the left gearshift control. Depending on the
engine speed the automatic transmission
selects the optimal gear for maximum
acceleration.
i When you brake or stop, the automatic
transmission shifts down into a gear from
which you can easily accelerate or take off.
Kickdown
Using the kickdown while driving in manual
program mode M is not possible.
Deactivating manual shift programXPress the program mode selector switch
repeatedly until C or S appears in the
multifunction display.
or
XRestart the engine.
The automatic transmission will go to
automatic program mode C.
Manual program mode M is not stored.
Emergency operation (limp-home
mode)
If vehicle acceleration becomes less
responsive or sluggish or the automatic
transmission no longer shifts, the automatic
transmission is most likely operating in limp-
home (emergency operation) mode. In this
mode only second gear and reverse gear R
can be selected.
XStop the vehicle in a safe location.XShift the automatic transmission into park
position P.XTurn off the engine.XWait at least 10 seconds before restarting.XRestart the engine.XShift the automatic transmission into drive
position D (for second gear) or reverse gear
R .XHave the automatic transmission checked
at an authorized Mercedes-Benz Center as
soon as possible.
Transfer case
This section applies to vehicles equipped with
all-wheel drive (4MATIC) only. Both the front
and rear axles are powered at all times when
the vehicle is being operated.
! Only conduct operational or performance
tests on a two-axle dynamometer. If such
tests are necessary, contact an authorized
Mercedes-Benz Center. You could
Transfer case325Controls in detail221_AKB; 6; 20, en-USd2ugruen,Version: 2.11.8.12009-09-24T13:28:17+02:00 - Seite 325Z
Page 399 of 548

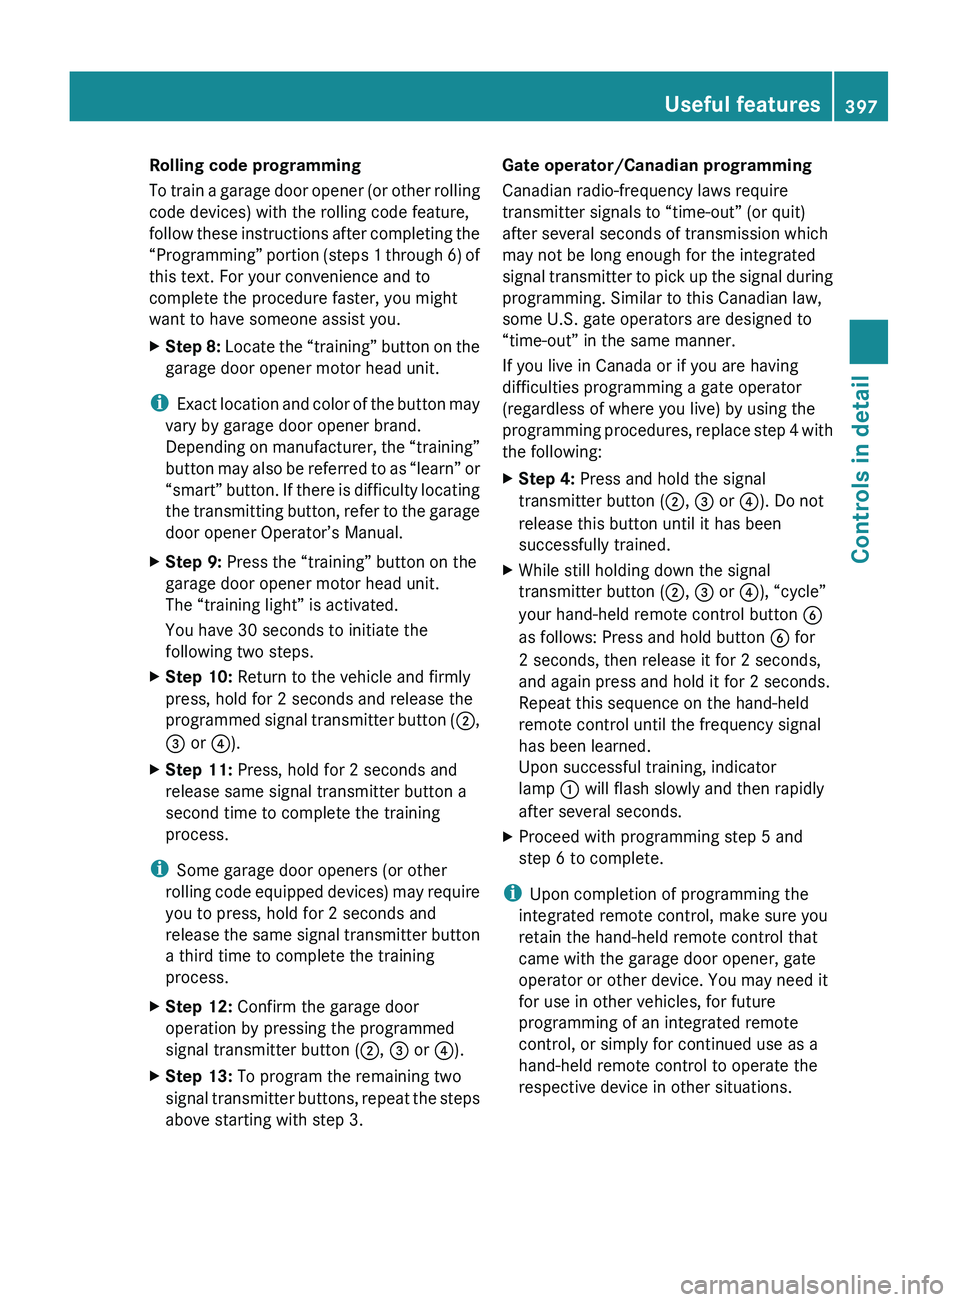
Rolling code programming
To train a garage door opener (or other rolling
code devices) with the rolling code feature,
follow these instructions after completing the
“Programming” portion (steps 1 through 6) of
this text. For your convenience and to
complete the procedure faster, you might
want to have someone assist you.XStep 8: Locate the “training” button on the
garage door opener motor head unit.
i Exact location and color of the button may
vary by garage door opener brand.
Depending on manufacturer, the “training”
button may also be referred to as “learn” or
“smart” button. If there is difficulty locating
the transmitting button, refer to the garage
door opener Operator’s Manual.
XStep 9: Press the “training” button on the
garage door opener motor head unit.
The “training light” is activated.
You have 30 seconds to initiate the
following two steps.XStep 10: Return to the vehicle and firmly
press, hold for 2 seconds and release the
programmed signal transmitter button ( 0047,
008A or 0088).XStep 11: Press, hold for 2 seconds and
release same signal transmitter button a
second time to complete the training
process.
i Some garage door openers (or other
rolling code equipped devices) may require
you to press, hold for 2 seconds and
release the same signal transmitter button
a third time to complete the training
process.
XStep 12: Confirm the garage door
operation by pressing the programmed
signal transmitter button ( 0047, 008A or 0088).XStep 13: To program the remaining two
signal transmitter buttons, repeat the steps
above starting with step 3.Gate operator/Canadian programming
Canadian radio-frequency laws require
transmitter signals to “time-out” (or quit)
after several seconds of transmission which
may not be long enough for the integrated
signal transmitter to pick up the signal during
programming. Similar to this Canadian law,
some U.S. gate operators are designed to
“time-out” in the same manner.
If you live in Canada or if you are having
difficulties programming a gate operator
(regardless of where you live) by using the
programming procedures, replace step 4 with
the following:XStep 4: Press and hold the signal
transmitter button ( 0047, 008A or 0088). Do not
release this button until it has been
successfully trained.XWhile still holding down the signal
transmitter button ( 0047, 008A or 0088), “cycle”
your hand-held remote control button 0087
as follows: Press and hold button 0087 for
2 seconds, then release it for 2 seconds,
and again press and hold it for 2 seconds.
Repeat this sequence on the hand-held
remote control until the frequency signal
has been learned.
Upon successful training, indicator
lamp 0046 will flash slowly and then rapidly
after several seconds.XProceed with programming step 5 and
step 6 to complete.
i Upon completion of programming the
integrated remote control, make sure you
retain the hand-held remote control that
came with the garage door opener, gate
operator or other device. You may need it
for use in other vehicles, for future
programming of an integrated remote
control, or simply for continued use as a
hand-held remote control to operate the
respective device in other situations.
Useful features397Controls in detail221_AKB; 6; 20, en-USd2ugruen,Version: 2.11.8.12009-09-24T13:28:17+02:00 - Seite 397Z
Page 418 of 548

Pressure Displayed After Driving A
Few Minutes appears in the multifunction
display.
iWith a spare wheel mounted, the system
may still indicate the tire inflation pressure
of the removed road wheel for some
minutes. If this happens, keep in mind that
the indicated value where the spare wheel
is mounted does not reflect the actual
spare tire inflation pressure.
iOperating radio transmission equipment
(e.g. wireless headsets, two-way radios) in
or near the vehicle could cause the TPMS
to malfunction.
iUSA only:
This device complies with Part 15 of the
FCC Rules. Operation is subject to the
following two conditions:
1. This device may not cause harmful
interference, and
2. this device must accept any
interference received, including
interference that may cause undesired.
Any unauthorized modification to this
device could void the user’s authority to
operate the equipment.
iCanada only:
This device complies with RSS-210 of
Industry Canada. Operation is subject to
the following two conditions:
1.This device may not cause interference,
and
2. this device must accept any
interference received, including
interference that may cause undesired
operation of the device.
Any unauthorized modification to this
device could void the user’s authority to
operate the equipment.
Tire inflation pressure warnings
If the system detects a significant loss of tire
inflation pressure in one or more than one
tire, a message appears in the multifunction
display. In addition, an acoustic warning
sounds and the low tire pressure telltale in the
instrument cluster comes on.
Example illustration
The respective tire and the corresponding tire
inflation pressure are indicated in yellow.
Restarting Advanced TPMS
GWarning!
It is the driver’s responsibility to set the tire
inflation pressure to the recommended cold
tire inflation pressure. Underinflated tires
affect the ability to steer or brake the vehicle.
You might lose control over the vehicle.
When you restart the TPMS, the system sets
new reference values for each tire.
The TPMS must be restarted when you have
adjusted the tire inflation pressure to a new
level (e.g. because of different load or driving
conditions). The TPMS is then recalibrated to
the current tire inflation pressures.
iCanada only:
The TPMS usually recognizes tire pressure
adjustments and sets new reference values
automatically. You can, however, restart
the TPMS manually as described.
Restart the TPMS after adjusting the tire
inflation pressure to the inflation pressure
recommended for the vehicle operating
condition. Tire inflation pressure should only
be adjusted on cold tires. Observe the
recommended tire inflation pressure on the
Tire and Loading Information placard on the
416Tires and wheelsOperation
221_AKB; 6; 20, en-USd2ugruen,Version: 2.11.8.12009-09-24T13:28:17+02:00 - Seite 416
Page 464 of 548

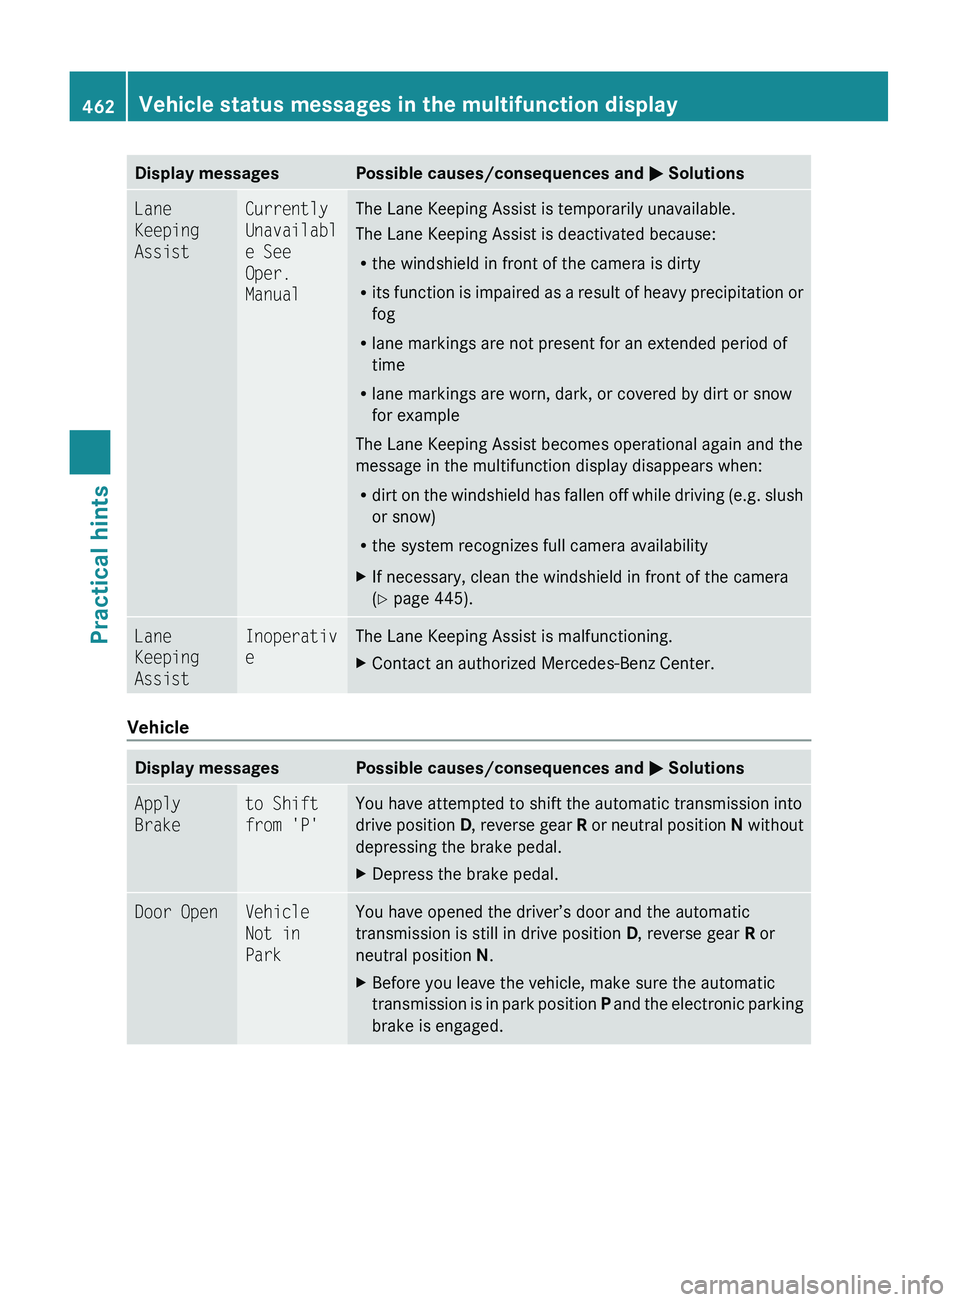
Display messagesPossible causes/consequences and 0050 SolutionsLane
Keeping
AssistCurrently
Unavailabl
e See
Oper.
ManualThe Lane Keeping Assist is temporarily unavailable.
The Lane Keeping Assist is deactivated because:
R the windshield in front of the camera is dirty
R its function is impaired as a result of heavy precipitation or
fog
R lane markings are not present for an extended period of
time
R lane markings are worn, dark, or covered by dirt or snow
for example
The Lane Keeping Assist becomes operational again and the
message in the multifunction display disappears when:
R dirt on the windshield has fallen off while driving (e.g. slush
or snow)
R the system recognizes full camera availabilityXIf necessary, clean the windshield in front of the camera
( Y page 445).Lane
Keeping
AssistInoperativ
eThe Lane Keeping Assist is malfunctioning.XContact an authorized Mercedes-Benz Center.
Vehicle
Display messagesPossible causes/consequences and 0050 SolutionsApply
Braketo Shift
from 'P'You have attempted to shift the automatic transmission into
drive position D, reverse gear R or neutral position N without
depressing the brake pedal.XDepress the brake pedal.Door OpenVehicle
Not in
ParkYou have opened the driver’s door and the automatic
transmission is still in drive position D, reverse gear R or
neutral position N.XBefore you leave the vehicle, make sure the automatic
transmission is in park position P and the electronic parking
brake is engaged.462Vehicle status messages in the multifunction displayPractical hints
221_AKB; 6; 20, en-USd2ugruen,Version: 2.11.8.12009-09-24T13:28:17+02:00 - Seite 462
Page 472 of 548

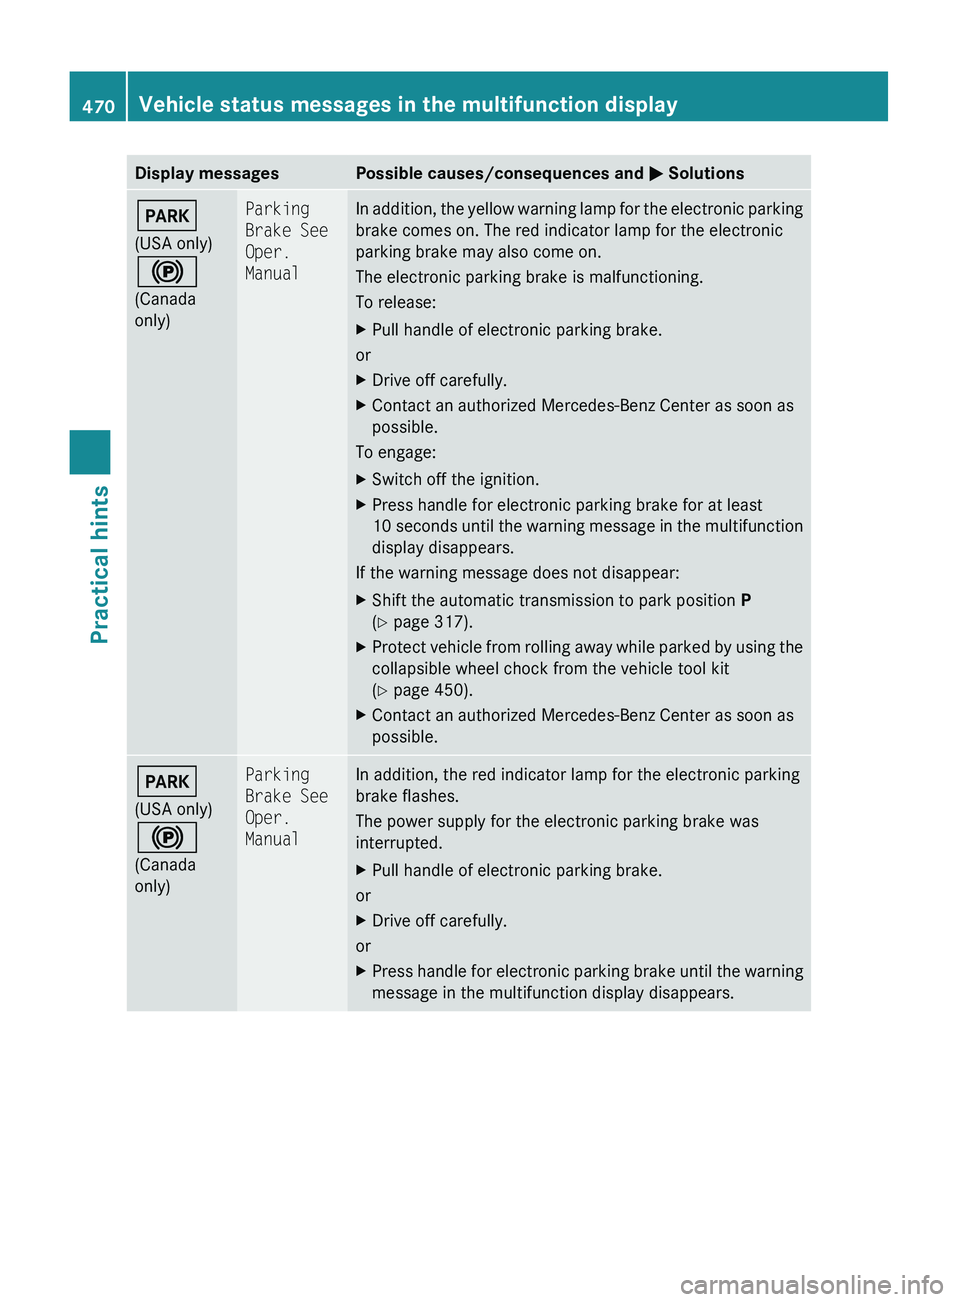
Display messagesPossible causes/consequences and 0050 Solutions0049
(USA only)
0024
(Canada
only)Parking
Brake See
Oper.
ManualIn addition, the yellow warning lamp for the electronic parking
brake comes on. The red indicator lamp for the electronic
parking brake may also come on.
The electronic parking brake is malfunctioning.
To release:XPull handle of electronic parking brake.
or
XDrive off carefully.XContact an authorized Mercedes-Benz Center as soon as
possible.
To engage:
XSwitch off the ignition.XPress handle for electronic parking brake for at least
10 seconds until the warning message in the multifunction
display disappears.
If the warning message does not disappear:
XShift the automatic transmission to park position P
( Y page 317).XProtect vehicle from rolling away while parked by using the
collapsible wheel chock from the vehicle tool kit
( Y page 450).XContact an authorized Mercedes-Benz Center as soon as
possible.0049
(USA only)
0024
(Canada
only)Parking
Brake See
Oper.
ManualIn addition, the red indicator lamp for the electronic parking
brake flashes.
The power supply for the electronic parking brake was
interrupted.XPull handle of electronic parking brake.
or
XDrive off carefully.
or
XPress handle for electronic parking brake until the warning
message in the multifunction display disappears.470Vehicle status messages in the multifunction displayPractical hints
221_AKB; 6; 20, en-USd2ugruen,Version: 2.11.8.12009-09-24T13:28:17+02:00 - Seite 470
Page 474 of 548

Display messagesPossible causes/consequences and 0050 Solutions0049
(USA only)
0024
(Canada
only)Parking
Brake
Inoperativ
eWhen you engage or release the electronic parking brake, the
red indicator lamp for the electronic parking brake flashes
and goes out after approx. 10 seconds. The yellow warning
lamp for the electronic parking brake comes on.
The electronic parking brake is malfunctioning.XSwitch ignition off and back on again, and engage or release
electronic parking brake.
If the electronic parking brake cannot be engaged:
XShift the automatic transmission to park position P
( Y page 317).XProtect vehicle from rolling away while parked by using a
chock from the vehicle tool kit ( Y page 450).XContact an authorized Mercedes-Benz Center as soon as
possible.0027
(USA only)
004D
(Canada
only)Service
See Oper.
ManualS 600 and S 65 AMG only:
The brake system sensors are malfunctioning. The brake
system continues to function normally with full brake force
boost.XContinue driving with added caution.XHave the system checked at an authorized Mercedes-Benz
Center as soon as possible.0027
(USA only)
004D
(Canada
only)Check
Brake
Fluid
LevelThere is insufficient brake fluid in the reservoir.
Risk of accident!XStop the vehicle in a safe location or as soon as it is safe
to do so.XEngage the parking brake.XDo not drive any further.XContact an authorized Mercedes-Benz Center or call
Roadside Assistance.
Do not add brake fluid! This will not solve the problem.
GWarning!
Driving with the message Check Brake Fluid Level displayed can result in an accident. Have
your brake system checked immediately.
Do not add brake fluid before checking the brake system. Overfilling the brake fluid reservoir can
result in spilling brake fluid on hot engine parts and the brake fluid catching fire. You can be
seriously burned.
! If you find that the brake fluid in the brake fluid reservoir has fallen to the minimum mark
or below, have the brake system checked for brake pad thickness and leaks.
472Vehicle status messages in the multifunction displayPractical hints
221_AKB; 6; 20, en-USd2ugruen,Version: 2.11.8.12009-09-24T13:28:17+02:00 - Seite 472