2010 MERCEDES-BENZ R320 transmission
[x] Cancel search: transmissionPage 254 of 364
Snow chains
! Vehicles with Adaptive Damping System
(ADS):
When driving with snow chains, do not
select SPORT mode as this may result in
damage to your vehicle.
! Some tire sizes do not leave adequate
clearance for snow chains. To help avoid
serious damage to your vehicle or tires,
make sure the use of snow chains is
permissible as specified in the “Technical
data” section of this Operator’s Manual.
Snow chains should only be driven on snow-
covered roads at speeds not to exceed
30 mph (50 km/h)
. Remove chains as soon
as possible when driving on roads without
snow.
Observe the following guidelines when using
snow chains:
R Use of snow chains is not permissible with
all wheel/tire combinations ( Y page 347).
R Use snow chains in pairs and on rear
wheels only. Follow the manufacturer’s
mounting instructions.
! If snow chains are mounted to the front
wheels, they may scrape against the body
or axle components. The tires or the vehicle
could be damaged as a result.
R Only use snow chains that are approved by
Mercedes-Benz. Any authorized Mercedes-
Benz Center will be glad to advise you on
this subject.
R Use of snow chains may be prohibited
depending on location. Always check local
and state laws before installing snow
chains.
R Do not use snow chains on the spare wheel.
i When driving with snow chains, you may
wish to switch off the ESP ®
(Y page 65)
before setting the vehicle in motion. This
will improve the vehicle’s traction. Winter driving instructions
G
Warning!
If the vehicle becomes stuck in snow, make
sure snow is kept clear of the exhaust pipe
and from around the vehicle with the engine
running. Otherwise, deadly carbon monoxide
(CO) gases may enter vehicle interior
resulting in unconsciousness and death.
To
assure sufficient fresh air ventilation, open
a window slightly on the side of the vehicle
not facing the wind. G
Warning!
The outside temperature indicator is not
designed to serve as an ice-warning device
and is therefore unsuitable for that purpose.
Indicated temperatures just above the
freezing
point do not guarantee that the road
surface is free of ice. The road may still be icy,
especially in wooded areas or on bridges. G
Warning!
On slippery road surfaces, never downshift in
order to obtain braking action. This could
result
in drive wheel slip and reduced vehicle
control. Your vehicle’s ABS will not prevent
this type of loss of control.
The most important rule for slippery or icy
roads is to drive sensibly and to avoid abrupt
acceleration, braking and steering
maneuvers. Do not use the cruise control
system under such conditions.
When the vehicle is in danger of skidding, shift
the automatic transmission to neutral
position N. Try to keep the vehicle under
control by corrective steering action.
i For information on driving with snow
chains, see “Snow chains” ( Y page 252).
Road salts and chemicals can adversely
affect braking efficiency. Increased pedal
force may become necessary to produce the
normal brake effect.
Depressing the brake pedal periodically when
traveling at length on salt-strewn roads can 252
Winter driving
Operation
251_AKB; 4; 52, en-US
d2ureepe,
Version: 2.11.8.1 2009-03-23T09:22:52+01:00 - Seite 252
Page 258 of 364
X
Reduce vehicle speed.
X Avoid track grooves in the road.
X Apply brakes cautiously. Standing water
! Do not drive through flooded areas.
Before
driving through water, determine its
depth.
If you must drive through standing water,
drive slowly to prevent water from entering
the passenger compartment or the engine
compartment. Water in these areas could
cause damage to electrical components or
wiring of the engine or transmission, or
could result in water being ingested by the
engine through the air intake causing
severe internal engine damage. Any such
damage is not covered by the Mercedes-
Benz Limited Warranty.
Prevent water from entering the passenger
compartment or the engine compartment. If
you must drive through standing water, keep
in mind that
R the maximum depth of the water may not
exceed 10 in (25 cm)
R you must drive slowly
i Vehicles with AIRMATIC:
If you have selected the raised level
(Y page 155) before driving through
standing water, the maximum water depth
is 12 in (30 cm). Trailer towing
G
Warning!
Failure to use proper equipment and driving
technique can result in a loss of vehicle
control when towing a trailer.
Improper towing or failure to follow the
instructions in this manual can result in
vehicle damage and/or serious personal injury. Follow the guidelines below carefully
to assure safe trailer operation.
Contact
an authorized Mercedes-Benz Center
should you require an explanation of
information contained in this manual.
Trailer hitch R
Only
install a trailer hitch receiver approved
for your vehicle.
For information on availability and
installation, contact an authorized
Mercedes-Benz Center.
R The bumpers on your vehicle are not
designed for use with clamp-type hitches.
Do not attach rental hitches or other
bumper-type hitches to them.
R To reduce the possibility of damage,
remove the hitch ball adapter from the
receiver when not in use.
Electrical connections The vehicle is prewired to accept the seven-
wire harness included in the Mercedes-Benz
approved trailer hitch receiver kit.
i
A four-pole conversion plug is available
from your authorized Mercedes-Benz
Center as a spare part.
For further information, contact an
authorized Mercedes-Benz Center.
Vehicle
and trailer weights and ratings The Gross Trailer Weight (GTW) is the weight
of the trailer plus the weight of all cargo,
equipment, luggage, etc. loaded on the
trailer. The maximum permissible GTW to be
towed: 3
500 lb (1 588 kg).
Trailer Tongue Weight Rating (TWR) is the
maximum permissible weight on the trailer
tongue: 350 lb (158 kg) limit for Mercedes-
Benz approved hitch receiver. 256
Driving instructions
Operation
251_AKB; 4; 52, en-US
d2ureepe,
Version: 2.11.8.1 2009-03-23T09:22:52+01:00 - Seite 256
Page 260 of 364
X
Make sure the automatic transmission is in
park position P (Y page 116).
X Engage the parking brake for the vehicle
(Y page 114).
X Start the engine (Y page 110).
X Vehicles with AIRMATIC:
Set the vehicle level to highway
(Y page 154) and set the ADS to AUTO or
COMF (Y page 153).
X Turn off the engine ( Y page 114).
X Close all doors and the tailgate.
X Attach the trailer.
X Plug in all electrical connectors.
i Vehicles with AIRMATIC:
When you are towing a trailer, the vehicle
level
always remains in the highway setting.
The following applies additionally when
towing a trailer:
R The vehicle is lowered to the highway
level when it reaches a speed of 5 mph
(8 km/h) if not set to highway level.
R The highspeed level is not available.
The restrictions that apply to towing also
apply when using accessories that are
connected to the trailer power socket, such
as a bicycle rack.
Towing a trailer There are many different laws, including
speed limit restrictions, having to do with
trailer
towing. Make sure your rig will be legal,
not only for where you reside, but also for
where you will be driving. A good source for
this information can be the police or local
authorities.
Note the following, when driving with a trailer:
R In order to gain skill and an understanding
of the vehicle’s behavior, you should practice turning, stopping and backing up
in an area which is free of traffic.
R Before you start driving check the
-trailer hitch
- break-away switch
- safety chains
- electrical connections
- lighting
- tires
R Adjust the mirrors
(Y page 94) to permit
unobstructed view beyond rear of trailer.
R If the trailer has electric brakes, start your
vehicle and trailer moving slowly, and then
apply only the trailer brake controller by
hand to make sure the brakes are working
properly.
R Always secure items in the trailer to
prevent load shifts while driving.
R When towing a trailer, check occasionally
to make sure the load is secure, and that
trailer lighting and brakes (if so equipped)
are functioning properly.
R Take into consideration that when towing a
trailer, the handling characteristics are
different and less stable from those when
operating the vehicle without a trailer.
It is important to avoid sudden maneuvers.
R The vehicle and trailer combination is
heavier, and therefore limited in
acceleration and climbing ability, and has a
larger braking distance.
It is more prone to reacting to cross wind
gusts, and requires more sensitive steering
input.
R If possible, do not brake abruptly, but
rather engage the brake slightly at first to
permit the trailer to activate its brake. Then
increase the braking force.
! If the trailer should begin to sway, reduce
the vehicle’s speed immediately. 258
Driving instructions
Operation
251_AKB; 4; 52, en-US
d2ureepe,
Version: 2.11.8.1 2009-03-23T09:22:52+01:00 - Seite 258
Page 261 of 364
Do not attempt to straighten out the tow
vehicle
and trailer by increasing the speed.
R If the transmission shifts between gears on
inclines repeatedly, shift to a lower gear
range manually ( Y page 119). Select 4, 3,
2 or 1.
A lower gear and reduction of speed
reduces the chance of engine overloading
and/or overheating.
R When going down an incline, shift into a
lower gear and use the engine’s braking
effect.
Avoid riding the brakes, thus overheating
the vehicle and trailer brakes (if so
equipped).
R If the engine coolant rises to an extremely
high temperature when the air conditioning
is on, turn off the air conditioning system.
Engine coolant heat can be additionally
vented by opening the windows, switching
the climate control fan speed to high and
setting the temperature control to the
maximum.
R During a passing maneuver extreme care
must be exercised since your vehicle with
a trailer will require additional passing
distance ahead than when driving without
a trailer.
Because your vehicle and trailer is longer
than your vehicle alone, you will also need
to go much farther ahead of the passed
vehicle before you can return to your lane.
Decoupling a trailer G
Warning!
Vehicles with AIRMATIC: While you are
coupling or decoupling a trailer, make sure
nobody locks or unlocks the vehicle and/or
opens or closes doors or the tailgate.
The vehicle’s level could change and you
could endanger yourself and/or others as a
result. Make sure that you do not operate the ADS
switch or the vehicle level control system
when coupling/decoupling the trailer.
X Make sure the automatic transmission is in
park position P (Y page 116).
X Engage the parking brake for the vehicle
(Y page 114).
X Start the engine (Y page 110).
X Close all doors and the tailgate.
X Engage the parking brake for the trailer. G
Warning!
Vehicles with AIRMATIC: As soon as you
disconnect
the electrical connection between
the trailer and the vehicle, the vehicle will
lower. To help avoid personal injury, make
sure no one is near the wheel housing or
underneath the vehicle before the electrical
connection is disconnected.
When you decouple the trailer, the vehicle is
temporarily raised because the springs are
relieved of load. Be especially careful during
this process, as you could otherwise injure
yourself and/or others. Make sure that any
persons remaining in the vehicle do not press
the switches for vehicle level control or the
ADS.
X Disconnect all electrical plug connectors.
X Decouple the trailer.
X Make sure that the trailer coupling is free
of load.
X Turn off the engine ( Y page 114). Driving abroad
If
you plan to drive the vehicle outside the U.S.
or Canada, you should request dealer
network information for your destination from
any authorized Mercedes-Benz Center. Driving instructions
259
Operation
251_AKB; 4; 52, en-US
d2ureepe, Version: 2.11.8.1 2009-03-23T09:22:52+01:00 - Seite 259 Z
Page 267 of 364
X
When taking the vehicle through an
automatic conveyor-type car wash:
Make sure the automatic transmission
remains in neutral position N. Observe
instructions, see “Remaining in neutral
position N” ( Y page 117).
When leaving the automatic car wash, make
sure the mirrors are folded out.
After running the vehicle through an
automatic car wash, wipe any wax off of the
windshield and the wiper blade inserts. This
will prevent smears and reduce wiping noise
which can be caused by residual wax on the
windshield.
Ornamental moldings X
For regular cleaning and care of ornamental
moldings, use a damp cloth.
! Do not use chrome cleaner on ornamental
moldings. Although ornamental moldings
may have chrome appearance, they could
be made of anodized aluminum that will be
damaged when cleaned with chrome
cleaner. Instead, use a damp cloth to clean
those ornamental moldings.
For very dirty ornamental moldings of
which you are sure are chrome-plated, use
a chrome cleaner. If in doubt whether an
ornamental molding is chrome-plated,
contact an authorized Mercedes-Benz
Center.
Headlamps, brake lamps, tail lamps,
side markers, turn signal lenses X
Use a mild vehicle wash detergent, such as
Mercedes-Benz approved Car Shampoo,
with plenty of water.
! Only use window cleaning solutions that
are suitable for plastic lamp lenses.
Window cleaning solutions which are not
suitable may damage the plastic lamp
lenses of the headlamps. Therefore, do not
use abrasives, solvents or cleaners that
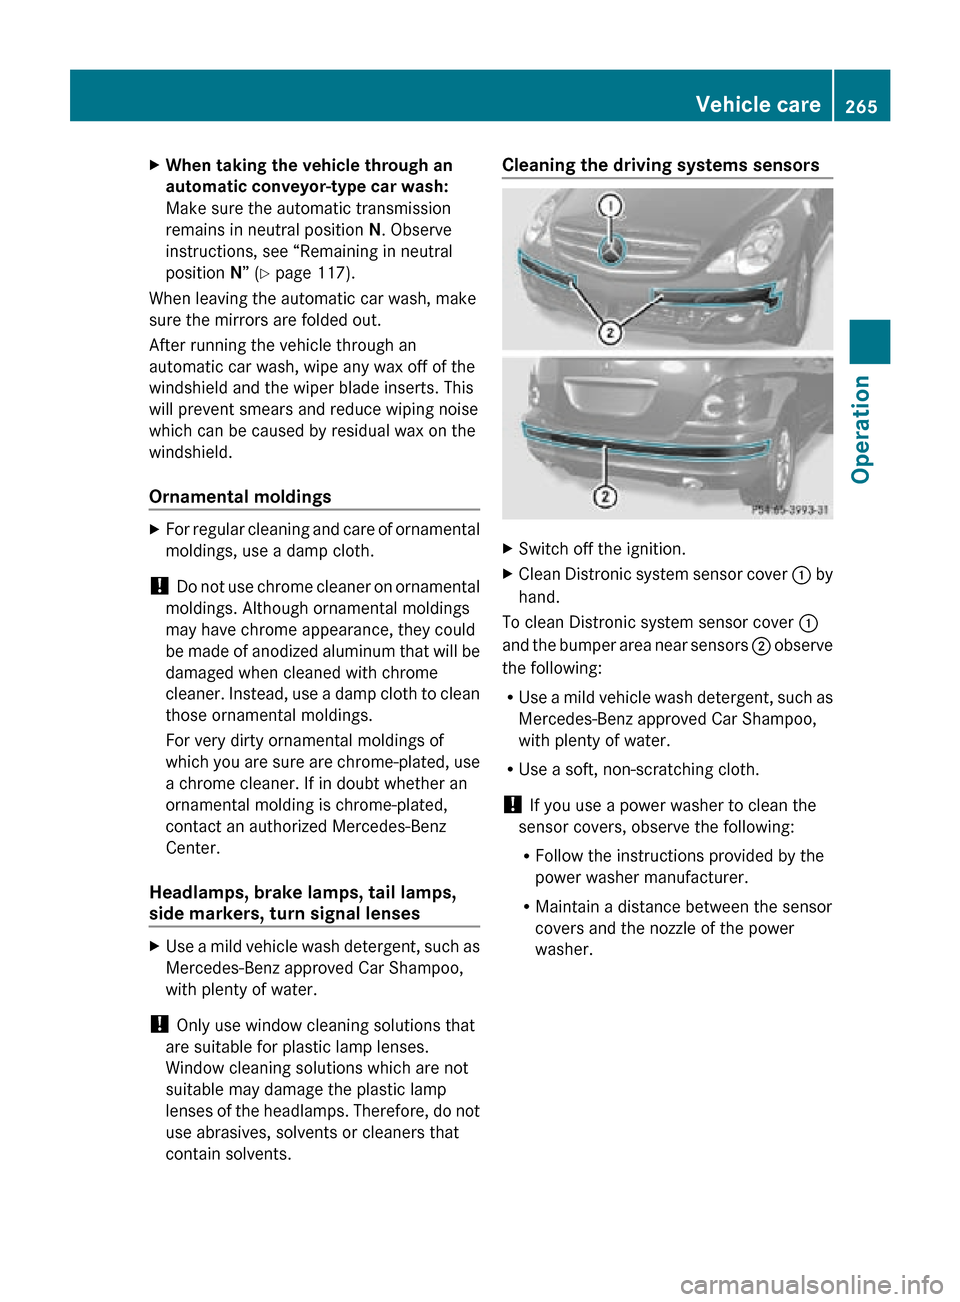
contain solvents. Cleaning the driving systems sensors
X
Switch off the ignition.
X Clean Distronic system sensor cover : by
hand.
To clean Distronic system sensor cover :
and the bumper area near sensors ; observe
the following:
R Use a mild vehicle wash detergent, such as
Mercedes-Benz approved Car Shampoo,
with plenty of water.
R Use a soft, non-scratching cloth.
! If you use a power washer to clean the
sensor covers, observe the following:
R Follow the instructions provided by the
power washer manufacturer.
R Maintain a distance between the sensor
covers and the nozzle of the power
washer. Vehicle care
265Operation
251_AKB; 4; 52, en-US
d2ureepe, Version: 2.11.8.1 2009-03-23T09:22:52+01:00 - Seite 265 Z
Page 284 of 364
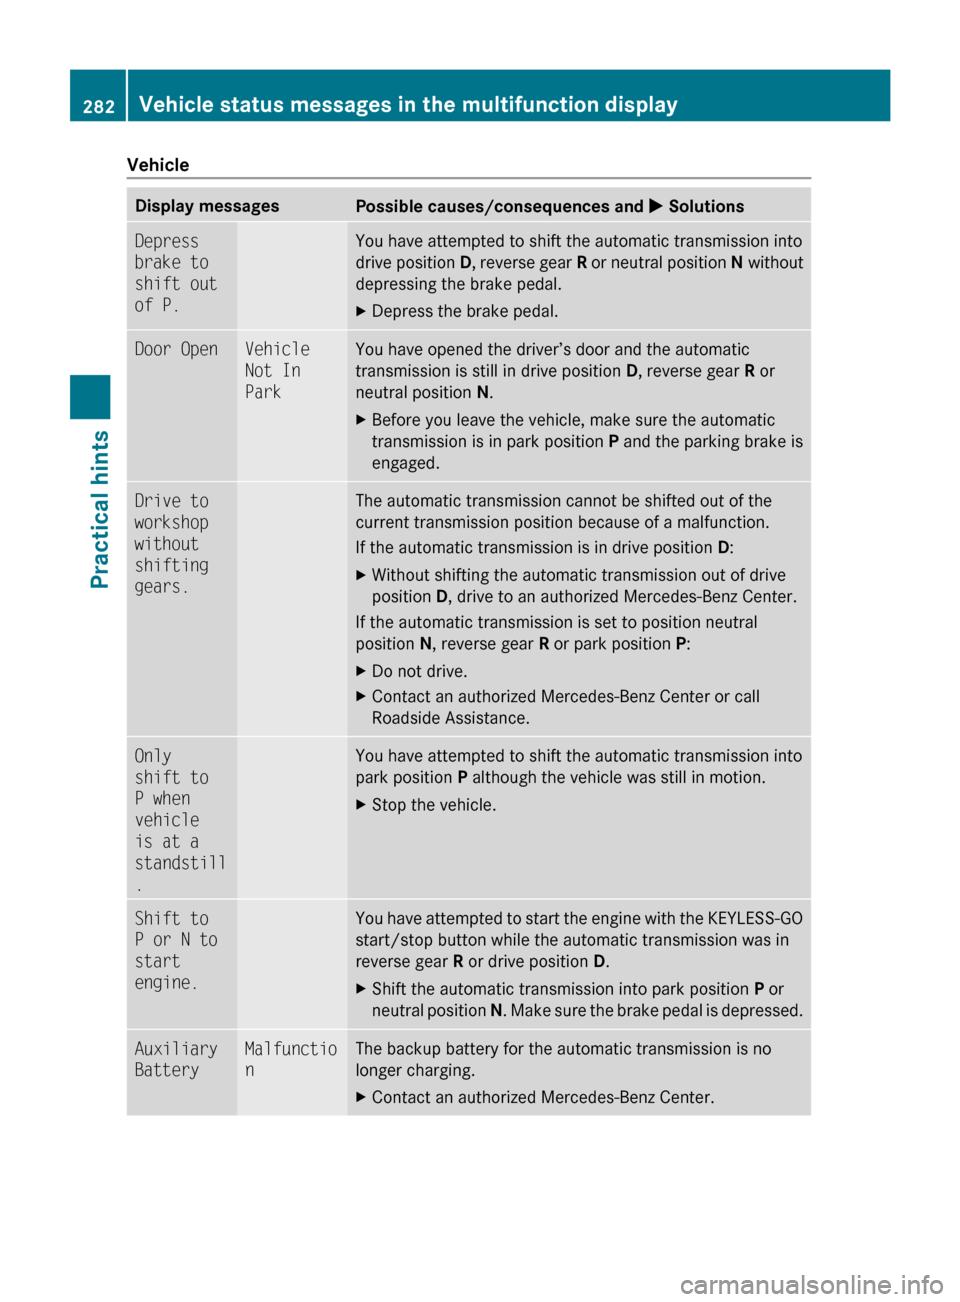
Vehicle
Display messages
Possible causes/consequences and
X SolutionsDepress
brake to
shift out
of P. You have attempted to shift the automatic transmission into
drive
position D, reverse gear R or neutral position N without
depressing the brake pedal.
X Depress the brake pedal. Door Open Vehicle
Not In
Park You have opened the driver’s door and the automatic
transmission is still in drive position
D, reverse gear R or
neutral position N.
X Before you leave the vehicle, make sure the automatic
transmission is in park position P and the parking brake is
engaged. Drive to
workshop
without
shifting
gears. The automatic transmission cannot be shifted out of the
current transmission position because of a malfunction.
If the automatic transmission is in drive position D:
X
Without shifting the automatic transmission out of drive
position D, drive to an authorized Mercedes-Benz Center.
If the automatic transmission is set to position neutral
position N, reverse gear R or park position P:
X Do not drive.
X Contact an authorized Mercedes-Benz Center or call
Roadside Assistance. Only
shift to
P when
vehicle
is at a
standstill
. You have attempted to shift the automatic transmission into
park position P although the vehicle was still in motion.
X
Stop the vehicle. Shift to
P or N to
start
engine. You have attempted to start the engine with the KEYLESS-GO
start/stop button while the automatic transmission was in
reverse gear
R or drive position D.
X Shift the automatic transmission into park position P or
neutral
position N. Make sure the brake pedal is depressed. Auxiliary
Battery Malfunctio
n The backup battery for the automatic transmission is no
longer charging.
X
Contact an authorized Mercedes-Benz Center. 282
Vehicle status messages in the multifunction display
Practical hints
251_AKB; 4; 52, en-US
d2ureepe,
Version: 2.11.8.1 2009-03-23T09:22:52+01:00 - Seite 282
Page 302 of 364
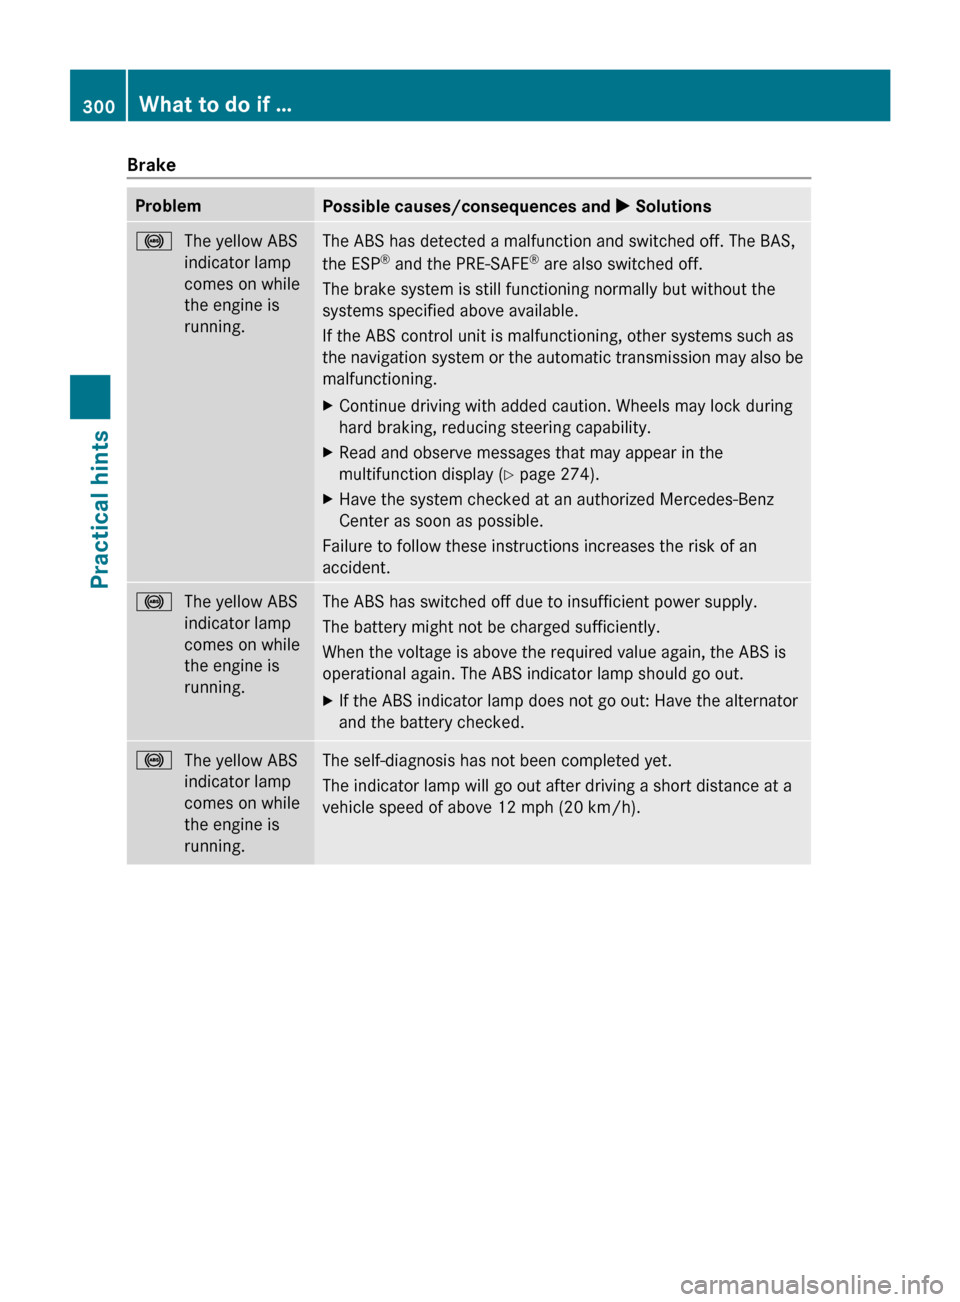
Brake
Problem
Possible causes/consequences and
X Solutions!
The yellow ABS
indicator lamp
comes on while
the engine is
running. The ABS has detected a malfunction and switched off. The BAS,
the ESP
®
and the PRE-SAFE ®
are also switched off.
The brake system is still functioning normally but without the
systems specified above available.
If the ABS control unit is malfunctioning, other systems such as
the
navigation system or the automatic transmission may also be
malfunctioning.
X Continue driving with added caution. Wheels may lock during
hard braking, reducing steering capability.
X Read and observe messages that may appear in the
multifunction display
(Y page 274).
X Have the system checked at an authorized Mercedes-Benz
Center as soon as possible.
Failure to follow these instructions increases the risk of an
accident. !
The yellow ABS
indicator lamp
comes on while
the engine is
running. The ABS has switched off due to insufficient power supply.
The battery might not be charged sufficiently.
When the voltage is above the required value again, the ABS is
operational again. The ABS indicator lamp should go out.
X
If the ABS indicator lamp does not go out: Have the alternator
and the battery checked. !
The yellow ABS
indicator lamp
comes on while
the engine is
running. The self-diagnosis has not been completed yet.
The indicator lamp will go out after driving a short distance at a
vehicle speed of above 12 mph
(20 km/h).300
What to do if …
Practical hints
251_AKB; 4; 52, en-US
d2ureepe,
Version: 2.11.8.1 2009-03-23T09:22:52+01:00 - Seite 300
Page 322 of 364
Do not switch off the ESP
®
when a spare
wheel is mounted. G
Warning!
Vehicles with AIRMATIC:
Do not open or close any doors or the tailgate
while mounting a spare wheel. The vehicle
could rise or lower to a previously selected
level. You or others could be injured as a
result. Preparing the vehicle
X Vehicles with AIRMATIC:
Make sure the vehicle level is set to
highway level
(Y page 153).
X Whenever possible, park the vehicle in a
safe
distance from moving traffic on a hard,
flat surface.
X Turn on the hazard warning flasher.
X Turn the steering wheel so that the front
wheels are in a straight-ahead position.
X Engage the parking brake.
X Shift the automatic transmission into park
position P.
X Turn off the engine.
X Remove the SmartKey from the starter
switch.
or
X Vehicles with KEYLESS-GO: Open the
driver’s
door (this puts the starter switch in
position 0, same as with the SmartKey
removed from the starter switch). The
driver’s door can then be closed again.
Open doors only when conditions are safe
to do so.
X Vehicles with KEYLESS-GO: Remove the
KEYLESS-GO start/stop button from the
starter switch.
X Have any passenger exit the vehicle at a
safe distance from the roadway. Open
doors only when conditions are safe to do
so.
i Vehicles retrofitted with TIREFIT kit: Only use the power outlet in the second-
row footwell for electric air pump
operation.
You can use the power outlet even when
the ignition is switched off, e.g. in order to
inflate the collapsible tire.
An emergency shut-off feature is designed
to prevent the vehicle’s on-board voltage
from dropping below a minimum level. If
the on-board voltage drops to this
minimum level, the power outlets are
switched
off automatically to help preserve
engine starting power. Sealing tires with TIREFIT
This section applies to vehicles retrofitted
with a TIREFIT kit only.
Small
tire punctures, particularly those in the
tread, can be sealed with TIREFIT.
TIREFIT can be used in ambient temperatures
down to -4‡ (-20†). G
Warning!
TIREFIT is a limited repair device. TIREFIT
cannot be used for cuts or punctures larger
than approximately 0.16 in (4 mm) and tire
damage
caused by driving with extremely low
tire inflation pressure, or on a flat tire, or a
damaged wheel.
Do not drive the vehicle under such
circumstances.
Contact the nearest authorized Mercedes-
Benz Center for assistance or call Roadside
Assistance.
X Foreign objects (e.g. screws or nails)
should not be removed from the tire.
X Take the TIREFIT kit, the sticker, and the
electric air pump out of the vehicle. 320
Flat tire
Practical hints
251_AKB; 4; 52, en-US
d2ureepe,
Version: 2.11.8.1 2009-03-23T09:22:52+01:00 - Seite 320