2010 MERCEDES-BENZ R320 window
[x] Cancel search: windowPage 111 of 364
anyone being harmed by the closing
procedure.
If
potential danger exists, proceed as follows:
R Release button & to stop the closing
procedure. To open, press and hold button
%. To continue the closing procedure
after making sure that there is no danger of
anyone being harmed by the closing
procedure, press and hold button &.
Vehicles with KEYLESS-GO:
R Release the lock button on the outside door
handle to stop the closing procedure.
R Immediately pull on the same outside door
handle and hold firmly. The windows and
the tilt/sliding sunroof or panorama roof
with power tilt/sliding panel will open for
as long as the door handle is held but the
door not opened.
With SmartKey The SmartKey must be in close proximity to
the driver’s outside door handle.
X
Aim transmitter eye of the SmartKey at the
driver’s outside door handle.
Vehicles without panorama roof with
power tilt/sliding panel
X Press and hold button & on the
SmartKey until the windows and the tilt/
sliding sunroof are closed completely.
X Release button & on the SmartKey to
interrupt the closing procedure. Vehicles with panorama roof with power
tilt/sliding panel
When tilt/sliding panel is opened:
X
Press and hold button & on the
SmartKey until the windows and the tilt/
sliding panel are closed completely.
X Press and hold button & on the
SmartKey again.
The roller sunblinds extend.
X Release button & on the SmartKey to
interrupt the closing procedure.
When tilt/sliding panel is closed:
X Press and hold button & on the
SmartKey until the windows and the roller
sunblinds are closed completely.
X Release button & on the SmartKey to
interrupt the closing procedure.
With KEYLESS-GO The SmartKey with KEYLESS-GO must be
located outside the vehicle within
approximately 3 ft (1 m) of a door.
X
Close all doors.
Vehicles without panorama roof with
power tilt/sliding panel
X Press and hold the lock button on an
outside door handle
(Y page 73) until the
windows and the tilt/sliding sunroof are
closed completely.
X Release the lock button on the outside door
handle to interrupt the closing procedure.
Vehicles with panorama roof with power
tilt/sliding panel
When tilt/sliding panel is opened:
X Press and hold the lock button on an
outside door handle
(Y page 73) until the Power windows
109
Controls in detail
251_AKB; 4; 52, en-US
d2ureepe, Version: 2.11.8.1 2009-03-23T09:22:52+01:00 - Seite 109 Z
Page 112 of 364
windows and the tilt/sliding panel are
closed completely.
X Press and hold the lock button on an
outside door handle again.
The roller sunblinds extend.
X Release the lock button on the outside door
handle to interrupt the closing procedure.
When tilt/sliding panel is closed:
X Press and hold the lock button on an
outside door handle ( Y page 73) until the
windows and the roller sunblinds are
closed completely.
X Release the lock button on the outside door
handle to interrupt the closing procedure. Driving and parking
Safety notes
G
Warning!
Make sure absolutely no objects are
obstructing the pedals’ range of movement.
Keep the driver’s footwell clear of all
obstacles. If there are any floormats or
carpets in the footwell, make sure the pedals
still have sufficient clearance.
During sudden driving or braking maneuvers
the objects could get caught between the
pedals. You could then no longer brake or
accelerate. This could lead to accidents and
injury. G
Warning!
With the engine not running, there is no power
assistance for the brake and steering
systems. In this case, it is important to keep
in mind that a considerably higher degree of
effort is necessary to brake and steer the
vehicle. Adapt your driving accordingly. Starting the engine
G
Warning!
Inhalation of exhaust gas is hazardous to your
health. All exhaust gas contains carbon
monoxide (CO), and inhaling it can cause
unconsciousness and possible death.
Do not run the engine in confined areas (such
as a garage) which are not properly ventilated.
If you think that exhaust gas fumes are
entering the vehicle while driving, have the
cause determined and corrected
immediately. If you must drive under these
conditions, drive only with at least one
window fully open at all times.
Automatic transmission Gearshift pattern for automatic transmission
:
Button for selecting park position P
j Park position
k Reverse gear
i Neutral position
h Drive position
For more information on how to operate the
gear selector lever, see “Automatic
transmission” (Y page 115).
X Make sure the automatic transmission is in
park position P.
The transmission position indicator in the
multifunction display should be on P
(Y page 118). 110
Driving and parkingControls in detail
251_AKB; 4; 52, en-US
d2ureepe,
Version: 2.11.8.1 2009-03-23T09:22:52+01:00 - Seite 110
Page 166 of 364
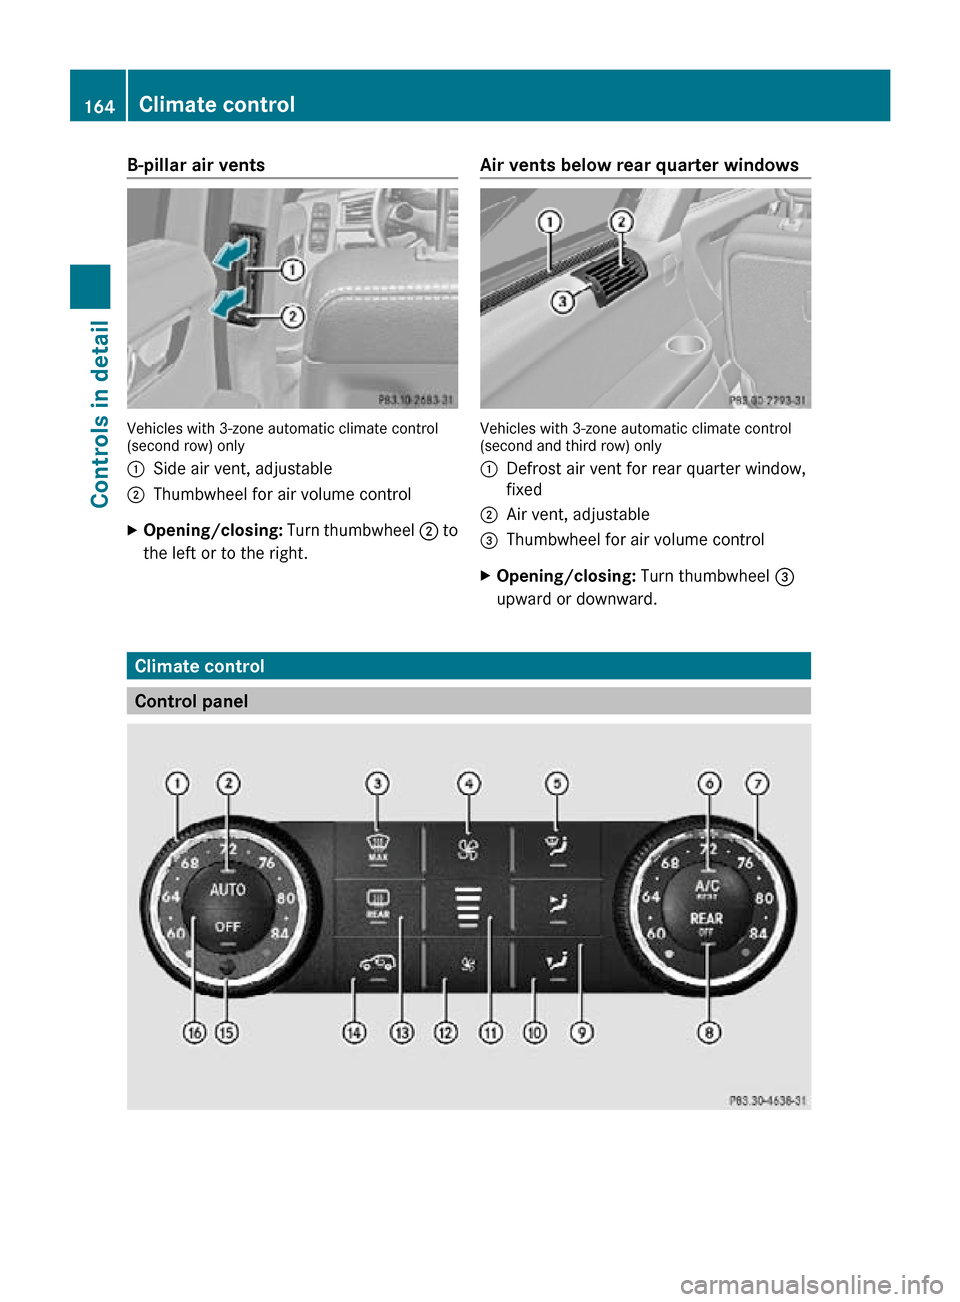
B-pillar air vents
Vehicles with 3-zone automatic climate control
(second row) only
:
Side air vent, adjustable
; Thumbwheel for air volume control
X Opening/closing: Turn thumbwheel ; to
the left or to the right. Air vents below rear quarter windows Vehicles with 3-zone automatic climate control
(second and third row) only
:
Defrost air vent for rear quarter window,
fixed
; Air vent, adjustable
= Thumbwheel for air volume control
X Opening/closing: Turn thumbwheel =
upward or downward. Climate control
Control panel164
Climate controlControls in detail
251_AKB; 4; 52, en-US
d2ureepe,
Version: 2.11.8.1 2009-03-23T09:22:52+01:00 - Seite 164
Page 167 of 364
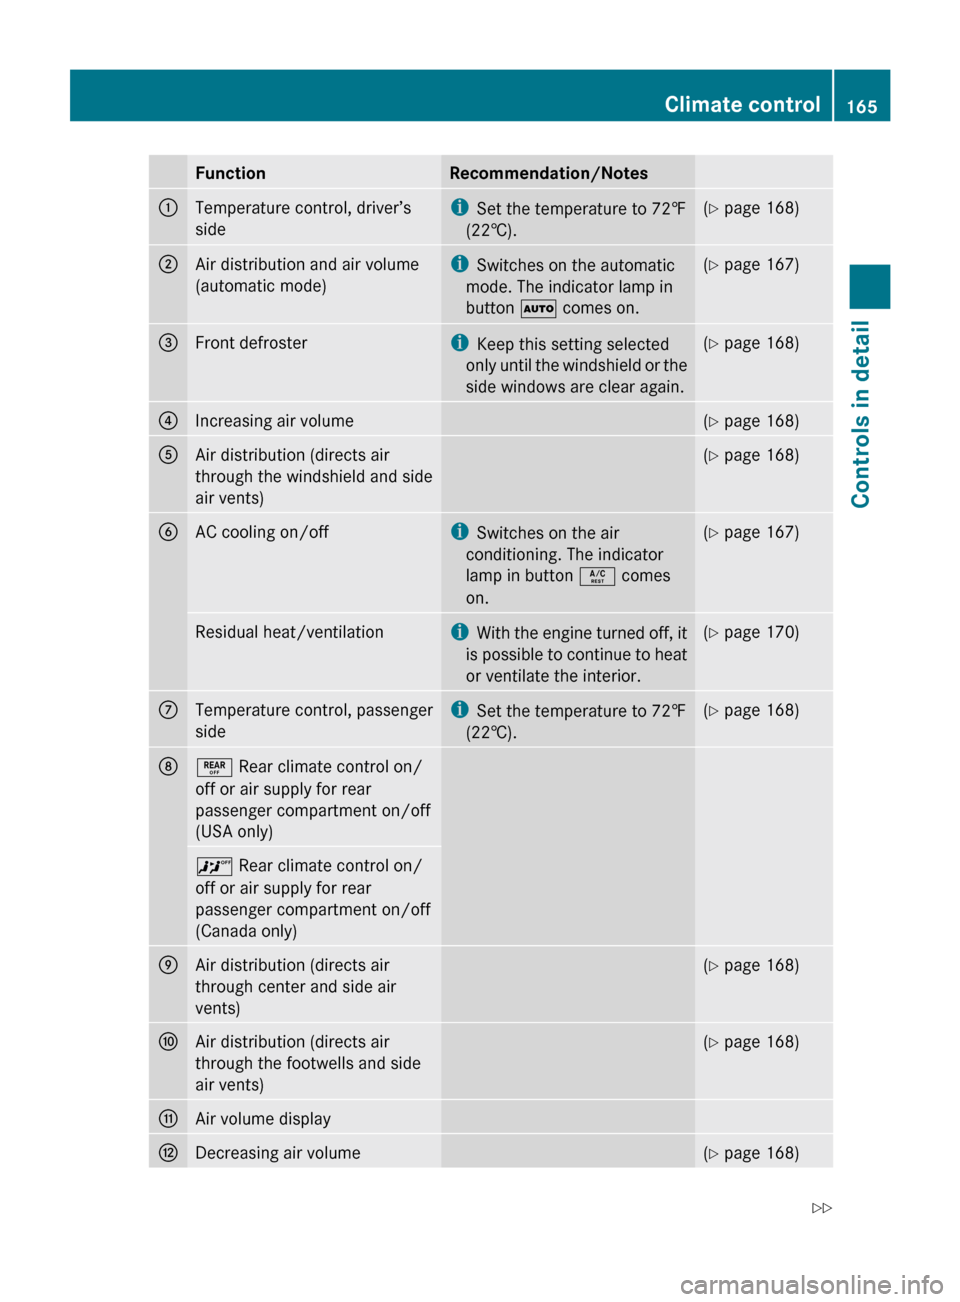
Function Recommendation/Notes
:
Temperature control, driver’s
side i
Set the temperature to 72 ‡
(22†). (Y page 168)
;
Air distribution and air volume
(automatic mode) i
Switches on the automatic
mode. The indicator lamp in
button à comes on. (Y page 167)
=
Front defroster i
Keep this setting selected
only
until the windshield or the
side windows are clear again. (Y page 168)
?
Increasing air volume (Y page 168)
A
Air distribution (directs air
through the windshield and side
air vents) (Y page 168)
B
AC cooling on/off i
Switches on the air
conditioning. The indicator
lamp in button Á comes
on. (Y page 167)
Residual heat/ventilation i
With
the engine turned off, it
is possible to continue to heat
or ventilate the interior. (Y page 170)
C
Temperature control, passenger
side i
Set the temperature to 72
‡
(22†). (Y page 168)
D
± Rear climate control on/
off or air supply for rear
passenger compartment on/off
(USA only)
^ Rear climate control on/
off or air supply for rear
passenger compartment on/off
(Canada only)
E
Air distribution (directs air
through center and side air
vents) (Y page 168)
F
Air distribution (directs air
through the footwells and side
air vents) (Y page 168)
G
Air volume display
H
Decreasing air volume (Y page 168)Climate control
165
Controls in detail
251_AKB; 4; 52, en-US
d2ureepe, Version: 2.11.8.1 2009-03-23T09:22:52+01:00 - Seite 165 Z
Page 168 of 364
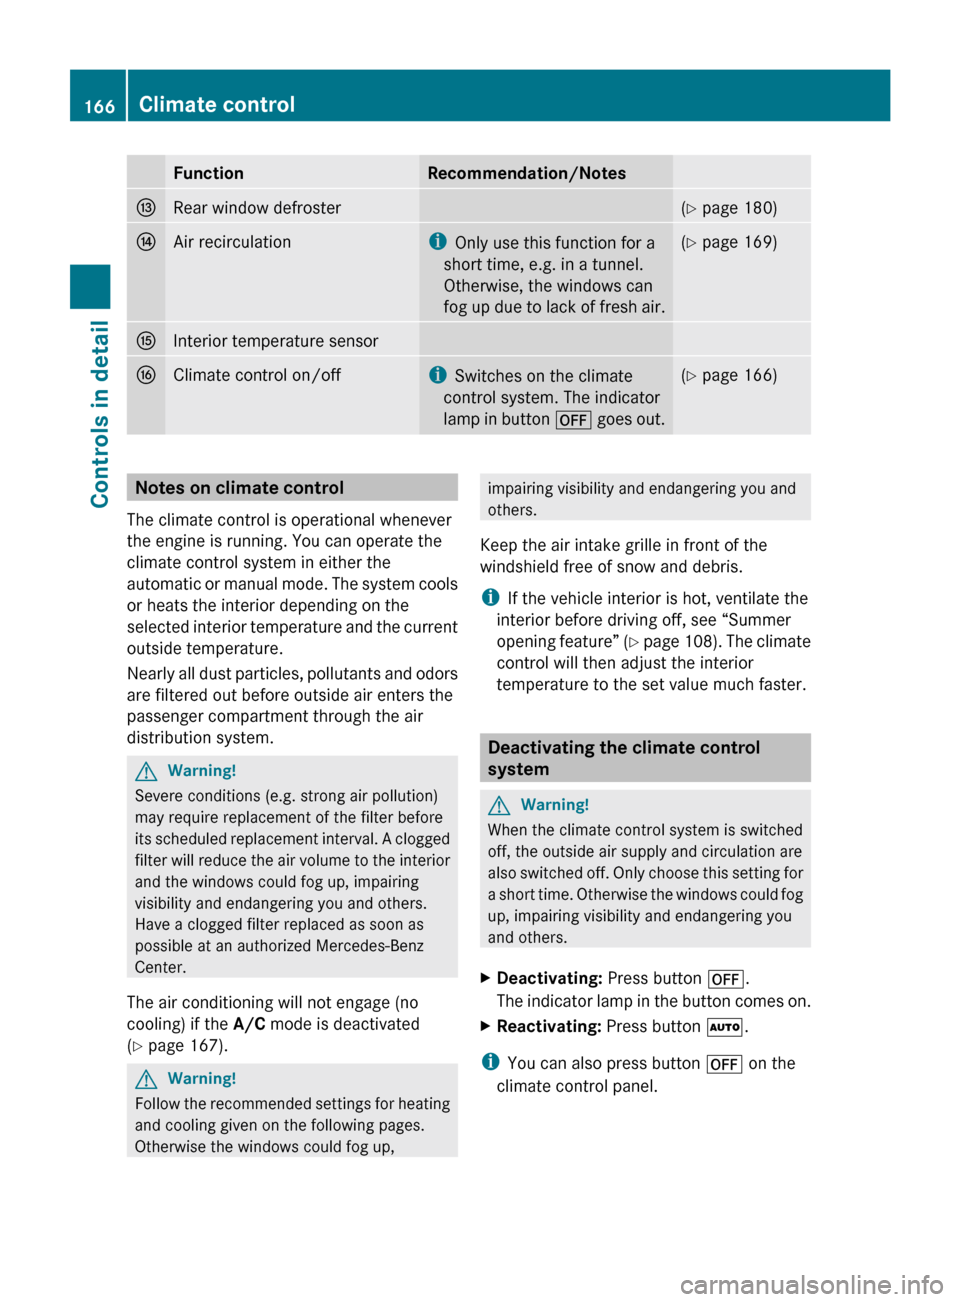
Function Recommendation/Notes
I
Rear window defroster (Y page 180)
J
Air recirculation i
Only use this function for a
short time, e.g. in a tunnel.
Otherwise, the windows can
fog
up due to lack of fresh air. (Y page 169)
K
Interior temperature sensor
L
Climate control on/off i
Switches on the climate
control system. The indicator
lamp
in button ^ goes out. (Y page 166)
Notes on climate control
The climate control is operational whenever
the engine is running. You can operate the
climate control system in either the
automatic
or manual mode. The system cools
or heats the interior depending on the
selected interior temperature and the current
outside temperature.
Nearly all dust particles, pollutants and odors
are filtered out before outside air enters the
passenger compartment through the air
distribution system. G
Warning!
Severe conditions (e.g. strong air pollution)
may require replacement of the filter before
its
scheduled replacement interval. A clogged
filter will reduce the air volume to the interior
and the windows could fog up, impairing
visibility and endangering you and others.
Have a clogged filter replaced as soon as
possible at an authorized Mercedes-Benz
Center.
The air conditioning will not engage (no
cooling) if the A/C mode is deactivated
(Y page 167). G
Warning!
Follow the recommended settings for heating
and cooling given on the following pages.
Otherwise the windows could fog up, impairing visibility and endangering you and
others.
Keep the air intake grille in front of the
windshield free of snow and debris.
i If the vehicle interior is hot, ventilate the
interior before driving off, see “Summer
opening
feature” (Y page 108). The climate
control will then adjust the interior
temperature to the set value much faster. Deactivating the climate control
system
G
Warning!
When the climate control system is switched
off, the outside air supply and circulation are
also
switched off. Only choose this setting for
a short time. Otherwise the windows could fog
up, impairing visibility and endangering you
and others.
X Deactivating: Press button ^.
The
indicator lamp in the button comes on.
X Reactivating: Press button Ã.
i You can also press button ^ on the
climate control panel. 166
Climate control
Controls in detail
251_AKB; 4; 52, en-US
d2ureepe,
Version: 2.11.8.1 2009-03-23T09:22:52+01:00 - Seite 166
Page 169 of 364
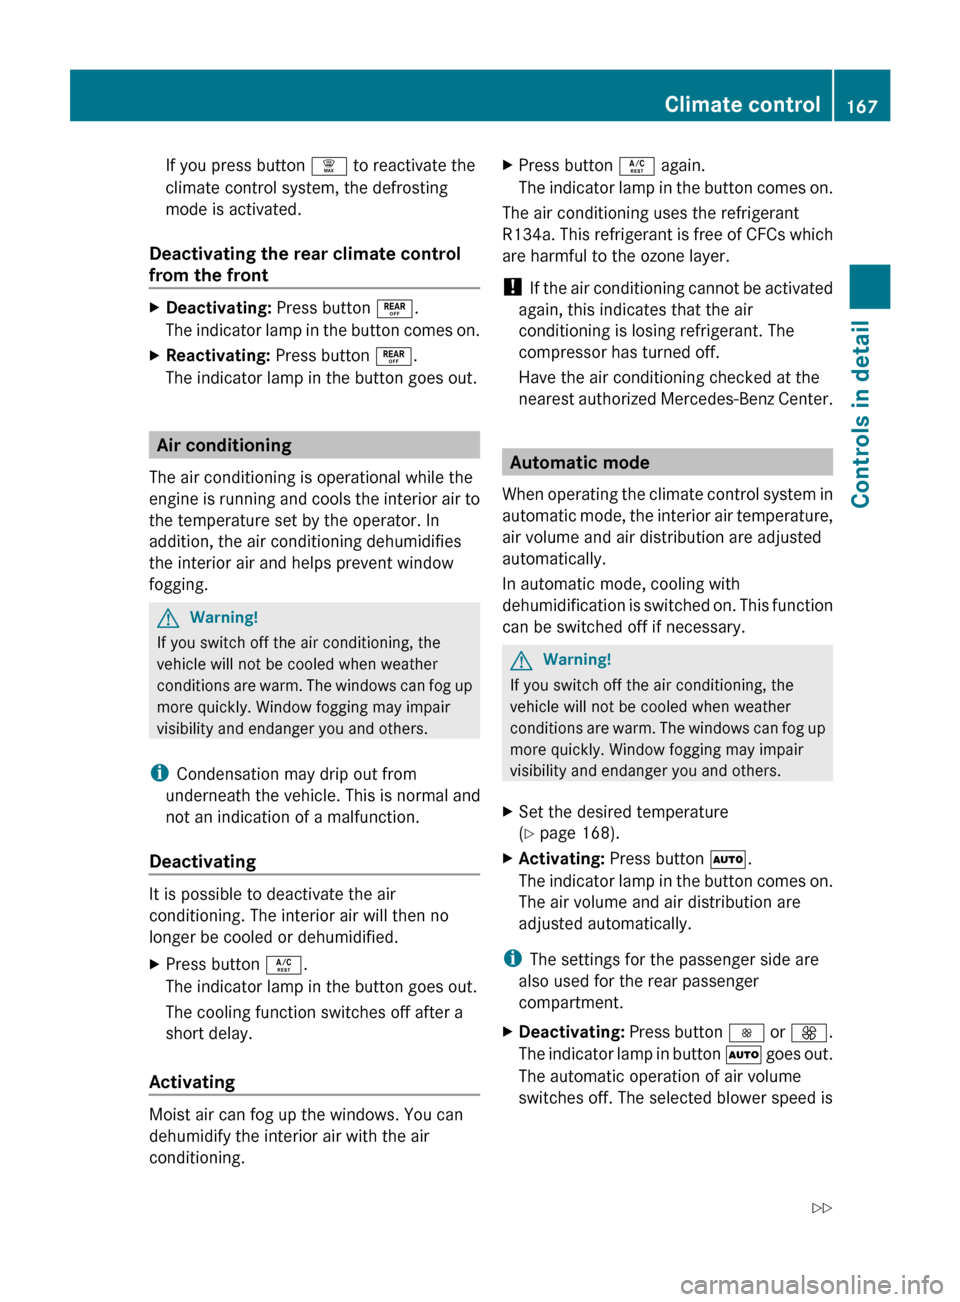
If you press button ¦ to reactivate the
climate control system, the defrosting
mode is activated.
Deactivating the rear climate control
from the front X
Deactivating: Press button ±.
The indicator lamp in the button comes on.
X Reactivating: Press button ±.
The indicator lamp in the button goes out. Air conditioning
The air conditioning is operational while the
engine
is running and cools the interior air to
the temperature set by the operator. In
addition, the air conditioning dehumidifies
the interior air and helps prevent window
fogging. G
Warning!
If you switch off the air conditioning, the
vehicle will not be cooled when weather
conditions
are warm. The windows can fog up
more quickly. Window fogging may impair
visibility and endanger you and others.
i Condensation may drip out from
underneath the vehicle. This is normal and
not an indication of a malfunction.
Deactivating It is possible to deactivate the air
conditioning. The interior air will then no
longer be cooled or dehumidified.
X
Press button Á.
The indicator lamp in the button goes out.
The cooling function switches off after a
short delay.
Activating Moist air can fog up the windows. You can
dehumidify the interior air with the air
conditioning. X
Press button Á again.
The
indicator lamp in the button comes on.
The air conditioning uses the refrigerant
R134a.
This refrigerant is free of CFCs which
are harmful to the ozone layer.
! If the air conditioning cannot be activated
again, this indicates that the air
conditioning is losing refrigerant. The
compressor has turned off.
Have the air conditioning checked at the
nearest authorized Mercedes-Benz Center. Automatic mode
When
operating the climate control system in
automatic mode, the interior air temperature,
air volume and air distribution are adjusted
automatically.
In automatic mode, cooling with
dehumidification is switched on. This function
can be switched off if necessary. G
Warning!
If you switch off the air conditioning, the
vehicle will not be cooled when weather
conditions
are warm. The windows can fog up
more quickly. Window fogging may impair
visibility and endanger you and others.
X Set the desired temperature
(Y page 168).
X Activating: Press button Ã.
The
indicator lamp in the button comes on.
The air volume and air distribution are
adjusted automatically.
i The settings for the passenger side are
also used for the rear passenger
compartment.
X Deactivating:
Press button I or K.
The indicator lamp in button à goes out.
The automatic operation of air volume
switches off. The selected blower speed is Climate control
167
Controls in detail
251_AKB; 4; 52, en-US
d2ureepe, Version: 2.11.8.1 2009-03-23T09:22:52+01:00 - Seite 167 Z
Page 170 of 364
shown in air volume display
G
(Y page 164).
or
X Press air distribution button ¯, P, or
O.
The indicator lamp in button à goes out.
The automatic operation of air distribution
switches off. Setting the temperature
You can adjust the air temperature on each
side of the passenger compartment. You
should
raise or lower the temperature setting
in small increments, preferably starting at
72‡ (22†).
X Increasing/decreasing: Turn
temperature control : and/or C
(Y page 164) slightly clockwise or
counterclockwise. Adjusting air distribution
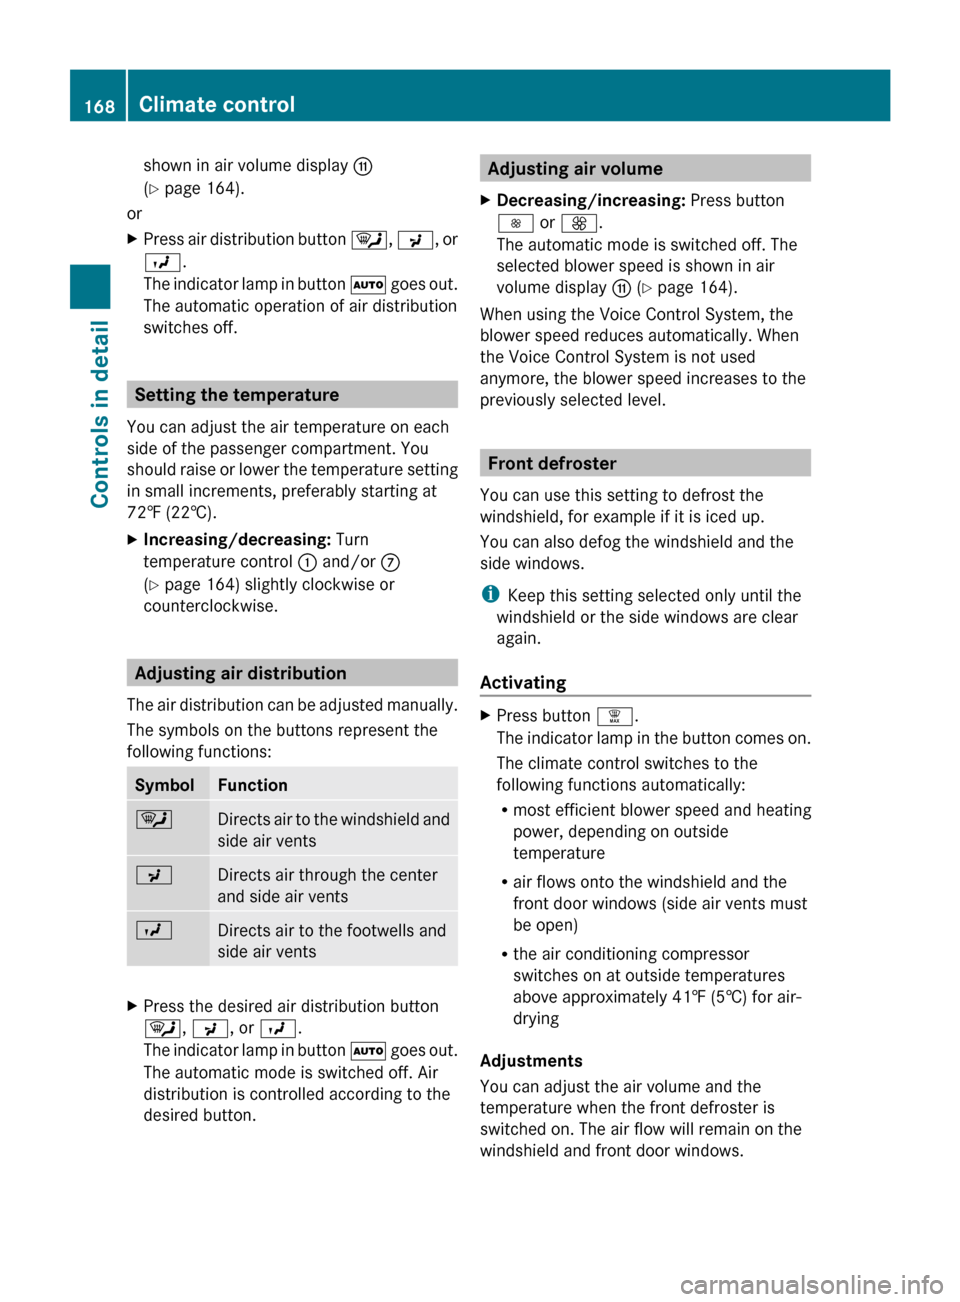
The
air distribution can be adjusted manually.
The symbols on the buttons represent the
following functions: Symbol Function
¯
Directs air to the windshield and
side air vents
P
Directs air through the center
and side air vents
O
Directs air to the footwells and
side air vents
X
Press the desired air distribution button
¯, P, or O.
The
indicator lamp in button à goes out.
The automatic mode is switched off. Air
distribution is controlled according to the
desired button. Adjusting air volume
X Decreasing/increasing: Press button
I or K.
The automatic mode is switched off. The
selected blower speed is shown in air
volume display G (Y page 164).
When using the Voice Control System, the
blower speed reduces automatically. When
the Voice Control System is not used
anymore, the blower speed increases to the
previously selected level. Front defroster
You can use this setting to defrost the
windshield, for example if it is iced up.
You can also defog the windshield and the
side windows.
i Keep this setting selected only until the
windshield or the side windows are clear
again.
Activating X
Press button ¦.
The
indicator lamp in the button comes on.
The climate control switches to the
following functions automatically:
R most efficient blower speed and heating
power, depending on outside
temperature
R air flows onto the windshield and the
front door windows (side air vents must
be open)
R the air conditioning compressor
switches on at outside temperatures
above approximately 41‡ (5†) for air-
drying
Adjustments
You can adjust the air volume and the
temperature when the front defroster is
switched on. The air flow will remain on the
windshield and front door windows. 168
Climate control
Controls in detail
251_AKB; 4; 52, en-US
d2ureepe,
Version: 2.11.8.1 2009-03-23T09:22:52+01:00 - Seite 168
Page 171 of 364
X
Press button I to decrease or button
K to increase air volume to the desired
level.
The air volume decreases/increases to the
next lower/higher blower speed and
heating switches to the temperature that
was set before the front defroster was
switched on.
The indicator lamp in button ¦ goes out.
The indicator lamp in button Á comes
on.
or
X Turn temperature control : and/or C
(Y page 164) slightly in any direction.
Heating switches to the temperature that
was set before the front defroster was
switched on.
The
indicator lamp in button ¦ goes out.
The indicator lamp in button Á comes
on.
i The air conditioning compressor remains
on even if the indicator lamp in button
¦ goes out. This helps to prevent the
windshield from fogging.
Deactivating X
Press button ¦ again.
The indicator lamp in the button goes out.
Defrosting is turned off.
The previous settings are once again in
effect. The air conditioning compressor
remains switched on.
i To deactivate, you can also press button
^ or Ã.
Windshield fogged on the outside X
Switch the windshield wipers on
(Y page 104).
X Press air distribution button P
or O. Air recirculation mode
Switch to air recirculation mode to prevent
unpleasant odors from entering the vehicle
from the outside (e. g. before driving through
a tunnel). This setting cuts off the intake of
outside air and recirculates the air in the
passenger compartment. G
Warning!
Fogged windows impair visibility,
endangering you and others. If the windows
begin to fog on the inside, switching off the
air recirculation mode immediately should
clear interior window fogging. If interior
window fogging persists, make sure the air
conditioning is activated, or press button
¦.
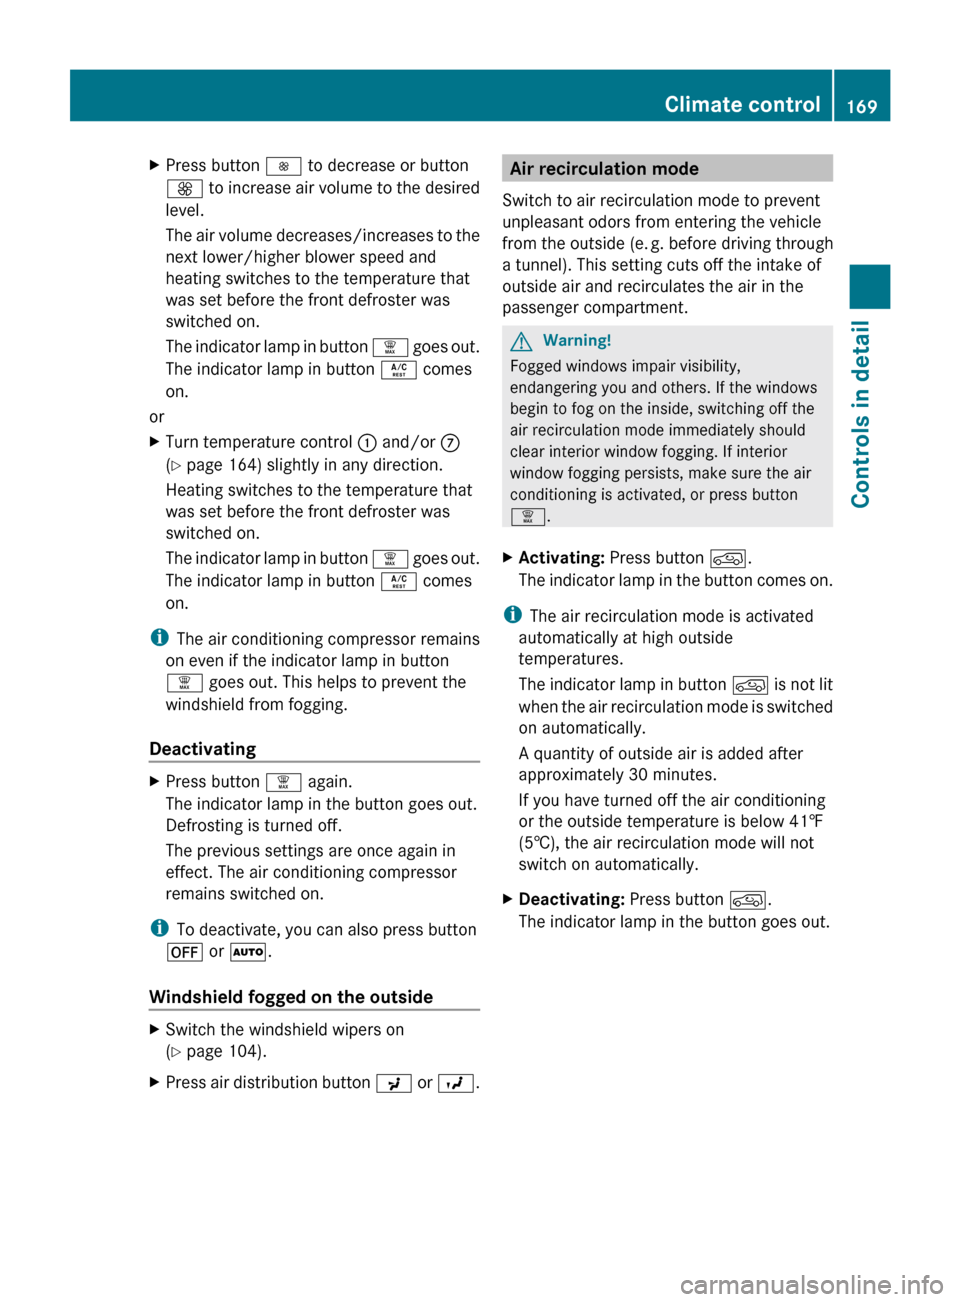
X Activating: Press button d.
The
indicator lamp in the button comes on.
i The air recirculation mode is activated
automatically at high outside
temperatures.
The
indicator lamp in button d is not lit
when the air recirculation mode is switched
on automatically.
A quantity of outside air is added after
approximately 30 minutes.
If you have turned off the air conditioning
or the outside temperature is below 41‡
(5†), the air recirculation mode will not
switch on automatically.
X Deactivating: Press button d.
The indicator lamp in the button goes out. Climate control
169
Controls in detail
251_AKB; 4; 52, en-US
d2ureepe, Version: 2.11.8.1 2009-03-23T09:22:52+01:00 - Seite 169 Z