2010 MERCEDES-BENZ ML350 Oil
[x] Cancel search: OilPage 235 of 368

recommended minimum tire tread depth for
winter tires is 1/6 in (4 mm).
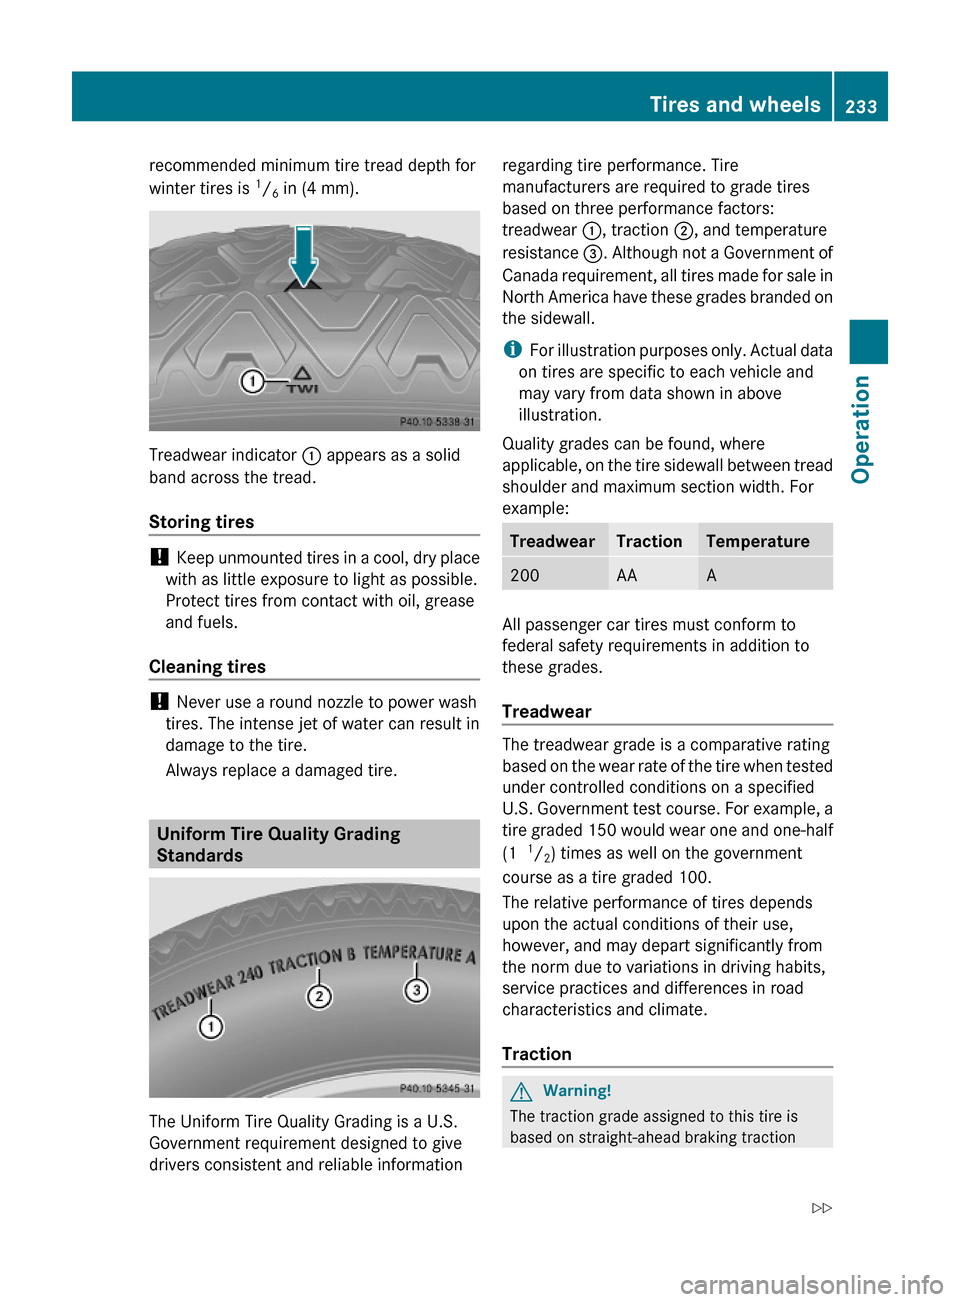
Treadwear indicator : appears as a solid
band across the tread.
Storing tires
! Keep unmounted tires in a cool, dry place
with as little exposure to light as possible.
Protect tires from contact with oil, grease
and fuels.
Cleaning tires
! Never use a round nozzle to power wash
tires. The intense jet of water can result in
damage to the tire.
Always replace a damaged tire.
Uniform Tire Quality Grading
Standards
The Uniform Tire Quality Grading is a U.S.
Government requirement designed to give
drivers consistent and reliable information
regarding tire performance. Tire
manufacturers are required to grade tires
based on three performance factors:
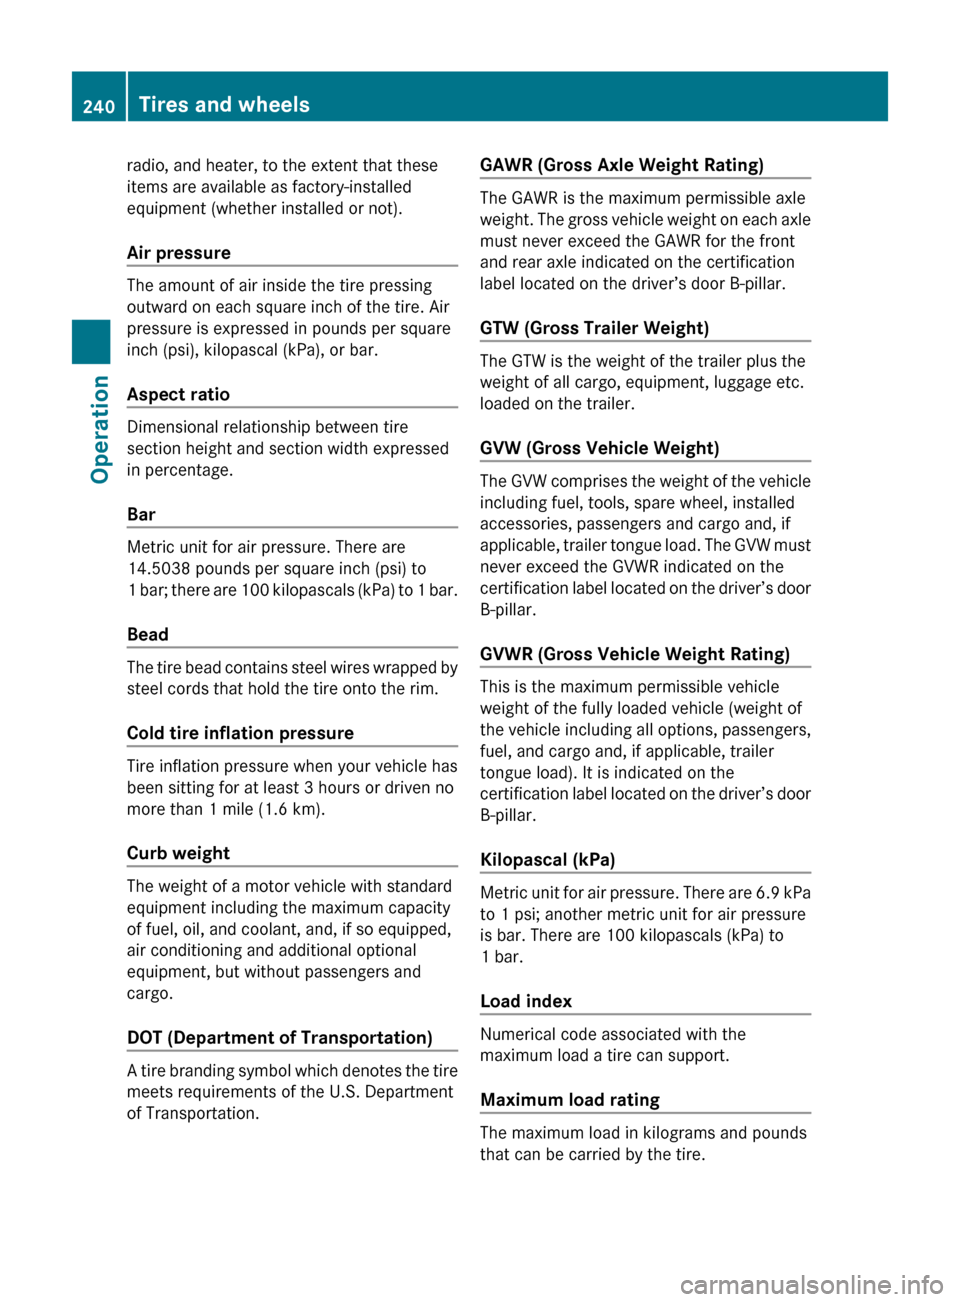
treadwear :, traction ;, and temperature
resistance =. Although not a Government of
Canada requirement, all tires made for sale in
North America have these grades branded on
the sidewall.
iFor illustration purposes only. Actual data
on tires are specific to each vehicle and
may vary from data shown in above
illustration.
Quality grades can be found, where
applicable, on the tire sidewall between tread
shoulder and maximum section width. For
example:
TreadwearTractionTemperature200AAA
All passenger car tires must conform to
federal safety requirements in addition to
these grades.
Treadwear
The treadwear grade is a comparative rating
based on the wear rate of the tire when tested
under controlled conditions on a specified
U.S. Government test course. For example, a
tire graded 150 would wear one and one-half
(1 1/2) times as well on the government
course as a tire graded 100.
The relative performance of tires depends
upon the actual conditions of their use,
however, and may depart significantly from
the norm due to variations in driving habits,
service practices and differences in road
characteristics and climate.
Traction
GWarning!
The traction grade assigned to this tire is
based on straight-ahead braking traction
Tires and wheels233Operation164_AKB; 7; 31, en-USd2ureepe,Version: 2.11.8.12009-09-11T12:07:36+02:00 - Seite 233Z
Page 242 of 368

radio, and heater, to the extent that these
items are available as factory-installed
equipment (whether installed or not).
Air pressure
The amount of air inside the tire pressing
outward on each square inch of the tire. Air
pressure is expressed in pounds per square
inch (psi), kilopascal (kPa), or bar.
Aspect ratio
Dimensional relationship between tire
section height and section width expressed
in percentage.
Bar
Metric unit for air pressure. There are
14.5038 pounds per square inch (psi) to
1 bar; there are 100 kilopascals (kPa) to 1 bar.
Bead
The tire bead contains steel wires wrapped by
steel cords that hold the tire onto the rim.
Cold tire inflation pressure
Tire inflation pressure when your vehicle has
been sitting for at least 3 hours or driven no
more than 1 mile (1.6 km).
Curb weight
The weight of a motor vehicle with standard
equipment including the maximum capacity
of fuel, oil, and coolant, and, if so equipped,
air conditioning and additional optional
equipment, but without passengers and
cargo.
DOT (Department of Transportation)
A tire branding symbol which denotes the tire
meets requirements of the U.S. Department
of Transportation.
GAWR (Gross Axle Weight Rating)
The GAWR is the maximum permissible axle
weight. The gross vehicle weight on each axle
must never exceed the GAWR for the front
and rear axle indicated on the certification
label located on the driver’s door B-pillar.
GTW (Gross Trailer Weight)
The GTW is the weight of the trailer plus the
weight of all cargo, equipment, luggage etc.
loaded on the trailer.
GVW (Gross Vehicle Weight)
The GVW comprises the weight of the vehicle
including fuel, tools, spare wheel, installed
accessories, passengers and cargo and, if
applicable, trailer tongue load. The GVW must
never exceed the GVWR indicated on the
certification label located on the driver’s door
B-pillar.
GVWR (Gross Vehicle Weight Rating)
This is the maximum permissible vehicle
weight of the fully loaded vehicle (weight of
the vehicle including all options, passengers,
fuel, and cargo and, if applicable, trailer
tongue load). It is indicated on the
certification label located on the driver’s door
B-pillar.
Kilopascal (kPa)
Metric unit for air pressure. There are 6.9 kPa
to 1 psi; another metric unit for air pressure
is bar. There are 100 kilopascals (kPa) to
1 bar.
Load index
Numerical code associated with the
maximum load a tire can support.
Maximum load rating
The maximum load in kilograms and pounds
that can be carried by the tire.
240Tires and wheelsOperation
164_AKB; 7; 31, en-USd2ureepe,Version: 2.11.8.12009-09-11T12:07:36+02:00 - Seite 240
Page 251 of 368

! Observe the following during off-road
driving:
R Keep doors, tailgate, windows, and tilt/
sliding sunroof closed whenever driving
off-road.
R Adjust vehicle speed to condition of
terrain. The more uneven, rutty and
steeper the terrain, the lower the speed
should be. Drive through water slowly at
an even speed, avoiding a bow wave.
R Be especially careful when driving in
unknown territory. It may be necessary
to get out of the vehicle and scout the
path you intend to take.
R Watch out for obstacles, such as rocks,
holes, tree stumps and ruts.
R Before driving through water, determine
its depth.
R Do not stop vehicle while immersed in
water, and do not shut off the engine.
R In sandy soil, drive at a steady speed as
allowed by conditions. This helps
overcome the vehicle rolling resistance
and reduces the likelihood of the vehicle
sinking into the ground.
R Do not initiate jumps with the vehicle. It
interrupts the forward momentum of the
vehicle.
R Always drive onto slopes with the engine
running and the vehicle in gear.
R Do not shift automatic transmission into
neutral position N.GWarning!
Do not reduce the tire inflation pressure
before driving through sand. However, if you
do so, remember to correct the tire inflation
pressure before continuing your trip. Driving
with reduced tire inflation pressure increases
the risk of losing control of the vehicle and
rolling over.
Checklist before off-road driving
Engine oil level
R Check the engine oil level ( Y page 214).
Only with a proper oil level can the vehicle
obtain a trouble-free oil supply, even on
steep gradients.
! If the engine oil level warning lamp comes
on while driving, stop the vehicle in a safe
location or as soon at is safe to do so.
Check the engine oil level.
The engine oil level warnings should not be
ignored. Extended driving with the symbol
displayed could result in serious engine
damage that is not covered by the
Mercedes-Benz Limited Warranty.
Tires
R Check the tread depth and maintain
specified tire inflation pressure. A placard
with the recommended tire inflation
pressures is located on the driver’s door B-
pillar ( Y page 228).
R Check tires for possible damage and
remove foreign objects.
R Replace missing valve caps.
Rims
R Dented or bent rims can cause tire inflation
pressure loss and damage the tire beads.
For this reason, check and, if necessary,
change rims before driving off-road.
Vehicle tool kit
R Check if the jack ( Y page 270) is
functional.
R Always take the vehicle tool kit, a strong
tow rope, a shovel and a small plank (to put
under the jack on sandy soil) with you.
Driving instructions249Operation164_AKB; 7; 31, en-USd2ureepe,Version: 2.11.8.12009-09-11T12:07:36+02:00 - Seite 249Z
Page 255 of 368

When driving on sand, observe the following
rules:
R Vehicles with air suspension program:
Set the raised level ( Y page 156).
R Avoid high engine speeds.
R Shift automatic transmission into a gear
range that is appropriate for the terrain.
R In sandy soil, drive at a steady speed as
conditions permit. This helps overcome the
vehicle rolling resistance and reduce the
likelihood of the vehicle sinking into the
ground.
R Drive in tracks of other vehicles if they are
not too deep and you have sufficient
clearance.
Ruts
A number of off-road tracks or other byways
have deep ruts which can cause the
underbody to come in contact with the
ground.
R Make sure the off-road driving program
( Y page 155) is switched on.
R Vehicles with air suspension program:
Set the raised level ( Y page 156).
! Check that the ruts are not too deep and
your vehicle’s clearance is sufficient.
Otherwise:
R your vehicle may be damaged
R the underbody of the vehicle may come
in contact with the ground and you may
get stuck
R Avoid high engine speeds.
R Shift automatic transmission into gear
range 1 (Y page 113).
R Drive next to the ruts rather than through
them if at all possible.
R If the ruts are too deep to drive in, drive with
one side of the vehicle on the grassy center
strip if the route permits.
Returning from off-road driving GWarning!
If you feel a sudden significant vibration or
ride disturbance, or you suspect that possible
damage to your vehicle has occurred, you
should turn on the hazard warning flashers,
carefully slow down, and drive with caution to
an area which is a safe distance from the road.
Inspect the tires and the vehicle underbody
for possible damage. If the vehicle or tires
appear unsafe, have the vehicle towed to the
nearest authorized Mercedes-Benz Center or
tire dealer for repairs.
Off-road driving increases strain on the
vehicle.
We recommend that you inspect the vehicle
for possible damage after each off-road trip.
Recognizing any damage and a subsequent
timely repair reduces the chance of a possible
breakdown or accident later on.
Proceed as follows:
R Switch off the off-road driving program
( Y page 155).
R Switch off the DSR ( Y page 153).
R Vehicles with air suspension program:
Lower the vehicle back to a level suitable
for road conditions, e.g. highway/high-
speed level ( Y page 156).
R Clean all exterior lamps and check for
possible damage.
R Clean the front and rear license plate.
R Remove excessive dirt from tires, wheels,
wheel housings, and underbody.
For instance, after driving in mud, clean the
radiator, chassis, engine, brakes, and
wheels from extreme dirt using a strong jet
of water.
R Check tires for possible damage.
R Inspect vehicle underbody, oil pan, brake
hoses, etc., as well as vehicle underbody
for possible damage.
Driving instructions253Operation164_AKB; 7; 31, en-USd2ureepe,Version: 2.11.8.12009-09-11T12:07:36+02:00 - Seite 253Z
Page 262 of 368

Do not confuse the maintenance service
indicator with the engine oil level indicator
4 .
Resetting the maintenance service
indicator
In the event that the maintenance service on
your vehicle is not carried out at an authorized
Mercedes-Benz Center, you can have the
maintenance service indicator reset.
The automotive maintenance facility carrying
out the maintenance service will find the
information for resetting the maintenance
service indicator in the maintenance-relevant
literature for your vehicle.
Such literature is available at any authorized
Mercedes-Benz Center or directly from
Mercedes-Benz.
! If the maintenance service indicator was
reset inadvertently, have an authorized
Mercedes-Benz Center correct it.
Only reset the maintenance service
indicator if the proper maintenance service
has been performed. Not following the
proper maintenance service as described
in the Maintenance Booklet will result in
engine damage and/or other vehicle
damage not covered by the Mercedes-Benz
Limited Warranty.
Vehicle care
Cleaning and care of the vehicle
Notes
Regular and proper care will help to maintain
the value of your vehicle.
GWarning!
Many cleaning products can be hazardous.
Some are poisonous, others are flammable.
Always follow the instructions on the
particular container. Always open your
vehicle’s doors or windows when cleaning the
inside.
Never use fluids or solvents that are not
designed for cleaning your vehicle.
Always lock away cleaning products and keep
them out of reach of children.
! When cleaning the vehicle, do not use
scouring agents. Never apply strong force
and only use a soft, wet cloth or sponge.
Otherwise you may scratch or damage the
surface to be cleaned.
While in operation, even while parked, your
vehicle is subjected to varying external
influences which, if gone unchecked, can
attack the paintwork as well as the vehicle
underbody and cause lasting damage.
Such damage is caused not only by extreme
and varying climatic conditions, but also by:
R Air pollution
R Road salt
R Tar
R Gravel and stone chipping
To avoid paint damage, you should
immediately remove:
R Grease and oil
R Fuel
R Coolant
R Brake fluid
R Bird droppings
R Insects
R Tree resins etc.
Frequent washing reduces and/or eliminates
the aggressiveness and potency of the above
adverse influences.260Vehicle careOperation
164_AKB; 7; 31, en-USd2ureepe,Version: 2.11.8.12009-09-11T12:07:36+02:00 - Seite 260
Page 267 of 368

steering wheel. Cleaners containing solvents
will make the surface porous and vehicle
occupants could suffer serious injuries from
plastic parts coming loose in the event of air
bag deployment.
! Do not use oil, wax or scouring agents.
Otherwise you may scratch or damage the
surface.
Hard plastic trim items XUse Mercedes-Benz approved Interior Care
on a soft, lint-free cloth and apply with light
pressure.
COMAND display
! You must switch off the COMAND display
and allow it to cool prior to cleaning.
! Do not use any liquids or cleaning agents.
These can damage or even destroy the
COMAND display screen.
XUse a standard microfiber cloth and apply
with light pressure.
Steering wheel
XWipe with a damp cloth and dry thoroughly
or clean with Mercedes-Benz approved
Leather Care.
Carpets
XUse Mercedes-Benz approved Carpet and
Fabric Care for cleaning the carpets.
Headliner
XUse a soft bristle brush or a dry-shampoo
cleaner in case of excessive dirt.
Seat belts
XOnly use clear, lukewarm water and soap.
! The seat belts must not be treated with
chemical cleaning agents. Do not dry the
seat belts at temperatures above 176‡
(80†) or in direct sunlight.GWarning!
Do not bleach or dye seat belts as this may
severely weaken them. In a crash they may
not be able to provide adequate protection.
Upholstery
Using aftermarket seat covers or wearing
clothing that have the tendency to give off
coloring (e.g. when wet, etc.) may cause the
upholstery to become permanently
discolored. By lining the seats with a proper
intermediate cover, contact-discoloration will
be prevented.
GWarning!
Only use seat or head restraint covers which
have been tested and approved by Mercedes-
Benz for your vehicle model.
Using other seat or head restraint covers may
interfere with or prevent
R deployment of the front side impact air
bags
R deployment of the rear side impact air bags
R activation of the NECK-PRO active front
head restraints
Contact an authorized Mercedes-Benz Center
for availability.
Leather upholstery
Please note that leather upholstery is a
natural product and is therefore subject to a
natural aging process. Leather upholstery
may also react to certain ambient influences
such as high humidity or high temperature by
showing wrinkles for example.
XWipe leather upholstery with a damp cloth
and dry thoroughly or clean with Mercedes-
Benz approved Leather Care.Vehicle care265Operation164_AKB; 7; 31, en-USd2ureepe,Version: 2.11.8.12009-09-11T12:07:36+02:00 - Seite 265Z
Page 293 of 368

Display messagesPossible causes/consequences and M Solutions#Battery/
Alternator
Stop
VehicleThe battery is defective.XStop the vehicle in a safe location or as soon as it is safe
to do so.XEngage the parking brake.XDo not continue to drive.XContact an authorized Mercedes-Benz Center.4Check
engine
oil level
at next
refueling.The engine oil level is too low.XCheck the engine oil level ( Y page 214) and add engine oil
as required ( Y page 215).XIf you must add engine oil frequently, have the engine
checked for possible leaks.If the message Check engine oil level
at next refueling. appears while the
engine is running and at operating
temperature, the engine oil level has dropped
to approximately the minimum level.
The message will be stored in the vehicle
status message memory after you have
cleared it from the multifunction display.
Visually check for oil leaks. If there are no
obvious oil leaks, drive to the nearest service
station to refill your engine oil to the required
level.For information on approved engine oils
contact an authorized Mercedes-Benz Center
or visit www.mbusa.com (USA only).
! Engine oil level warnings should not be
ignored. Extended driving with the symbol
displayed could result in serious engine
damage that is not covered by the
Mercedes-Benz Limited Warranty.Display messagesPossible causes/consequences and M SolutionsCThe fuel level is low.XRefuel at the next gas station.8Reserve
FuelThe fuel level has dropped below the reserve mark.XRefuel at the next gas station.8Ultra Low-
sulfur
Diesel
Fuel OnlyVehicles with diesel engine only:
The fuel level has dropped below the reserve mark.XRefuel at the next gas station.XOnly use commercially available vehicular ULTRA-LOW
SULFUR HIGHWAY DIESEL FUEL (ULSD, 15 ppm SULFUR
MAXIMUM).Vehicle status messages in the multifunction display291Practical hints164_AKB; 7; 31, en-USd2ureepe,Version: 2.11.8.12009-09-11T12:07:36+02:00 - Seite 291Z
Page 315 of 368

LED rear lampsType:Backup lamp: W 16 W;Rear foglamp (driver’s side only):
W 16 W
=Rear foglamp (driver’s side only):
W 16 W
License plate lampsType:License plate lamps: C 5 WNotes on bulb replacement
! Do not replace LEDs or bulbs not
described in this section. You could
otherwise damage the LEDs, the bulbs or
parts of the vehicle. Only have the LEDs and
bulbs replaced at an authorized Mercedes-
Benz Center.
ROnly use 12-volt bulbs of the same type and
with the specified watt rating.
RSwitch the lights off before changing a bulb
to prevent short circuits.
RAlways use a clean lint-free cloth when
handling bulbs.
RYour hands should be dry and free of oil and
grease.
RIf the newly installed bulb does not come
on, contact an authorized Mercedes-Benz
Center.
iMercedes-Benz recommends using
Longlife (LL) bulbs.
Replacing bulbs for front lamps
Before you start to replace a bulb for a front
lamp, do the following:
XSwitch off the ignition.XTurn the exterior lamp switch to position
$.
XOpen the hood (Y page 212).Replacing bulbs313Practical hints164_AKB; 7; 31, en-USd2ureepe,Version: 2.11.8.12009-09-11T12:07:36+02:00 - Seite 313Z