2010 MERCEDES-BENZ CLS63AMG engine
[x] Cancel search: enginePage 115 of 308
X
If you see another display, press button
V or U repeatedly until the standard
display appears.
X Press button & or * to select the
functions in the Standard display menu.
The following functions are available:
R Restarting the tire pressure loss warning
system (Y page 187) (Canada only)
R Restarting the TPMS (Y page 189) (USA
only)
R Checking tire inflation pressure with the
Advanced TPMS (Y page 190) (Canada
only)
R Calling up digital speedometer or outside
temperature ( Y page 113)
R Calling up maintenance service indicator
display ( Y page 215)
Calling up digital speedometer or
outside temperature Depending on the chosen setting for the
standard display (Y page 120) you can call
up the other display here. G
Warning!
The outside temperature indicator is not
designed to serve as an ice-warning device
and is therefore unsuitable for that purpose.
Indicated temperatures just above the
freezing point do not guarantee that the road
surface is free of ice. The road may still be icy,
especially in wooded areas or on bridges.
X Press button & or * repeatedly until
the digital speedometer or the outside
temperature appears in the multifunction
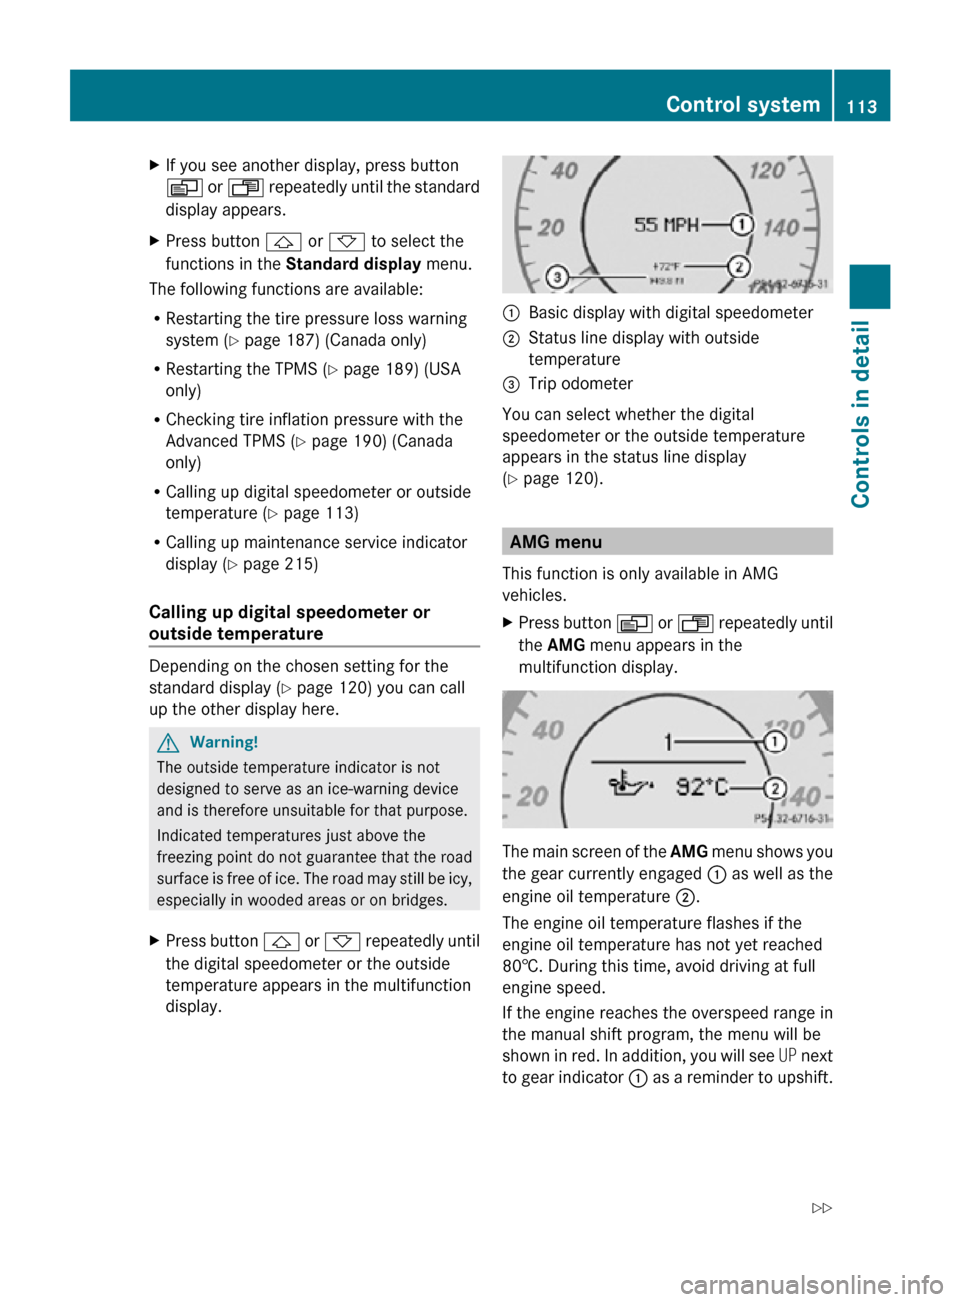
display. :
Basic display with digital speedometer
; Status line display with outside
temperature
= Trip odometer
You can select whether the digital
speedometer or the outside temperature
appears in the status line display
(Y page 120). AMG menu
This function is only available in AMG
vehicles.
X Press button V or U repeatedly until
the AMG menu appears in the
multifunction display. The main screen of the
AMG menu shows you
the gear currently engaged : as well as the
engine oil temperature ;.
The engine oil temperature flashes if the
engine oil temperature has not yet reached
80†. During this time, avoid driving at full
engine speed.
If the engine reaches the overspeed range in
the manual shift program, the menu will be
shown in red. In addition, you will see UP next
to gear indicator : as a reminder to upshift. Control system
113Controls in detail
219_AKB; 4; 54, en-US
d2ureepe, Version: 2.11.8.1 2009-05-11T16:21:02+02:00 - Seite 113 Z
Page 116 of 308
Use buttons & or * to select the
following functions in the AMG menu:
R Vehicle supply voltage ( Y page 114)
R RACETIMER (Y page 114)
R Overall analysis ( Y page 115)
R Lap analysis (Y page 115)
Vehicle supply voltage X
Press button V or U repeatedly until
the AMG menu appears in the
multifunction display.
X Press button & repeatedly until the
vehicle supply voltage appears in the
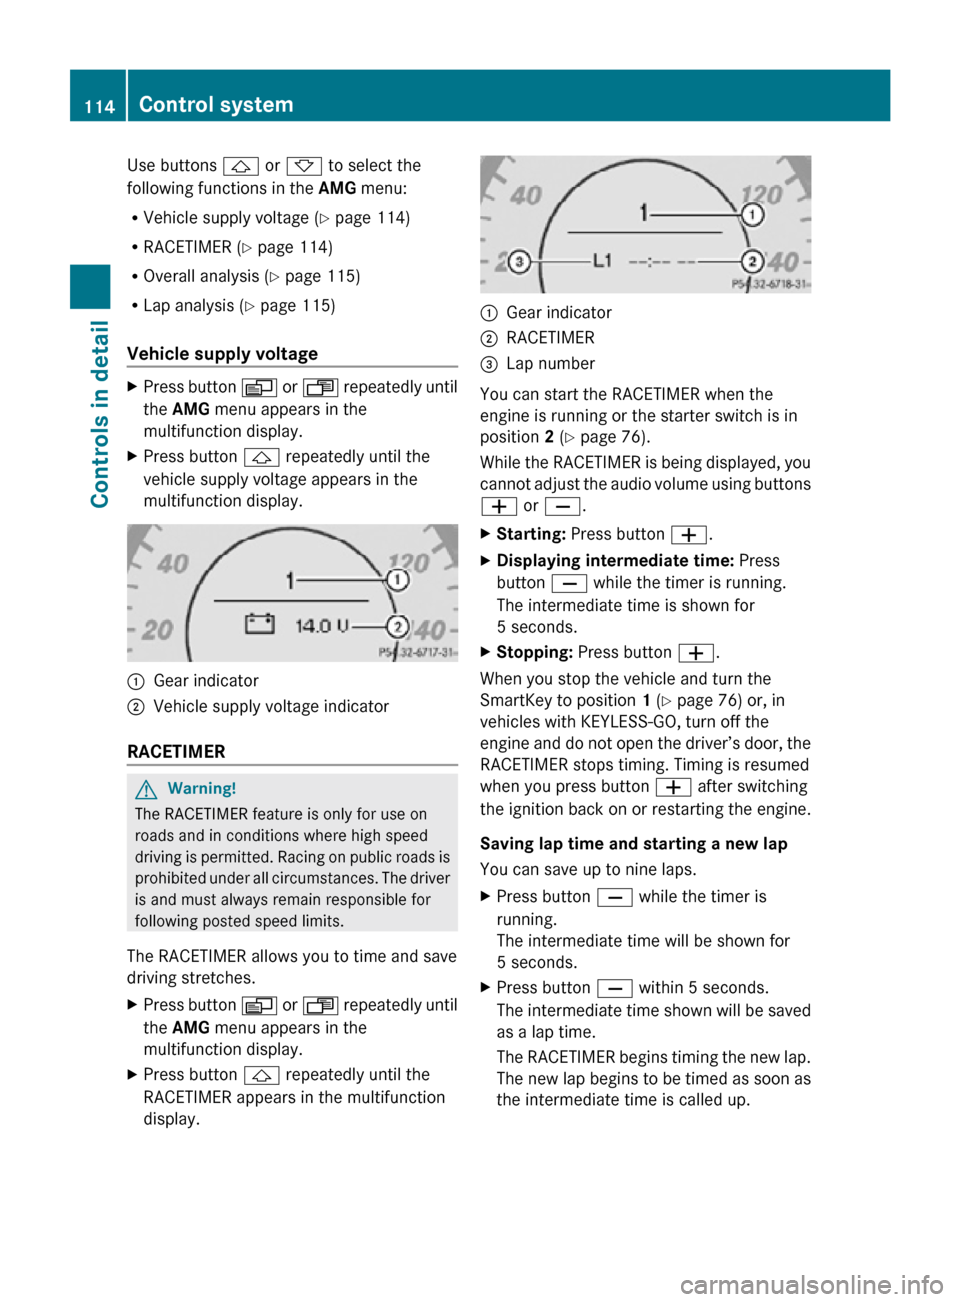
multifunction display. :
Gear indicator
; Vehicle supply voltage indicator
RACETIMER G
Warning!
The RACETIMER feature is only for use on
roads and in conditions where high speed
driving is permitted. Racing on public roads is
prohibited under all circumstances. The driver
is and must always remain responsible for
following posted speed limits.
The RACETIMER allows you to time and save
driving stretches.
X Press button V or U repeatedly until
the AMG menu appears in the
multifunction display.
X Press button & repeatedly until the
RACETIMER appears in the multifunction
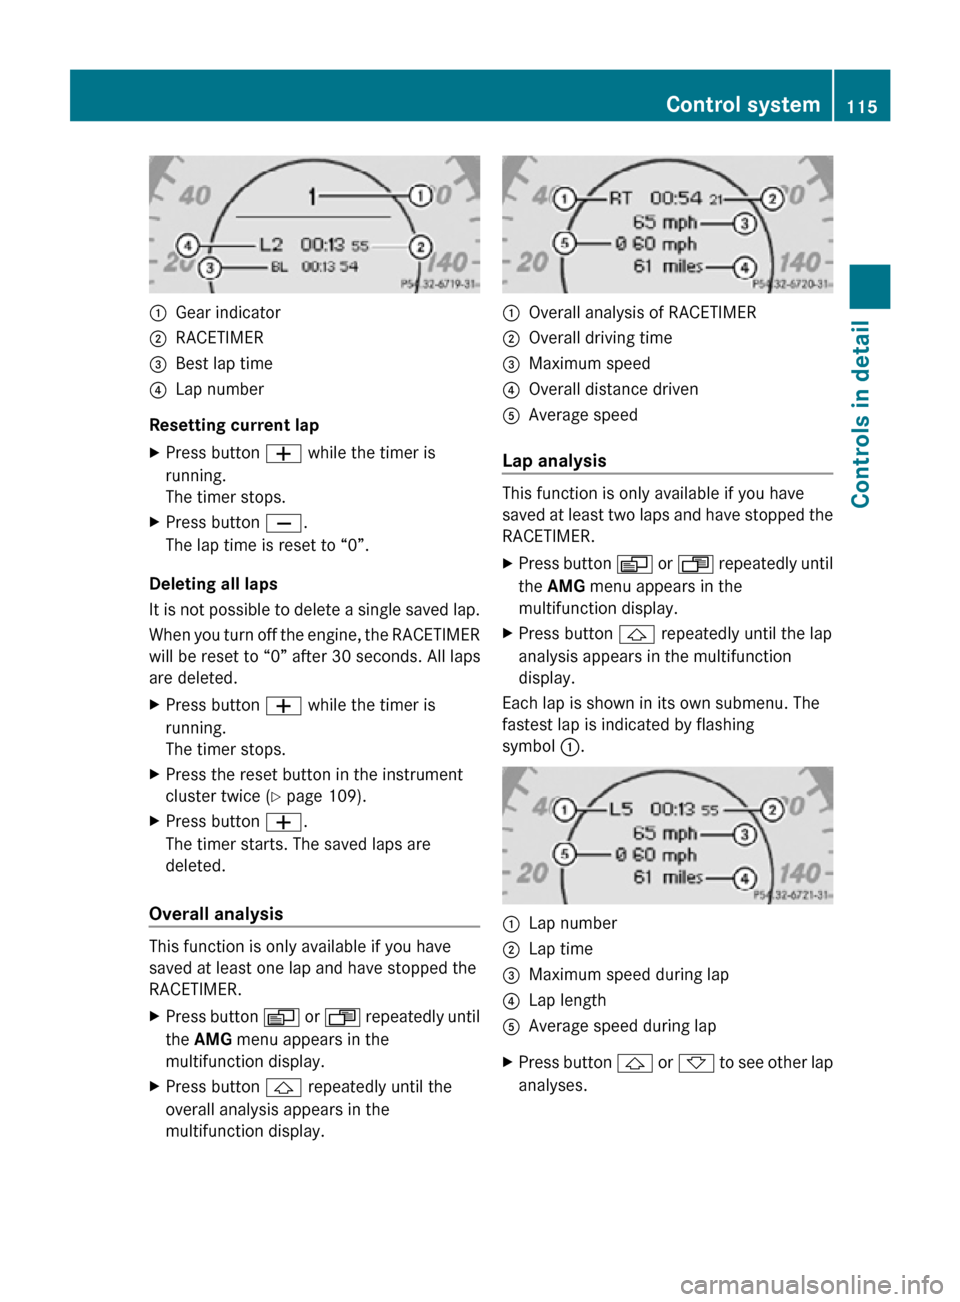
display. :
Gear indicator
; RACETIMER
= Lap number
You can start the RACETIMER when the
engine is running or the starter switch is in
position 2 (Y page 76).
While the RACETIMER is being displayed, you
cannot adjust the audio volume using buttons
W or X.
X Starting: Press button W.
X Displaying intermediate time: Press
button X while the timer is running.
The intermediate time is shown for
5 seconds.
X Stopping: Press button W.
When you stop the vehicle and turn the
SmartKey to position 1 (Y page 76) or, in
vehicles with KEYLESS-GO, turn off the
engine and do not open the driver’s door, the
RACETIMER stops timing. Timing is resumed
when you press button W after switching
the ignition back on or restarting the engine.
Saving lap time and starting a new lap
You can save up to nine laps.
X Press button X while the timer is
running.
The intermediate time will be shown for
5 seconds.
X Press button X within 5 seconds.
The intermediate time shown will be saved
as a lap time.
The RACETIMER begins timing the new lap.
The new lap begins to be timed as soon as
the intermediate time is called up. 114
Control systemControls in detail
219_AKB; 4; 54, en-US
d2ureepe,
Version: 2.11.8.1 2009-05-11T16:21:02+02:00 - Seite 114
Page 117 of 308
:
Gear indicator
; RACETIMER
= Best lap time
? Lap number
Resetting current lap
X Press button W while the timer is
running.
The timer stops.
X Press button X.
The lap time is reset to “0”.
Deleting all laps
It is not possible to delete a single saved lap.
When you turn off the engine, the RACETIMER
will be reset to “0” after 30 seconds. All laps
are deleted.
X Press button W while the timer is
running.
The timer stops.
X Press the reset button in the instrument
cluster twice (Y page 109).
X Press button W.
The timer starts. The saved laps are
deleted.
Overall analysis This function is only available if you have
saved at least one lap and have stopped the
RACETIMER.
X
Press button V or U repeatedly until
the AMG menu appears in the
multifunction display.
X Press button & repeatedly until the
overall analysis appears in the
multifunction display. :
Overall analysis of RACETIMER
; Overall driving time
= Maximum speed
? Overall distance driven
A Average speed
Lap analysis This function is only available if you have
saved at least two laps and have stopped the
RACETIMER.
X
Press button V or U repeatedly until
the AMG menu appears in the
multifunction display.
X Press button & repeatedly until the lap
analysis appears in the multifunction
display.
Each lap is shown in its own submenu. The
fastest lap is indicated by flashing
symbol :. :
Lap number
; Lap time
= Maximum speed during lap
? Lap length
A Average speed during lap
X Press button & or * to see other lap
analyses. Control system
115Controls in detail
219_AKB; 4; 54, en-US
d2ureepe, Version: 2.11.8.1 2009-05-11T16:21:02+02:00 - Seite 115 Z
Page 120 of 308
X
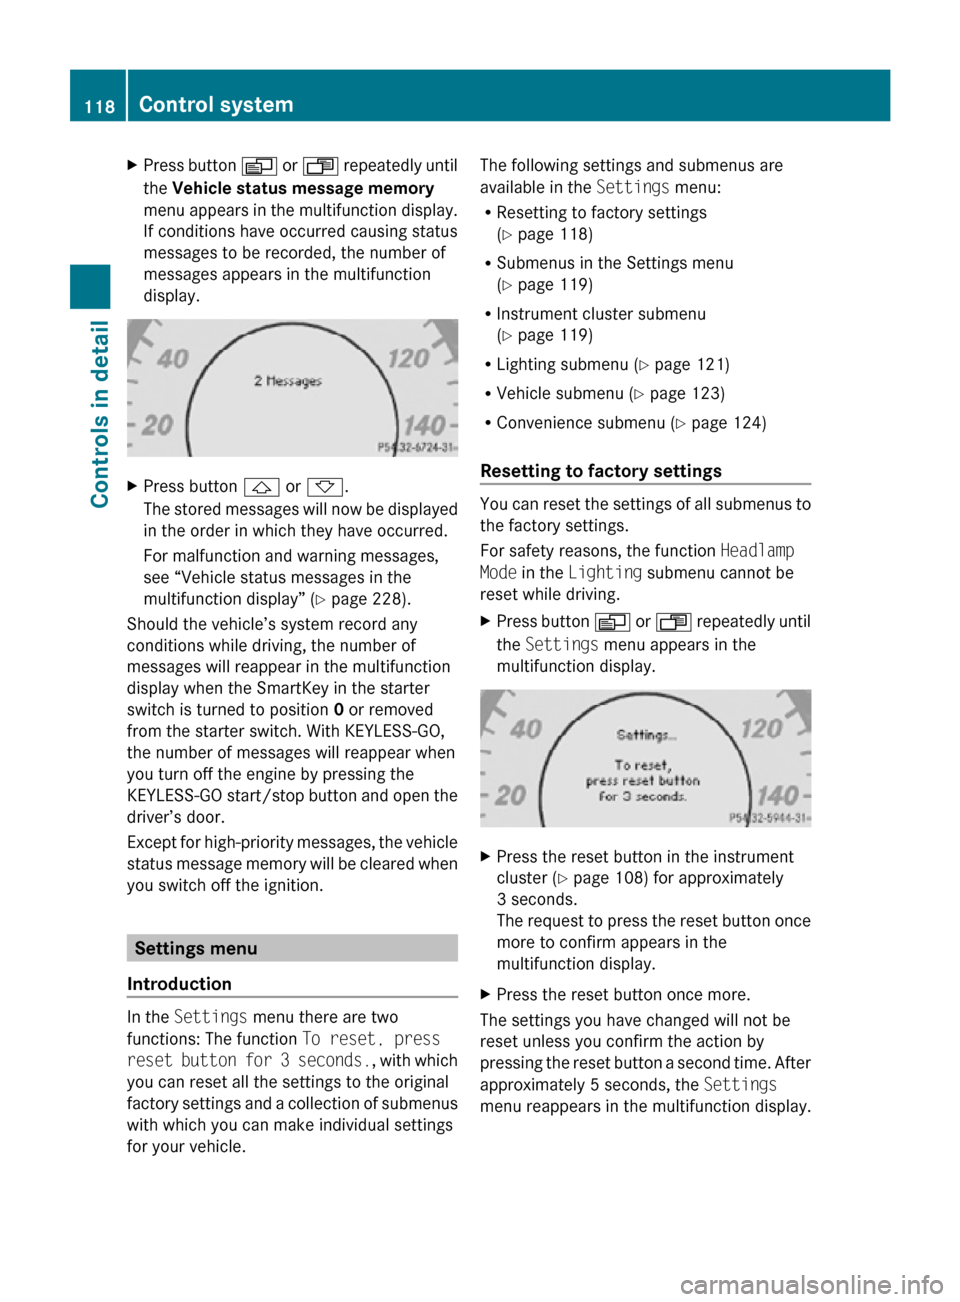
Press button V or U repeatedly until
the Vehicle status message memory
menu appears in the multifunction display.
If conditions have occurred causing status
messages to be recorded, the number of
messages appears in the multifunction
display. X
Press button & or *.
The stored messages will now be displayed
in the order in which they have occurred.
For malfunction and warning messages,
see “Vehicle status messages in the
multifunction display” ( Y page 228).
Should the vehicle’s system record any
conditions while driving, the number of
messages will reappear in the multifunction
display when the SmartKey in the starter
switch is turned to position 0 or removed
from the starter switch. With KEYLESS-GO,
the number of messages will reappear when
you turn off the engine by pressing the
KEYLESS-GO start/stop button and open the
driver’s door.
Except for high-priority messages, the vehicle
status message memory will be cleared when
you switch off the ignition. Settings menu
Introduction In the
Settings menu there are two
functions: The function To reset, press
reset button for 3 seconds. , with which
you can reset all the settings to the original
factory settings and a collection of submenus
with which you can make individual settings
for your vehicle. The following settings and submenus are
available in the
Settings menu:
R Resetting to factory settings
(Y page 118)
R Submenus in the Settings menu
(Y page 119)
R Instrument cluster submenu
(Y page 119)
R Lighting submenu ( Y page 121)
R Vehicle submenu ( Y page 123)
R Convenience submenu ( Y page 124)
Resetting to factory settings You can reset the settings of all submenus to
the factory settings.
For safety reasons, the function
Headlamp
Mode in the Lighting submenu cannot be
reset while driving.
X Press button V or U repeatedly until
the Settings menu appears in the
multifunction display. X
Press the reset button in the instrument
cluster (Y page 108) for approximately
3 seconds.
The request to press the reset button once
more to confirm appears in the
multifunction display.
X Press the reset button once more.
The settings you have changed will not be
reset unless you confirm the action by
pressing the reset button a second time. After
approximately 5 seconds, the Settings
menu reappears in the multifunction display. 118
Control systemControls in detail
219_AKB; 4; 54, en-US
d2ureepe,
Version: 2.11.8.1 2009-05-11T16:21:02+02:00 - Seite 118
Page 123 of 308
X
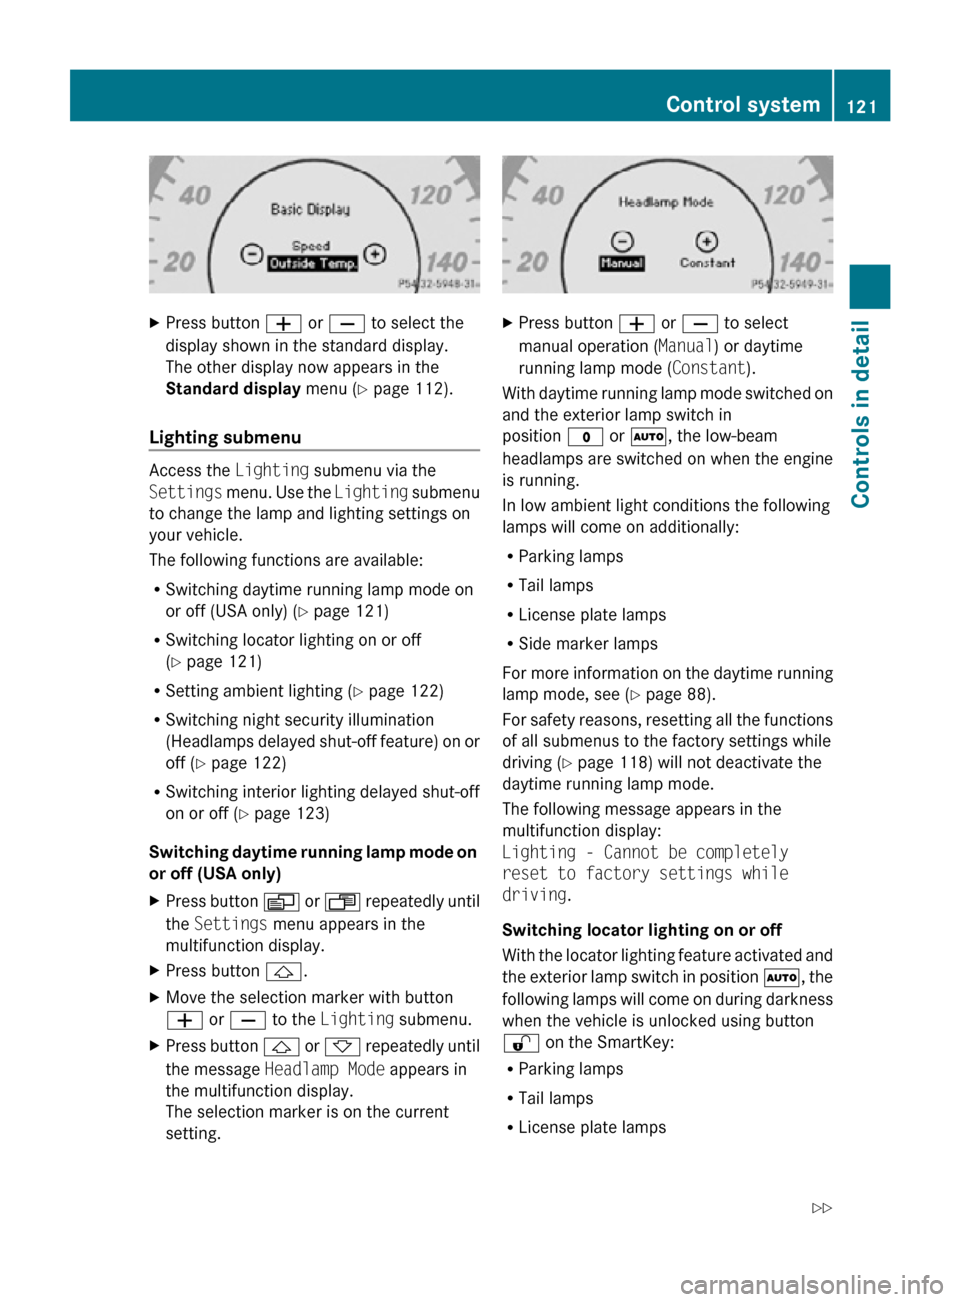
Press button W or X to select the
display shown in the standard display.
The other display now appears in the
Standard display menu (Y page 112).
Lighting submenu Access the
Lighting submenu via the
Settings menu. Use the Lighting submenu
to change the lamp and lighting settings on
your vehicle.
The following functions are available:
R Switching daytime running lamp mode on
or off (USA only) (Y page 121)
R Switching locator lighting on or off
(Y page 121)
R Setting ambient lighting ( Y page 122)
R Switching night security illumination
(Headlamps delayed shut-off feature) on or
off (Y page 122)
R Switching interior lighting delayed shut-off
on or off ( Y page 123)
Switching daytime running lamp mode on
or off (USA only)
X Press button V or U repeatedly until
the Settings menu appears in the
multifunction display.
X Press button &.
X Move the selection marker with button
W or X to the Lighting submenu.
X Press button & or * repeatedly until
the message Headlamp Mode appears in
the multifunction display.
The selection marker is on the current
setting. X
Press button W or X to select
manual operation ( Manual) or daytime
running lamp mode ( Constant).
With daytime running lamp mode switched on
and the exterior lamp switch in
position $ or Ã, the low-beam
headlamps are switched on when the engine
is running.
In low ambient light conditions the following
lamps will come on additionally:
R Parking lamps
R Tail lamps
R License plate lamps
R Side marker lamps
For more information on the daytime running
lamp mode, see ( Y page 88).
For safety reasons, resetting all the functions
of all submenus to the factory settings while
driving ( Y page 118) will not deactivate the
daytime running lamp mode.
The following message appears in the
multifunction display:
Lighting - Cannot be completely
reset to factory settings while
driving.
Switching locator lighting on or off
With the locator lighting feature activated and
the exterior lamp switch in position Ã, the
following lamps will come on during darkness
when the vehicle is unlocked using button
% on the SmartKey:
R Parking lamps
R Tail lamps
R License plate lamps Control system
121Controls in detail
219_AKB; 4; 54, en-US
d2ureepe, Version: 2.11.8.1 2009-05-11T16:21:02+02:00 - Seite 121 Z
Page 124 of 308
R
Side marker lamps
R Front fog lamps
The locator lighting goes out when the driver’s
door is opened.
If you do not open the driver’s door after
unlocking the vehicle with the SmartKey, the
lamps will go out automatically after
approximately 40 seconds.
X Press button V or U repeatedly until
the Settings menu appears in the
multifunction display.
X Press button &.
X Move the selection marker with button
W or X to the Lighting submenu.
X Press button & or * repeatedly until
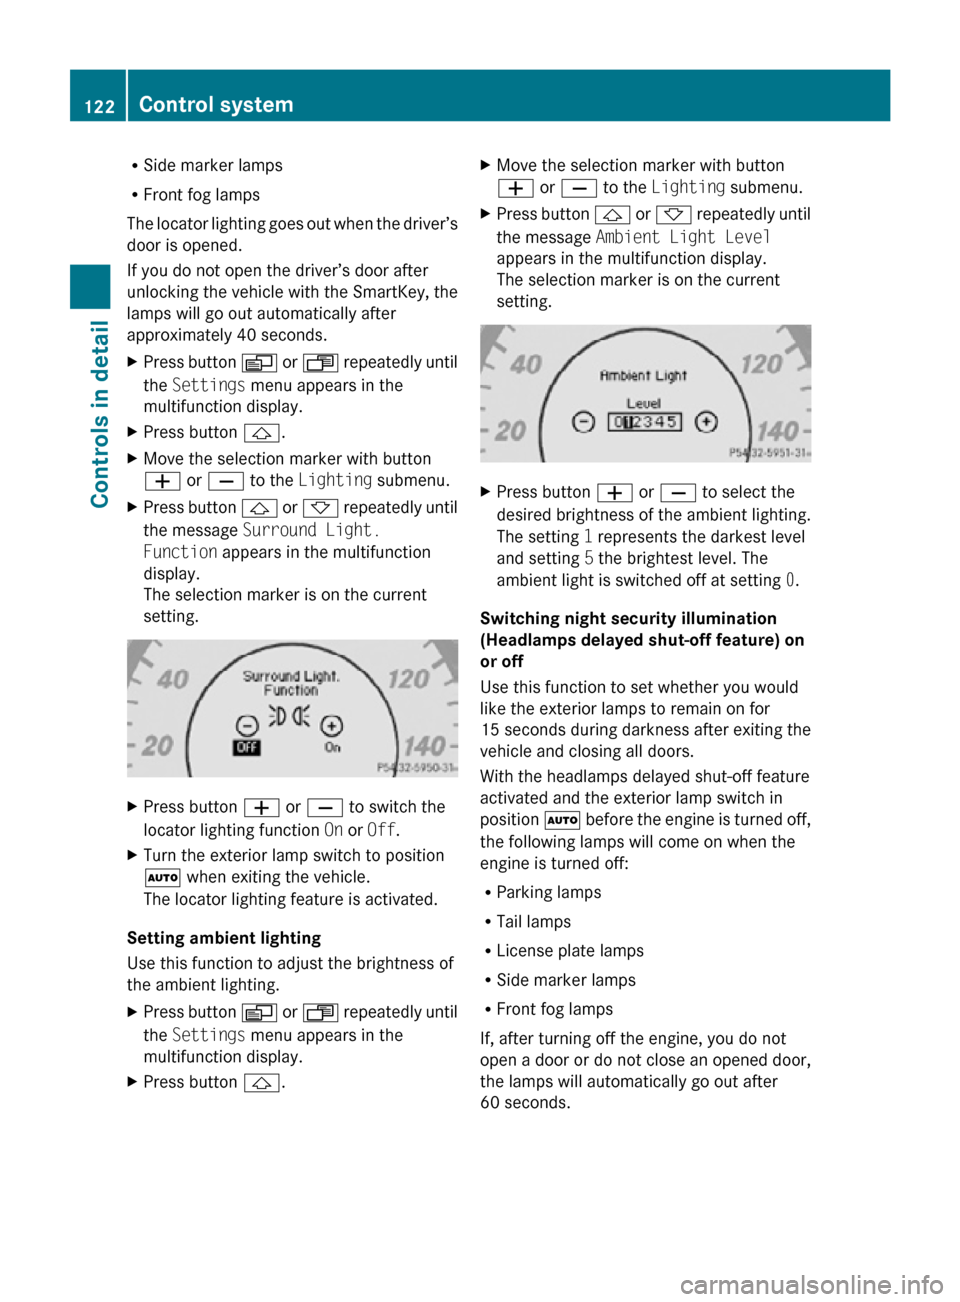
the message Surround Light.
Function appears in the multifunction
display.
The selection marker is on the current
setting. X
Press button W or X to switch the
locator lighting function On or Off.
X Turn the exterior lamp switch to position
à when exiting the vehicle.
The locator lighting feature is activated.
Setting ambient lighting
Use this function to adjust the brightness of
the ambient lighting.
X Press button V or U repeatedly until
the Settings menu appears in the
multifunction display.
X Press button &. X
Move the selection marker with button
W or X to the Lighting submenu.
X Press button & or * repeatedly until
the message Ambient Light Level
appears in the multifunction display.
The selection marker is on the current
setting. X
Press button W or X to select the
desired brightness of the ambient lighting.
The setting 1 represents the darkest level
and setting 5 the brightest level. The
ambient light is switched off at setting 0.
Switching night security illumination
(Headlamps delayed shut-off feature) on
or off
Use this function to set whether you would
like the exterior lamps to remain on for
15 seconds during darkness after exiting the
vehicle and closing all doors.
With the headlamps delayed shut-off feature
activated and the exterior lamp switch in
position à before the engine is turned off,
the following lamps will come on when the
engine is turned off:
R Parking lamps
R Tail lamps
R License plate lamps
R Side marker lamps
R Front fog lamps
If, after turning off the engine, you do not
open a door or do not close an opened door,
the lamps will automatically go out after
60 seconds. 122
Control systemControls in detail
219_AKB; 4; 54, en-US
d2ureepe,
Version: 2.11.8.1 2009-05-11T16:21:02+02:00 - Seite 122
Page 125 of 308
X
Press button V or U repeatedly until
the Settings menu appears in the
multifunction display.
X Press button &.
X Move the selection marker with button
W or X to the Lighting submenu.
X Press button & or * repeatedly until
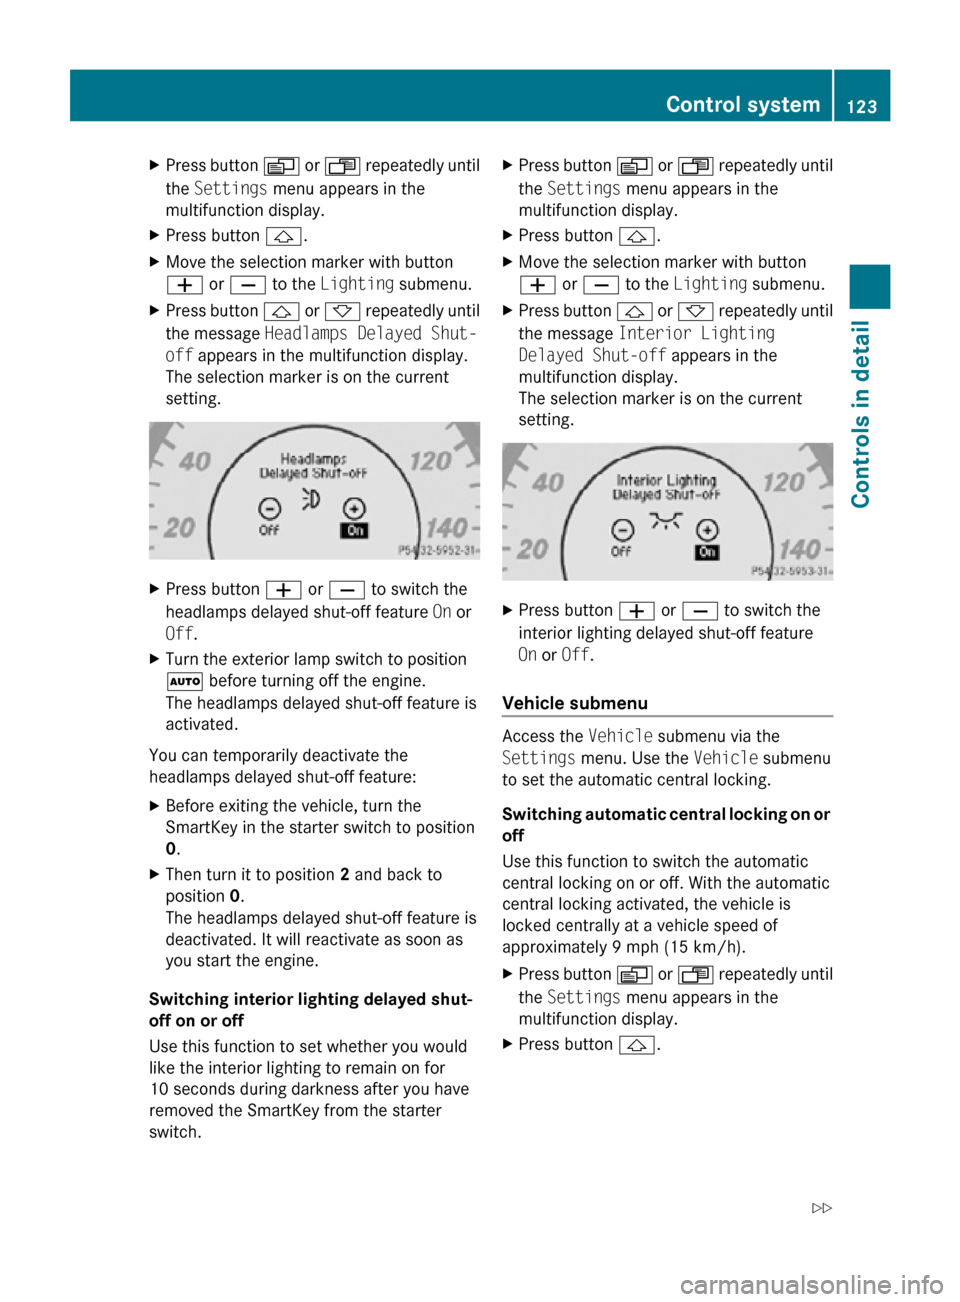
the message Headlamps Delayed Shut-
off appears in the multifunction display.
The selection marker is on the current
setting. X
Press button W or X to switch the
headlamps delayed shut-off feature On or
Off.
X Turn the exterior lamp switch to position
à before turning off the engine.
The headlamps delayed shut-off feature is
activated.
You can temporarily deactivate the
headlamps delayed shut-off feature:
X Before exiting the vehicle, turn the
SmartKey in the starter switch to position
0.
X Then turn it to position 2 and back to
position 0.
The headlamps delayed shut-off feature is
deactivated. It will reactivate as soon as
you start the engine.
Switching interior lighting delayed shut-
off on or off
Use this function to set whether you would
like the interior lighting to remain on for
10 seconds during darkness after you have
removed the SmartKey from the starter
switch. X
Press button V or U repeatedly until
the Settings menu appears in the
multifunction display.
X Press button &.
X Move the selection marker with button
W or X to the Lighting submenu.
X Press button & or * repeatedly until
the message Interior Lighting
Delayed Shut-off appears in the
multifunction display.
The selection marker is on the current
setting. X
Press button W or X to switch the
interior lighting delayed shut-off feature
On or Off.
Vehicle submenu Access the
Vehicle submenu via the
Settings menu. Use the Vehicle submenu
to set the automatic central locking.
Switching automatic central locking on or
off
Use this function to switch the automatic
central locking on or off. With the automatic
central locking activated, the vehicle is
locked centrally at a vehicle speed of
approximately 9 mph (15 km/h).
X Press button V or U repeatedly until
the Settings menu appears in the
multifunction display.
X Press button &. Control system
123Controls in detail
219_AKB; 4; 54, en-US
d2ureepe, Version: 2.11.8.1 2009-05-11T16:21:02+02:00 - Seite 123 Z
Page 127 of 308
Fuel consumption statistics since start
X
Press button U or V repeatedly until
the first function of the Trip computer
menu appears in the multifunction display.
X Press button & or * repeatedly until
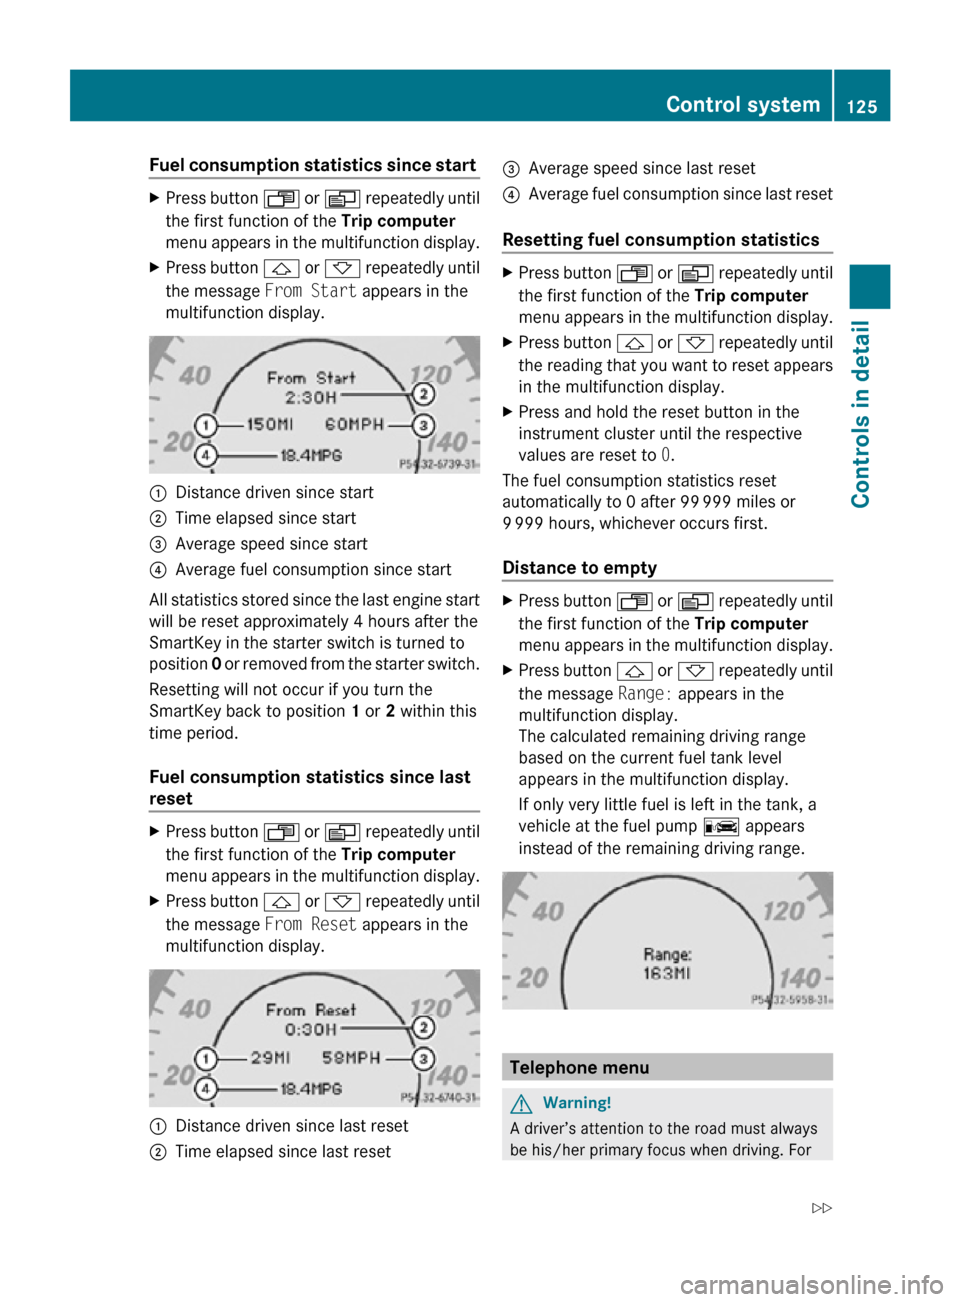
the message From Start appears in the
multifunction display. :
Distance driven since start
; Time elapsed since start
= Average speed since start
? Average fuel consumption since start
All statistics stored since the last engine start
will be reset approximately 4 hours after the
SmartKey in the starter switch is turned to
position 0 or removed from the starter switch.
Resetting will not occur if you turn the
SmartKey back to position 1 or 2 within this
time period.
Fuel consumption statistics since last
reset X
Press button U or V repeatedly until
the first function of the Trip computer
menu appears in the multifunction display.
X Press button & or * repeatedly until
the message From Reset appears in the
multifunction display. :
Distance driven since last reset
; Time elapsed since last reset =
Average speed since last reset
? Average fuel consumption since last reset
Resetting fuel consumption statistics X
Press button U or V repeatedly until
the first function of the Trip computer
menu appears in the multifunction display.
X Press button & or * repeatedly until
the reading that you want to reset appears
in the multifunction display.
X Press and hold the reset button in the
instrument cluster until the respective
values are reset to 0.
The fuel consumption statistics reset
automatically to 0 after 99 999 miles or
9 999 hours, whichever occurs first.
Distance to empty X
Press button U or V repeatedly until
the first function of the Trip computer
menu appears in the multifunction display.
X Press button & or * repeatedly until
the message Range: appears in the
multifunction display.
The calculated remaining driving range
based on the current fuel tank level
appears in the multifunction display.
If only very little fuel is left in the tank, a
vehicle at the fuel pump C appears
instead of the remaining driving range. Telephone menu
G
Warning!
A driver’s attention to the road must always
be his/her primary focus when driving. For Control system
125Controls in detail
219_AKB; 4; 54, en-US
d2ureepe, Version: 2.11.8.1 2009-05-11T16:21:02+02:00 - Seite 125 Z