2010 MERCEDES-BENZ CLS550 reset
[x] Cancel search: resetPage 112 of 308

Resetting trip odometer
X Make sure you are viewing the standard
display ( Y page 112) in the multifunction
display.
X Press and hold the reset button in the
instrument cluster (Y page 108) until the
trip odometer is reset. Tachometer
The red marking on the tachometer
(Y page 28) denotes excessive engine speed.
! Avoid driving at excessive engine speeds,
as it may result in serious engine damage
that is not covered by the Mercedes-Benz
Limited Warranty.
To help protect the engine, the fuel supply is
interrupted if the engine is operated within
the red marking. Control system
Introduction
The control system is activated as soon as the
starter switch is in position 1.
The control system enables you to call up
information about your vehicle and to change
vehicle settings.
For example, you can use the control system
to find out when your vehicle is next due for
maintenance service, to set the language for
messages in the instrument cluster display,
and much more. G
Warning!
A driver’s attention to the road and traffic
conditions must always be his/her primary
focus when driving.
For your safety and the safety of others,
selecting features through the multifunction
steering wheel should only be done by the driver when traffic and road conditions permit
it to be done safely.
Bear in mind that at a speed of just 30 mph
(approximately 50 km/h), your vehicle is
covering a distance of 44 feet (approximately
14 m) every second.
The control system relays information to the
multifunction display. Multifunction steering wheel
The displays in the multifunction display and
the settings in the control system are
controlled by using the buttons on the
multifunction steering wheel. :
Multifunction display
;
Press button
W
X
to select submenus in the
Settings menu
to set values
to operate the RACETIMER
7
to set the volume 7
AMG vehicles only. 110
Control systemControls in detail
219_AKB; 4; 54, en-US
d2ureepe,
Version: 2.11.8.1 2009-05-11T16:21:02+02:00 - Seite 110
Page 117 of 308
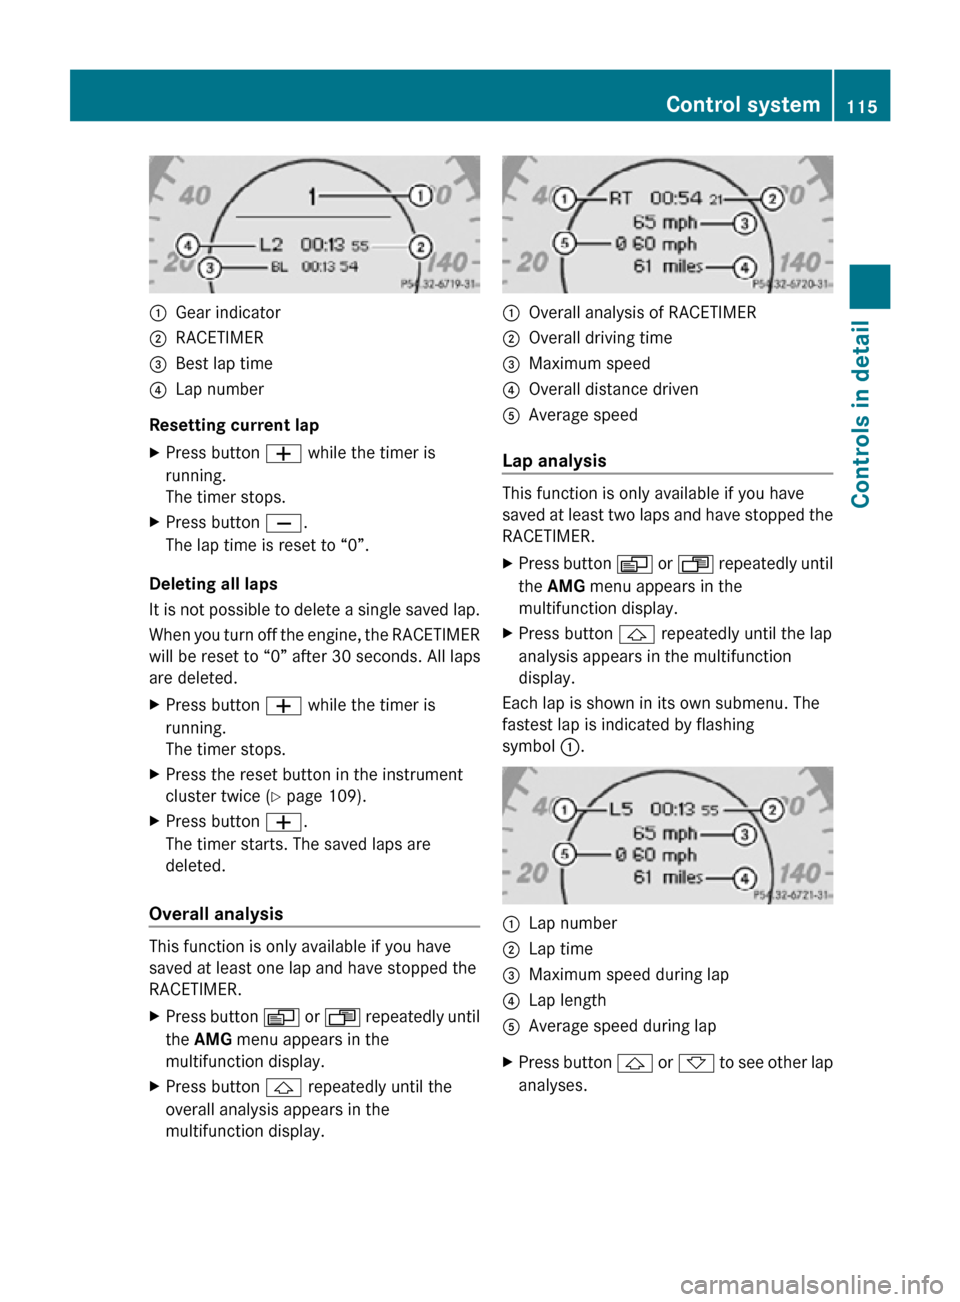
:
Gear indicator
; RACETIMER
= Best lap time
? Lap number
Resetting current lap
X Press button W while the timer is
running.
The timer stops.
X Press button X.
The lap time is reset to “0”.
Deleting all laps
It is not possible to delete a single saved lap.
When you turn off the engine, the RACETIMER
will be reset to “0” after 30 seconds. All laps
are deleted.
X Press button W while the timer is
running.
The timer stops.
X Press the reset button in the instrument
cluster twice (Y page 109).
X Press button W.
The timer starts. The saved laps are
deleted.
Overall analysis This function is only available if you have
saved at least one lap and have stopped the
RACETIMER.
X
Press button V or U repeatedly until
the AMG menu appears in the
multifunction display.
X Press button & repeatedly until the
overall analysis appears in the
multifunction display. :
Overall analysis of RACETIMER
; Overall driving time
= Maximum speed
? Overall distance driven
A Average speed
Lap analysis This function is only available if you have
saved at least two laps and have stopped the
RACETIMER.
X
Press button V or U repeatedly until
the AMG menu appears in the
multifunction display.
X Press button & repeatedly until the lap
analysis appears in the multifunction
display.
Each lap is shown in its own submenu. The
fastest lap is indicated by flashing
symbol :. :
Lap number
; Lap time
= Maximum speed during lap
? Lap length
A Average speed during lap
X Press button & or * to see other lap
analyses. Control system
115Controls in detail
219_AKB; 4; 54, en-US
d2ureepe, Version: 2.11.8.1 2009-05-11T16:21:02+02:00 - Seite 115 Z
Page 120 of 308
X
Press button V or U repeatedly until
the Vehicle status message memory
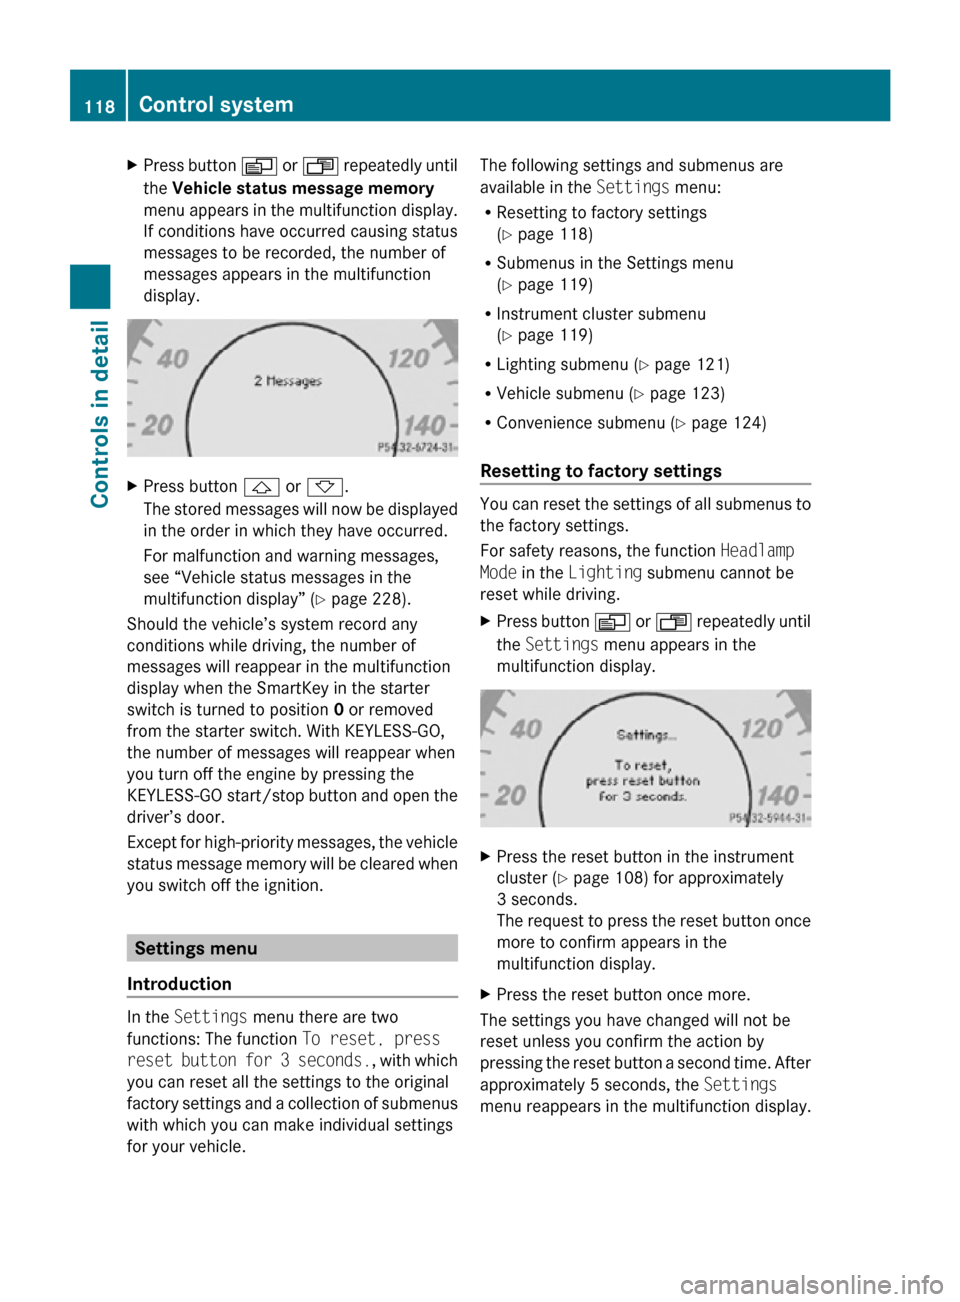
menu appears in the multifunction display.
If conditions have occurred causing status
messages to be recorded, the number of
messages appears in the multifunction
display. X
Press button & or *.
The stored messages will now be displayed
in the order in which they have occurred.
For malfunction and warning messages,
see “Vehicle status messages in the
multifunction display” ( Y page 228).
Should the vehicle’s system record any
conditions while driving, the number of
messages will reappear in the multifunction
display when the SmartKey in the starter
switch is turned to position 0 or removed
from the starter switch. With KEYLESS-GO,
the number of messages will reappear when
you turn off the engine by pressing the
KEYLESS-GO start/stop button and open the
driver’s door.
Except for high-priority messages, the vehicle
status message memory will be cleared when
you switch off the ignition. Settings menu
Introduction In the
Settings menu there are two
functions: The function To reset, press
reset button for 3 seconds. , with which
you can reset all the settings to the original
factory settings and a collection of submenus
with which you can make individual settings
for your vehicle. The following settings and submenus are
available in the
Settings menu:
R Resetting to factory settings
(Y page 118)
R Submenus in the Settings menu
(Y page 119)
R Instrument cluster submenu
(Y page 119)
R Lighting submenu ( Y page 121)
R Vehicle submenu ( Y page 123)
R Convenience submenu ( Y page 124)
Resetting to factory settings You can reset the settings of all submenus to
the factory settings.
For safety reasons, the function
Headlamp
Mode in the Lighting submenu cannot be
reset while driving.
X Press button V or U repeatedly until
the Settings menu appears in the
multifunction display. X
Press the reset button in the instrument
cluster (Y page 108) for approximately
3 seconds.
The request to press the reset button once
more to confirm appears in the
multifunction display.
X Press the reset button once more.
The settings you have changed will not be
reset unless you confirm the action by
pressing the reset button a second time. After
approximately 5 seconds, the Settings
menu reappears in the multifunction display. 118
Control systemControls in detail
219_AKB; 4; 54, en-US
d2ureepe,
Version: 2.11.8.1 2009-05-11T16:21:02+02:00 - Seite 118
Page 123 of 308
X
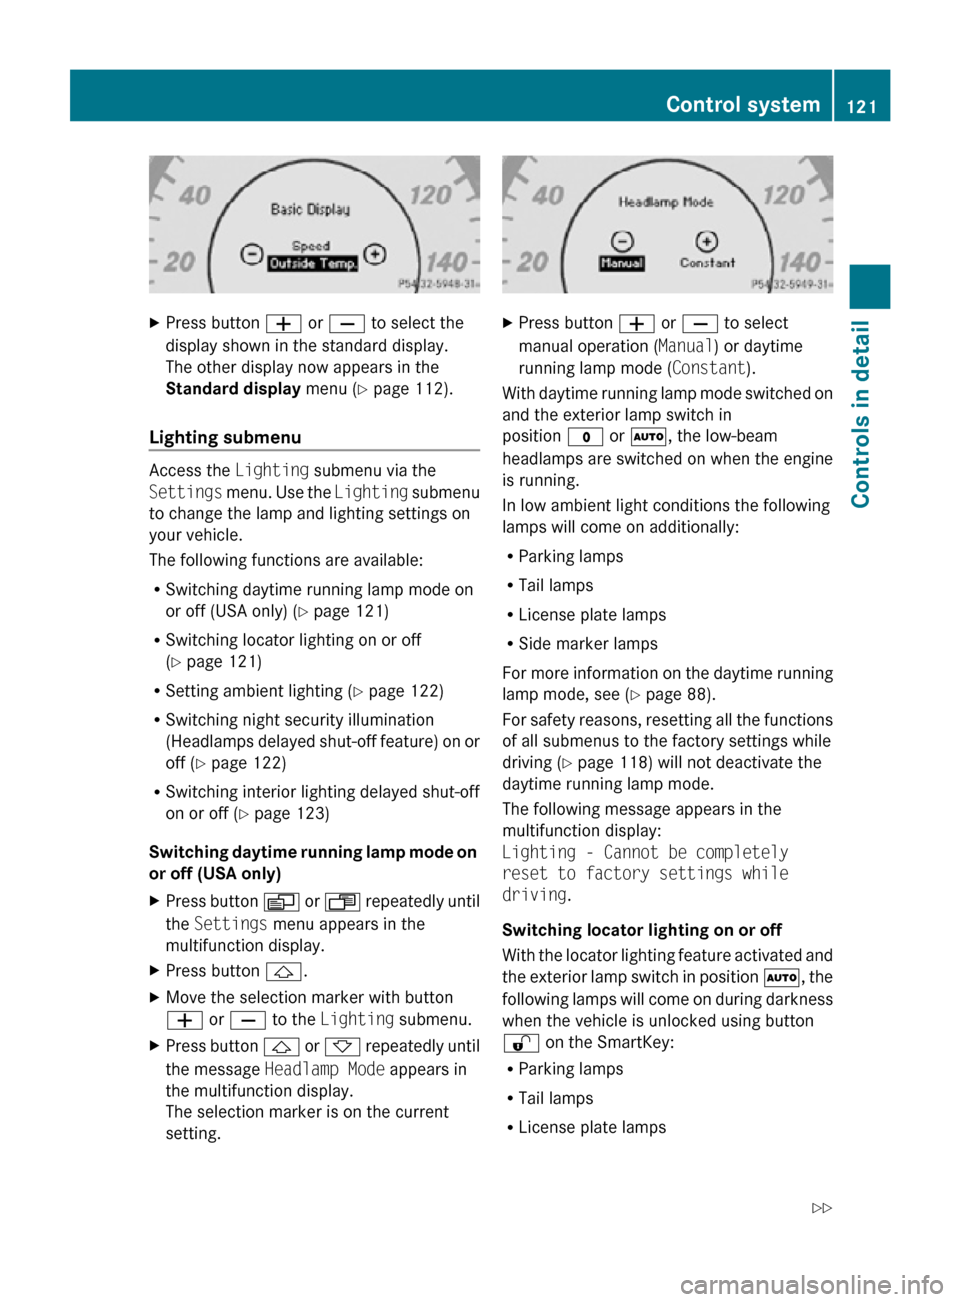
Press button W or X to select the
display shown in the standard display.
The other display now appears in the
Standard display menu (Y page 112).
Lighting submenu Access the
Lighting submenu via the
Settings menu. Use the Lighting submenu
to change the lamp and lighting settings on
your vehicle.
The following functions are available:
R Switching daytime running lamp mode on
or off (USA only) (Y page 121)
R Switching locator lighting on or off
(Y page 121)
R Setting ambient lighting ( Y page 122)
R Switching night security illumination
(Headlamps delayed shut-off feature) on or
off (Y page 122)
R Switching interior lighting delayed shut-off
on or off ( Y page 123)
Switching daytime running lamp mode on
or off (USA only)
X Press button V or U repeatedly until
the Settings menu appears in the
multifunction display.
X Press button &.
X Move the selection marker with button
W or X to the Lighting submenu.
X Press button & or * repeatedly until
the message Headlamp Mode appears in
the multifunction display.
The selection marker is on the current
setting. X
Press button W or X to select
manual operation ( Manual) or daytime
running lamp mode ( Constant).
With daytime running lamp mode switched on
and the exterior lamp switch in
position $ or Ã, the low-beam
headlamps are switched on when the engine
is running.
In low ambient light conditions the following
lamps will come on additionally:
R Parking lamps
R Tail lamps
R License plate lamps
R Side marker lamps
For more information on the daytime running
lamp mode, see ( Y page 88).
For safety reasons, resetting all the functions
of all submenus to the factory settings while
driving ( Y page 118) will not deactivate the
daytime running lamp mode.
The following message appears in the
multifunction display:
Lighting - Cannot be completely
reset to factory settings while
driving.
Switching locator lighting on or off
With the locator lighting feature activated and
the exterior lamp switch in position Ã, the
following lamps will come on during darkness
when the vehicle is unlocked using button
% on the SmartKey:
R Parking lamps
R Tail lamps
R License plate lamps Control system
121Controls in detail
219_AKB; 4; 54, en-US
d2ureepe, Version: 2.11.8.1 2009-05-11T16:21:02+02:00 - Seite 121 Z
Page 126 of 308
X
Move the selection marker with button
W or X to the Vehicle submenu.
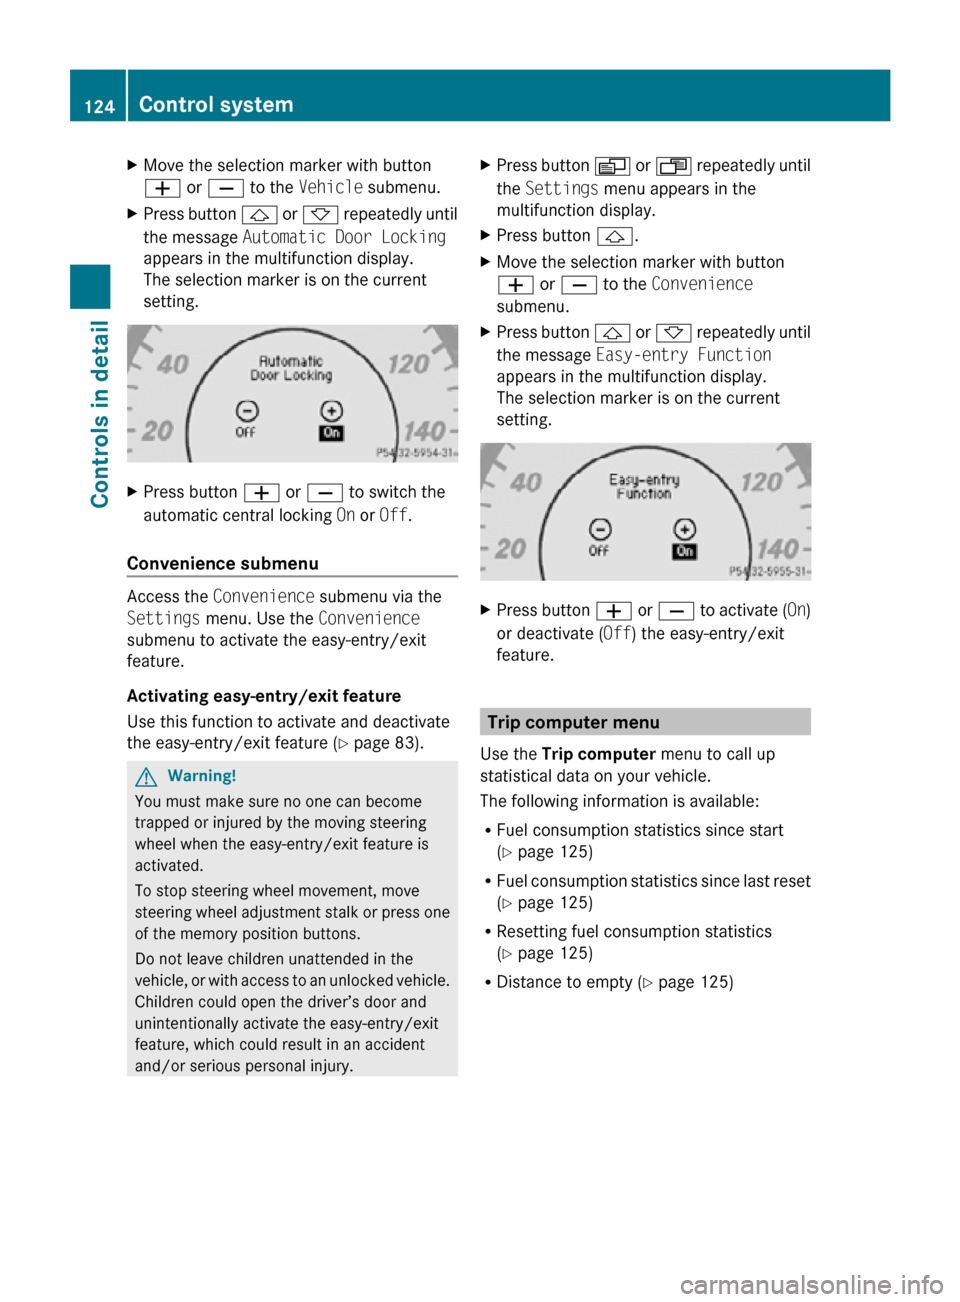
X Press button & or * repeatedly until
the message Automatic Door Locking
appears in the multifunction display.
The selection marker is on the current
setting. X
Press button W or X to switch the
automatic central locking On or Off.
Convenience submenu Access the
Convenience submenu via the
Settings menu. Use the Convenience
submenu to activate the easy-entry/exit
feature.
Activating easy-entry/exit feature
Use this function to activate and deactivate
the easy-entry/exit feature (Y page 83). G
Warning!
You must make sure no one can become
trapped or injured by the moving steering
wheel when the easy-entry/exit feature is
activated.
To stop steering wheel movement, move
steering wheel adjustment stalk or press one
of the memory position buttons.
Do not leave children unattended in the
vehicle, or with access to an unlocked vehicle.
Children could open the driver’s door and
unintentionally activate the easy-entry/exit
feature, which could result in an accident
and/or serious personal injury. X
Press button V or U repeatedly until
the Settings menu appears in the
multifunction display.
X Press button &.
X Move the selection marker with button
W or X to the Convenience
submenu.
X Press button & or * repeatedly until
the message Easy-entry Function
appears in the multifunction display.
The selection marker is on the current
setting. X
Press button W or X to activate ( On)
or deactivate (Off) the easy-entry/exit
feature. Trip computer menu
Use the Trip computer menu to call up
statistical data on your vehicle.
The following information is available:
R Fuel consumption statistics since start
(Y page 125)
R Fuel consumption statistics since last reset
(Y page 125)
R Resetting fuel consumption statistics
(Y page 125)
R Distance to empty ( Y page 125)124
Control systemControls in detail
219_AKB; 4; 54, en-US
d2ureepe,
Version: 2.11.8.1 2009-05-11T16:21:02+02:00 - Seite 124
Page 127 of 308
Fuel consumption statistics since start
X
Press button U or V repeatedly until
the first function of the Trip computer
menu appears in the multifunction display.
X Press button & or * repeatedly until
the message From Start appears in the
multifunction display. :
Distance driven since start
; Time elapsed since start
= Average speed since start
? Average fuel consumption since start
All statistics stored since the last engine start
will be reset approximately 4 hours after the
SmartKey in the starter switch is turned to
position 0 or removed from the starter switch.
Resetting will not occur if you turn the
SmartKey back to position 1 or 2 within this
time period.
Fuel consumption statistics since last
reset X
Press button U or V repeatedly until
the first function of the Trip computer
menu appears in the multifunction display.
X Press button & or * repeatedly until
the message From Reset appears in the
multifunction display. :
Distance driven since last reset
; Time elapsed since last reset =
Average speed since last reset
? Average fuel consumption since last reset
Resetting fuel consumption statistics X
Press button U or V repeatedly until
the first function of the Trip computer
menu appears in the multifunction display.
X Press button & or * repeatedly until
the reading that you want to reset appears
in the multifunction display.
X Press and hold the reset button in the
instrument cluster until the respective
values are reset to 0.
The fuel consumption statistics reset
automatically to 0 after 99 999 miles or
9 999 hours, whichever occurs first.
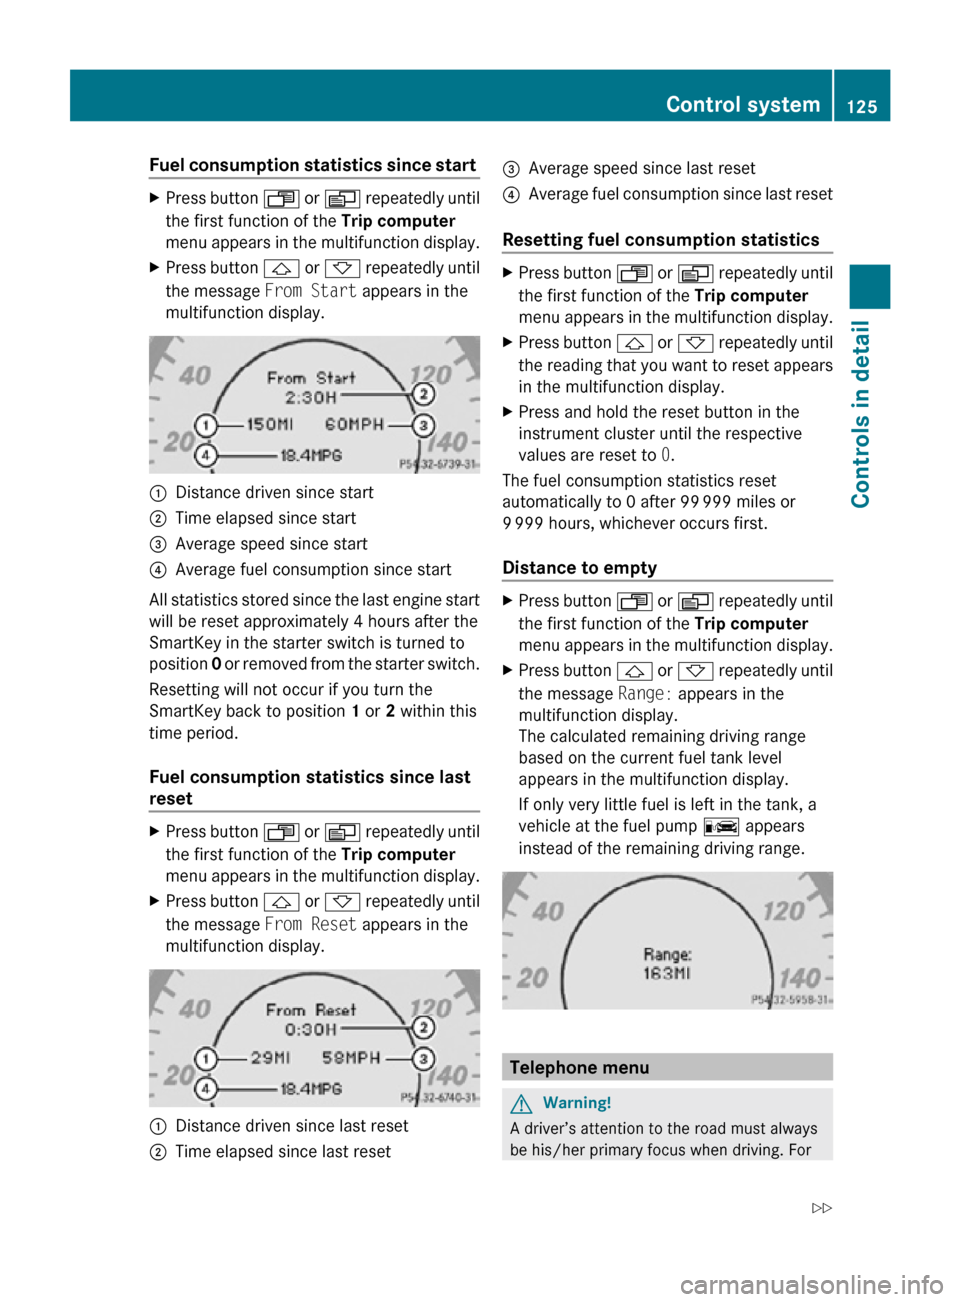
Distance to empty X
Press button U or V repeatedly until
the first function of the Trip computer
menu appears in the multifunction display.
X Press button & or * repeatedly until
the message Range: appears in the
multifunction display.
The calculated remaining driving range
based on the current fuel tank level
appears in the multifunction display.
If only very little fuel is left in the tank, a
vehicle at the fuel pump C appears
instead of the remaining driving range. Telephone menu
G
Warning!
A driver’s attention to the road must always
be his/her primary focus when driving. For Control system
125Controls in detail
219_AKB; 4; 54, en-US
d2ureepe, Version: 2.11.8.1 2009-05-11T16:21:02+02:00 - Seite 125 Z
Page 130 of 308

previously set speed and wishes to resume
this particular preset speed.
G
Warning!
The cruise control brakes automatically so
that the set speed is not exceeded. :
Setting current or higher speed
; Setting current or lower speed
= Canceling the cruise control
? Activating the cruise control or resuming
to last set speed
Activating cruise control You can activate the cruise control at a
vehicle speed above 20 mph (30 km/h).
You cannot activate the cruise control
R
when you brake
R when you have engaged the parking brake
R when the automatic transmission is in park
position P, reverse gear R, or neutral
position N
R the ESP ®
is switched off or has switched off
due to a malfunction
The vehicle speed displayed in the
speedometer can briefly vary from the speed
setting for the cruise control system. Setting current speed X
Accelerate or decelerate to the desired
speed.
X Briefly lift the cruise control lever in
direction of arrow : or press in direction
of arrow ;.
X Remove your foot from the accelerator
pedal.
i On uphill grades, the cruise control may
not be able to maintain the set speed. Once
the grade eases, the set speed will be
resumed.
On downhill grades, the cruise control
maintains the set speed by braking with the
vehicle’s brake system. In addition, on
longer downhill grades the automatic
transmission will downshift automatically.
Canceling cruise control X
Depress the brake pedal.
or
X Briefly push the cruise control lever in
direction of arrow =.
The last set speed is stored for later use.
The last stored speed is deleted from memory
when the engine is turned off.
The cruise control switches off automatically
when you depress the brake pedal or you
engage the parking brake. In this case, the
cruise control speed segments in the
multifunction display will go out.
The cruise control also switches off
automatically when
R the vehicle speed falls below 20 mph
(30 km/h)
R the ESP ®
is in operation
R the ESP ®
is switched off with the ESP ®
switch
R the ESP ®
has switched off due to a
malfunction
R you shift the automatic transmission into
neutral position N while driving 128
Driving systemsControls in detail
219_AKB; 4; 54, en-US
d2ureepe,
Version: 2.11.8.1 2009-05-11T16:21:02+02:00 - Seite 128
Page 131 of 308

The cruise control speed segments in the
multifunction display goes out and an
acoustic warning will sound. Observe
additional messages in the multifunction
display that may appear.
Depressing the accelerator pedal does not
deactivate the cruise control. After a brief
acceleration (e.g. for passing), the cruise
control will resume the last set speed.
Changing the set speed
G
Warning!
Keep in mind that it may take a brief moment
until the vehicle has made the necessary
adjustments.
Increase
or decrease the set vehicle speed to
a value that the prevailing road conditions and
legal speed limits permit. Otherwise, sudden
and unexpected acceleration or deceleration
of the vehicle could cause an accident and/
or serious injury to you and others.
When you use the cruise control lever to
decelerate, the brake system will brake the
vehicle automatically if the engine’s braking
power does not brake the vehicle sufficiently.
X Increasing: Lift the cruise control lever in
direction of arrow : and hold it up until
the desired speed is reached.
X Decreasing:
Press the cruise control lever
in direction of arrow ; and hold it down
until the desired speed is reached.
X Release the cruise control lever.
The new speed is set and the vehicle will
accelerate or decelerate.
Fine adjustment in 1 mph (Canada:
1 km/h) increments
X Increasing: Briefly tip the cruise control
lever in direction of arrow :.
X Decreasing: Briefly tip the cruise control
lever in direction of arrow ;. Setting stored speed (Resume
function) G
Warning!
The set speed stored in memory should only
be set again if prevailing road conditions and
legal speed limits permit. Possible
acceleration or deceleration differences
arising from returning to the preset speed
could
cause an accident and/or serious injury
to you and others.
X Briefly pull the cruise control lever in
direction of arrow ?.
If no speed is stored, the current speed is
set and stored.
X Remove your foot from the accelerator
pedal.
The last stored speed is deleted from memory
when the engine is turned off. Distronic
Safety notes When activated, the Distronic adaptive cruise
control increases the driving convenience
afforded
by the cruise control while traveling
on expressways and other major roadways.
R If the Distronic distance sensor detects a
slower moving vehicle directly ahead, your
vehicle speed will be reduced so that you
follow that vehicle at your preset following
distance.
R If there is no vehicle directly ahead of you,
the Distronic will function in the same way
as standard cruise control ( Y page 127). G
Warning!
The Distronic requires familiarity with its
operational characteristics. We strongly
recommend that you review the following
information carefully before operating the
system. Driving systems
129
Controls in detail
219_AKB; 4; 54, en-US
d2ureepe, Version: 2.11.8.1 2009-05-11T16:21:02+02:00 - Seite 129 Z