2010 MERCEDES-BENZ CLS550 phone
[x] Cancel search: phonePage 70 of 308
i
USA only:
This device complies with Part 15 of the
FCC Rules. Operation is subject to the
following two conditions:
1.
This device may not cause harmfulinterference, and
2. this device must accept any interference received, including
interference that may cause undesired
operation.
Any unauthorized modification to this
device could void the user’s authority to
operate the equipment.
i Canada only:
This device complies with RSS-210 of
Industry Canada. Operation is subject to
the following two conditions:
1. This device may not cause interference, and
2. this device must accept any interference received, including
interference that may cause undesired
operation of the device.
Any unauthorized modification to this
device could void the user’s authority to
operate the equipment.
Important notes on using KEYLESS-GO R
You can also use the SmartKey with
KEYLESS-GO like a normal SmartKey
(Y page 66).
R You can combine KEYLESS-GO functions
with normal SmartKey functions (e.g.
unlocking with KEYLESS-GO and locking
with button &).
R Always carry the SmartKey with you.
R Never store the SmartKey together with
-electronic
items such as a mobile phone
or another SmartKey
- metallic objects such as coins or metal
foil Doing so could impair the function of the
KEYLESS-GO system.
R To
lock or unlock the vehicle, the SmartKey
must be located outside the vehicle within
approximately 3 ft (1 m) of a door or the
trunk.
R If the SmartKey is positioned farther away
from the vehicle, the system may no longer
recognize the SmartKey. The vehicle
cannot be locked or the engine started via
the KEYLESS-GO system.
R If the SmartKey is removed from the vehicle
(e.g. if a passenger exits the vehicle with
the SmartKey)
-when pressing the KEYLESS-GO start/
stop button or trying to lock the vehicle
with the lock button on an outside door
handle the message Key Not
Detected appears in the multifunction
display
- with the engine running, the red message
Key Not Detected appears in the
multifunction display while driving off
Find the SmartKey or change its present
location immediately (e.g. place it on the
front passenger seat or insert it in shirt
pocket).
R If you have started the engine with the
KEYLESS-GO start/stop button, you can
turn it off again by
-pressing the KEYLESS-GO start/stop
button
- inserting the SmartKey into the starter
switch when the vehicle is at a standstill
and the automatic transmission is in park
position P
R The vehicle could be inadvertently
unlocked if the SmartKey is within 3 ft (1 m)
of the vehicle and
-an outside door handle is splashed with
water 68
Locking and unlocking
Controls in detail
219_AKB; 4; 54, en-US
d2ureepe,
Version: 2.11.8.1 2009-05-11T16:21:02+02:00 - Seite 68
Page 113 of 308

Press button
6
to answer a call
to dial8
to redial
~ to end a call
to reject an incoming call =
Press button
V
U
to select next or previous menu Press button briefly
&
*
to move within a menu
Within Audio/DVD
menu to
select previous or next track,
scene or stored station
Within Telephone menu to
switch to the phone book and
select a name or number Press and hold button
&
*
Within Audio/DVD
menu to
select previous or next track
with quick search or to select
previous or next station in
station list or wave band
Within Telephone menu to
start the quick search in the
phone book Depending on the selected menu, pressing
the buttons on the multifunction steering
wheel will alter what appears in the
multifunction display.
The information available in the multifunction
display is arranged in menus and
accompanying functions and submenus.
The individual functions are then found within
the relevant menu (radio or CD operations
under Audio/DVD
menu, for example).
These functions serve to call up relevant
information or to customize the settings for
your vehicle. It is helpful to think of the menus, and the
functions within each menu, as being
arranged in a circular pattern.
X
Press button V or U repeatedly to
pass through each menu one after the
other.
X Press button * or & repeatedly to
pass through each function display, one
after the other, in the current menu.
In the Settings menu, instead of functions,
you will find a number of submenus for calling
up and changing settings. For instructions on
using these submenus, see “Settings menu”
(Y page 118).
The number of menus available in the system
depends on which optional equipment is
installed in your vehicle. Multifunction display
:
Outside temperature indicator
; Trip odometer
= Automatic transmission program mode
indicator
? Transmission position/gear range
indicator
A Main odometer
For more information on menus displayed in
the multifunction display, see “Menus and
submenus” (Y page 112).
8 Function only available in telephone menu. Control system
111Controls in detail
219_AKB; 4; 54, en-US
d2ureepe, Version: 2.11.8.1 2009-05-11T16:21:02+02:00 - Seite 111 Z
Page 114 of 308

Menus and submenus
i
The headings used in the menus table are
designed to facilitate navigation within the
system and are not necessarily identical to
those shown in the multifunction display.
The first function displayed in each menu
will automatically show you which part of
the system you are in. Function
:
Standard display
menu
(Y page 112) ;
AMG
9
menu (Y page 113) =
Audio/DVD
menu (Y page 116) ?
Navigation menu (Y page 117)
A
Distronic
menu (Y page 117) B
Vehicle status message
memory
10
menu (Y page 117) C
Settings menu (Y page 118) Function
D
Trip computer
menu (Y page 124) E
Telephone
menu (Y page 125) Standard display menu
You can select whether the digital
speedometer or the outside temperature
appears in the standard display
(Y page 120). Standard display
:
Basic display with outside temperature
; Trip odometer
9 AMG vehicles only.
10 The vehicle status message memory menu is only displayed if there is a message stored. 112
Control systemControls in detail
219_AKB; 4; 54, en-US
d2ureepe,
Version: 2.11.8.1 2009-05-11T16:21:02+02:00 - Seite 112
Page 127 of 308
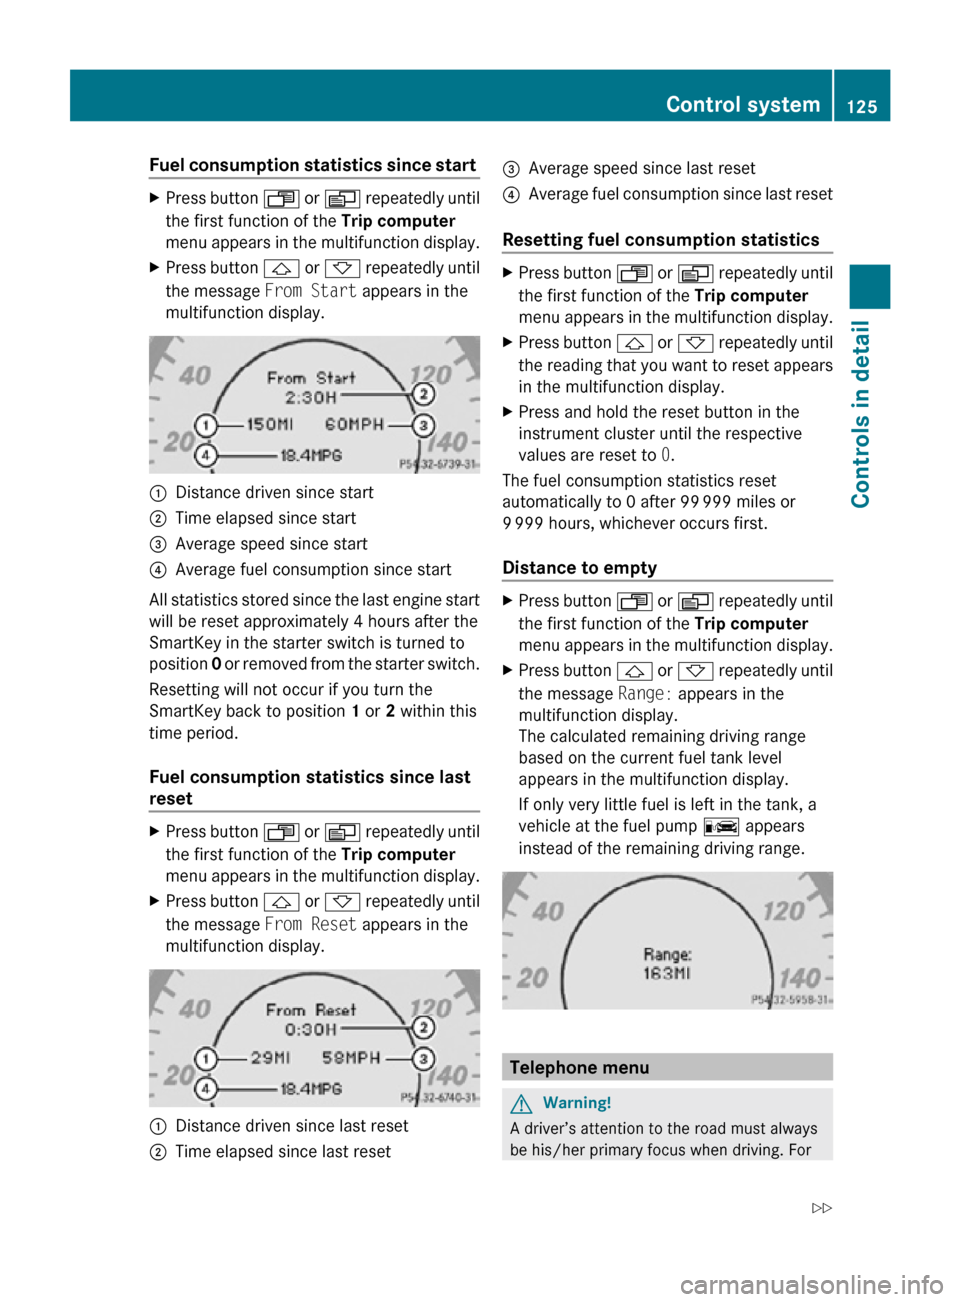
Fuel consumption statistics since start
X
Press button U or V repeatedly until
the first function of the Trip computer
menu appears in the multifunction display.
X Press button & or * repeatedly until
the message From Start appears in the
multifunction display. :
Distance driven since start
; Time elapsed since start
= Average speed since start
? Average fuel consumption since start
All statistics stored since the last engine start
will be reset approximately 4 hours after the
SmartKey in the starter switch is turned to
position 0 or removed from the starter switch.
Resetting will not occur if you turn the
SmartKey back to position 1 or 2 within this
time period.
Fuel consumption statistics since last
reset X
Press button U or V repeatedly until
the first function of the Trip computer
menu appears in the multifunction display.
X Press button & or * repeatedly until
the message From Reset appears in the
multifunction display. :
Distance driven since last reset
; Time elapsed since last reset =
Average speed since last reset
? Average fuel consumption since last reset
Resetting fuel consumption statistics X
Press button U or V repeatedly until
the first function of the Trip computer
menu appears in the multifunction display.
X Press button & or * repeatedly until
the reading that you want to reset appears
in the multifunction display.
X Press and hold the reset button in the
instrument cluster until the respective
values are reset to 0.
The fuel consumption statistics reset
automatically to 0 after 99 999 miles or
9 999 hours, whichever occurs first.
Distance to empty X
Press button U or V repeatedly until
the first function of the Trip computer
menu appears in the multifunction display.
X Press button & or * repeatedly until
the message Range: appears in the
multifunction display.
The calculated remaining driving range
based on the current fuel tank level
appears in the multifunction display.
If only very little fuel is left in the tank, a
vehicle at the fuel pump C appears
instead of the remaining driving range. Telephone menu
G
Warning!
A driver’s attention to the road must always
be his/her primary focus when driving. For Control system
125Controls in detail
219_AKB; 4; 54, en-US
d2ureepe, Version: 2.11.8.1 2009-05-11T16:21:02+02:00 - Seite 125 Z
Page 128 of 308
your safety and the safety of others, we
recommend that you pull over to a safe
location and stop before placing or taking a
telephone call. If you choose to use the
telephone while driving, please use the hands-
free device and only use the telephone when
weather, road and traffic conditions permit.
Some jurisdictions prohibit the driver from
using a mobile phone while driving a vehicle.
Bear in mind that at a speed of just 30 mph
(approximately 50 km/h), your vehicle is
covering a distance of 44 feet (approximately
14 m) every second.
You can connect your telephone to the
COMAND system via Bluetooth ®
, see
separate COMAND system operating
instructions.
X Switch on the COMAND system.
Refer to separate COMAND system
operating instructions.
X Press button U or V repeatedly until
the message TEL appears in the
multifunction display.
One of the following messages will appear
in the multifunction display:
R No Service: No network is available.
R Bluetooth Ready: The telephone has
not been connected to the COMAND
system via Bluetooth ®
yet.
X Connect the telephone to the
COMAND system via Bluetooth ®
.
R Ready or name of the network provider
(if available): The telephone has found a
network and is ready for use. You can
operate it using the control system.
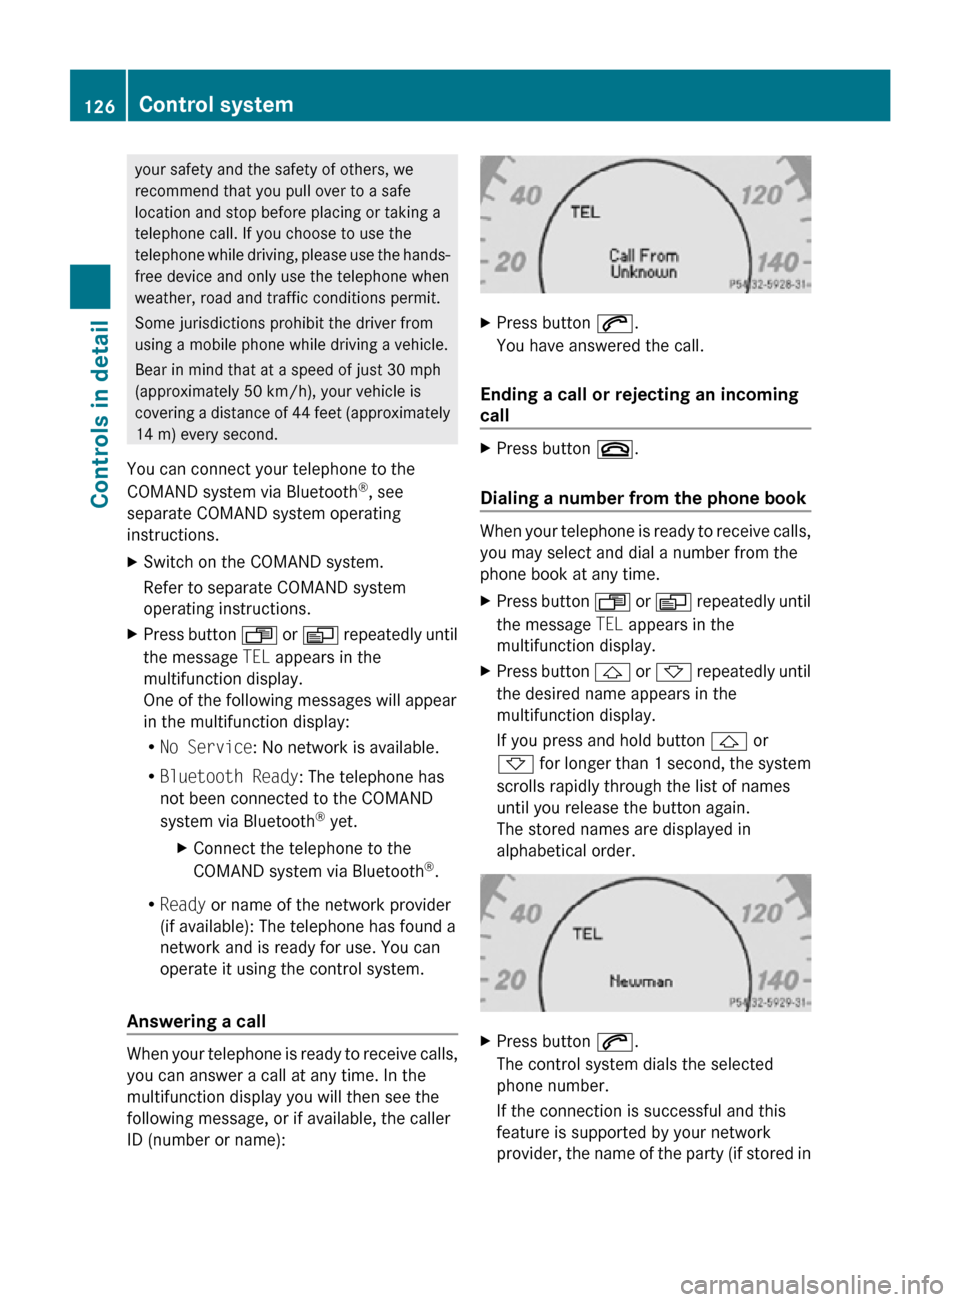
Answering a call When your telephone is ready to receive calls,
you can answer a call at any time. In the
multifunction display you will then see the
following message, or if available, the caller
ID (number or name): X
Press button 6.
You have answered the call.
Ending a call or rejecting an incoming
call X
Press button ~.
Dialing a number from the phone book When your telephone is ready to receive calls,
you may select and dial a number from the
phone book at any time.
X
Press button U or V repeatedly until
the message TEL appears in the
multifunction display.
X Press button & or * repeatedly until
the desired name appears in the
multifunction display.
If you press and hold button & or
* for longer than 1 second, the system
scrolls rapidly through the list of names
until you release the button again.
The stored names are displayed in
alphabetical order. X
Press button 6.
The control system dials the selected
phone number.
If the connection is successful and this
feature is supported by your network
provider, the name of the party (if stored in 126
Control systemControls in detail
219_AKB; 4; 54, en-US
d2ureepe,
Version: 2.11.8.1 2009-05-11T16:21:02+02:00 - Seite 126
Page 129 of 308
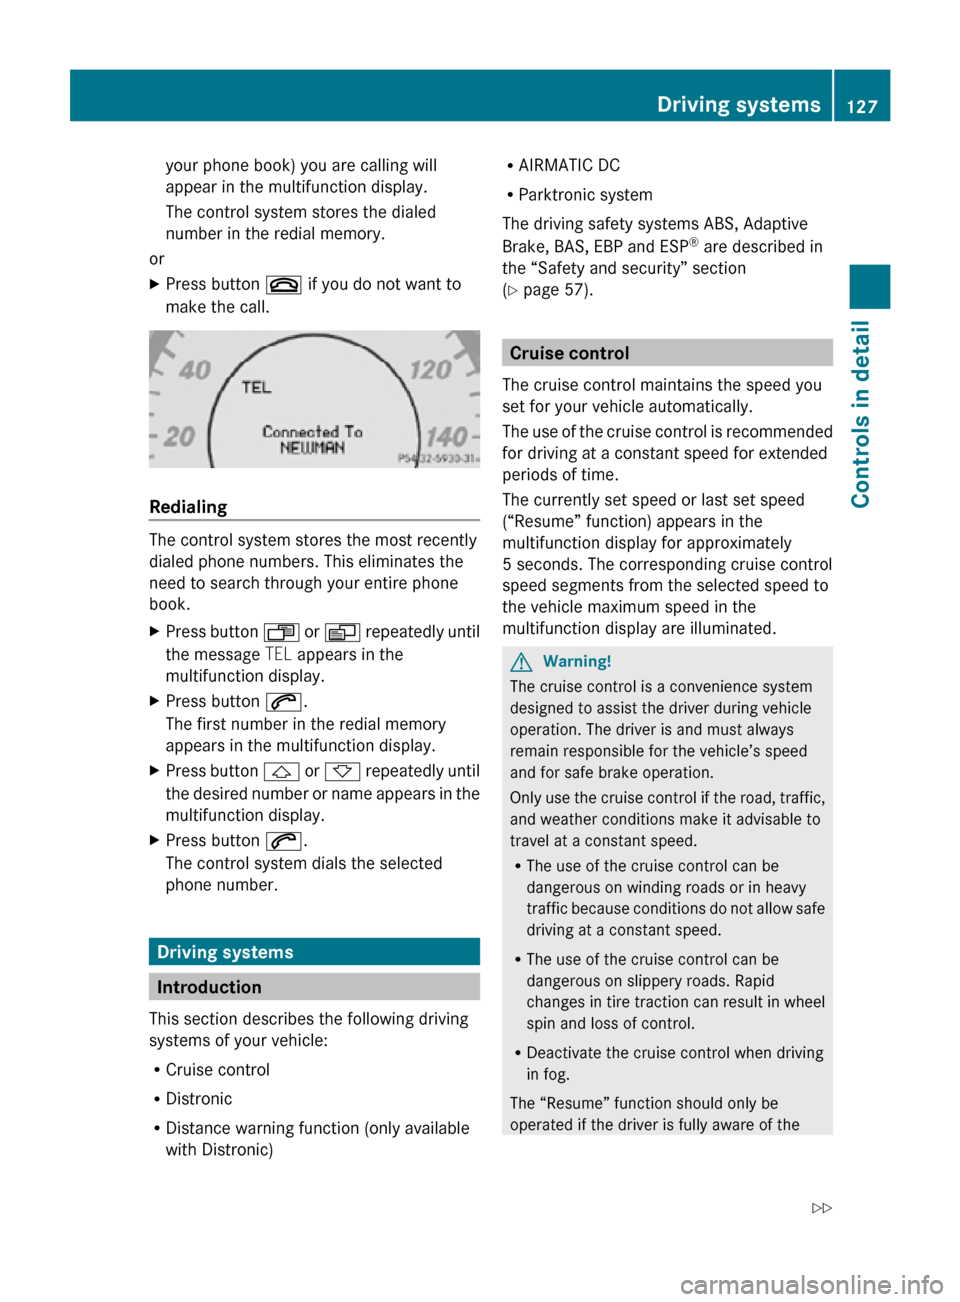
your phone book) you are calling will
appear in the multifunction display.
The control system stores the dialed
number in the redial memory.
or
X Press button ~ if you do not want to
make the call. Redialing
The control system stores the most recently
dialed phone numbers. This eliminates the
need to search through your entire phone
book.
X
Press button U or V repeatedly until
the message TEL appears in the
multifunction display.
X Press button 6.
The first number in the redial memory
appears in the multifunction display.
X Press button & or * repeatedly until
the desired number or name appears in the
multifunction display.
X Press button 6.
The control system dials the selected
phone number. Driving systems
Introduction
This section describes the following driving
systems of your vehicle:
R Cruise control
R Distronic
R Distance warning function (only available
with Distronic) R
AIRMATIC DC
R Parktronic system
The driving safety systems ABS, Adaptive
Brake, BAS, EBP and ESP ®
are described in
the “Safety and security” section
(Y page 57). Cruise control
The cruise control maintains the speed you
set for your vehicle automatically.
The use of the cruise control is recommended
for driving at a constant speed for extended
periods of time.
The currently set speed or last set speed
(“Resume” function) appears in the
multifunction display for approximately
5 seconds. The corresponding cruise control
speed segments from the selected speed to
the vehicle maximum speed in the
multifunction display are illuminated. G
Warning!
The cruise control is a convenience system
designed to assist the driver during vehicle
operation. The driver is and must always
remain responsible for the vehicle’s speed
and for safe brake operation.
Only use the cruise control if the road, traffic,
and weather conditions make it advisable to
travel at a constant speed.
R The use of the cruise control can be
dangerous on winding roads or in heavy
traffic because conditions do not allow safe
driving at a constant speed.
R The use of the cruise control can be
dangerous on slippery roads. Rapid
changes in tire traction can result in wheel
spin and loss of control.
R Deactivate the cruise control when driving
in fog.
The “Resume” function should only be
operated if the driver is fully aware of the Driving systems
127Controls in detail
219_AKB; 4; 54, en-US
d2ureepe, Version: 2.11.8.1 2009-05-11T16:21:02+02:00 - Seite 127 Z
Page 165 of 308
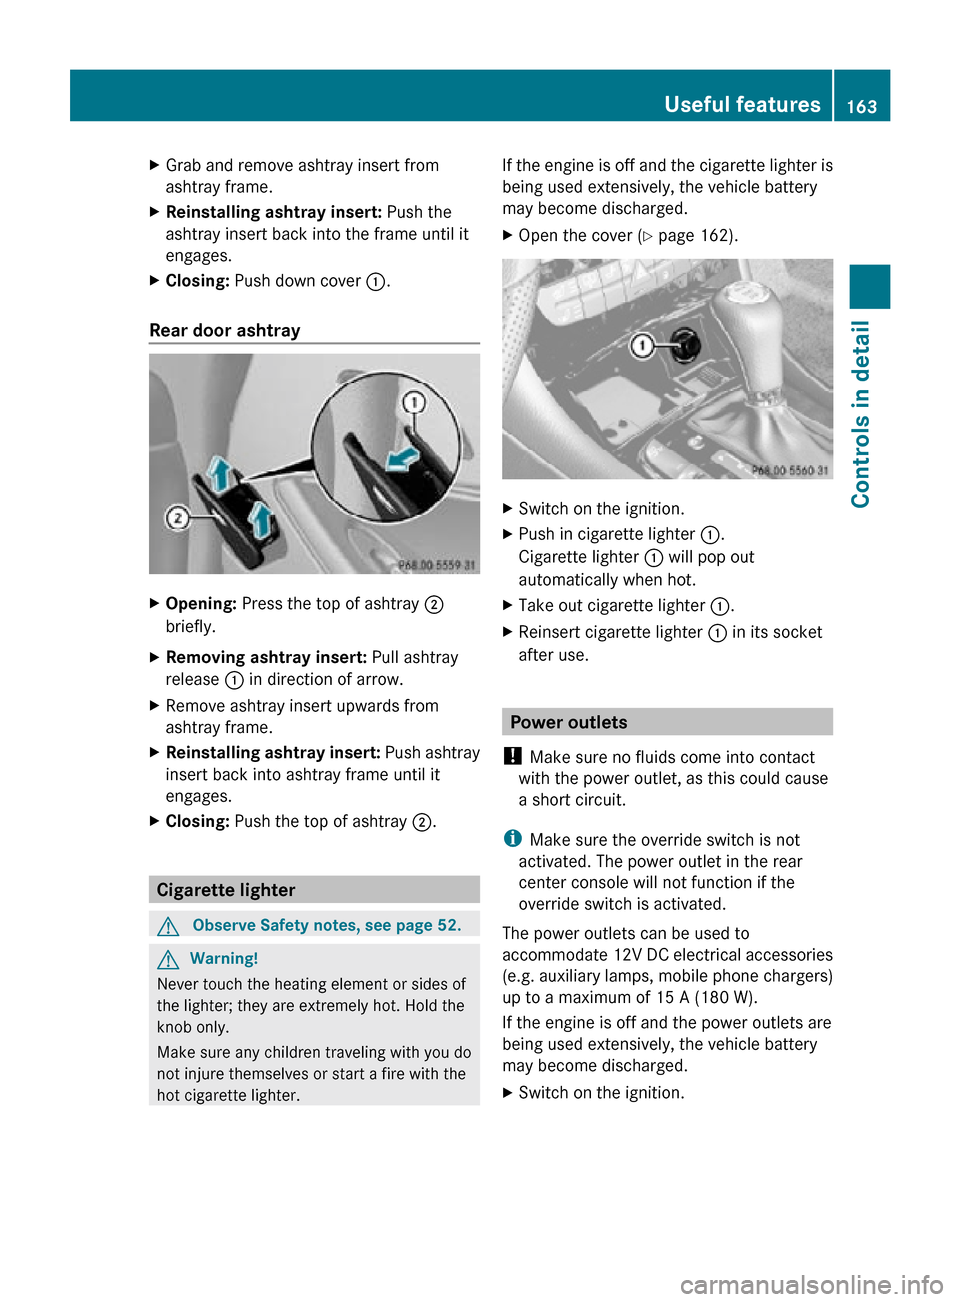
X
Grab and remove ashtray insert from
ashtray frame.
X Reinstalling ashtray insert: Push the
ashtray insert back into the frame until it
engages.
X Closing: Push down cover :.
Rear door ashtray X
Opening: Press the top of ashtray ;
briefly.
X Removing ashtray insert: Pull ashtray
release : in direction of arrow.
X Remove ashtray insert upwards from
ashtray frame.
X Reinstalling ashtray insert: Push ashtray
insert back into ashtray frame until it
engages.
X Closing: Push the top of ashtray ;.Cigarette lighter
G
Observe Safety notes, see page 52. G
Warning!
Never touch the heating element or sides of
the lighter; they are extremely hot. Hold the
knob only.
Make sure any children traveling with you do
not injure themselves or start a fire with the
hot cigarette lighter. If the engine is off and the cigarette lighter is
being used extensively, the vehicle battery
may become discharged.
X
Open the cover ( Y page 162). X
Switch on the ignition.
X Push in cigarette lighter :.
Cigarette lighter : will pop out
automatically when hot.
X Take out cigarette lighter :.
X Reinsert cigarette lighter : in its socket
after use. Power outlets
! Make sure no fluids come into contact
with the power outlet, as this could cause
a short circuit.
i Make sure the override switch is not
activated. The power outlet in the rear
center console will not function if the
override switch is activated.
The power outlets can be used to
accommodate 12V DC electrical accessories
(e.g. auxiliary lamps, mobile phone chargers)
up to a maximum of 15 A (180 W).
If the engine is off and the power outlets are
being used extensively, the vehicle battery
may become discharged.
X Switch on the ignition. Useful features
163Controls in detail
219_AKB; 4; 54, en-US
d2ureepe, Version: 2.11.8.1 2009-05-11T16:21:02+02:00 - Seite 163 Z
Page 166 of 308
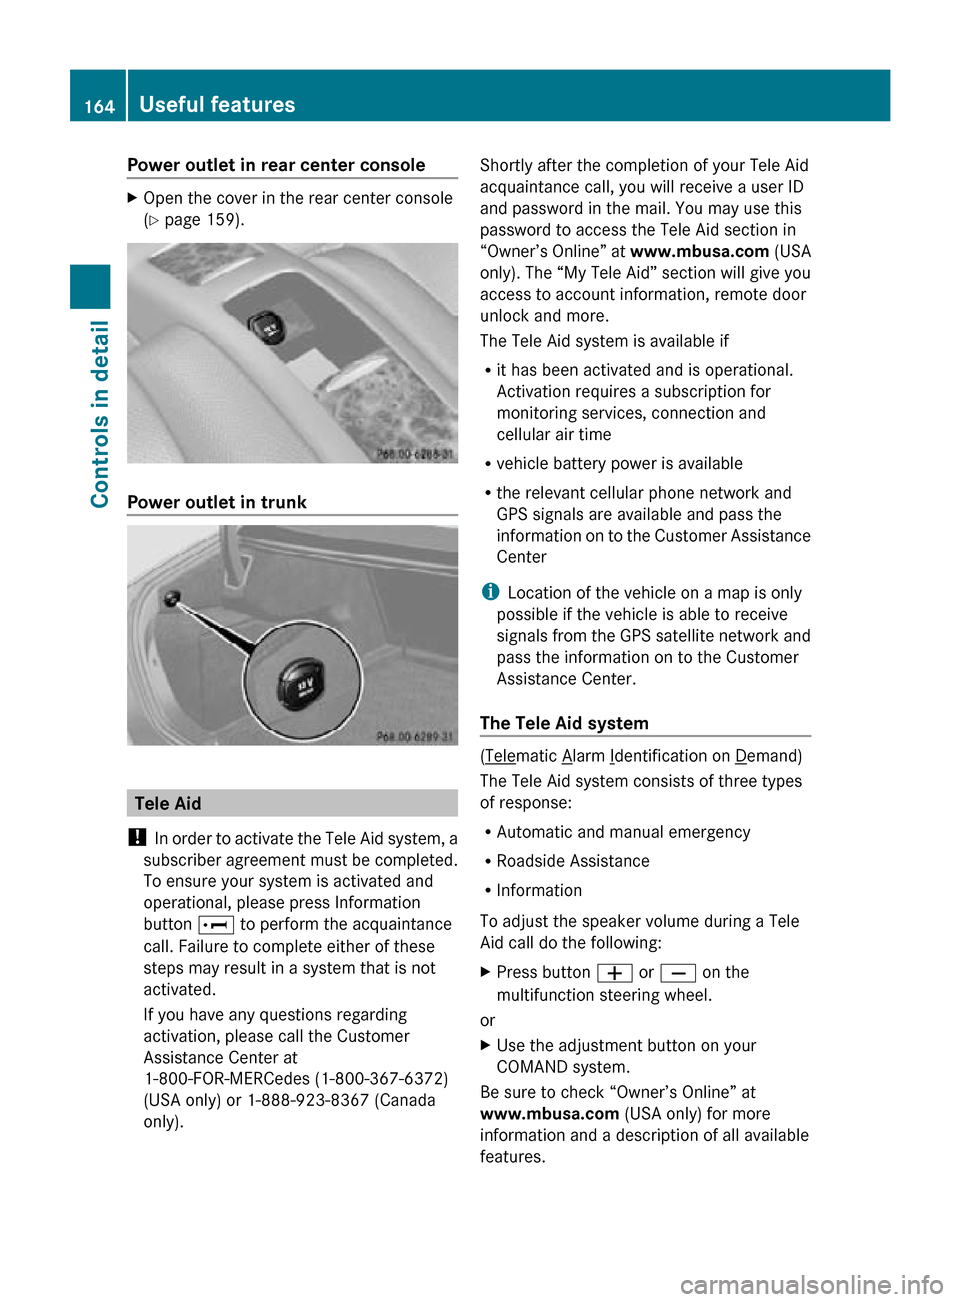
Power outlet in rear center console
X
Open the cover in the rear center console
(Y page 159). Power outlet in trunk
Tele Aid
! In order to activate the Tele Aid system, a
subscriber agreement must be completed.
To ensure your system is activated and
operational, please press Information
button E to perform the acquaintance
call. Failure to complete either of these
steps may result in a system that is not
activated.
If you have any questions regarding
activation, please call the Customer
Assistance Center at
1-800-FOR-MERCedes (1-800-367-6372)
(USA only) or 1-888-923-8367 (Canada
only). Shortly after the completion of your Tele Aid
acquaintance call, you will receive a user ID
and password in the mail. You may use this
password to access the Tele Aid section in
“Owner’s Online” at
www.mbusa.com (USA
only). The “My Tele Aid” section will give you
access to account information, remote door
unlock and more.
The Tele Aid system is available if
R it has been activated and is operational.
Activation requires a subscription for
monitoring services, connection and
cellular air time
R vehicle battery power is available
R the relevant cellular phone network and
GPS signals are available and pass the
information on to the Customer Assistance
Center
i Location of the vehicle on a map is only
possible if the vehicle is able to receive
signals from the GPS satellite network and
pass the information on to the Customer
Assistance Center.
The Tele Aid system ( Telematic Alarm Identification on Demand)
The Tele Aid system consists of three types
of response:
R Automatic and manual emergency
R Roadside Assistance
R Information
To adjust the speaker volume during a Tele
Aid call do the following:
X Press button W or X on the
multifunction steering wheel.
or
X Use the adjustment button on your
COMAND system.
Be sure to check “Owner’s Online” at
www.mbusa.com (USA only) for more
information and a description of all available
features. 164
Useful featuresControls in detail
219_AKB; 4; 54, en-US
d2ureepe,
Version: 2.11.8.1 2009-05-11T16:21:02+02:00 - Seite 164