Page 46 of 285
TURN SIGNAL CONTROL
•Push down to activate the left
turn signal.
•Push up to activate the right turn
signal.
INTERIOR LAMPS
Map/courtesy lamps
To turn on the map lamps, press the
map lamp control.
Rear courtesy/reading lamps
The courtesy lamp lights when:
•the rocker control is pressed.
•any door is opened.
•any of the remote entry controls
are pressed and the ignition is
off.
BULB REPLACEMENT
Lamp assembly condensation
Exterior lamps are vented to accommodate normal changes in pressure.
Condensation can be a natural by-product of this design. When moist air
enters the lamp assembly through the vents, there is a possibility that
condensation can occur when the temperature is cold. When normal
condensation occurs, a thin film of mist can form on the interior of the
Lights
46
2010 Town Car(tow)
Owners Guide, 1st Printing
USA(fus)
Page 56 of 285
REAR CENTER CONSOLE FEATURES (IF EQUIPPED)
The rear center console incorporates the following features:
•Utility compartment
•Auxiliary power point (if equipped)
•Remote radio/climate controls (if equipped)
•Remote seat adjustment (if equipped)
Remote seat adjustment
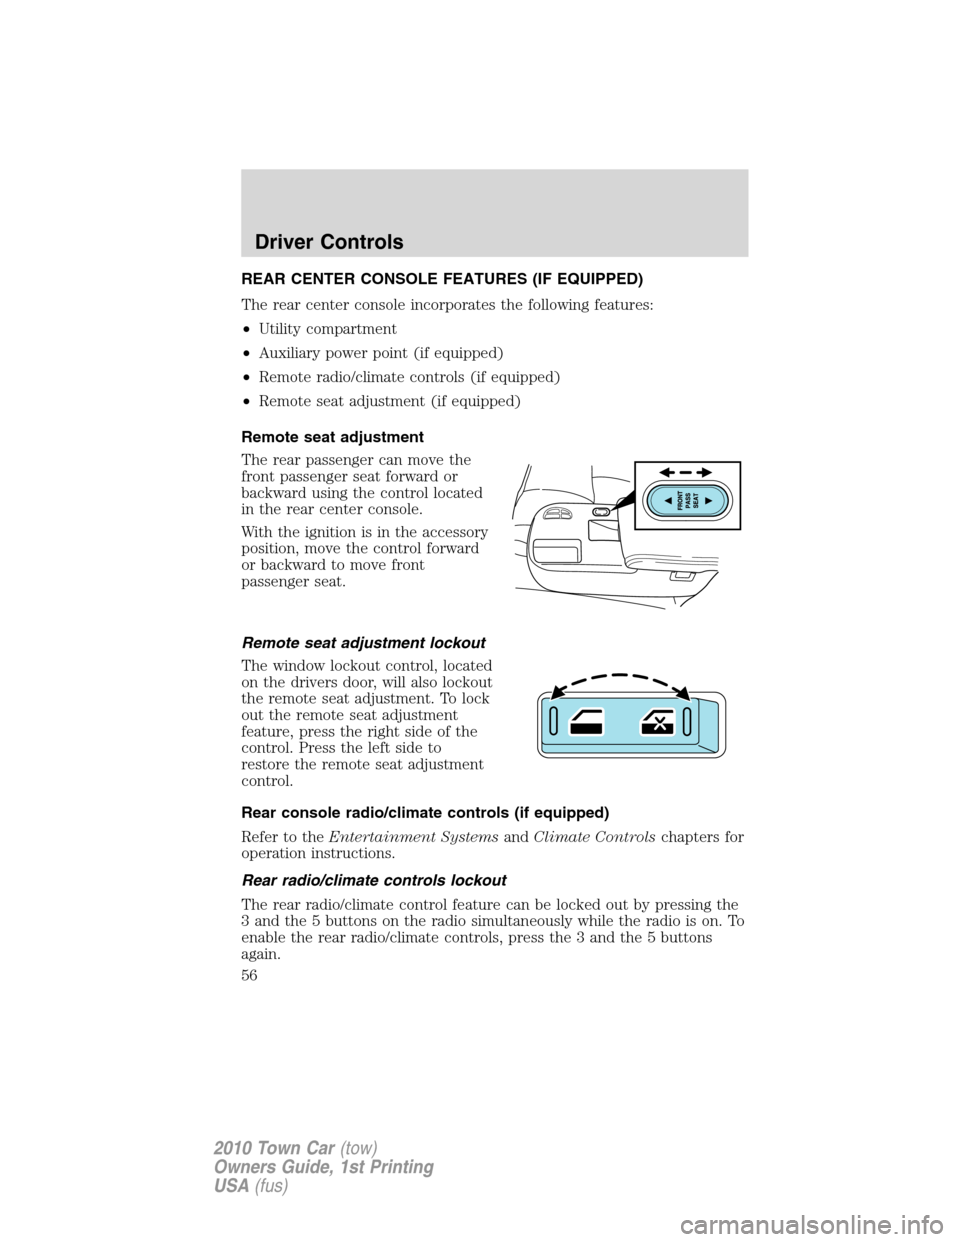
The rear passenger can move the
front passenger seat forward or
backward using the control located
in the rear center console.
With the ignition is in the accessory
position, move the control forward
or backward to move front
passenger seat.
Remote seat adjustment lockout
The window lockout control, located
on the drivers door, will also lockout
the remote seat adjustment. To lock
out the remote seat adjustment
feature, press the right side of the
control. Press the left side to
restore the remote seat adjustment
control.
Rear console radio/climate controls (if equipped)
Refer to theEntertainment SystemsandClimate Controlschapters for
operation instructions.
Rear radio/climate controls lockout
The rear radio/climate control feature can be locked out by pressing the
3 and the 5 buttons on the radio simultaneously while the radio is on. To
enable the rear radio/climate controls, press the 3 and the 5 buttons
again.
Driver Controls
56
2010 Town Car(tow)
Owners Guide, 1st Printing
USA(fus)
Page 59 of 285
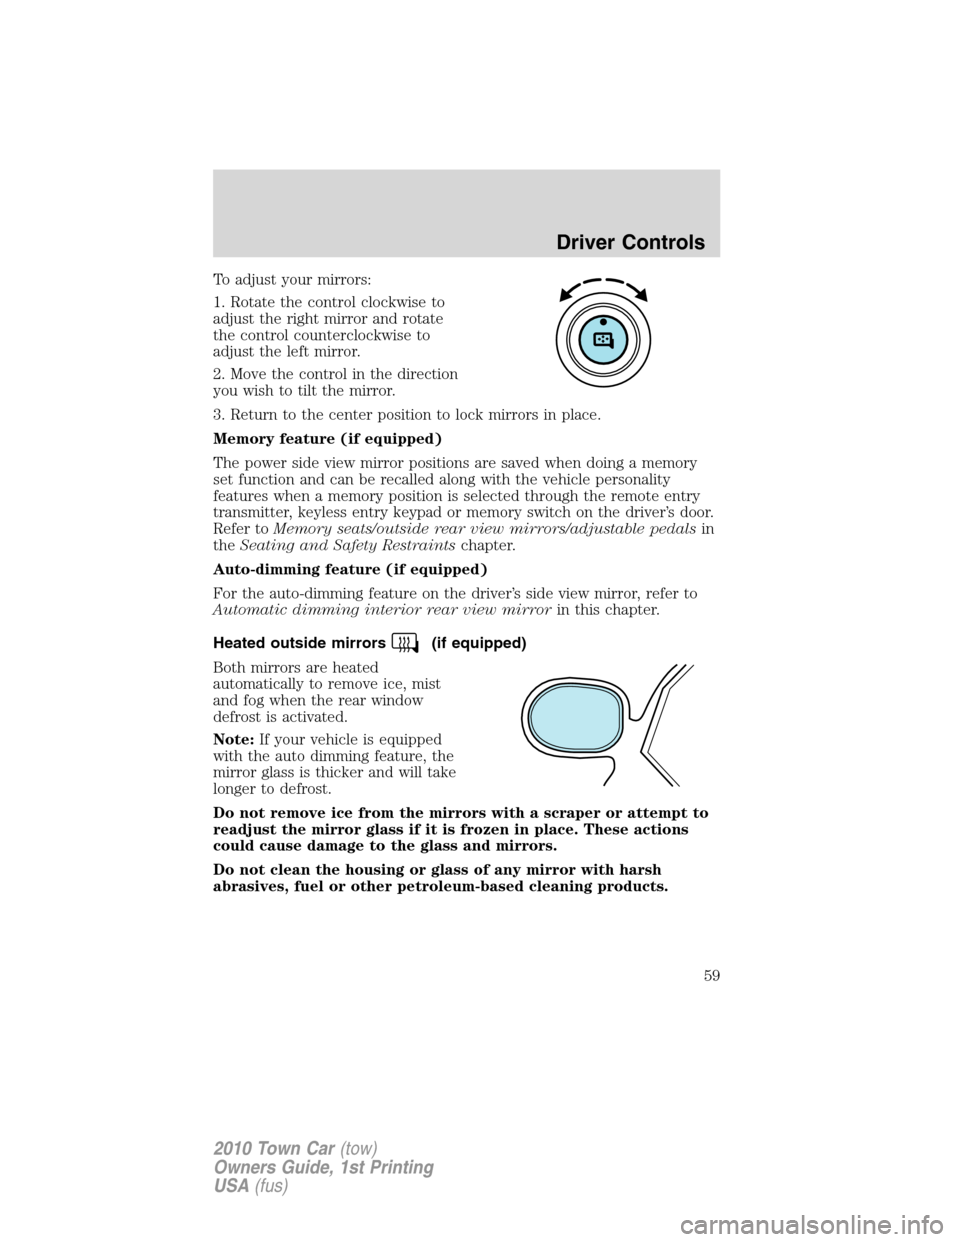
To adjust your mirrors:
1. Rotate the control clockwise to
adjust the right mirror and rotate
the control counterclockwise to
adjust the left mirror.
2. Move the control in the direction
you wish to tilt the mirror.
3. Return to the center position to lock mirrors in place.
Memory feature (if equipped)
The power side view mirror positions are saved when doing a memory
set function and can be recalled along with the vehicle personality
features when a memory position is selected through the remote entry
transmitter, keyless entry keypad or memory switch on the driver’s door.
Refer toMemory seats/outside rear view mirrors/adjustable pedalsin
theSeating and Safety Restraintschapter.
Auto-dimming feature (if equipped)
For the auto-dimming feature on the driver’s side view mirror, refer to
Automatic dimming interior rear view mirrorin this chapter.
Heated outside mirrors
(if equipped)
Both mirrors are heated
automatically to remove ice, mist
and fog when the rear window
defrost is activated.
Note:If your vehicle is equipped
with the auto dimming feature, the
mirror glass is thicker and will take
longer to defrost.
Do not remove ice from the mirrors with a scraper or attempt to
readjust the mirror glass if it is frozen in place. These actions
could cause damage to the glass and mirrors.
Do not clean the housing or glass of any mirror with harsh
abrasives, fuel or other petroleum-based cleaning products.
Driver Controls
59
2010 Town Car(tow)
Owners Guide, 1st Printing
USA(fus)
Page 68 of 285
Erasing HomeLink�buttons
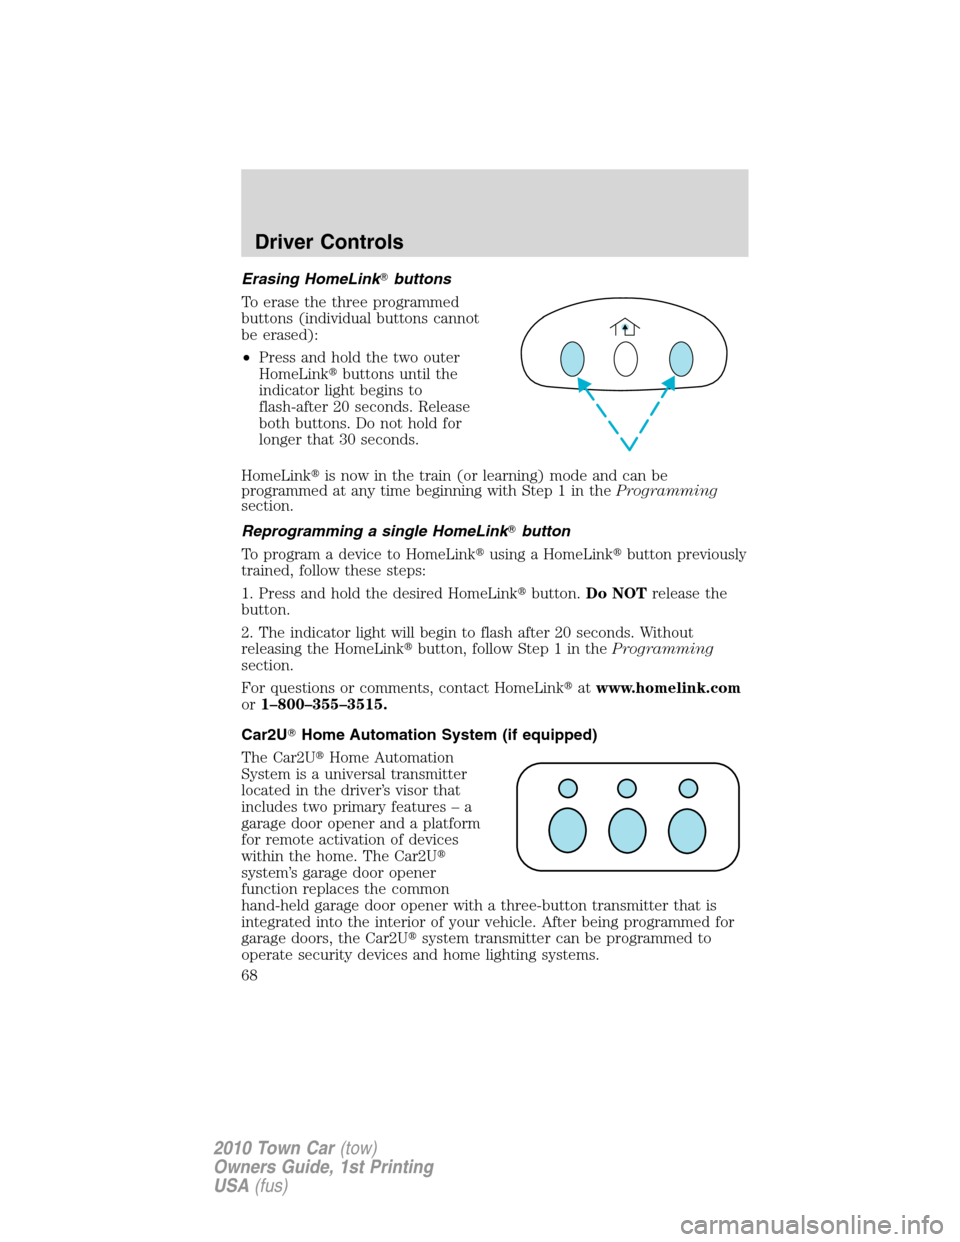
To erase the three programmed
buttons (individual buttons cannot
be erased):
•Press and hold the two outer
HomeLink�buttons until the
indicator light begins to
flash-after 20 seconds. Release
both buttons. Do not hold for
longer that 30 seconds.
HomeLink�is now in the train (or learning) mode and can be
programmed at any time beginning with Step 1 in theProgramming
section.
Reprogramming a single HomeLink�button
To program a device to HomeLink�using a HomeLink�button previously
trained, follow these steps:
1. Press and hold the desired HomeLink�button.Do NOTrelease the
button.
2. The indicator light will begin to flash after 20 seconds. Without
releasing the HomeLink�button, follow Step 1 in theProgramming
section.
For questions or comments, contact HomeLink�atwww.homelink.com
or1–800–355–3515.
Car2U�Home Automation System (if equipped)
The Car2U�Home Automation
System is a universal transmitter
located in the driver’s visor that
includes two primary features – a
garage door opener and a platform
for remote activation of devices
within the home. The Car2U�
system’s garage door opener
function replaces the common
hand-held garage door opener with a three-button transmitter that is
integrated into the interior of your vehicle. After being programmed for
garage doors, the Car2U�system transmitter can be programmed to
operate security devices and home lighting systems.
Driver Controls
68
2010 Town Car(tow)
Owners Guide, 1st Printing
USA(fus)
Page 69 of 285
WARNING:Make sure that people and objects are clear of the
garage door or security device you are programming. Do not
program the Car2U�system with the vehicle in the garage.
Do not use the Car2U�system with any garage door opener that lacks
safety stop and reverse features as required by U.S. Federal Safety
Standards (this includes any garage door opener manufactured before
April 1, 1982).
Be sure to keep the original remote control transmitter for use in other
vehicles as well as for future Car2U�system programming. It is also
recommended that upon the sale or lease termination of the vehicle, the
programmed Car2U�system buttons should be erased for security
reasons. Refer toErasing the Car2U�Home Automation System
buttonslater in this section.
Read the instructions completely before attempting to program the
Car2U�system. Because of the steps involved, it may be helpful to have
another person assist you in programming the transmitter.
Additional Car2U�system information can be found on-line at
www.learcar2U.com or by calling the toll-free Car2U�system help line at
1-866-572-2728.
Types of garage door openers (rolling code and fixed code)
The Car2U�Home Automation System may be programmed to operate
rolling code and fixed code garage door openers.
•Rolling code garage door openers were produced after 1996 and are
code protected. Rolling code means the coded signal is changed every
time your remote control garage door opener is used.
•Fixed code garage door openers were produced prior to 1996. Fixed
code uses the same coded signal every time. It is manually
programmed by setting DIP switches for a unique personal code.
Driver Controls
69
2010 Town Car(tow)
Owners Guide, 1st Printing
USA(fus)
Page 70 of 285
If you do not know if your garage
door opener is a rolling code or
fixed code device, open your garage
door opener’s remote control battery
cover. If a panel of DIP switches is
present your garage door opener is
a fixed code device. If not, your
garage door opener is a rolling code
device.
Rolling code programming
Note:Programming the rolling code garage door opener involves
time-sensitive actions. Read the entire procedure prior to beginning so
you will know which actions are time-sensitive. If you do not follow the
time-sensitive actions, the device will time out and you will have to
repeat the procedure.
Note:Do not program the Car2U�system with the vehicle in the garage.
Make sure that your key is on and engine off while programming the
transmitter.
1. Firmly press the two outer
Car2U�system buttons for
1–2 seconds, then release.
12
34
5
6789
1
01
1
1
2
C
TS
206-12
T
124
O
N
Driver Controls
70
2010 Town Car(tow)
Owners Guide, 1st Printing
USA(fus)
Page 75 of 285
If the battery is disconnected, discharged, or a new battery is installed,
the power trunk needs to be reset. To reset the power trunk:
•Reconnect the battery with the trunk closed
•Power activate the trunk with the power interior trunk release, the
key fob or the keypad on the door to the full open position, then
power activate the same power source and fully close the trunk. The
power trunk is now reset.
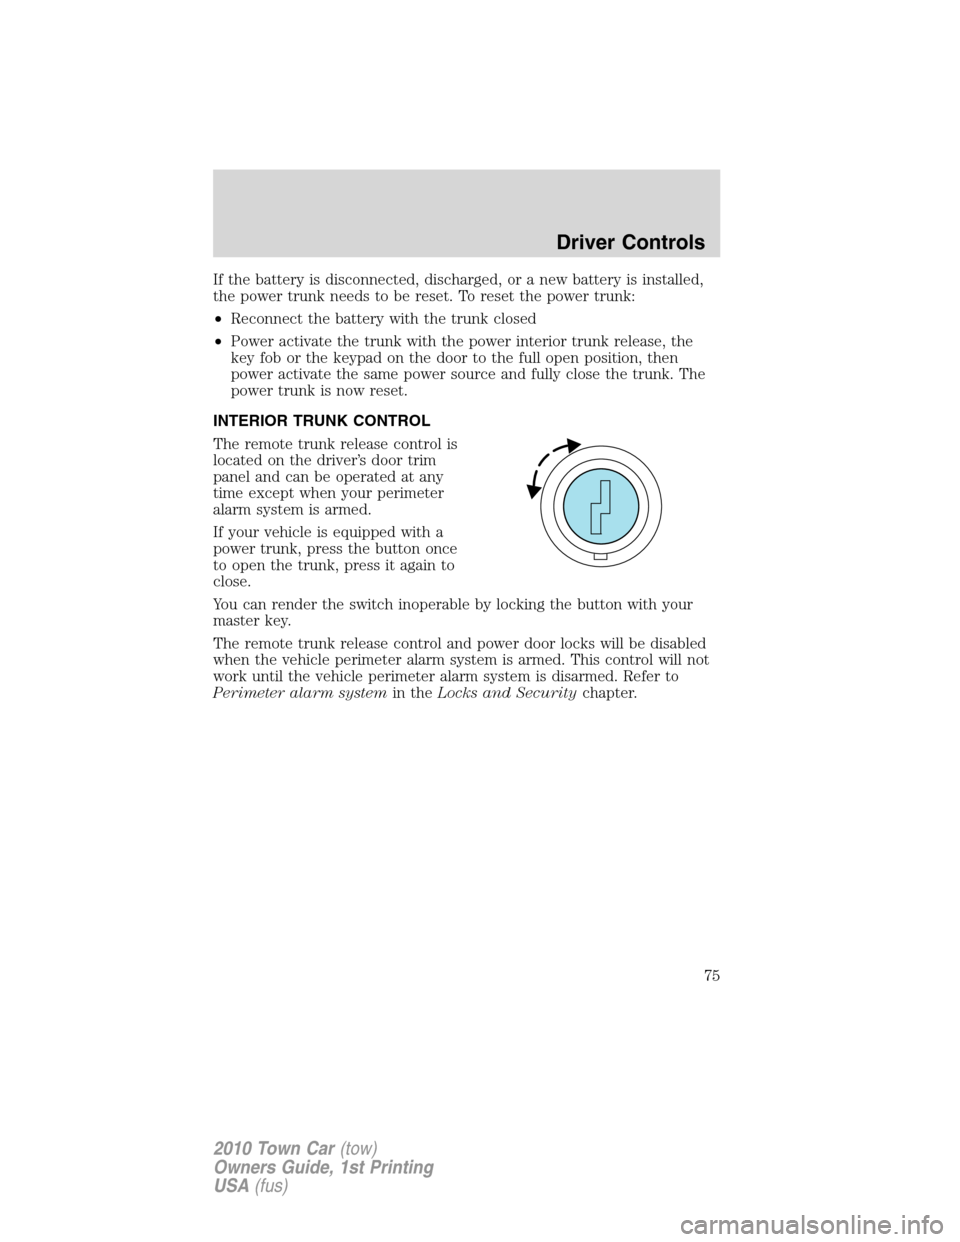
INTERIOR TRUNK CONTROL
The remote trunk release control is
located on the driver’s door trim
panel and can be operated at any
time except when your perimeter
alarm system is armed.
If your vehicle is equipped with a
power trunk, press the button once
to open the trunk, press it again to
close.
You can render the switch inoperable by locking the button with your
master key.
The remote trunk release control and power door locks will be disabled
when the vehicle perimeter alarm system is armed. This control will not
work until the vehicle perimeter alarm system is disarmed. Refer to
Perimeter alarm systemin theLocks and Securitychapter.
Driver Controls
75
2010 Town Car(tow)
Owners Guide, 1st Printing
USA(fus)
Page 76 of 285
FUEL DOOR RELEASE
Your vehicle is equipped with a
locking fuel door. To open the door,
press the control located on the
door.
Fuel filler door override release
If the remote release is inoperative,
open the trunk, then pull the
override release handle located
inside the trunk to open the fuel
filler door.
Driver Controls
76
2010 Town Car(tow)
Owners Guide, 1st Printing
USA(fus)