Page 13 of 285

WARNING:Under engine misfire conditions, excessive exhaust
temperatures could damage the catalytic converter, the fuel
system, interior floor coverings or other vehicle components, possibly
causing a fire.
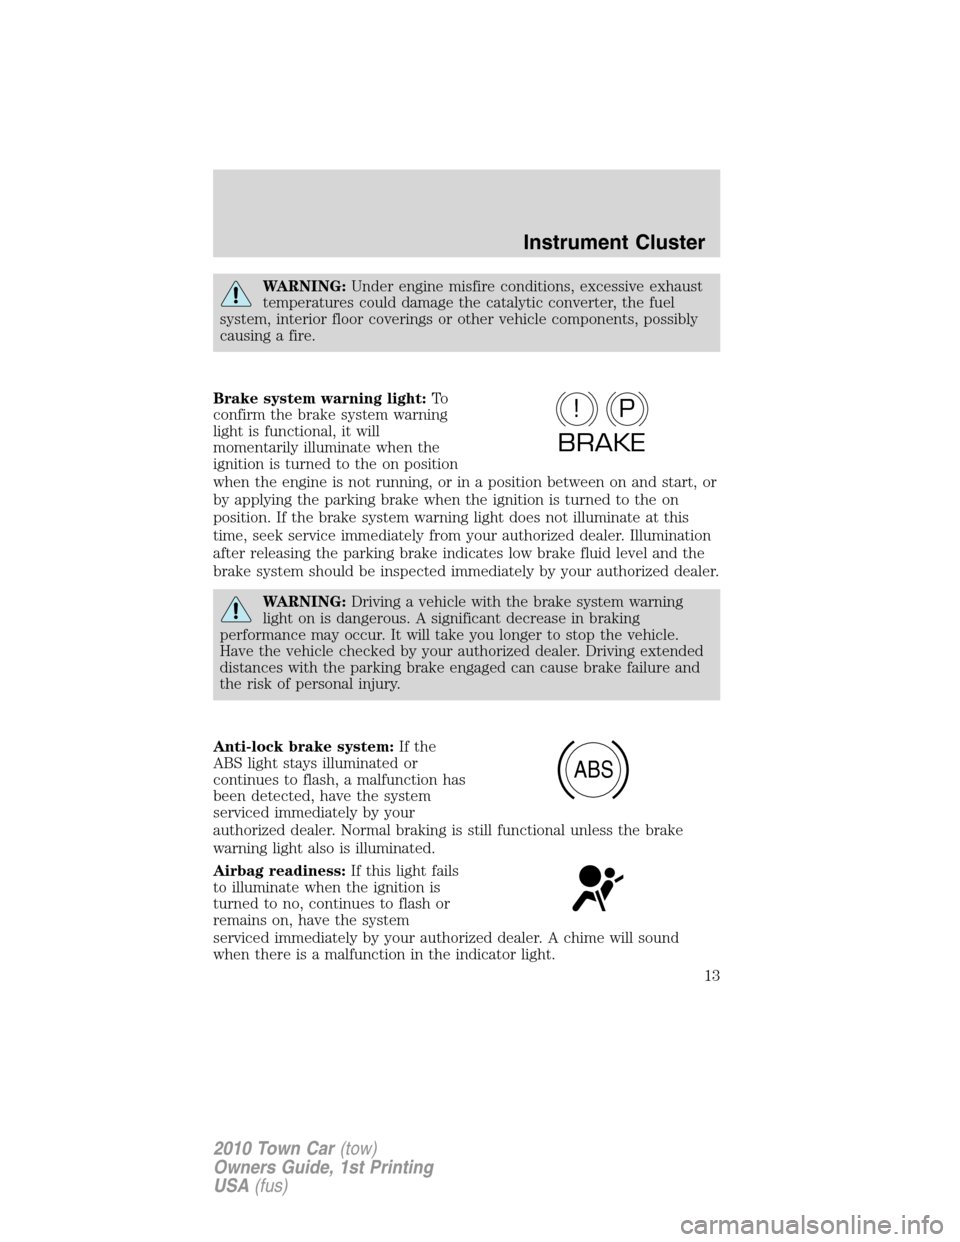
Brake system warning light:To
confirm the brake system warning
light is functional, it will
momentarily illuminate when the
ignition is turned to the on position
when the engine is not running, or in a position between on and start, or
by applying the parking brake when the ignition is turned to the on
position. If the brake system warning light does not illuminate at this
time, seek service immediately from your authorized dealer. Illumination
after releasing the parking brake indicates low brake fluid level and the
brake system should be inspected immediately by your authorized dealer.
WARNING:Driving a vehicle with the brake system warning
light on is dangerous. A significant decrease in braking
performance may occur. It will take you longer to stop the vehicle.
Have the vehicle checked by your authorized dealer. Driving extended
distances with the parking brake engaged can cause brake failure and
the risk of personal injury.
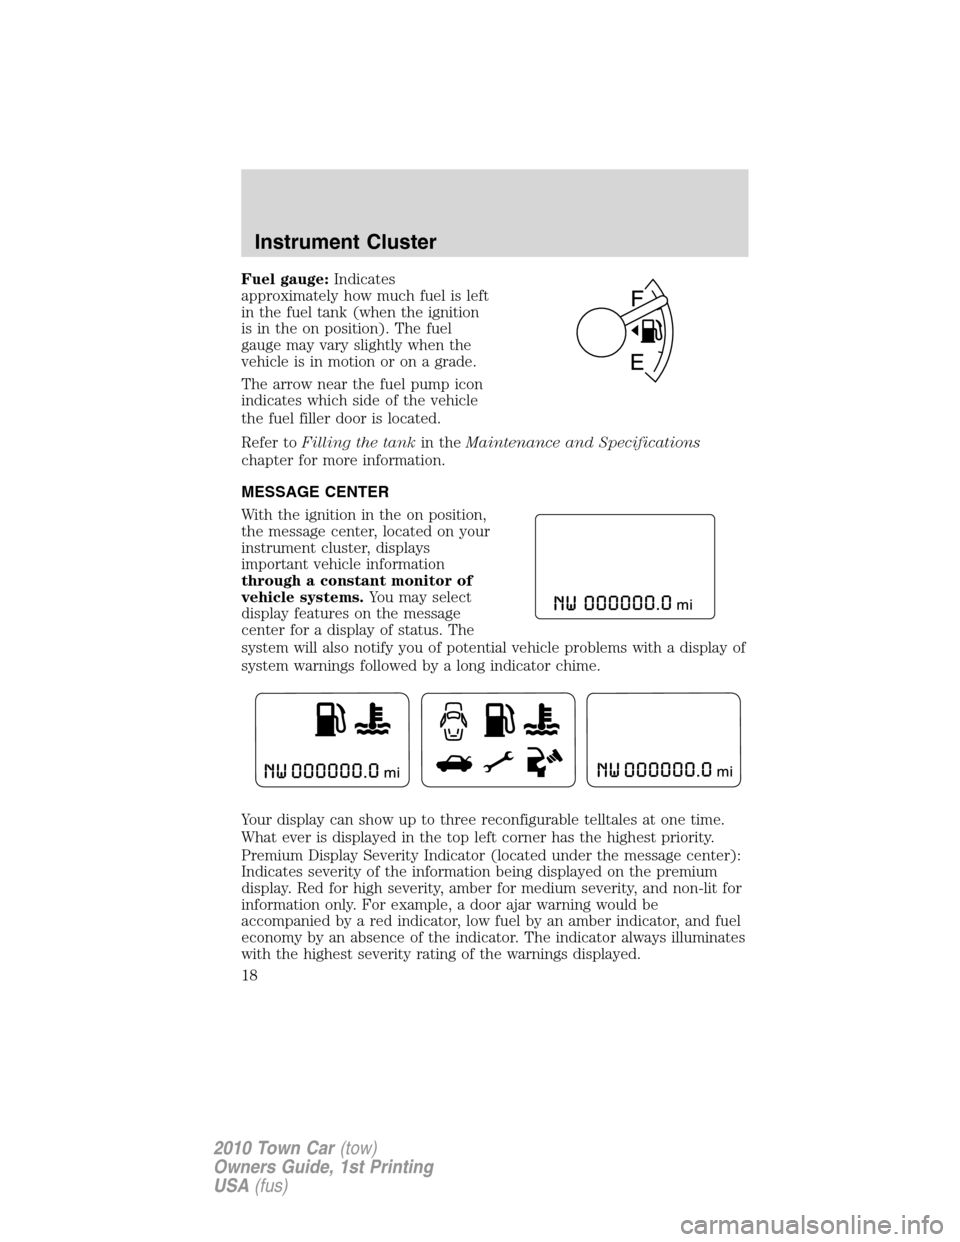
Anti-lock brake system:If the
ABS light stays illuminated or
continues to flash, a malfunction has
been detected, have the system
serviced immediately by your
authorized dealer. Normal braking is still functional unless the brake
warning light also is illuminated.
Airbag readiness:If this light fails
to illuminate when the ignition is
turned to no, continues to flash or
remains on, have the system
serviced immediately by your authorized dealer. A chime will sound
when there is a malfunction in the indicator light.
P!
BRAKE
ABS
Instrument Cluster
13
2010 Town Car(tow)
Owners Guide, 1st Printing
USA(fus)
Page 18 of 285

Fuel gauge:Indicates
approximately how much fuel is left
in the fuel tank (when the ignition
is in the on position). The fuel
gauge may vary slightly when the
vehicle is in motion or on a grade.
The arrow near the fuel pump icon
indicates which side of the vehicle
the fuel filler door is located.
Refer toFilling the tankin theMaintenance and Specifications
chapter for more information.
MESSAGE CENTER
With the ignition in the on position,
the message center, located on your
instrument cluster, displays
important vehicle information
through a constant monitor of
vehicle systems.You may select
display features on the message
center for a display of status. The
system will also notify you of potential vehicle problems with a display of
system warnings followed by a long indicator chime.
Your display can show up to three reconfigurable telltales at one time.
What ever is displayed in the top left corner has the highest priority.
Premium Display Severity Indicator (located under the message center):
Indicates severity of the information being displayed on the premium
display. Red for high severity, amber for medium severity, and non-lit for
information only. For example, a door ajar warning would be
accompanied by a red indicator, low fuel by an amber indicator, and fuel
economy by an absence of the indicator. The indicator always illuminates
with the highest severity rating of the warnings displayed.
Instrument Cluster
18
2010 Town Car(tow)
Owners Guide, 1st Printing
USA(fus)
Page 52 of 285
Replacing backup lamp bulbs
1. Make sure the headlamp switch is
in the off position, then open the
trunk and carefully pull the trunk lid
liner away to expose the lamp
assembly.
2. Remove bulb socket from the
trunk lid by turning it
counterclockwise.
3. Pull the bulb straight out of the
socket and push in the new bulb.
4. Install the bulb socket in trunk lid by turning clockwise.
Replacing high-mount brakelamp assembly
To change the high-mount
brakelamp assembly:
1. Remove the high-mount
brakelamp assembly from the
headliner by pulling downward on
the assembly.
2. Disconnect the electrical
connector and remove the assembly.
3. Install the new assembly by aligning the tabs and pushing upward until
it snaps in place.
Lights
52
2010 Town Car(tow)
Owners Guide, 1st Printing
USA(fus)
Page 184 of 285

•Be sure that the engine block heater, heater cord and extension cord
are solidly connected. A poor connection can cause the cord to
become very hot and may result in an electrical shock or fire. Be sure
to check for heat anywhere in the electrical hookup once the system
has been operating for approximately a half hour.
•Finally, have the engine block heater system checked during your fall
tune-up to be sure it’s in good working order.
How to use the engine block heater
Ensure the receptacle terminals are clean and dry prior to use. To clean
them, use a dry cloth.
Depending on the type of factory installed equipment, your engine block
heater will use .4 to 1.0 kilowatt-hours of energy per hour of use. Your
factory installed block heater system does not have a thermostat;
however, maximum temperature is attained after approximately three
hours of operation. Block heater operation longer than three hours will
not improve system performance and will unnecessarily use additional
electricity.
Make sure system is unplugged and properly stowed before driving the
vehicle. While not in use, make sure the protective cover seals the
prongs of the engine block heater cord plug.
BRAKES
Occasional brake noise is normal. If a metal-to-metal, continuous grinding
or continuous squeal sound is present, the brake linings may be worn-out
and should be inspected by an authorized dealer. If the vehicle has
continuous vibration or shudder in the steering wheel while braking, the
vehicle should be inspected by an authorized dealer.
Refer toWarning lights and
chimesin theInstrument Cluster
chapter for information on the brake
system warning light.
Four-wheel anti-lock brake system (ABS)
Your vehicle is equipped with an Anti-lock braking system (ABS). This
system helps you maintain steering control during emergency stops by
keeping the brakes from locking. Noise from the ABS pump motor and
brake pedal pulsation may be observed during ABS braking and the
brake pedal may suddenly travel a little farther as soon as ABS braking is
done and normal brake operation resumes. These are normal
characteristics of the ABS and should be no reason for concern.
P!
BRAKE
Driving
184
2010 Town Car(tow)
Owners Guide, 1st Printing
USA(fus)
Page 185 of 285

Using ABS
When hard braking is required, apply continuous force on the brake
pedal; do not pump the brake pedal since this will reduce the
effectiveness of the ABS and will increase your vehicle’s stopping
distance. The ABS will be activated immediately, allowing you to retain
steering control during hard braking and on slippery surfaces. However,
the ABS does not decrease stopping distance.
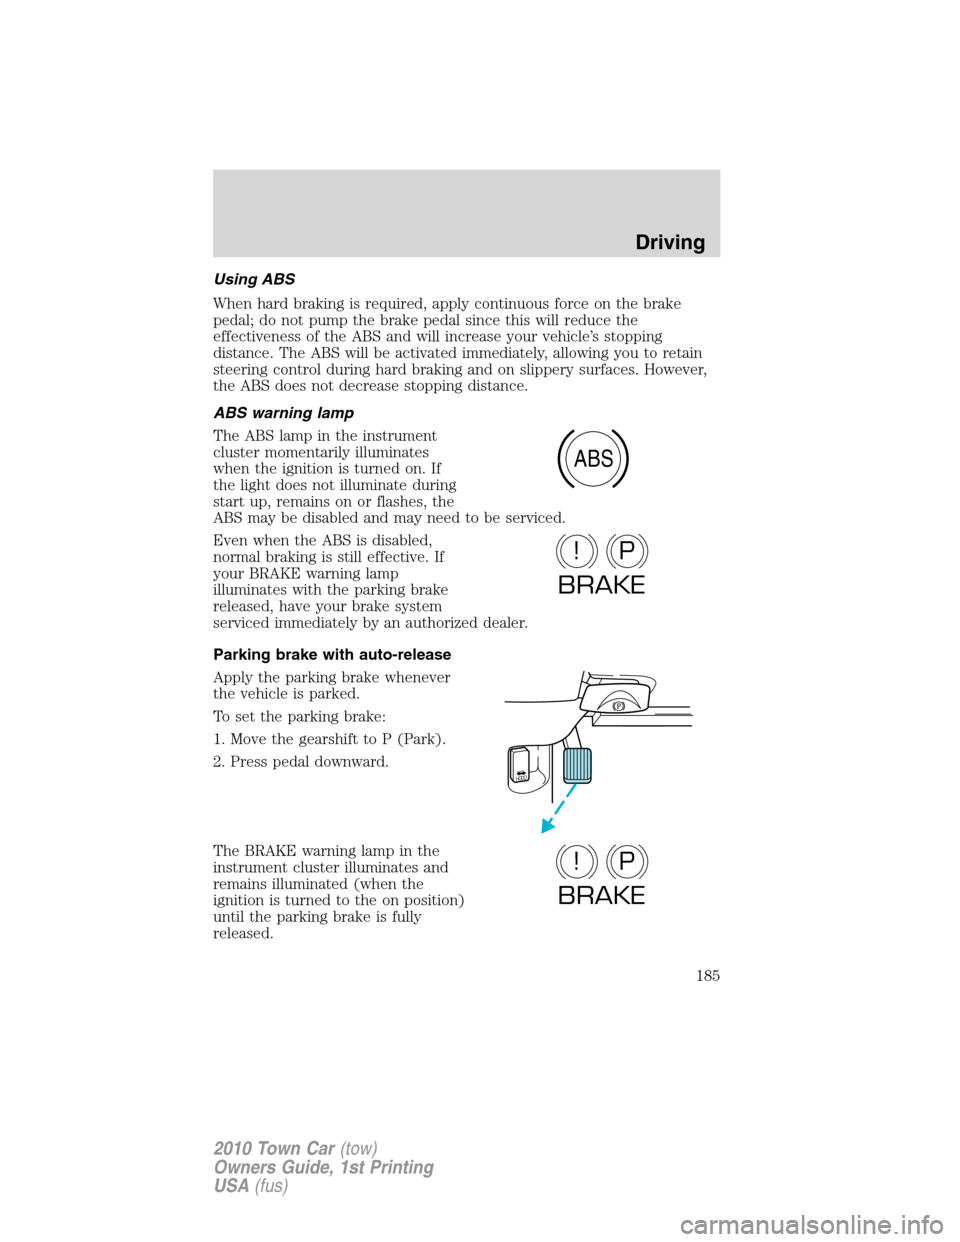
ABS warning lamp
The ABS lamp in the instrument
cluster momentarily illuminates
when the ignition is turned on. If
the light does not illuminate during
start up, remains on or flashes, the
ABS may be disabled and may need to be serviced.
Even when the ABS is disabled,
normal braking is still effective. If
your BRAKE warning lamp
illuminates with the parking brake
released, have your brake system
serviced immediately by an authorized dealer.
Parking brake with auto-release
Apply the parking brake whenever
the vehicle is parked.
To set the parking brake:
1. Move the gearshift to P (Park).
2. Press pedal downward.
The BRAKE warning lamp in the
instrument cluster illuminates and
remains illuminated (when the
ignition is turned to the on position)
until the parking brake is fully
released.
ABS
P!
BRAKE
HOOD
P!
BRAKE
Driving
185
2010 Town Car(tow)
Owners Guide, 1st Printing
USA(fus)
Page 201 of 285
The fuses are coded as follows.
Fuse/Relay
LocationFuse Amp
RatingProtected Circuits
1 10A Starter relay coil
2 10A Restraint control module (RCM),
Occupant classification sensor
(OCS), Passenger airbag
deactivation indicator (PADI)
3 10A Audio
4 10A Back-up lamps, Anti-lock brake
system (ABS)
5 7.5A Lighting control module (LCM)
6 10A Passive anti-theft system (PATS),
Powertrain control module (PCM)
relay coil, Ignition relay coil, Fuel
relay coil
7 10A Wiper module
Roadside Emergencies
201
2010 Town Car(tow)
Owners Guide, 1st Printing
USA(fus)
Page 203 of 285
Fuse/Relay
LocationFuse Amp
RatingProtected Circuits
26 15A LCM (Park lamps, cornering
lamps, license lamps)
27 — Not used
28 7.5A Brake signal, LCM (BTSI), ABS
29 — Not used
30 — Not used
31 5A LCM (Key in)
32 7.5A Delay accessory (audio)
33 — Not used
K101 — Delayed accessory
Power distribution box
The power distribution box is located in the engine compartment. The
power distribution box contains high-current fuses that protect your
vehicle’s main electrical systems from overloads.
WARNING:Always disconnect the battery before servicing high
current fuses.
WARNING:To reduce risk of electrical shock, always replace
the cover to the Power Distribution Box before reconnecting the
battery or refilling fluid reservoirs.
If the battery has been disconnected and reconnected, refer to the
Batterysection of theMaintenance and Specificationschapter.
Roadside Emergencies
203
2010 Town Car(tow)
Owners Guide, 1st Printing
USA(fus)
Page 205 of 285
Fuse/Relay
LocationFuse Amp
RatingProtected Circuits
13 10A* Rear air suspension module
(RASM)
14 20A* Stop lamp switch
15 15A* Lumbar, Fuel door
16 20A* Heated seats
17 – Not used
18 – Not used
19 15A* Injectors
20 15A* PCM
21 15A* Powertrain loads and sensors
22 — Not used
23 10A* Heated mirrors
24 – Not used
101 40A** Blower relay feed
102 50A** Cooling fan
103 50A** Instrument panel fuse box feed #1
104 50A** Instrument panel fuse box feed #2
105 30A** Starter relay feed
106 40A** ABS module (Pump)
107 40A** Rear defroster relay feed
108 40A** Power decklid module (PDM)
109 20A** ABS module (Valves)
110 30A** Wiper module
111 20A** Left rear power point
112 30A** RASM (Air compressor)
113 20A** Rear power point #2
114 20A** Instrument panel fuse box feed #3
115 20A** Rear cigar lighters
116 30A** Decklid pulldown module
117 20A** Cigar lighter
118 — Not used
Roadside Emergencies
205
2010 Town Car(tow)
Owners Guide, 1st Printing
USA(fus)