2010 LINCOLN TOWN CAR steering
[x] Cancel search: steeringPage 154 of 285

U.S. DOT Tire Identification Number (TIN)
Both U.S. and Canada Federal regulations require tire manufacturers to
place standardized information on the sidewall of all tires. This
information identifies and describes the fundamental characteristics of
the tire and also provides a U.S. DOT Tire Identification Number for
safety standard certification and in case of a recall.
This begins with the letters “DOT” and indicates that the tire meets all
federal standards. The next two numbers or letters are the plant code
designating where it was manufactured, the next two are the tire size
code and the last four numbers represent the week and year the tire was
built. For example, the numbers 317 mean the 31st week of 1997. After
2000 the numbers go to four digits. For example, 2501 means the 25th
week of 2001. The numbers in between are identification codes used for
traceability. This information is used to contact customers if a tire defect
requires a recall.
Tire Replacement Requirements
Your vehicle is equipped with tires designed to provide a safe ride and
handling capability.
WARNING:Only use replacement tires and wheels that are the
same size, load index, speed rating and type (such as P-metric
versus LT-metric or all-season versus all-terrain) as those originally
provided by Ford. The recommended tire and wheel size may be found
on either the Safety Compliance Certification Label or the Tire Label
which is located on the B-Pillar or edge of the driver’s door. If this
information is not found on these labels then you should contact your
authorized dealer as soon as possible. Use of any tire or wheel not
recommended by Ford can affect the safety and performance of your
vehicle, which could result in an increased risk of loss of vehicle
control, vehicle rollover, personal injury and death. Additionally the use
of non-recommended tires and wheels could cause steering,
suspension, axle or transfer case/power transfer unit failure. If you
have questions regarding tire replacement, contact your authorized
dealer as soon as possible.
Tires, Wheels and Loading
154
2010 Town Car(tow)
Owners Guide, 1st Printing
USA(fus)
Page 168 of 285

SNOW TIRES AND CHAINS
WARNING:Snow tires must be the same size, load index, speed
rating as those originally provided by Ford. Use of any tire or
wheel not recommended by Ford can affect the safety and
performance of your vehicle, which could result in an increased risk of
loss of vehicle control, vehicle rollover, personal injury and death.
Additionally, the use of non-recommended tires and wheels could
cause steering, suspension, axle or transfer case/power transfer unit
failure.
The tires on your vehicle have all weather treads to provide traction in
rain and snow. However, in some climates, you may need to use snow
tires and chains. If you need to use chains, it is recommended that steel
wheels (of the same size and specifications) be used, as chains may chip
aluminum wheels.
Follow these guidelines when using snow tires and chains:
•Use only cable type chains offered by Ford Motor Company as an
accessory or equivalent. Using SAE class S or other conventional link
type chains may cause damage to the vehicle’s wheel house and/or
body.
•Install chains securely, verifying that the chains do not touch any
wiring, brake lines or fuel lines.
•Drive cautiously. If you hear the chains rub or bang against your
vehicle, stop and re-tighten the chains. If this does not work, remove
the chains to prevent damage to your vehicle.
•If possible, avoid fully loading your vehicle.
•Remove the tire chains when they are no longer needed. Do not use
tire chains on dry roads.
•The suspension insulation and bumpers will help prevent vehicle
damage. Do not remove these components from your vehicle when
using snow tires and chains.
•Do not exceed 30 mph (48 km/h) with tire cables on your vehicle.
VEHICLE LOADING – WITH AND WITHOUT A TRAILER
This section will guide you in the proper loading of your vehicle and/or
trailer, to keep your loaded vehicle weight within its design rating
capability, with or without a trailer. Properly loading your vehicle will
provide maximum return of vehicle design performance. Before loading
Tires, Wheels and Loading
168
2010 Town Car(tow)
Owners Guide, 1st Printing
USA(fus)
Page 184 of 285
•Be sure that the engine block heater, heater cord and extension cord
are solidly connected. A poor connection can cause the cord to
become very hot and may result in an electrical shock or fire. Be sure
to check for heat anywhere in the electrical hookup once the system
has been operating for approximately a half hour.
•Finally, have the engine block heater system checked during your fall
tune-up to be sure it’s in good working order.
How to use the engine block heater
Ensure the receptacle terminals are clean and dry prior to use. To clean
them, use a dry cloth.
Depending on the type of factory installed equipment, your engine block
heater will use .4 to 1.0 kilowatt-hours of energy per hour of use. Your
factory installed block heater system does not have a thermostat;
however, maximum temperature is attained after approximately three
hours of operation. Block heater operation longer than three hours will
not improve system performance and will unnecessarily use additional
electricity.
Make sure system is unplugged and properly stowed before driving the
vehicle. While not in use, make sure the protective cover seals the
prongs of the engine block heater cord plug.
BRAKES
Occasional brake noise is normal. If a metal-to-metal, continuous grinding
or continuous squeal sound is present, the brake linings may be worn-out
and should be inspected by an authorized dealer. If the vehicle has
continuous vibration or shudder in the steering wheel while braking, the
vehicle should be inspected by an authorized dealer.
Refer toWarning lights and
chimesin theInstrument Cluster
chapter for information on the brake
system warning light.
Four-wheel anti-lock brake system (ABS)
Your vehicle is equipped with an Anti-lock braking system (ABS). This
system helps you maintain steering control during emergency stops by
keeping the brakes from locking. Noise from the ABS pump motor and
brake pedal pulsation may be observed during ABS braking and the
brake pedal may suddenly travel a little farther as soon as ABS braking is
done and normal brake operation resumes. These are normal
characteristics of the ABS and should be no reason for concern.
P!
BRAKE
Driving
184
2010 Town Car(tow)
Owners Guide, 1st Printing
USA(fus)
Page 185 of 285
Using ABS
When hard braking is required, apply continuous force on the brake
pedal; do not pump the brake pedal since this will reduce the
effectiveness of the ABS and will increase your vehicle’s stopping
distance. The ABS will be activated immediately, allowing you to retain
steering control during hard braking and on slippery surfaces. However,
the ABS does not decrease stopping distance.
ABS warning lamp
The ABS lamp in the instrument
cluster momentarily illuminates
when the ignition is turned on. If
the light does not illuminate during
start up, remains on or flashes, the
ABS may be disabled and may need to be serviced.
Even when the ABS is disabled,
normal braking is still effective. If
your BRAKE warning lamp
illuminates with the parking brake
released, have your brake system
serviced immediately by an authorized dealer.
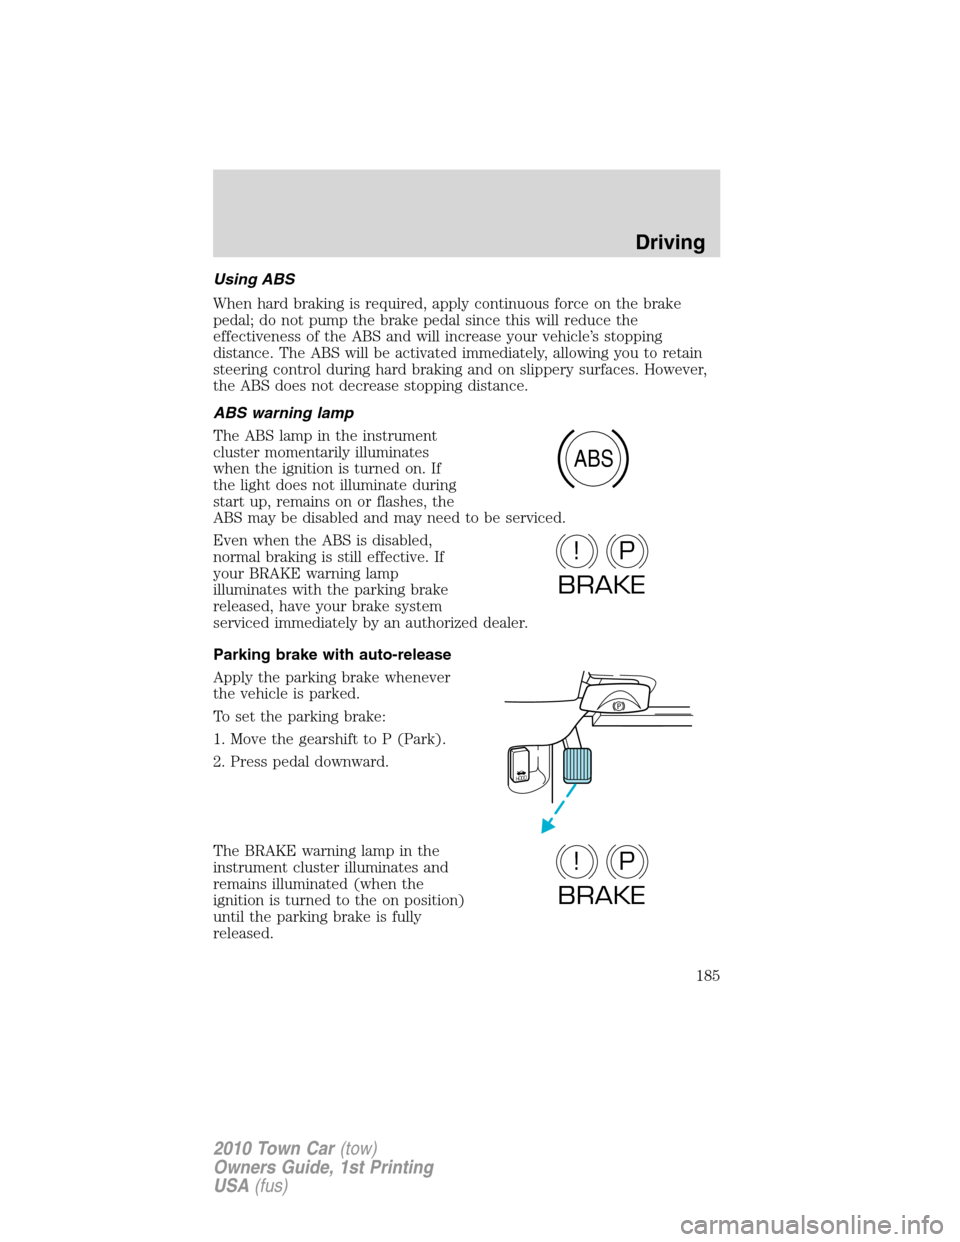
Parking brake with auto-release
Apply the parking brake whenever
the vehicle is parked.
To set the parking brake:
1. Move the gearshift to P (Park).
2. Press pedal downward.
The BRAKE warning lamp in the
instrument cluster illuminates and
remains illuminated (when the
ignition is turned to the on position)
until the parking brake is fully
released.
ABS
P!
BRAKE
HOOD
P!
BRAKE
Driving
185
2010 Town Car(tow)
Owners Guide, 1st Printing
USA(fus)
Page 187 of 285
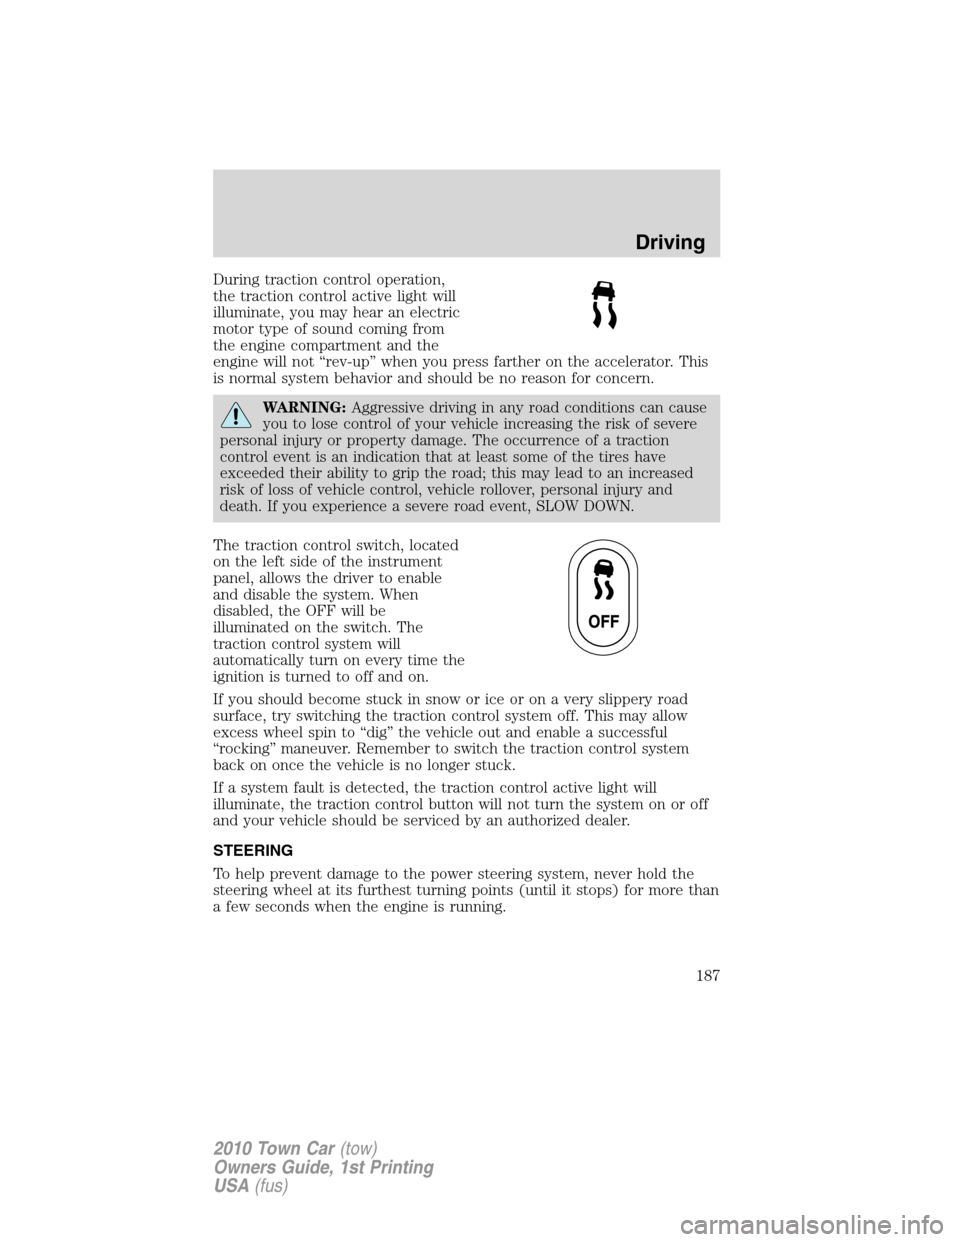
During traction control operation,
the traction control active light will
illuminate, you may hear an electric
motor type of sound coming from
the engine compartment and the
engine will not “rev-up” when you press farther on the accelerator. This
is normal system behavior and should be no reason for concern.
WARNING:Aggressive driving in any road conditions can cause
you to lose control of your vehicle increasing the risk of severe
personal injury or property damage. The occurrence of a traction
control event is an indication that at least some of the tires have
exceeded their ability to grip the road; this may lead to an increased
risk of loss of vehicle control, vehicle rollover, personal injury and
death. If you experience a severe road event, SLOW DOWN.
The traction control switch, located
on the left side of the instrument
panel, allows the driver to enable
and disable the system. When
disabled, the OFF will be
illuminated on the switch. The
traction control system will
automatically turn on every time the
ignition is turned to off and on.
If you should become stuck in snow or ice or on a very slippery road
surface, try switching the traction control system off. This may allow
excess wheel spin to “dig” the vehicle out and enable a successful
“rocking” maneuver. Remember to switch the traction control system
back on once the vehicle is no longer stuck.
If a system fault is detected, the traction control active light will
illuminate, the traction control button will not turn the system on or off
and your vehicle should be serviced by an authorized dealer.
STEERING
To help prevent damage to the power steering system, never hold the
steering wheel at its furthest turning points (until it stops) for more than
a few seconds when the engine is running.
Driving
187
2010 Town Car(tow)
Owners Guide, 1st Printing
USA(fus)
Page 188 of 285

It is also important to maintain a proper power steering fluid level in the
power steering fluid reservoir:
•Do not operate the vehicle with a low power steering pump fluid level.
SeePower steering fluidin theMaintenance and Specifications
chapter.
•Some noise is normal during operation. If the noise is excessive, check
for low power steering pump fluid level before seeking service by your
authorized dealer.
•Heavy or uneven steering efforts may be caused by low power steering
pump fluid level. Check for low power steering pump fluid level before
seeking service by your authorized dealer.
•Do not fill the power steering pump reservoir above the maximum
level, as this may result in leaks from the reservoir. SeePower
steering fluidin theMaintenance and Specificationschapter.
If the power steering system breaks down (or if the engine is off), you
can steer the vehicle manually, but it takes more effort.
If the steering wanders or pulls, check for:
•an improperly inflated tire
•uneven tire wear
•loose or worn suspension components
•loose or worn steering components
•improper steering alignment
AIR SUSPENSION SYSTEM (IF EQUIPPED)
The air suspension system is designed to improve ride, handling and
general vehicle performance during:
•Certain road conditions
•Steering maneuvers
•Braking
•Accelerations
Driving
188
2010 Town Car(tow)
Owners Guide, 1st Printing
USA(fus)
Page 190 of 285

2. Locate the access plug on the
underside of the steering column
cover.
3. Remove the access plug using a
flat head screwdriver, then press
and hold the override button using a
flat head screwdriver. With the key
in the on position, apply the brake
pedal and shift the transmission into
N (Neutral) while continuing to
press the override button.
4. Reinstall the access plug cover,
start the vehicle and release the
parking brake.
WARNING:Do not drive your vehicle until you verify that the
brakelamps are working.
WARNING:Always set the parking brake fully and make sure
the gearshift is latched in P (Park). Turn the ignition to the off
position and remove the key whenever you leave your vehicle.
WARNING:If the parking brake is fully released, but the brake
warning lamp remains illuminated, the brakes may not be
working properly. See your authorized dealer.
AUTOMATIC TRANSMISSION OPERATION
Understanding the gearshift positions of the 4–speed automatic
transmission
P (Park)
This position locks the transmission
and prevents the rear wheels from
turning.
To put your vehicle in gear:
•Start the engine
•Press the brake pedal
•Move the gearshift lever into the desired gear
Driving
190
2010 Town Car(tow)
Owners Guide, 1st Printing
USA(fus)
Page 198 of 285

•towing of your disabled vehicle
•emergency travel expense reimbursement
•travel planning benefits
In Canada, for uninterrupted Roadside Assistance coverage, you may
purchase extended coverage prior to your Basic Warranty’s Roadside
Assistance expiring. For more information and enrollment, contact
1–877–294–2582 or visit our website at www.ford.ca.
Using roadside assistance
Complete the roadside assistance identification card and place it in your
wallet for quick reference. In the United States, this card is found in the
Owner Guide portfolio in the glove compartment. In Canada, the card is
found in theCustomer Information Guidein the glove compartment.
U.S. Ford, Mercury and Lincoln vehicle customers who require Roadside
Assistance, call 1-800-241-3673.
Canadian customers who require roadside assistance, call
1-800-665-2006.
If you need to arrange roadside assistance for yourself, Ford Motor
Company will reimburse a reasonable amount for towing to the nearest
dealership within 35 miles. To obtain reimbursement information, U.S.
Ford, Mercury and Lincoln vehicle customers call 1-800-241-3673.
Customers will be asked to submit their original receipts.
Canadian customers who need to obtain reimbursement information, call
1–800–665–2006.
HAZARD FLASHER CONTROL
The hazard flasher is located on the
steering column, just behind the
steering wheel. The hazard flashers
will operate when the ignition is in
any position or if the key is not in
the ignition.
Press in the flasher control and all
front and rear direction signals will
flash. Press the flasher control again
to turn them off. Use it when your
vehicle is disabled and is creating a
safety hazard for other motorists.
Note:With extended use, the flasher may run down your battery.
Roadside Emergencies
198
2010 Town Car(tow)
Owners Guide, 1st Printing
USA(fus)