2010 LINCOLN TOWN CAR headlamp
[x] Cancel search: headlampPage 49 of 285
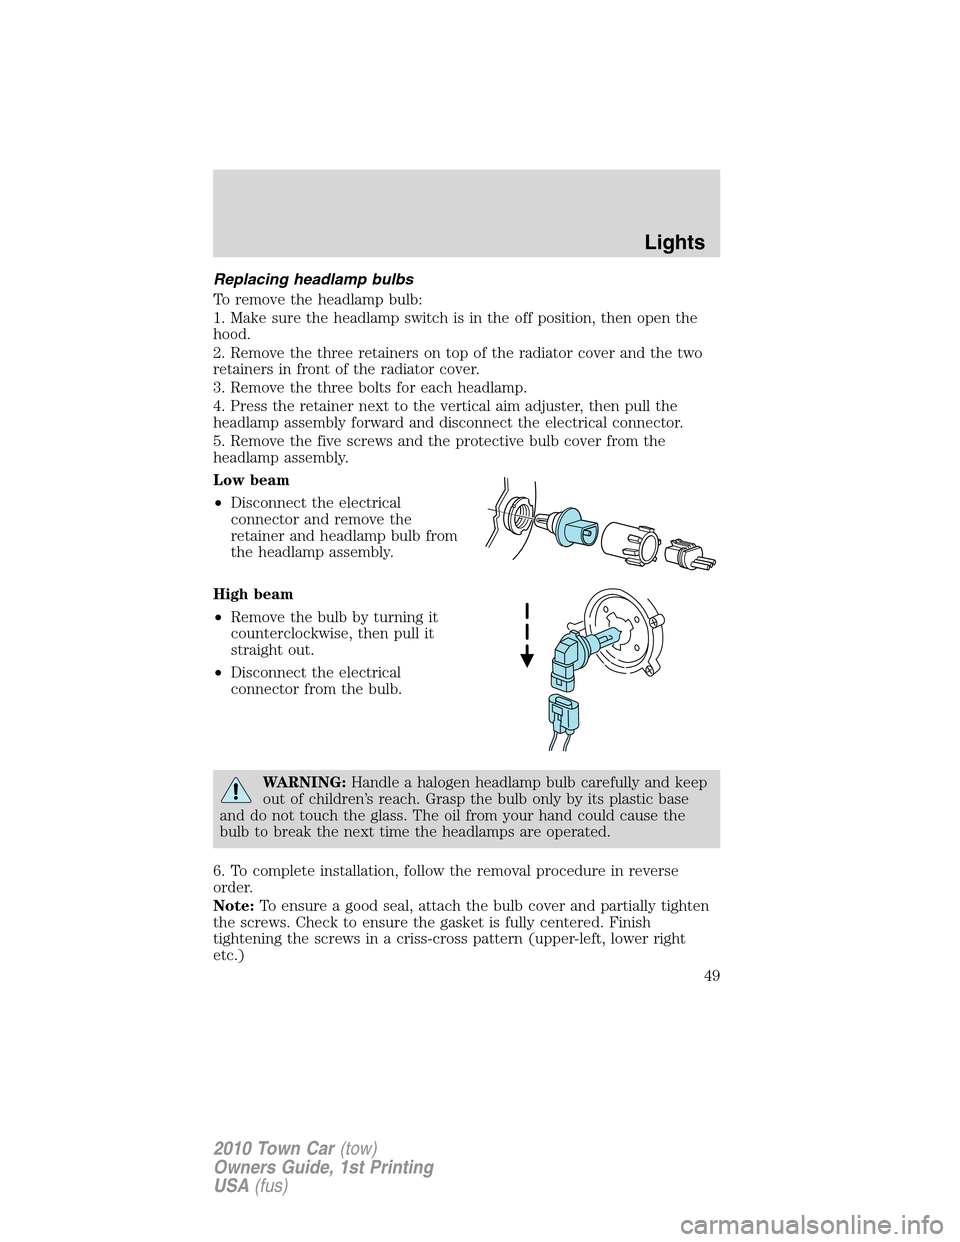
Replacing headlamp bulbs
To remove the headlamp bulb:
1. Make sure the headlamp switch is in the off position, then open the
hood.
2. Remove the three retainers on top of the radiator cover and the two
retainers in front of the radiator cover.
3. Remove the three bolts for each headlamp.
4. Press the retainer next to the vertical aim adjuster, then pull the
headlamp assembly forward and disconnect the electrical connector.
5. Remove the five screws and the protective bulb cover from the
headlamp assembly.
Low beam
•Disconnect the electrical
connector and remove the
retainer and headlamp bulb from
the headlamp assembly.
High beam
•Remove the bulb by turning it
counterclockwise, then pull it
straight out.
•Disconnect the electrical
connector from the bulb.
WARNING:Handle a halogen headlamp bulb carefully and keep
out of children’s reach. Grasp the bulb only by its plastic base
and do not touch the glass. The oil from your hand could cause the
bulb to break the next time the headlamps are operated.
6. To complete installation, follow the removal procedure in reverse
order.
Note:To ensure a good seal, attach the bulb cover and partially tighten
the screws. Check to ensure the gasket is fully centered. Finish
tightening the screws in a criss-cross pattern (upper-left, lower right
etc.)
Lights
49
2010 Town Car(tow)
Owners Guide, 1st Printing
USA(fus)
Page 50 of 285
Replacing HID low beam headlamp bulbs (if equipped)
The low beam headlamps on your vehicle use a “high intensity discharge”
source. These lamps operate at a high voltage. When the bulb is burned
out, the bulb and starter capsule assembly must be replaced by your
authorized dealer.
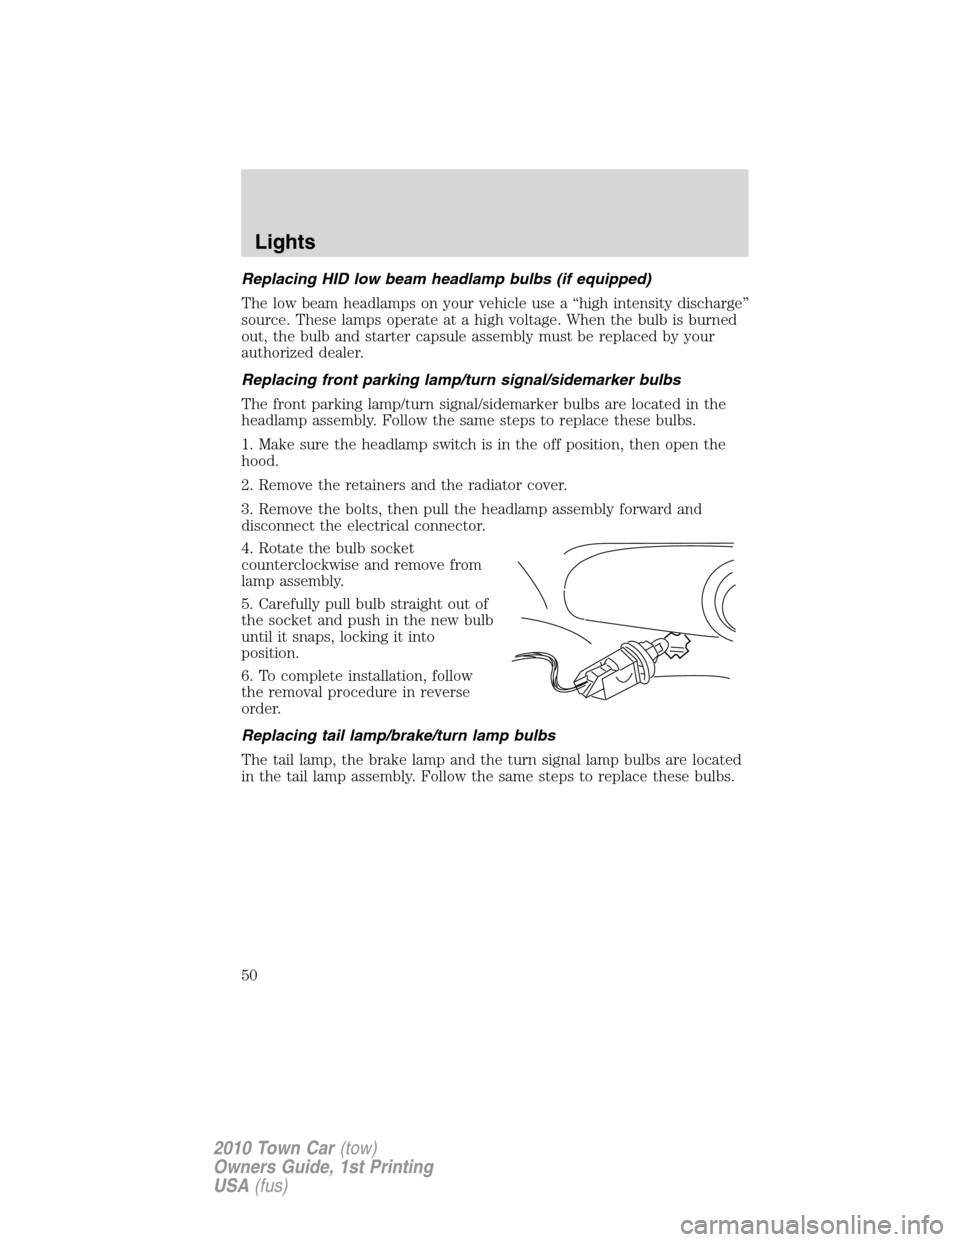
Replacing front parking lamp/turn signal/sidemarker bulbs
The front parking lamp/turn signal/sidemarker bulbs are located in the
headlamp assembly. Follow the same steps to replace these bulbs.
1. Make sure the headlamp switch is in the off position, then open the
hood.
2. Remove the retainers and the radiator cover.
3. Remove the bolts, then pull the headlamp assembly forward and
disconnect the electrical connector.
4. Rotate the bulb socket
counterclockwise and remove from
lamp assembly.
5. Carefully pull bulb straight out of
the socket and push in the new bulb
until it snaps, locking it into
position.
6. To complete installation, follow
the removal procedure in reverse
order.
Replacing tail lamp/brake/turn lamp bulbs
The tail lamp, the brake lamp and the turn signal lamp bulbs are located
in the tail lamp assembly. Follow the same steps to replace these bulbs.
Lights
50
2010 Town Car(tow)
Owners Guide, 1st Printing
USA(fus)
Page 51 of 285
1. Make sure the headlamp switch is
in the off position, then open the
trunk and remove the retainer.
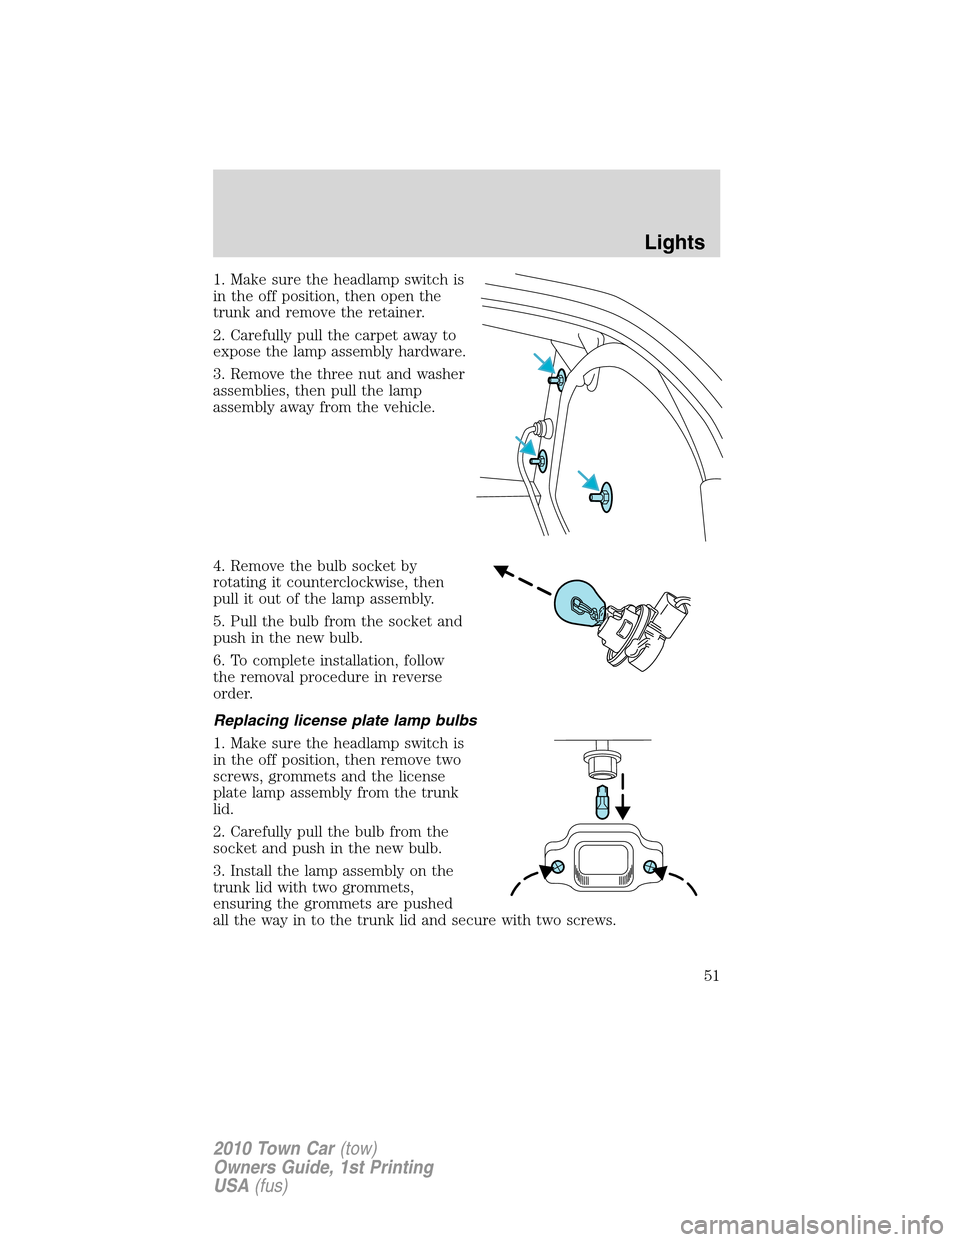
2. Carefully pull the carpet away to
expose the lamp assembly hardware.
3. Remove the three nut and washer
assemblies, then pull the lamp
assembly away from the vehicle.
4. Remove the bulb socket by
rotating it counterclockwise, then
pull it out of the lamp assembly.
5. Pull the bulb from the socket and
push in the new bulb.
6. To complete installation, follow
the removal procedure in reverse
order.
Replacing license plate lamp bulbs
1. Make sure the headlamp switch is
in the off position, then remove two
screws, grommets and the license
plate lamp assembly from the trunk
lid.
2. Carefully pull the bulb from the
socket and push in the new bulb.
3. Install the lamp assembly on the
trunk lid with two grommets,
ensuring the grommets are pushed
all the way in to the trunk lid and secure with two screws.
Lights
51
2010 Town Car(tow)
Owners Guide, 1st Printing
USA(fus)
Page 52 of 285
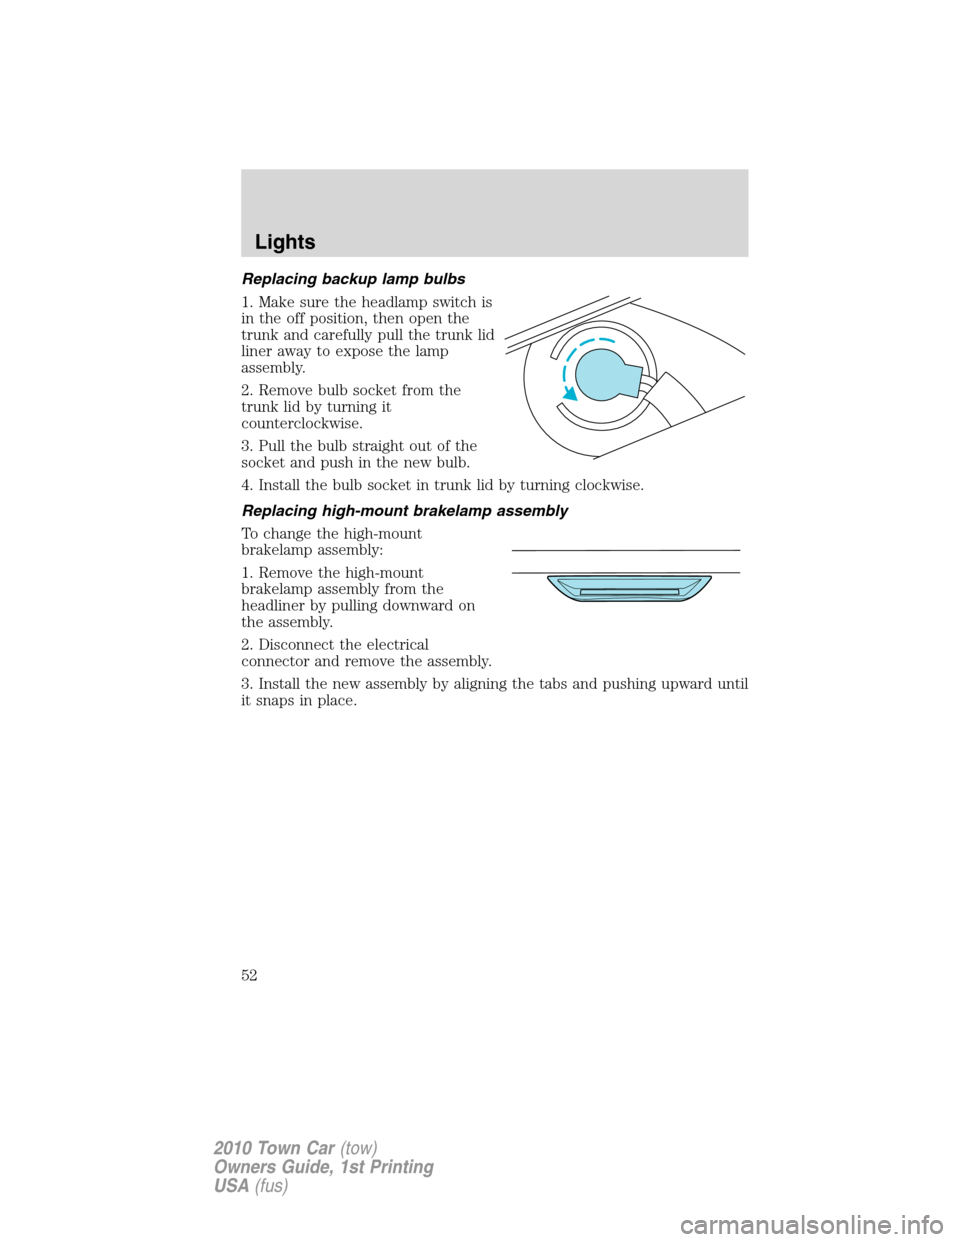
Replacing backup lamp bulbs
1. Make sure the headlamp switch is
in the off position, then open the
trunk and carefully pull the trunk lid
liner away to expose the lamp
assembly.
2. Remove bulb socket from the
trunk lid by turning it
counterclockwise.
3. Pull the bulb straight out of the
socket and push in the new bulb.
4. Install the bulb socket in trunk lid by turning clockwise.
Replacing high-mount brakelamp assembly
To change the high-mount
brakelamp assembly:
1. Remove the high-mount
brakelamp assembly from the
headliner by pulling downward on
the assembly.
2. Disconnect the electrical
connector and remove the assembly.
3. Install the new assembly by aligning the tabs and pushing upward until
it snaps in place.
Lights
52
2010 Town Car(tow)
Owners Guide, 1st Printing
USA(fus)
Page 53 of 285
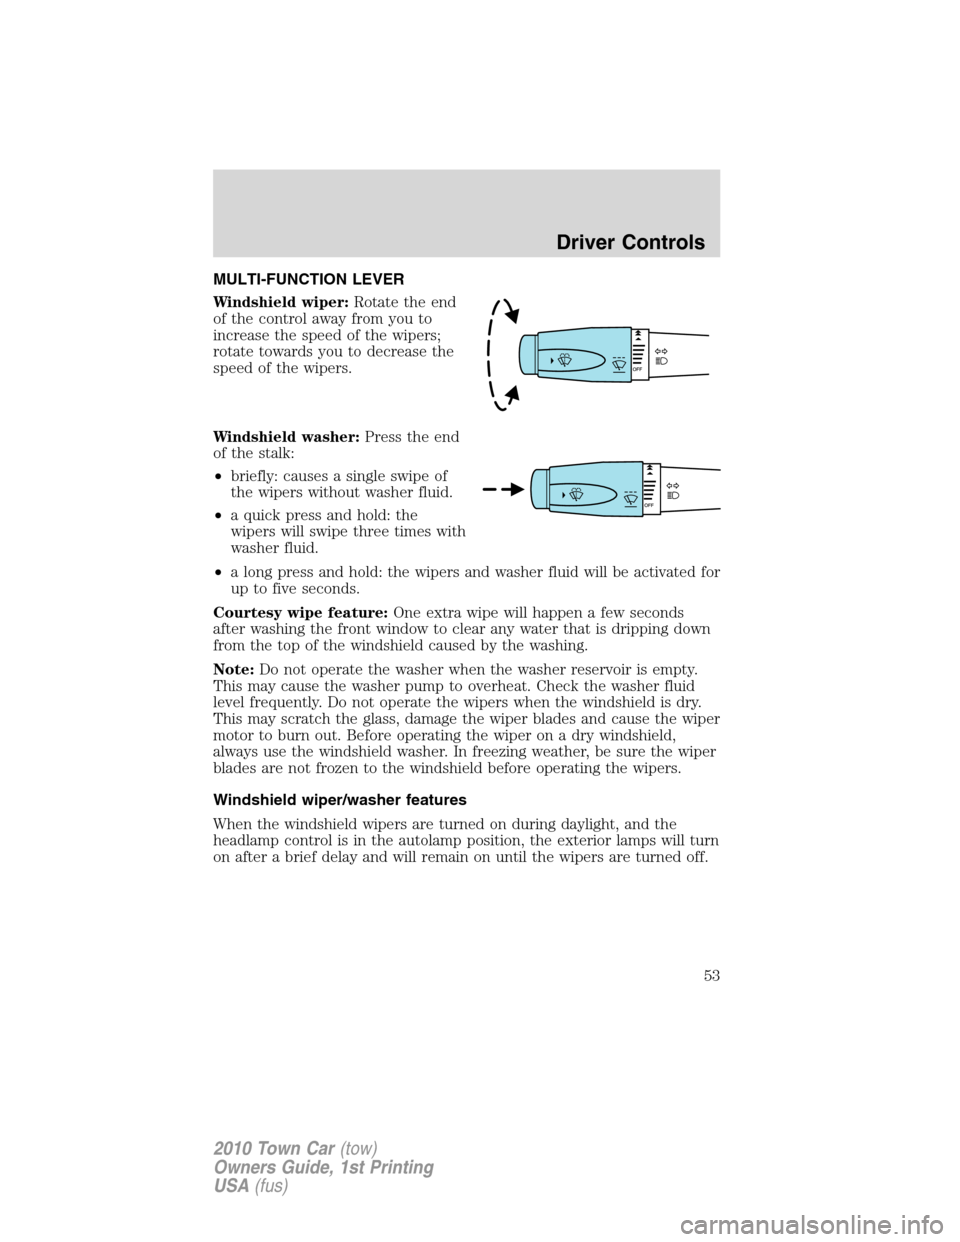
MULTI-FUNCTION LEVER
Windshield wiper:Rotate the end
of the control away from you to
increase the speed of the wipers;
rotate towards you to decrease the
speed of the wipers.
Windshield washer:Press the end
of the stalk:
•briefly: causes a single swipe of
the wipers without washer fluid.
•a quick press and hold: the
wipers will swipe three times with
washer fluid.
•a long press and hold: the wipers and washer fluid will be activated for
up to five seconds.
Courtesy wipe feature:One extra wipe will happen a few seconds
after washing the front window to clear any water that is dripping down
from the top of the windshield caused by the washing.
Note:Do not operate the washer when the washer reservoir is empty.
This may cause the washer pump to overheat. Check the washer fluid
level frequently. Do not operate the wipers when the windshield is dry.
This may scratch the glass, damage the wiper blades and cause the wiper
motor to burn out. Before operating the wiper on a dry windshield,
always use the windshield washer. In freezing weather, be sure the wiper
blades are not frozen to the windshield before operating the wipers.
Windshield wiper/washer features
When the windshield wipers are turned on during daylight, and the
headlamp control is in the autolamp position, the exterior lamps will turn
on after a brief delay and will remain on until the wipers are turned off.
Driver Controls
53
2010 Town Car(tow)
Owners Guide, 1st Printing
USA(fus)
Page 82 of 285
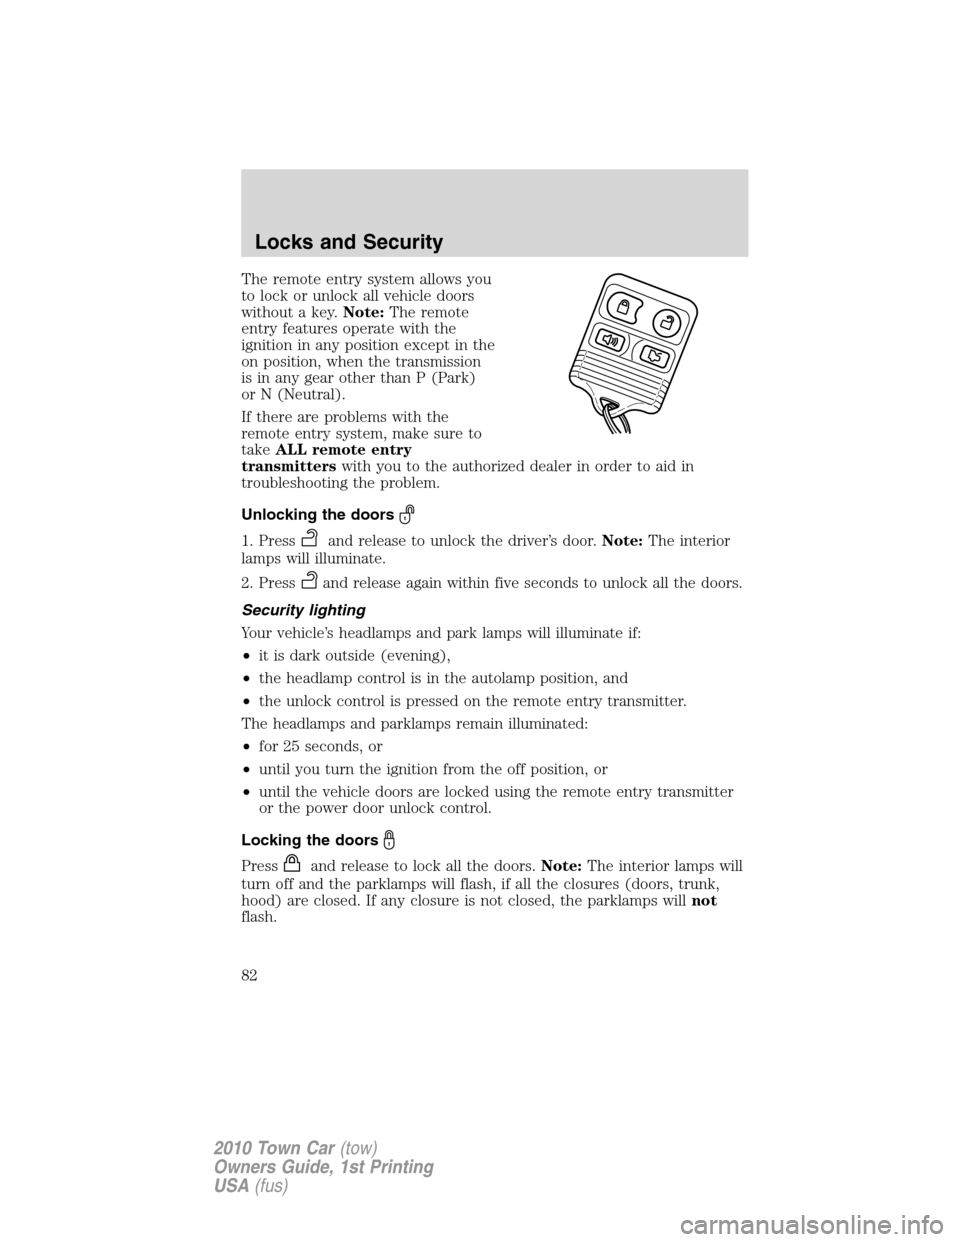
The remote entry system allows you
to lock or unlock all vehicle doors
without a key.Note:The remote
entry features operate with the
ignition in any position except in the
on position, when the transmission
is in any gear other than P (Park)
or N (Neutral).
If there are problems with the
remote entry system, make sure to
takeALL remote entry
transmitterswith you to the authorized dealer in order to aid in
troubleshooting the problem.
Unlocking the doors
1. Pressand release to unlock the driver’s door.Note:The interior
lamps will illuminate.
2. Press
and release again within five seconds to unlock all the doors.
Security lighting
Your vehicle’s headlamps and park lamps will illuminate if:
•it is dark outside (evening),
•the headlamp control is in the autolamp position, and
•the unlock control is pressed on the remote entry transmitter.
The headlamps and parklamps remain illuminated:
•for 25 seconds, or
•until you turn the ignition from the off position, or
•until the vehicle doors are locked using the remote entry transmitter
or the power door unlock control.
Locking the doors
Pressand release to lock all the doors.Note:The interior lamps will
turn off and the parklamps will flash, if all the closures (doors, trunk,
hood) are closed. If any closure is not closed, the parklamps willnot
flash.
Locks and Security
82
2010 Town Car(tow)
Owners Guide, 1st Printing
USA(fus)
Page 180 of 285
WARNING:Do not start your vehicle in a closed garage or in
other enclosed areas. Exhaust fumes can be toxic. Always open
the garage door before you start the engine. SeeGuarding against
exhaust fumesin this chapter for more instructions.
WARNING:If you smell exhaust fumes inside your vehicle, have
your dealer inspect your vehicle immediately. Do not drive if you
smell exhaust fumes.
Important safety precautions
A computer system controls the engine’s idle revolutions per minute
(RPM). When the engine starts, the idle RPM runs higher than normal in
order to warm the engine. If the engine idle speed does not slow down
automatically, have the vehicle checked. Do not allow the vehicle to idle
for more than 10 minutes at the higher engine RPM.
Before starting the vehicle:
1. Make sure all vehicle occupants have buckled their safety belts. For
more information on safety belts and their proper usage, refer to the
Seating and Safety Restraintschapter.
2. Make sure the headlamps and vehicle accessories are off.
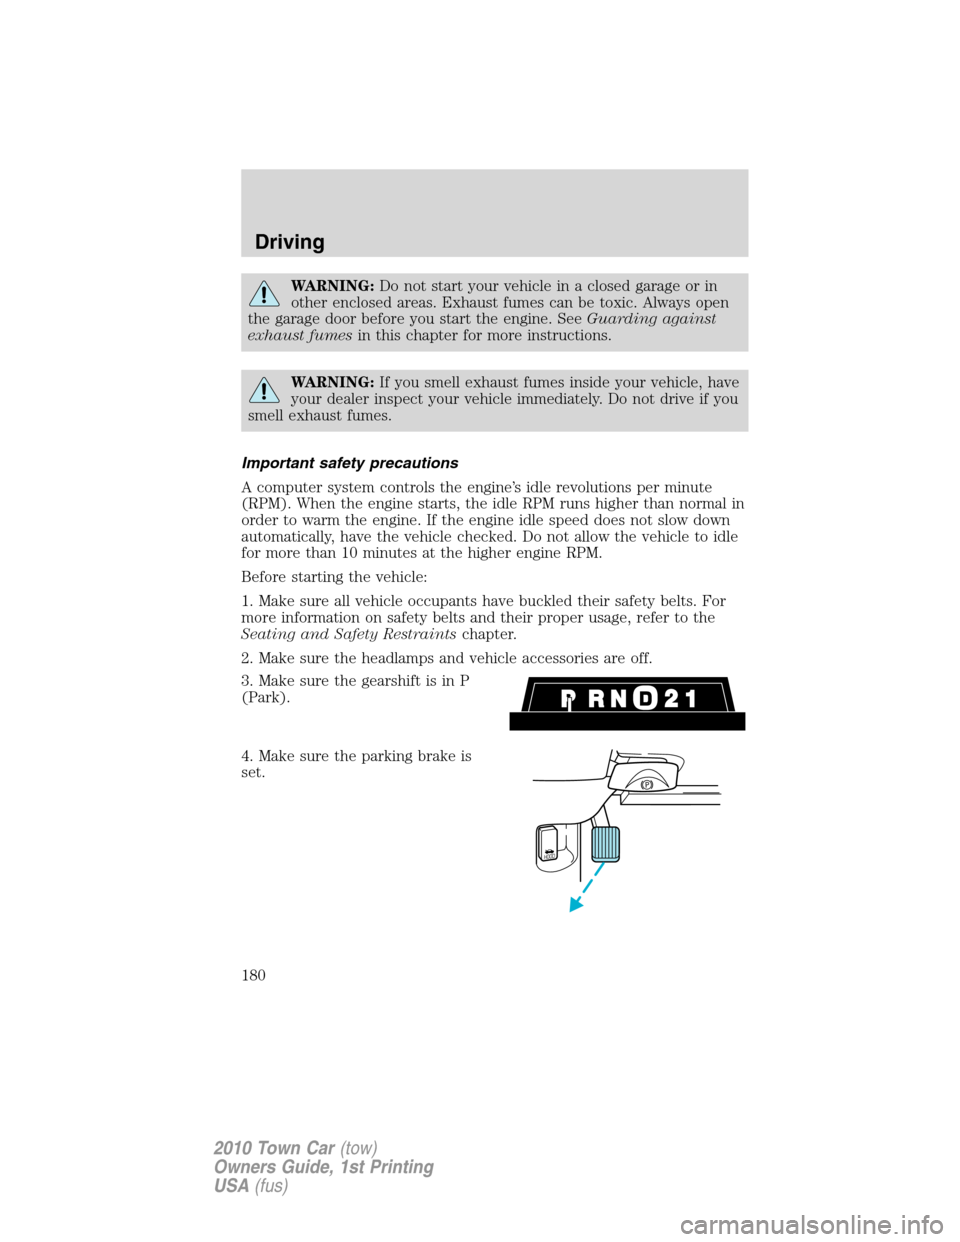
3. Make sure the gearshift is in P
(Park).
4. Make sure the parking brake is
set.
HOOD
Driving
180
2010 Town Car(tow)
Owners Guide, 1st Printing
USA(fus)
Page 282 of 285
filter, specifications ........242, 268
recommendations ...................242
refill capacities ........................269
specifications ..........................269
Event data recording ....................7
Exhaust fumes ..........................182
F
Fail safe cooling ........................249
Flexible Fuel Vehicle (FFV) ....251
Fluid capacities .........................269
Fuel ............................................251
calculating fuel
economy ............................22, 257
cap ...........................................254
capacity ...................................269
choosing the right fuel ...........255
comparisons with EPA fuel
economy estimates .................260
detergent in fuel .....................256
filling your vehicle with
fuel ...........................251, 254, 257
filter, specifications ........251, 268
fuel filler door override ............76
fuel filler door release ..............76
fuel pump shut-off switch .....199
improving fuel economy ........257
octane rating ...................256, 272
quality ......................................256
running out of fuel .................257
safety information relating to
automotive fuels .....................251
Fuel - flex fuel vehicle
(FFV) .........................251, 255–256
Fuses ..................................199–200G
Garage door opener ....................64
Gas cap (see Fuel cap) ............254
Gas mileage
(see Fuel economy) .................257
Gauges .........................................16
H
Hazard flashers .........................198
Head restraints ...........................95
Headlamps ...................................42
aiming ........................................44
autolamp system .......................42
bulb specifications ....................47
daytime running lights .............43
flash to pass ..............................43
high beam .................................43
replacing bulbs .........................49
turning on and off ....................42
Homelink wireless control
system ..........................................65
Hood ..........................................237
I
Ignition ...............................179, 272
Illuminated visor mirror .............54
Infant seats
(see Safety seats) .....................133
Inspection/maintenance (I/M)
testing ........................................262
Instrument panel
cleaning ...................................232
cluster ........................................12
lighting up panel
and interior ...............................44
Index
282
2010 Town Car(tow)
Owners Guide, 1st Printing
USA(fus)