Page 38 of 385

7. Adjust the sound on your portable music player until it reaches the
level of the FM station or CD by switching back and forth between the
AUX and FM or CD controls.
Troubleshooting:
1. Do not connect the audio input jack to a line level output. Line level
outputs are intended for connection to a home stereo and are not
compatible with the AIJ. The AIJ will only work correctly with devices
that have a headphone output with a volume control.
2. Do not set the portable music player’s volume level higher than is
necessary to match the volume of the CD or FM radio in your audio
system as this will cause distortion and will reduce sound quality. Many
portable music players have different output levels, so not all players
should be set at the same levels. Some players will sound best at full
volume and others will need to be set at a lower volume.
3. If the music sounds distorted at lower listening levels, turn the
portable music player volume down. If the problems persists, replace or
recharge the batteries in the portable music player.
4. The portable music player must be controlled in the same manner
when it is used with headphones as the AIJ does not provide control
(play, pause, etc.) over the attached portable music player.
5. For safety reasons, connecting or adjusting the settings on your
portable music player should not be attempted while the vehicle is
moving. Also, the portable music player should be stored in a secure
location, such as the center console or the glove box, when the vehicle is
in motion. The audio extension cable must be long enough to allow the
portable music player to be safely stored while the vehicle is in motion.
USB port
WARNING:Driving while distracted can result in loss of vehicle
control, accident and injury. Ford strongly recommends that
drivers use extreme caution when using any device that may take their
focus off the road. The driver’s primary responsibility is the safe
operation of their vehicle. Only use cell phones and other devices not
essential to the driving task when it is safe to do so.
Entertainment Systems
38
2010 Navigator(nav)
Owners Guide(own2002), 1st Printing
USA(fus)
Page 143 of 385

•activate or deactivate the Autolock feature if equipped
•release the liftgate glass,
The keypad can be operated with the factory set 5–digit entry code; this
code is located on the owner’s wallet card in the glove box and is
available from your authorized dealer. You can also create your own
5–digit personal entry code.
When pressing the controls on the keyless entry keypad, press the
middle of the controls to ensure a good activation.
Programming your own personal entry code
To create your own personal entry code:
1. Enter the factory set code.
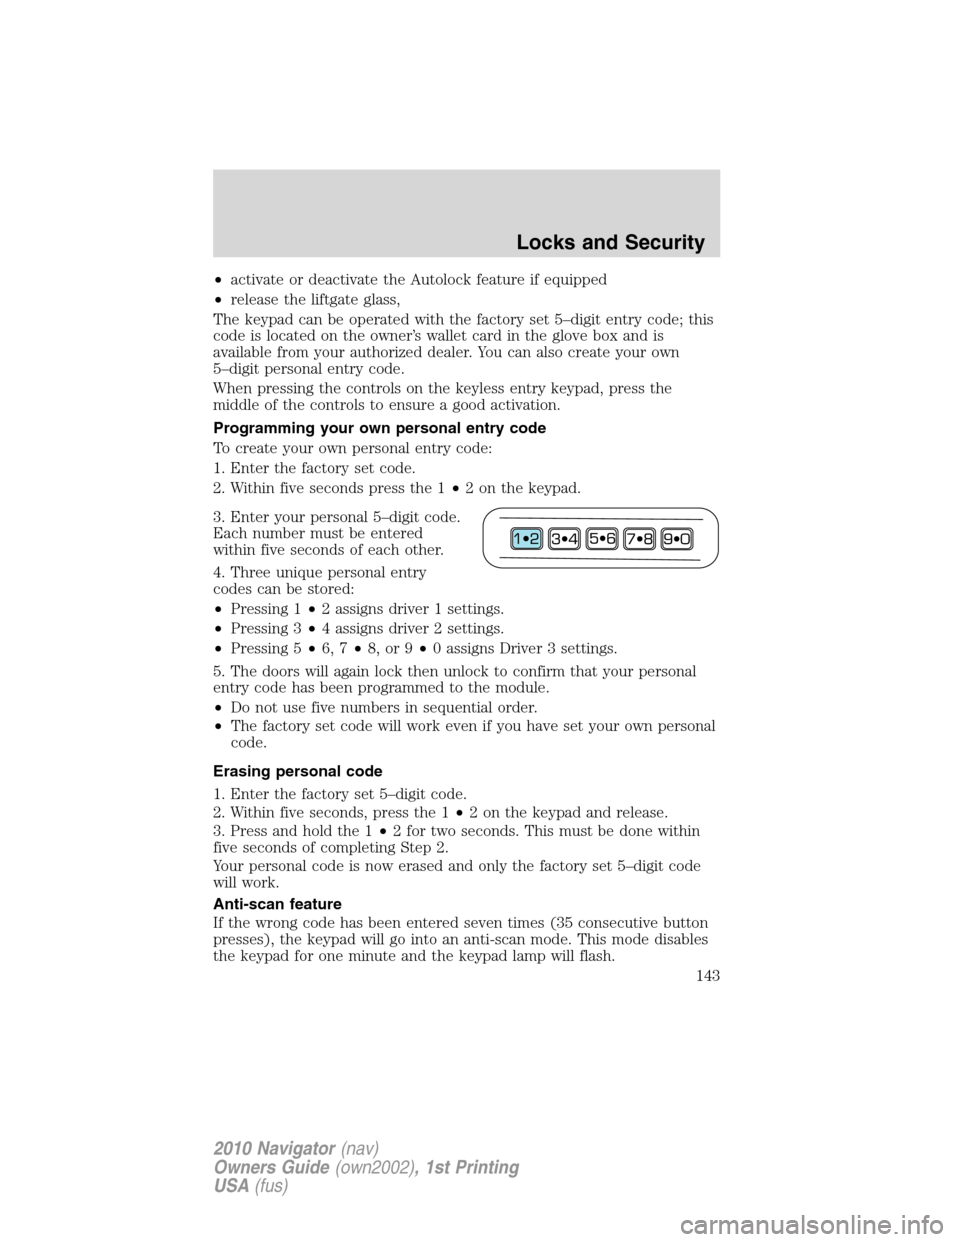
2. Within five seconds press the 1•2 on the keypad.
3. Enter your personal 5–digit code.
Each number must be entered
within five seconds of each other.
4. Three unique personal entry
codes can be stored:
•Pressing 1•2 assigns driver 1 settings.
•Pressing 3•4 assigns driver 2 settings.
•Pressing 5•6, 7•8, or 9•0 assigns Driver 3 settings.
5. The doors will again lock then unlock to confirm that your personal
entry code has been programmed to the module.
•Do not use five numbers in sequential order.
•The factory set code will work even if you have set your own personal
code.
Erasing personal code
1. Enter the factory set 5–digit code.
2. Within five seconds, press the 1•2 on the keypad and release.
3. Press and hold the 1•2 for two seconds. This must be done within
five seconds of completing Step 2.
Your personal code is now erased and only the factory set 5–digit code
will work.
Anti-scan feature
If the wrong code has been entered seven times (35 consecutive button
presses), the keypad will go into an anti-scan mode. This mode disables
the keypad for one minute and the keypad lamp will flash.
Locks and Security
143
2010 Navigator(nav)
Owners Guide(own2002), 1st Printing
USA(fus)
Page 298 of 385
Fuse/Relay
LocationFuse Amp
RatingProtective Circuits
23 15A High beam headlamps
24 20A Horn
25 10A Demand lamps, Glovebox, Visor
26 10A Instrument panel cluster
27 20A Ignition switch
28 5A Radio
29 5A Instrument panel cluster
30 5A Not used (spare)
31 10A Not used (spare)
32 10A Airbag module
33 10A Not used (spare)
34 5A Not used (spare)
35 10A Rear park assist, 4x4, rear video
camera
36 5A Passive anti-theft system
37 10A Climate control
38 20A Subwoofer, THX Amplifier
39 20A Radio
40 20A Navigation system
41 15A Power windows, Power vents,
Power moonroof, Auto dimming
rear view mirror
42 10A Not used (spare)
43 10A Rear wiper logic, Rain sensor
44 10A Trailer tow battery charge relay
coil
45 5A Front wiper logic
46 7.5A Climate control, Auxiliary relay
control
47 30A Circuit
BreakerPower windows, Moon roof
48 — Delayed accessory relay
Roadside Emergencies
298
2010 Navigator(nav)
Owners Guide(own2002), 1st Printing
USA(fus)