Page 508 of 592
508
5-2. Steps to take in an emergency
Tr u n kRemove the cover using a flathead
screwdriver.
To protect the bodywork, place a
rag between the screwdriver and
the vehicle body, as shown in the
illustration.
Turn the mechanical key clock-
wise to open.
STEP1
STEP2
Page 520 of 592

520
5-2. Steps to take in an emergency
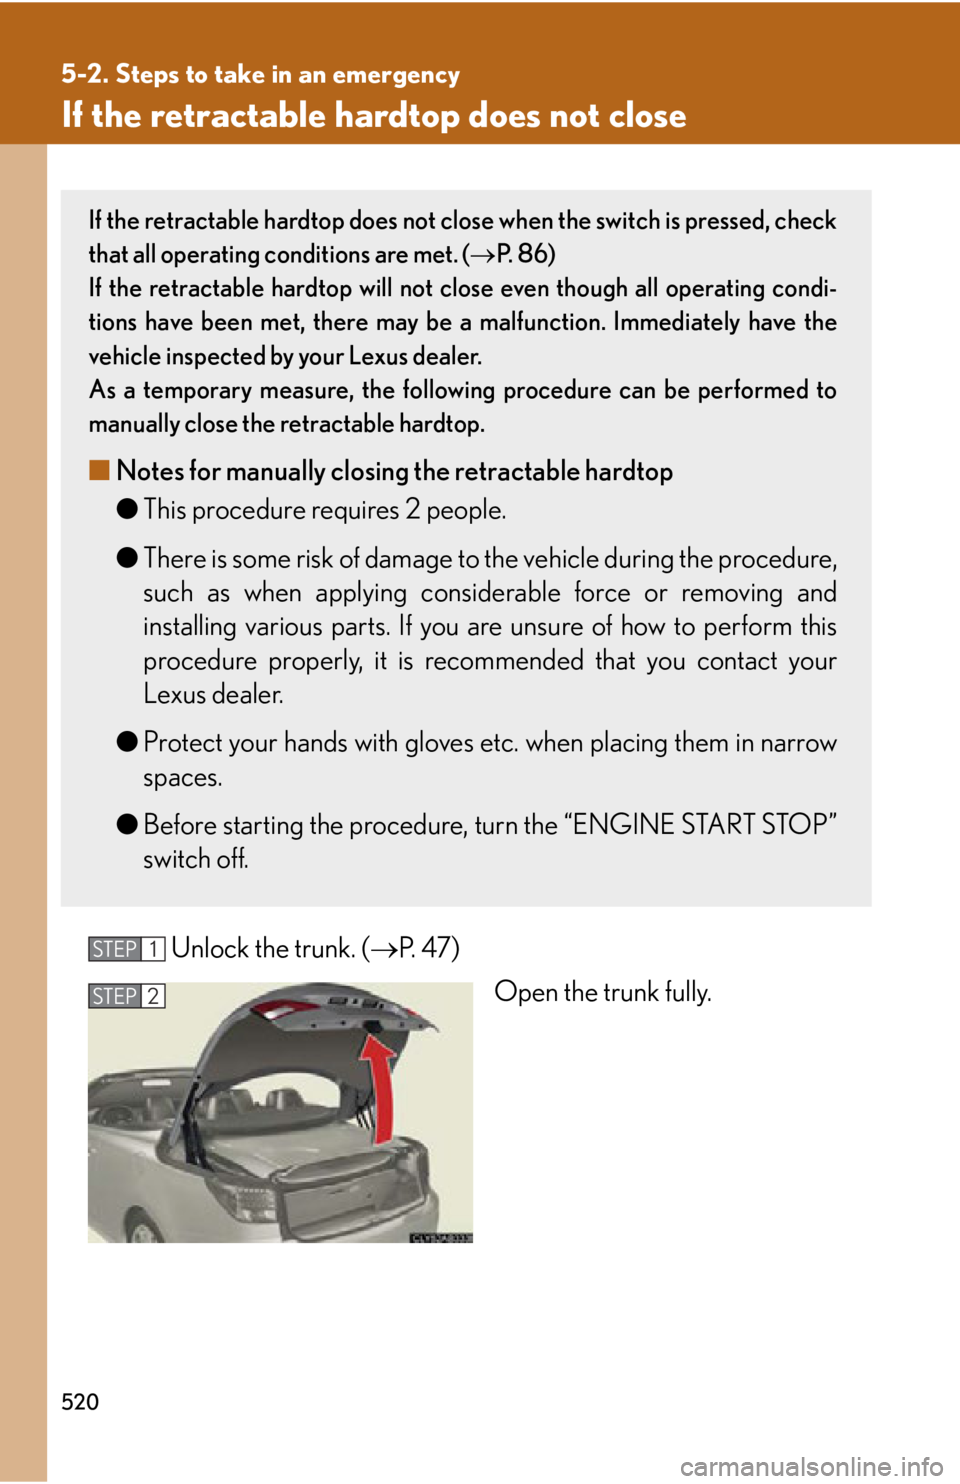
If the retractable hardtop does not close
Unlock the trunk. (P. 4 7 )
Open the trunk fully.
If the retractable hardtop does not clos e when the switch is pressed, check
that all operating conditions are met. ( P. 8 6 )
If the retractable hardtop will not cl ose even though all operating condi-
tions have been met, there may be a malfunction. Immediately have the
vehicle inspected by your Lexus dealer.
As a temporary measure, the following procedure can be performed to
manually close the retractable hardtop.
■ Notes for manually closing the retractable hardtop
●This procedure requires 2 people.
● There is some risk of damage to the vehicle during the procedure,
such as when applying consi derable force or removing and
installing various parts. If you are unsure of how to perform this
procedure properly, it is recommended that you contact your
Lexus dealer.
● Protect your hands with gloves etc. when placing them in narrow
spaces.
● Before starting the procedure, turn the “ENGINE START STOP”
switch off.
STEP1
STEP2
Page 525 of 592
5
When trouble arises
525
5-2. Steps to take in an emergency
Using an open-end wrench, turn
the six-sided part of the silver rod
as far as possible.
The plate brackets will rise up.
Using a hexagon wrench, remove
the 2 bolts and lock on the left and
right sides of the vehicle.
The lock on the left side of the vehi-
cle can be removed. However, the
lock on the right side of the vehicle
cannot be removed completely as
it is attached to a wire harness.
Holding the parts in the same
places as those shown in the illus-
tration, carefully raise the roof
panel and move it toward the front
of the vehicle.
Performing this procedure by hold-
ing parts other than those indi-
cated may result in damage to the
vehicle or serious injury.
Let go of the roof panel once it
begins to lower on its own.
The roof panel will not lower com-
pletely.
STEP 14
STEP 15
STEP 16
Page 526 of 592
526
5-2. Steps to take in an emergency
Remove the forward lock cover
located on the ceiling.
Insert the end of the hexagon
wrench and turn it counterclock-
wise as far as possible to release
the forward lock.
The roof panel will be fully lowered.
Be careful not to catch your hands
or fingers between the roof panel
and vehicle body when releasing
the lock.
Turn the hexagon wrench clock-
wise as far as possible to lock the
roof panel.
Do not forcibly turn the wrench
beyond the stopping point.
STEP 17
STEP 18
STEP 19
Page 527 of 592
5
When trouble arises
527
5-2. Steps to take in an emergency
Holding the parts in the same
places as those shown in the illus-
trations, carefully raise the rear
window panel until it comes into
contact with the roof panel.
Performing this procedure by hold-
ing parts other than those indi-
cated may result in damage to the
vehicle or serious injury.
If the rear window panel cannot be
raised, move it lightly up and down
2 or 3 times.
Be careful not to catch your hand
or fingers between the roof panel
and rear window panel.
Remove the rearward lock cover
located on the ceiling.
Insert the end of the hexagon
wrench and turn it clockwise as far
as possible to lock the rear window
panel and the roof panel.
Do not forcibly turn the wrench
beyond the stopping point.
STEP 20
STEP21
STEP22
Page 528 of 592
528
5-2. Steps to take in an emergency
Holding the parts in the same
places as those shown in the illus-
trations, push the trunk lid down
toward the front of the vehicle until
it locks.
Performing this procedure by hold-
ing parts other than those indi-
cated may result in damage to the
vehicle or serious injury.
Close the trunk lid.
STEP23
STEP24
Page 534 of 592
534
6-1. Specifications
■Engine number
The engine number is stamped on the engine block as shown.
Page 539 of 592

539
6-1. Specifications
6
Vehicle specifications
Differential
*: “Toyota Genuine Differential Gear Oil” is filled in your Lexus vehicle at factory
fill. Use Lexus approved “Toyota Genuine Differential Gear Oil” or an equiva-
lent of matching quality to satisfy the above specification. Please contact your
Lexus dealer for further details.
Automatic transmission
*: The fluid capacity is provided as a reference. If replacement is necessary, con- tact your Lexus dealer.
Oil capacity
IS350C:
1.42 qt. (1.35 L, 1.19 Imp. qt.)
IS250C: 1.20 qt. (1.15 L, 1.01 Imp. qt.)
Oil type and viscosity*“Toyota Genuine Differential Gear Oil LT 75W-85
GL-5” or equivalent
Fluid capacity*
IS350C: 8.3 qt. (7.9 L, 6.9 Imp. qt.)
IS250C:
7.9 qt. (7.5 L, 6.5 Imp. qt.)
Fluid typeToyota Genuine ATF WS
NOTICE
Using automatic transmission fluid other than “Toyota Genuine ATF WS” may cause
deterioration in shift quality, locking up of your transmission accompanied by vibra-
tion, and ultimately damage the auto matic transmission of your vehicle.