Page 53 of 578

53
1
1-3. Adjustable components (seats, mirrors, steering wheel)
Before driving
Driving position memory (driver’s seat)
Your preferred driving position (the position of the driver's seat, steering
wheel and outside rear view mirrors) can be memorized and recalled with
the touch of a button. It is also possible to set this function to activate auto-
matically when the doors are unlocked.
Three different driving positions can be entered into memory.
■Entering a position to memory
Switch to IGNITION ON mode.
Adjust the driver’s seat, steering wheel, and outside rear view
mirrors to the desired positions.
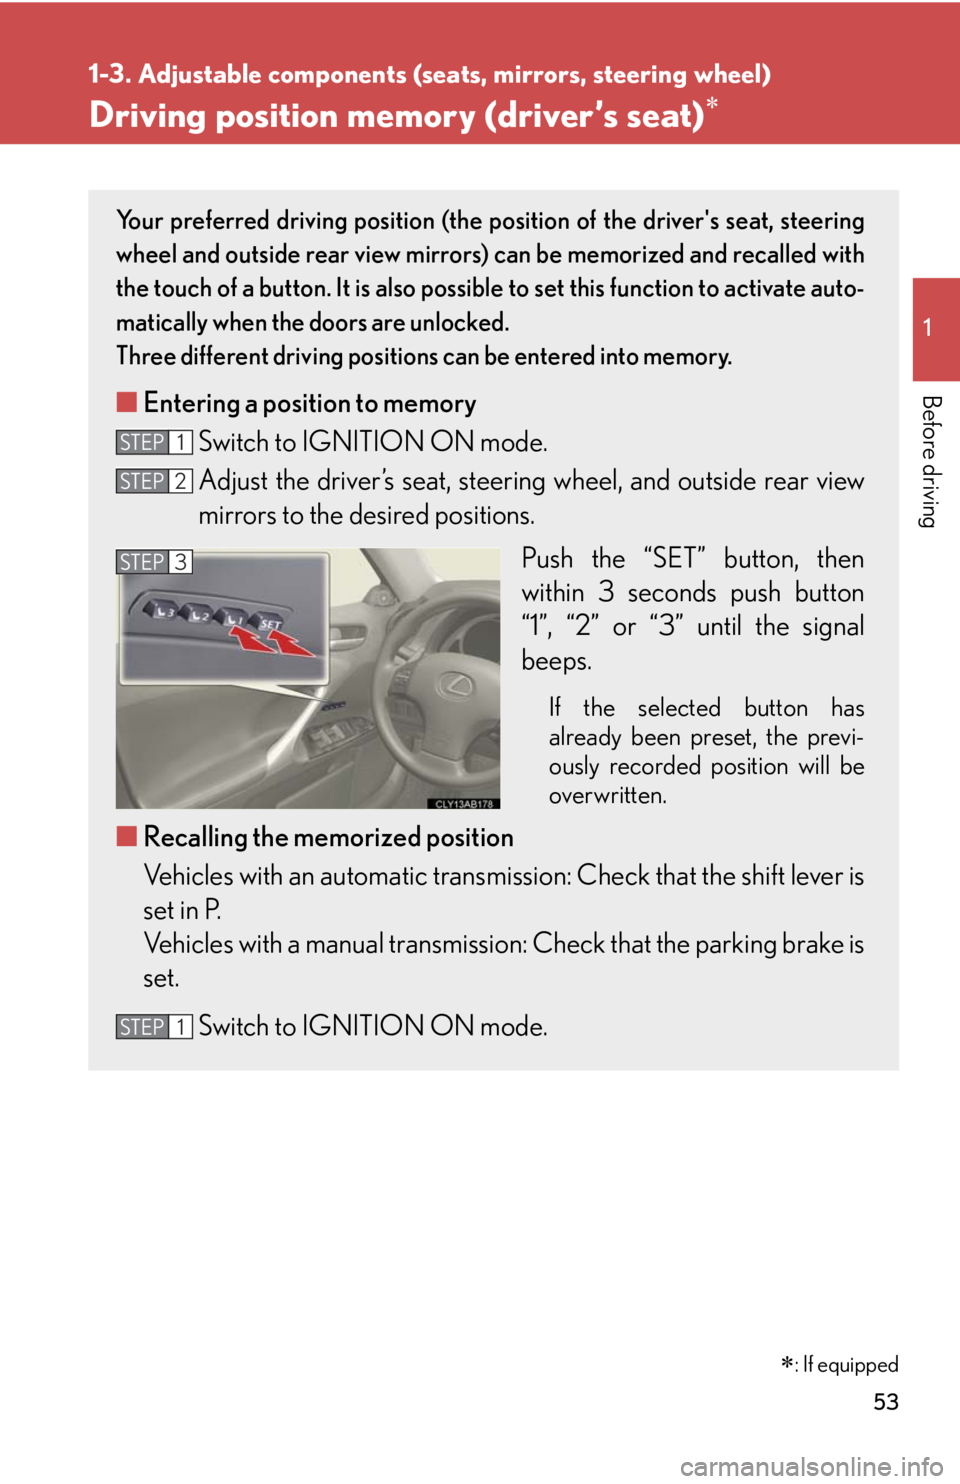
Push the “SET” button, then
within 3 seconds push button
“1”, “2” or “3” until the signal
beeps.
If the selected button has
already been preset, the previ-
ously recorded position will be
overwritten.
■Recalling the memorized position
Vehicles with an automatic transmission: Check that the shift lever is
set in P.
Vehicles with a manual transmission: Check that the parking brake is
set.
Switch to IGNITION ON mode.
STEP1
STEP2
STEP3
STEP1
�
: If equipped
Page 57 of 578
57
1
1-3. Adjustable components (seats, mirrors, steering wheel)
Before driving
Seat position memory (front passenger’s seat)
Your preferred front passenger seat position can be memorized and
recalled with the touch of a button.
Three different seat positions can be entered into memory.
■Entering a position to memory
Switch to IGNITION ON mode.
Adjust the front passenger seat to the desired position.
Push the “SET” button, then
within 3 seconds push button
“1”, “2” or “3” until the signal
beeps.
If the selected button has
already been preset, the previ-
ously recorded position will be
overwritten.
■Recalling the memorized position
Vehicles with an automatic transmission: Check that the shift lever is
set in P.
Vehicles with a manual transmission: Check that the parking brake is
set.
Push button “1”, “2” or “3” to
recall the memorized position.
STEP1
STEP2
STEP3
�
: If equipped
Page 152 of 578
152
2-2. Instrument cluster
Instrument panel light control
The brightness of the instrument panel lights can be adjusted.
Darker
Brighter
Odometer and trip meter
Odometer: Displays the total distance the vehicle has been driven.
Trip meter: Displays the distance the vehicle has been driven since
the meter was last reset. Trip meters “A” and “B” can be
used to record and display different distances indepen-
dently.
Speed indicator
When the set speed is reached while driving, this ring-shaped indicator
comes on in yellow. The indicator comes on in red when the vehicle speed
reaches the dangerous range.
Fuel gauge
Displays the quantity of fuel remaining in the tank.
Odometer/trip meter and trip meter reset button
Switches between odometer and trip meter displays. Pushing and holding
the button will reset the trip meter when the trip meter is being displayed.
Page 162 of 578

162
2-2. Instrument cluster
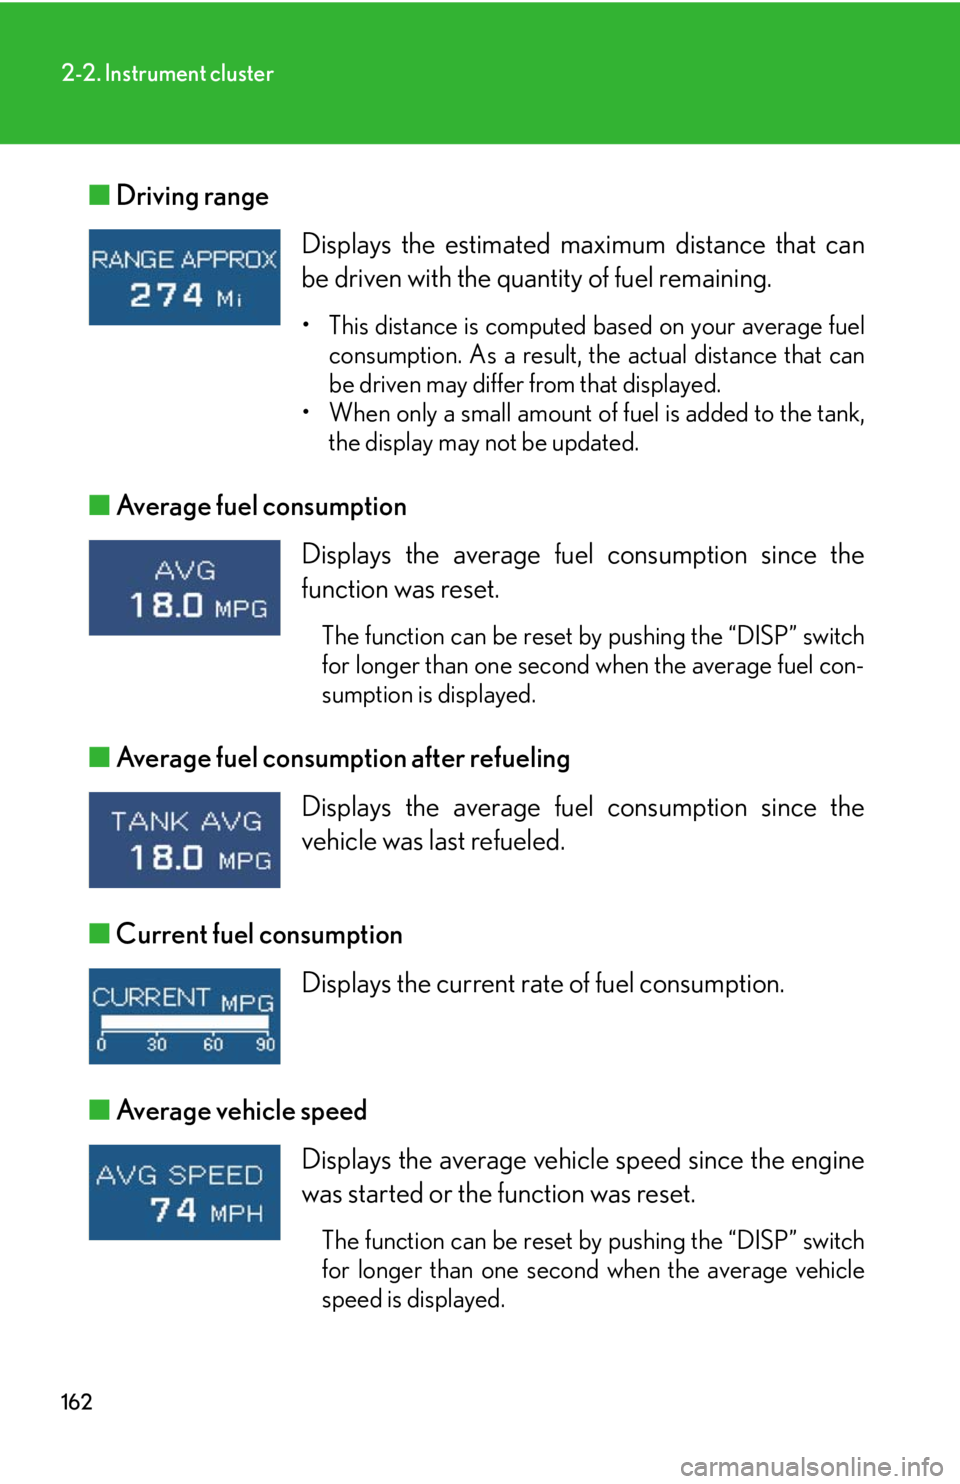
■Driving range
■Average fuel consumption
■Average fuel consumption after refueling
■Current fuel consumption
■Average vehicle speed Displays the estimated maximum distance that can
be driven with the quantity of fuel remaining.
• This distance is computed based on your average fuel
consumption. As a result, the actual distance that can
be driven may differ from that displayed.
• When only a small amount of fuel is added to the tank,
the display may not be updated.
Displays the average fuel consumption since the
function was reset.
The function can be reset by pushing the “DISP” switch
for longer than one second when the average fuel con-
sumption is displayed.
Displays the average fuel consumption since the
vehicle was last refueled.
Displays the current rate of fuel consumption.
Displays the average vehicle speed since the engine
was started or the function was reset.
The function can be reset by pushing the “DISP” switch
for longer than one second when the average vehicle
speed is displayed.
Page 177 of 578

177
2-4. Using other driving systems
2
When driving
■Cruise control can be set when
●Vehicles with an automatic transmission: the shift lever is in the D position or S
position. However, it cannot be set if any of the ranges 1 through 3 has been
selected.
●Vehicle speed is more than approximately 25 mph (40 km/h).
■Accelerating
The vehicle can be accelerated normally. After acceleration, the set speed
resumes.
■Automatic cruise control cancellation
The set speed is automatically cancelled in any of the following situations.
●Actual vehicle speed falls more than 10 mph (16 km/h) below the preset vehicle
speed
At this time, the memorized set speed is not retained.
●Actual vehicle speed is below 25 mph (40km/h)
●VSC is activated
■If the cruise control indicator light flashes
Turn the “ON-OFF” button off once, and then reactivate the system.
If the cruise control speed cannot be set or if the cruise control cancels immediately
after being activated, there may be a malfunction in the cruise control system. Have
the vehicle inspected by your Lexus dealer.
Page 185 of 578
185
2-4. Using other driving systems
2
When driving
Selecting conventional constant speed control mode
Dynamic radar cruise control can be used as conventional cruise control
if you select constant speed control mode.
Press the “ON-OFF” button to
activate the cruise control.
Press the button again to deacti-
vate the cruise control.
Vehicle-to-vehicle distance con-
trol mode is always reset when the
“ENGINE START STOP” switch is
turned to IGNITION ON mode.
Switch to constant speed con-
trol mode.
(Push the lever forward and
hold for approximately one sec-
ond.)
Constant speed control mode indi-
cator will come on.
Adjusting the speed setting:
P. 1 8 1
Canceling and resuming the speed
setting:
P. 1 8 2
Page 236 of 578
234
3-2. Using the audio system
Setting station presets (excluding XM® Satellite Radio)
Search for desired stations by turning
or pressing “” or
“” on .
Press and hold the button (from to ) the station is to
be set to until you hear a beep.
Scanning radio stations (excluding XM® Satellite Radio) (type A only)
■Scanning the preset radio stations
Press and hold until you hear a beep.
Preset stations will be played for 5 seconds each.
When the desired station is reached, press once again.
■Scanning all radio stations within range
Press .
All stations with reception will be played for 5 seconds each.
When the desired station is reached, press once again.
STEP1
STEP2
STEP1
STEP2
STEP1
STEP2
Page 238 of 578
236
3-2. Using the audio system
■Displaying radio station names
Press .
■Displaying radio text messages
Press twice.
If “MSG” shows in the display, a text message will be displayed.
If the text continues past the end of the display, is displayed. Press and
hold until you hear a beep.
XM® Satellite Radio (type A)
■Receiving XM
® Satellite Radio
Press .
The display changes as follows each time is pressed.
“SAT1” “SAT2” “SAT3”
Turn to select the desired channel in all categories or press
“” or “” on to select the desired channel in the current
category.
■Setting XM
® Satellite Radio channel presets
Select the desired channel. Press the button the channel is to be set to
(from to ) until you hear a beep.
■Changing the channel category
Press “” or “” on .
STEP1
STEP2