Page 280 of 428
AUDIO/VIDEO SYSTEM
279
CHANGING THE ANGLE
Select “Angle” on the settings screen.
The angle can be selected for discs that
are multi−angle compatible when the
angle mark appears on the screen.
Each time you select “Angle”, the angle
is selected from the ones stored in the
discs and changed.
When you select
, and the previous
screen returns. SETUP MENU
Select “Setup” on the settings screen.
There are initial setting buttons on the
“Setup Menu” screen.
After you change the initial setting, select
“OK”
. The initial setting screen will be
turned off and return to the picture
previously.
When “Default” is selected, all menus are
initialized.
The initial setting can be changed.
GX460 Navi (U)
OM60E73U
Finish
09.09.24
7
Page 281 of 428

AUDIO/VIDEO SYSTEM
280 D
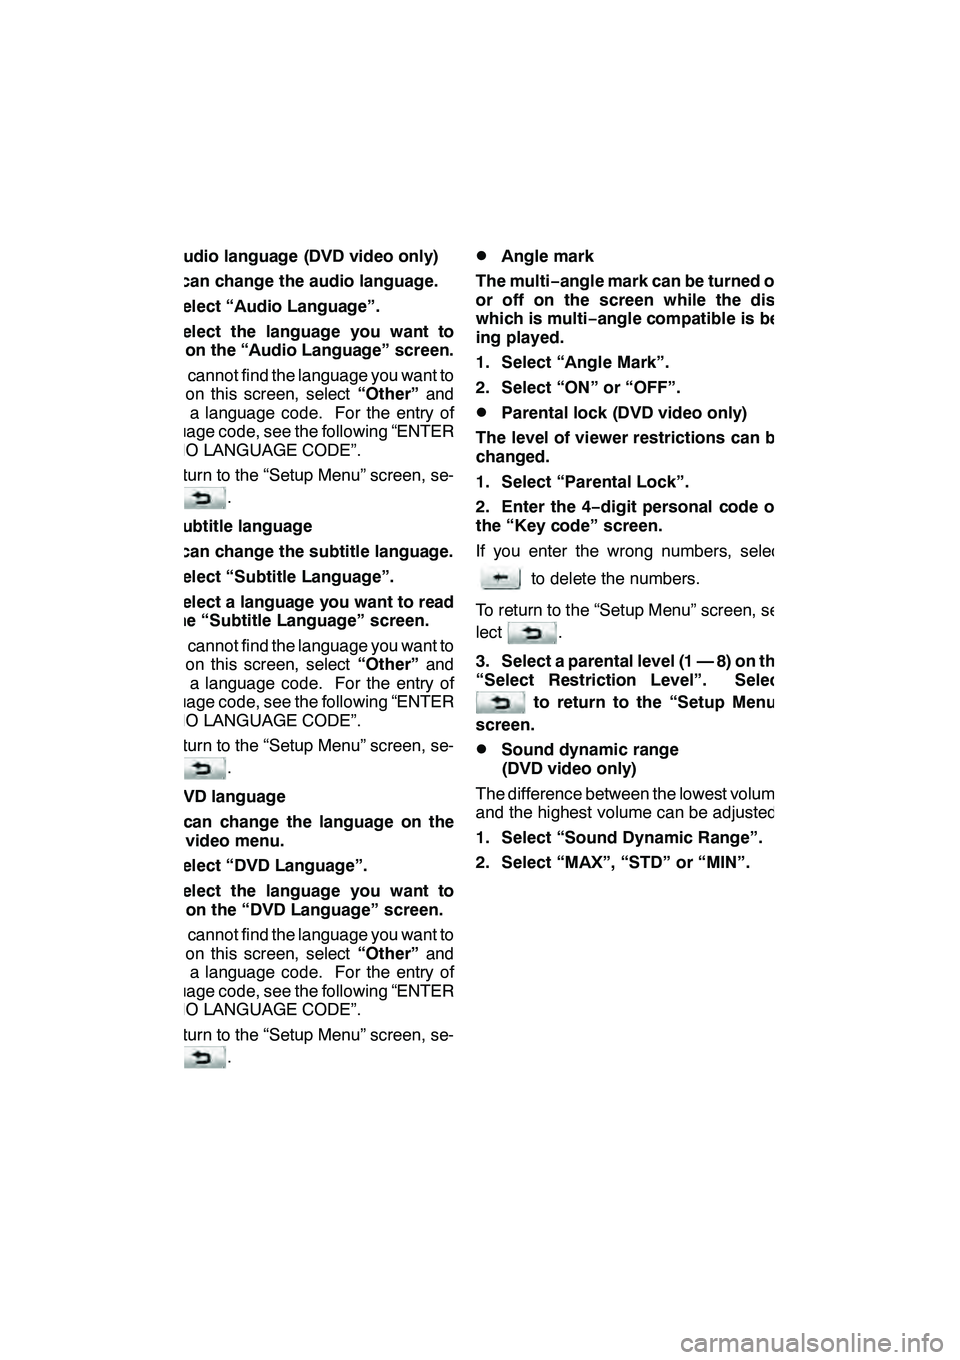
Audio language (DVD video only)
You can change the audio language.
1. Select “Audio Language”.
2. Select the language you want to
hear on the “Audio Language” screen.
If you cannot find the language you want to
hear on this screen, select “Other”and
enter a language code. For the entry of
language code, see the following “ENTER
AUDIO LANGUAGE CODE”.
To return to the “Setup Menu” screen, se-
lect
.
DSubtitle language
You can change the subtitle language.
1. Select “Subtitle Language”.
2. Select a language you want to read
on the “Subtitle Language” screen.
If you cannot find the language you want to
read on this screen, select “Other”and
enter a language code. For the entry of
language code, see the following “ENTER
AUDIO LANGUAGE CODE”.
To return to the “Setup Menu” screen, se-
lect
.
DDVD language
You can change the language on the
DVD video menu.
1. Select “DVD Language”.
2. Select the language you want to
read on the “DVD Language” screen.
If you cannot find the language you want to
read on this screen, select “Other”and
enter a language code. For the entry of
language code, see the following “ENTER
AUDIO LANGUAGE CODE”.
To return to the “Setup Menu” screen, se-
lect
.
DAngle mark
The multi− angle mark can be turned on
or off on the screen while the disc
which is multi −angle compatible is be-
ing played.
1. Select “Angle Mark”.
2. Select “ON” or “OFF”.
DParental lock (DVD video only)
The level of viewer restrictions can be
changed.
1. Select “Parental Lock”.
2. Enter the 4− digit personal code on
the “Key code” screen.
If you enter the wrong numbers, select
to delete the numbers.
To return to the “Setup Menu” screen, se-
lect
.
3. Select a parental level (1 — 8) on the
“Select Restriction Level”. Select
to return to the “Setup Menu”
screen.
DSound dynamic range
(DVD video only)
The difference between the lowest volume
and the highest volume can be adjusted.
1. Select “Sound Dynamic Range”.
2. Select “MAX”, “STD” or “MIN”.
GX460 Navi (U)
OM60E73U
Finish
09.09.24
Page 282 of 428
AUDIO/VIDEO SYSTEM
281
ENTER AUDIO LANGUAGE CODE
If you select “Other” on the “Audio
Language” screen, “Subtitle
Language” screen or “DVD Language”
screen, you can select the language
you want to hear or read by entering a
language code. (See page 237.)
1. Enter the 4−digit language code.
If you enter the wrong numbers, select
to delete the numbers.
2. Select “OK”.
DVideo CD
Push “OPTION” if no icons are shown
while watching a video CD, and following
screen appears.
“Settings”: Selecting this will display set-
ting screen.
“Hide Buttons”: Selecting this will turn off
the icons from the screen.
If “
” appears on the display when you se-
lect a control, the operation is not per-
mitted.
GX460 Navi (U)
OM60E73U
Finish
09.09.24
7
Page 283 of 428
AUDIO/VIDEO SYSTEM
282
DESCRIPTION OF VIDEO CD
CONTROLS
:Select this to fast reverse during
playback.
: Selecting this will stop the video
screen.
:Use this to pause/resume the
video screen.
: Select this to fast forward during
the playback and start playing
frame by frame during pause. VIDEO CD SETTINGS
When
“Settings” is selected on the con-
trol icon screen, the following screen will
appear.
GX460 Navi (U)
OM60E73U
Finish
09.09.24
Page 284 of 428

AUDIO/VIDEO SYSTEM
283
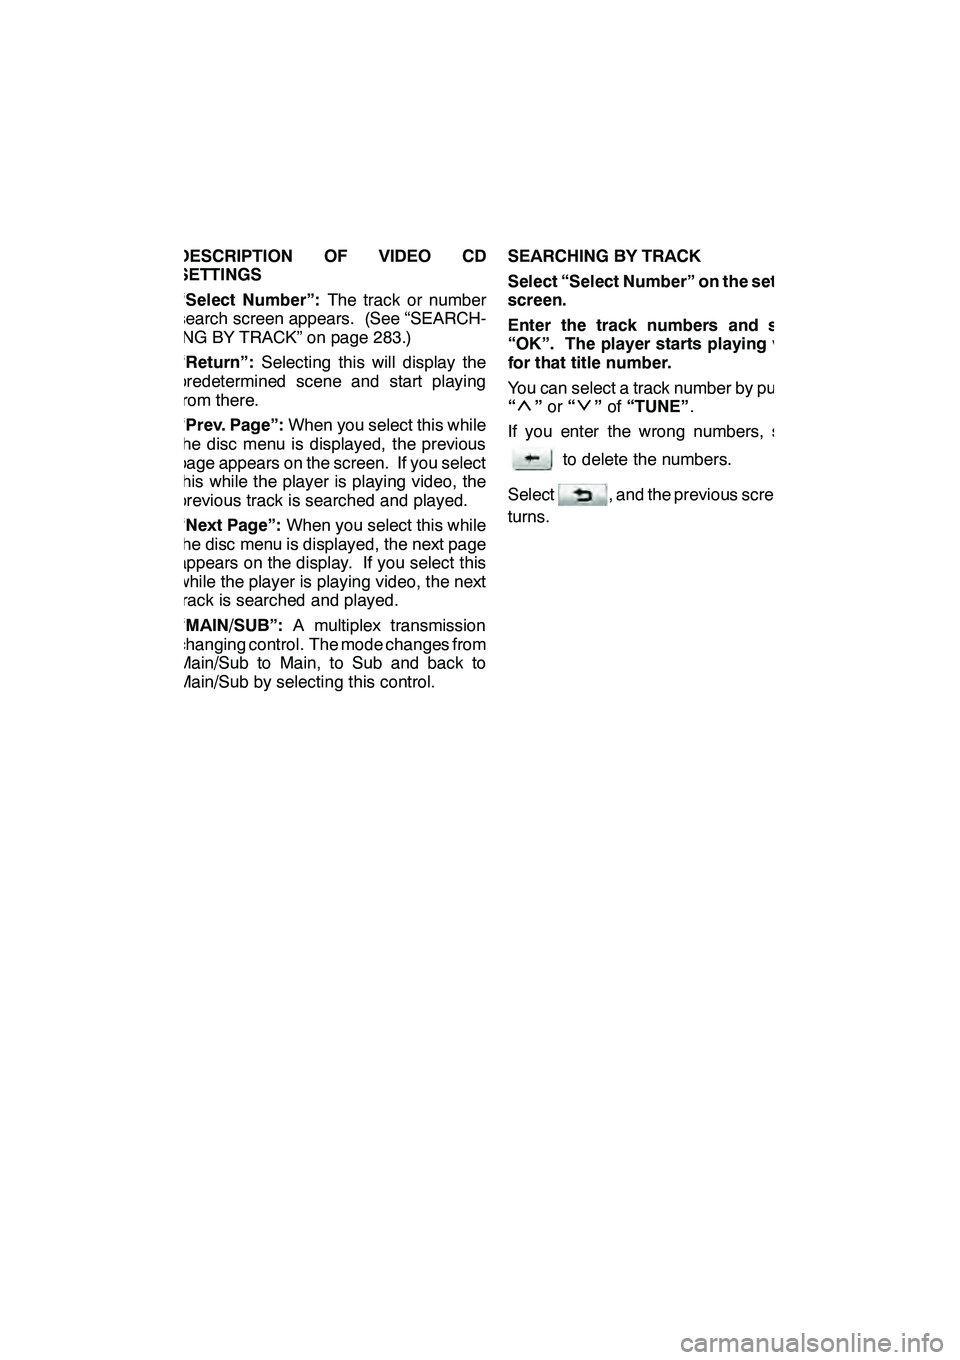
DESCRIPTION OF VIDEO CD
SETTINGS
“Select Number”:The track or number
search screen appears. (See “SEARCH-
ING BY TRACK” on page 283.)
“Return”: Selecting this will display the
predetermined scene and start playing
from there.
“Prev. Page”: When you select this while
the disc menu is displayed, the previous
page appears on the screen. If you select
this while the player is playing video, the
previous track is searched and played.
“Next Page”: When you select this while
the disc menu is displayed, the next page
appears on the display. If you select this
while the player is playing video, the next
track is searched and played.
“MAIN/SUB”: A multiplex transmission
changing control. The mode changes from
Main/Sub to Main, to Sub and back to
Main/Sub by selecting this control. SEARCHING BY TRACK
Select “Select Number” on the settings
screen.
Enter the track numbers and select
“OK”. The player starts playing video
for that title number.
You can select a track number by pushing
“
”
or “”of “TUNE” .
If you enter the wrong numbers, select
to delete the numbers.
Select
, and the previous screen re-
turns.
GX460 Navi (U)
OM60E73U
Finish
09.09.24
7
Page 285 of 428
AUDIO/VIDEO SYSTEM
284
Push“VIDEO” to select the video mode.
Before switching to the video mode, con-
nect the audio −video equipment to the A/V
input adapter.
When “Speaker Output” is off, any au-
dio− video source can be selected for the
other rear display. See “
DChanging the
speaker output” on page 268.
DUsing the adapter
Push and release the lid.
The A/V input adapter is composed of 3 in-
put adapters.
Yellow: Image input adapter
White: Left channel audio input adapter
Red: Right channel audio input adapter
The rear seat entertainment system plays
videos and sound when audio −video
equipment is connected to the A/V input
adapter. For details, refer to the manufac-
turer’s instructions.
NOTICE
When the A/V input adapter is not in
use, keep the A/V input adapter cover
closed. Inserting anything other than
an appropriate plug may cause elec-
trical failure or a short circuit.
GX460 Navi (U)
OM60E73U
Finish
09.09.24
— Using the video mode
Page 286 of 428
AUDIO/VIDEO SYSTEM
285
D
If the video is not correctly displayed
Push
“DISPLAY” .
Select“PAL VIDEO” .
If the video is not correctly displayed, turn
“PAL VIDEO” on or off.
DSetting the display mode
Pushing “SIZE” changes the display
modes sequentially as follows:
Normal →“Wide 1” →“Wide 2”
GX460 Navi (U)
OM60E73U
Finish
10.02.04
7
— Changing other settings
Page 287 of 428
AUDIO/VIDEO SYSTEM
286 D
Adjusting the screen
Push“DISPLAY” .
Select the desired button to adjust col-
or, tone, contrast and brightness. After
adjusting the screen, touch “OK”. “Color” “R”:
Strengthens the red color of the screen.
“Color” “G”:
Strengthens the green color of the screen.
“Tone” “+”:
Strengthens the tone of the screen.
“Tone” “−
”:
Weakens the tone of the screen.
“Contrast” “+”:
Strengthens the contrast of the screen.
“Contrast” “− ”:
Weakens the contrast of the screen.
“Brightness” “+”:
Brightens the screen.
“Brightness” “− ”:
Darkens the screen.
The screen goes off when “Screen Off”is
selected. To turn the display screen back
on, push “SOURCE” ,“DVD” ,“VIDEO” ,
“OFF” or“DISPLAY” for the display. The
selected screen appears.
GX460 Navi (U)
OM60E73U
Finish
09.09.30