2010 KIA Soul engine
[x] Cancel search: enginePage 56 of 314

343
Safety features of your vehicle
When an adult is seated in the front pas-
senger seat, if the PASSENGER AIR
BAG “OFF” indicator is on, turn the igni-
tion switch to the LOCK position and ask
the passenger to sit properly (sitting
upright with the seat back in an upright
position, centered on the seat cushion
with their seat belt on, legs comfortably
extended and their feet on the floor).
Restart the engine and have the person
remain in that position. This will allow the
system to detect the person and to
enable the passenger air bag.If the PASSENGER AIR BAG “OFF” indi-
cator is still on, ask the passenger to
move to the rear seat.
✽ ✽
NOTICEThe PASSENGER AIR BAG “OFF”
indicator illuminates for about 4 sec-
onds after the ignition switch is turned
to the ON position or after the engine is
started. If the front passenger seat is
occupied, the occupant detection sensor
will then classify the front passenger
after several more seconds.
B990A01O
WARNING
Do not allow an adult passenger to
ride in the front seat when the PAS-
SENGER AIR BAG “OFF” indicator
is illuminated, because the air bag
will not deploy in the event of a
crash. If the PASSENGER AIR BAG
“OFF” indicator remains illuminat-
ed after the passenger repositions
themselves properly and the car is
restarted, it is recommended that
passenger move to the rear seat
because the passenger's front air
bag will not deploy.
Front seat passengers must stay
properly seated to avoid serious
injury from a deploying air bag.
WARNING
Do not put a heavy load in the front
passenger seatback pocket or on
the front passenger seat. Do not
hang onto the front passenger seat.
Do not hang any items such as
seatback table on the front passen-
ger seatback. Do not place feet on
the front passenger seatback. Do
not place any items under the front
passenger seat. Any of these could
interfere with proper sensor opera-
tion.
Proper position
Page 70 of 314
357
Safety features of your vehicle
C041100AUNSRS CareThe SRS is virtually maintenance-free
and so there are no parts you can safely
service by yourself. If the SRS air bag
warning light does not illuminate, or con-
tinuously remains on, have your vehicle
immediately inspected by an authorized
KIA dealer.
Any work on the SRS system, such as
removing, installing, repairing, or any
work on the steering wheel must be per-
formed by an authorized KIA dealer.
Improper handling of the SRS system
may result in serious personal injury.
WARNING
Modification to SRS componentsor wiring, including the addition
of any kind of badges to the pad
covers or modifications to the
body structure, can adversely
affect SRS performance and lead
to possible injury.
For cleaning the air bag pad cov- ers, use only a soft, dry cloth or
one which has been moistened
with plain water. Solvents or
cleaners could adversely affect
the air bag covers and proper
deployment of the system.
No objects should be placed over
or near the air bag modules on the
steering wheel, instrument panel,
and the front passenger's panel
above the glove box, because any
such object could cause harm if the
vehicle is in a crash severe enough
to cause the air bags to inflate.
(Continued)
(Continued)
If the air bags inflate, they must be replaced by an authorized KIA
dealer.
Do not tamper with or disconnect SRS wiring, or other components
of the SRS system. Doing so
could result in injury, due to acci-
dental inflation of the air bags or
by rendering the SRS inopera-
tive.
If components of the air bag sys- tem must be discarded, or if the
vehicle must be scrapped, certain
safety precautions must be
observed. An authorized KIA
dealer knows these precautions
and can give you the necessary
information. Failure to follow
these precautions and proce-
dures could increase the risk of
personal injury.
If your car was flooded and has soaked carpeting or water on
flooring, you shouldn't try to start
the engine; have the car towed to
an authorized KIA dealer.
Page 74 of 314
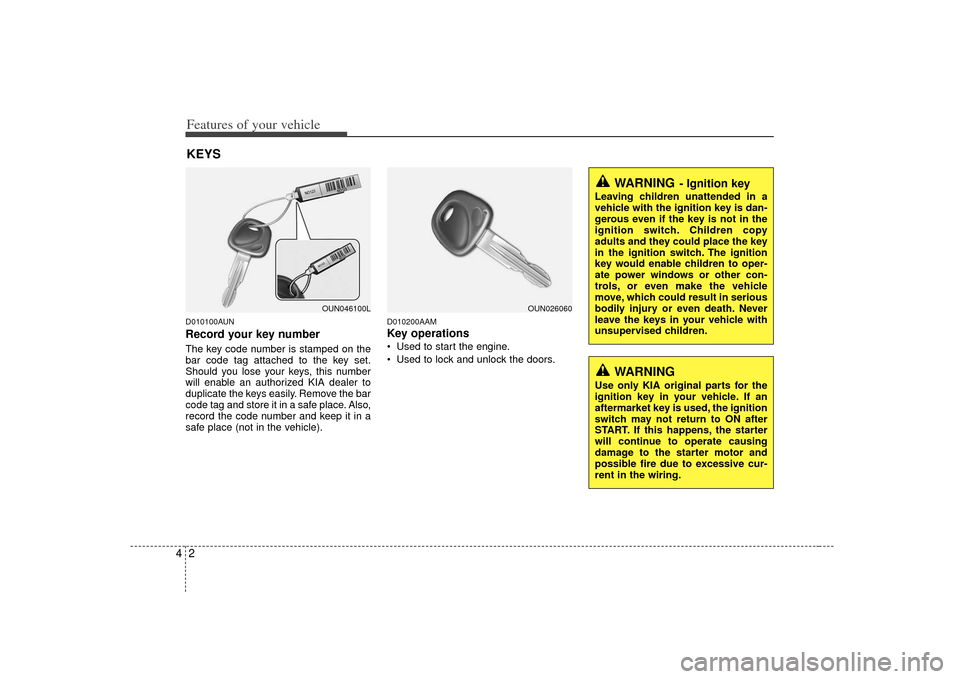
Features of your vehicle24D010100AUNRecord your key numberThe key code number is stamped on the
bar code tag attached to the key set.
Should you lose your keys, this number
will enable an authorized KIA dealer to
duplicate the keys easily. Remove the bar
code tag and store it in a safe place. Also,
record the code number and keep it in a
safe place (not in the vehicle).
D010200AAMKey operations• Used to start the engine.
Used to lock and unlock the doors.
KEYS
WARNING
- Ignition key
Leaving children unattended in a
vehicle with the ignition key is dan-
gerous even if the key is not in the
ignition switch. Children copy
adults and they could place the key
in the ignition switch. The ignition
key would enable children to oper-
ate power windows or other con-
trols, or even make the vehicle
move, which could result in serious
bodily injury or even death. Never
leave the keys in your vehicle with
unsupervised children.
OUN026060
WARNING
Use only KIA original parts for the
ignition key in your vehicle. If an
aftermarket key is used, the ignition
switch may not return to ON after
START. If this happens, the starter
will continue to operate causing
damage to the starter motor and
possible fire due to excessive cur-
rent in the wiring.
OUN046100L
Page 75 of 314
43
Features of your vehicle
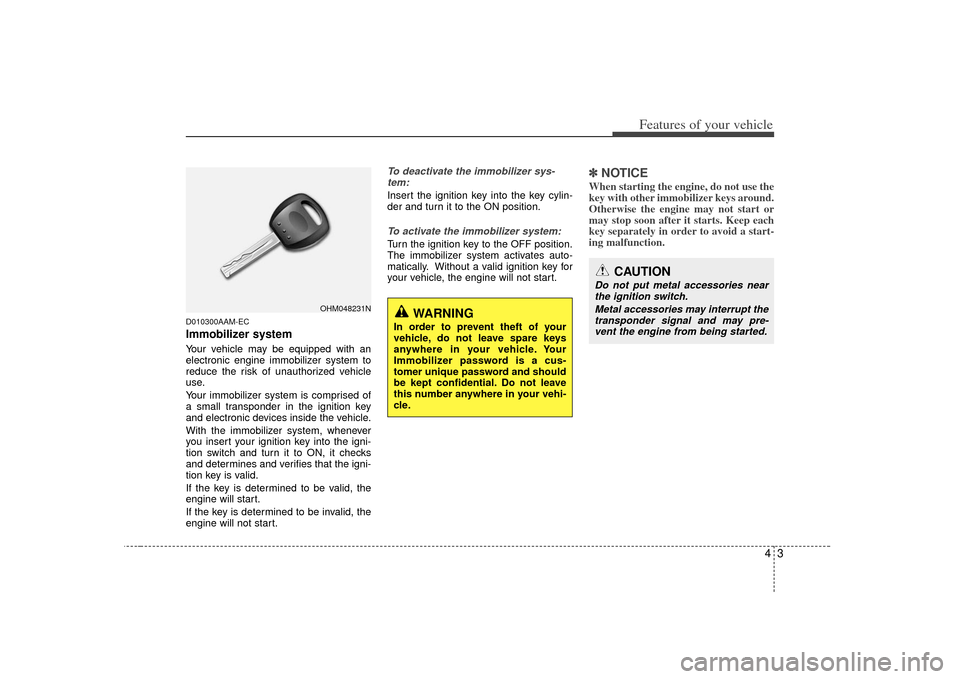
D010300AAM-ECImmobilizer systemYour vehicle may be equipped with an
electronic engine immobilizer system to
reduce the risk of unauthorized vehicle
use.
Your immobilizer system is comprised of
a small transponder in the ignition key
and electronic devices inside the vehicle.
With the immobilizer system, whenever
you insert your ignition key into the igni-
tion switch and turn it to ON, it checks
and determines and verifies that the igni-
tion key is valid.
If the key is determined to be valid, the
engine will start.
If the key is determined to be invalid, the
engine will not start.
To deactivate the immobilizer sys-tem:Insert the ignition key into the key cylin-
der and turn it to the ON position.To activate the immobilizer system:Turn the ignition key to the OFF position.
The immobilizer system activates auto-
matically. Without a valid ignition key for
your vehicle, the engine will not start.
✽ ✽ NOTICEWhen starting the engine, do not use the
key with other immobilizer keys around.
Otherwise the engine may not start or
may stop soon after it starts. Keep each
key separately in order to avoid a start-
ing malfunction.
CAUTION
Do not put metal accessories near
the ignition switch.
Metal accessories may interrupt thetransponder signal and may pre-vent the engine from being started.
WARNING
In order to prevent theft of your
vehicle, do not leave spare keys
anywhere in your vehicle. Your
Immobilizer password is a cus-
tomer unique password and should
be kept confidential. Do not leave
this number anywhere in your vehi-
cle.
OHM048231N
Page 77 of 314
45
Features of your vehicle
D010301AUN-ECLimp home (override) procedureWhen you turn the ignition switch to the
ON position, if the immobilizer indicator
( ) goes off after blinking 5 times,
your transponder equipped in the ignition
key is out of order. You cannot start the
engine without the lime home procedure.
To start the engine, you have to input
your password by using the ignition
switch.
The following procedure is how to input
your password of “2345” as an example.
1. Turn the ignition switch to the ON posi-
tion. The immobilizer indicator ( )
will blink 5 times and go off indicating
the beginning of the limp home proce-
dure.
2. Turn the ignition switch to the ACC position.
3. To enter the first digit (in this example “2”), turn the ignition switch to the ON
and ACC position twice. Perform the
same procedure for the next digits
between 3 seconds and 10 seconds
(for example, for “3”, turn the ignition
ON and ACC 3 times). 4. If all of the digits have been input suc-
cessfully, you have to start the engine
within 30 seconds. If you attempt to
start the engine after 30 seconds, the
engine will not start and you will have
to input your password again.
After performing the limp home proce-
dure, you have to see an authorized KIA
dealer immediately to inspect and repair
your ignition key or immobilizer system.
Page 89 of 314

417
Features of your vehicle
D090100AUN-U1Opening the hood 1. Pull the release lever to unlatch thehood. The hood should pop open
slightly. 2. Go to the front of the vehicle, raise the
hood slightly, pull the secondary latch
inside of the hood center and lift the
hood. 3. Pull out the support rod from the hood.
4. Hold the hood open with the support
rod.HOOD
OAM049015
OAM049016
OAM049017
WARNING
- Hot parts
Grasp the support rod in the area
wrapped in rubber. The rubber will
help prevent you from being burned
by hot metal when the engine is
hot.
Page 90 of 314

Features of your vehicle18
4D090200AAMClosing the hood1. Before closing the hood, check the fol-
lowing:
ment must be correctly installed.
bustible material must be removed
from the engine compartment.
2. Return the support rod to its clip to prevent it from rattling.
3. Lower the hood until it is about 30 cm (1 ft.) above the closed position and let
it drop. Make sure that it locks into
place.
WARNING
Before closing the hood, ensurethat all obstructions are removed
from the hood opening. Closing
the hood with an obstruction
present in the hood opening may
result in property damage or
severe personal injury.
Do not leave gloves, rags or any other combustible material in the
engine compartment. Doing so
may cause a heat-induced fire.
WARNING
Always double check to be surethat the hood is firmly latched
before driving away. If it is not
latched, the hood could open
while the vehicle is being driven,
causing total loss of visibility,
which might result in an accident.
The support rod must be inserted completely into the hole provided
whenever you inspect the engine
compartment. This will prevent
the hood from falling and possi-
bly injuring you.
Do not move the vehicle with the hood raised. The view will be
blocked and the hood could fall
or get damaged.
Page 91 of 314
419
Features of your vehicle
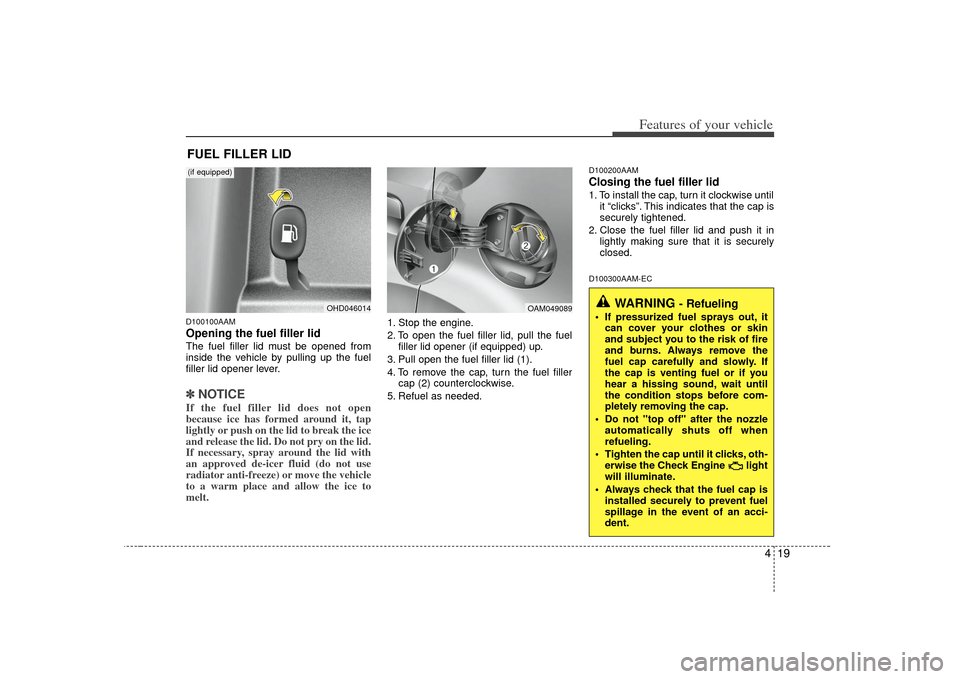
D100100AAMOpening the fuel filler lidThe fuel filler lid must be opened from
inside the vehicle by pulling up the fuel
filler lid opener lever.✽ ✽NOTICEIf the fuel filler lid does not open
because ice has formed around it, tap
lightly or push on the lid to break the ice
and release the lid. Do not pry on the lid.
If necessary, spray around the lid with
an approved de-icer fluid (do not use
radiator anti-freeze) or move the vehicle
to a warm place and allow the ice to
melt.
1. Stop the engine.
2. To open the fuel filler lid, pull the fuel
filler lid opener (if equipped) up.
3. Pull open the fuel filler lid (1).
4. To remove the cap, turn the fuel filler cap (2) counterclockwise.
5. Refuel as needed.
D100200AAMClosing the fuel filler lid1. To install the cap, turn it clockwise until it “clicks”. This indicates that the cap is
securely tightened.
2. Close the fuel filler lid and push it in lightly making sure that it is securely
closed.D100300AAM-EC
FUEL FILLER LID
WARNING
- Refueling
If pressurized fuel sprays out, itcan cover your clothes or skin
and subject you to the risk of fire
and burns. Always remove the
fuel cap carefully and slowly. If
the cap is venting fuel or if you
hear a hissing sound, wait until
the condition stops before com-
pletely removing the cap.
Do not "top off" after the nozzle automatically shuts off when
refueling.
Tighten the cap until it clicks, oth- erwise the Check Engine light
will illuminate.
Always check that the fuel cap is installed securely to prevent fuel
spillage in the event of an acci-
dent.
OHD046014
OAM049089
(if equipped)