2010 KIA SORENTO ECO mode
[x] Cancel search: ECO modePage 159 of 399
Features of your vehicle
84
4
✽✽
NOTICE
When using the air conditioning sys- tem, monitor the temperature gauge
closely while driving up hills or in
heavy traffic when outside tempera-
tures are high. Air conditioning sys-
tem operation may cause engine over-
heating. Continue to use the blower
fan but turn the air conditioning sys-
tem off if the temperature gauge indi-
cates engine overheating.
When opening the windows in humid weather air conditioning may create
water droplets inside the vehicle.
Since excessive water droplets may
cause damage to electrical equipment,
air conditioning should only be used
with the windows closed.Air conditioning system operation tips
If the vehicle has been parked in direct
sunlight during hot weather, open the
windows for a short time to let the hot
air inside the vehicle escape.
To help reduce moisture inside of the windows on rainy or humid days,
decrease the humidity inside the vehi-
cle by operating the air conditioningsystem.
During air conditioning system opera- tion, you may occasionally notice aslight change in engine speed as the
air conditioning compressor cycles.
This is a normal system operation
characteristic.
Use the air conditioning system every month only for a few minutes to ensure
maximum system performance. When using the air conditioning sys-
tem, you may notice clear water drip-
ping (or even puddling) on the ground
under the passenger side of the vehi-
cle. This is a normal system operation
characteristic.
Operating the air conditioning system in the recirculated air position provides
maximum cooling, however, continual
operation in this mode may cause the
air inside the vehicle to become stale.
During cooling operation, you may occasionally notice a misty air flow
because of rapid cooling and humid air
intake. This is a normal system opera-
tion characteristic.
Page 163 of 399
Features of your vehicle
88
4
Manual heating and air condition- ing The heating and cooling system can be
controlled manually by pressing buttons
or turning knob(s) other than the AUTO
button. In this case, the system workssequentially according to the order of
buttons or knob(s) selected.
1. Start the engine.
2. Set the mode to the desired position.
For improving the effectiveness of heating and cooling;- Heating: - Cooling:
3. Set the temperature control to the desired position.
4. Set the air intake control to the outside (fresh) air position.
5. Set the fan speed control to the desired speed.
6. If air conditioning is desired, turn the air conditioning system on.
Press the AUTO button in order to con-
vert to full automatic control of the sys-tem.
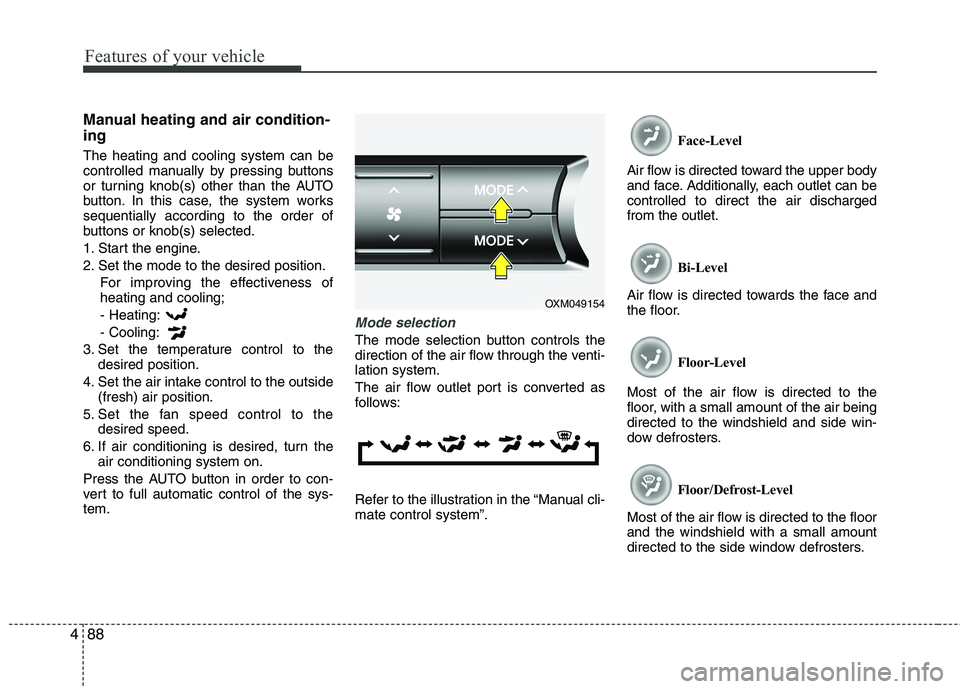
Mode selection
The mode selection button controls the
direction of the air flow through the venti-lation system.
The air flow outlet port is converted as
follows:
Refer to the illustration in the “Manual cli- mate control system”. Face-Level
Air flow is directed toward the upper body
and face. Additionally, each outlet can becontrolled to direct the air dischargedfrom the outlet.
Bi-Level
Air flow is directed towards the face and
the floor.
Floor-Level
Most of the air flow is directed to the
floor, with a small amount of the air beingdirected to the windshield and side win-
dow defrosters.
Floor/Defrost-Level
Most of the air flow is directed to the floorand the windshield with a small amount
directed to the side window defrosters.
OXM049154
Page 165 of 399
Features of your vehicle
90
4
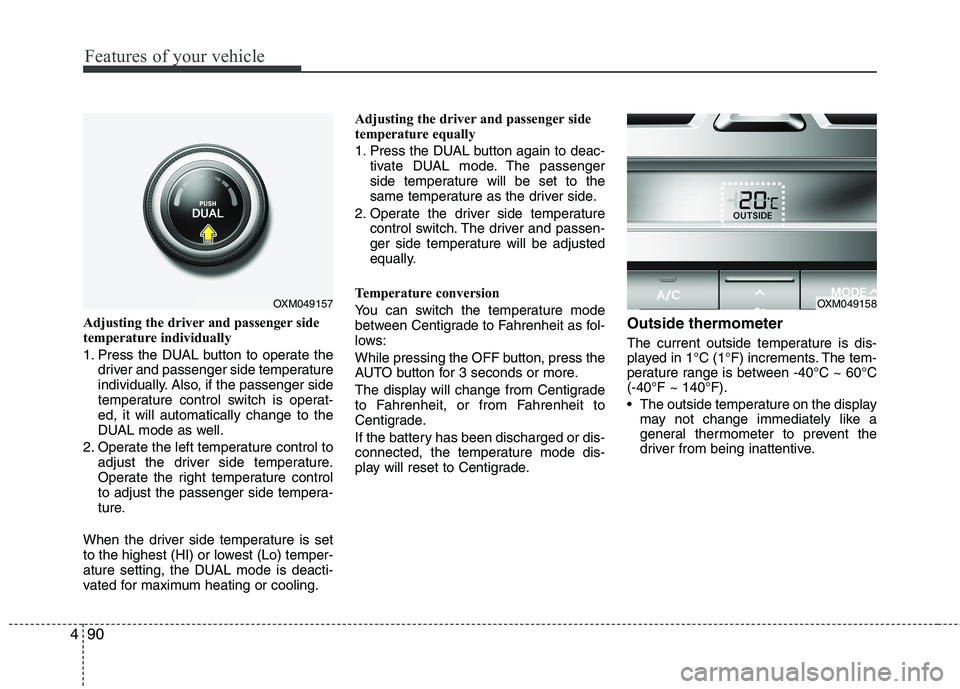
Adjusting the driver and passenger side
temperature individually
1. Press the DUAL button to operate the
driver and passenger side temperature
individually. Also, if the passenger side
temperature control switch is operat-ed, it will automatically change to the
DUAL mode as well.
2. Operate the left temperature control to adjust the driver side temperature.
Operate the right temperature control
to adjust the passenger side tempera-
ture.
When the driver side temperature is set
to the highest (HI) or lowest (Lo) temper-
ature setting, the DUAL mode is deacti-
vated for maximum heating or cooling. Adjusting the driver and passenger side
temperature equally
1. Press the DUAL button again to deac-
tivate DUAL mode. The passenger
side temperature will be set to the
same temperature as the driver side.
2. Operate the driver side temperature control switch. The driver and passen-
ger side temperature will be adjusted
equally.
Temperature conversion
You can switch the temperature mode
between Centigrade to Fahrenheit as fol-
lows:
While pressing the OFF button, press the
AUTO button for 3 seconds or more.
The display will change from Centigrade
to Fahrenheit, or from Fahrenheit to
Centigrade.
If the battery has been discharged or dis-
connected, the temperature mode dis-
play will reset to Centigrade. Outside thermometer
The current outside temperature is dis-
played in 1°C (1°F) increments. The tem-
perature range is between -40°C ~ 60°C(-40°F ~ 140°F).
The outside temperature on the display
may not change immediately like a
general thermometer to prevent the
driver from being inattentive.
OXM049157OXM049158
Page 171 of 399
Features of your vehicle
96
4
Defogging logic
To reduce the possibility of fogging up
the inside of the windshield, the air intakeor air conditioning are controlled auto-
matically according to certain conditions
such as or position. To cancel or
return to the defogging logic, do the fol-
lowing.
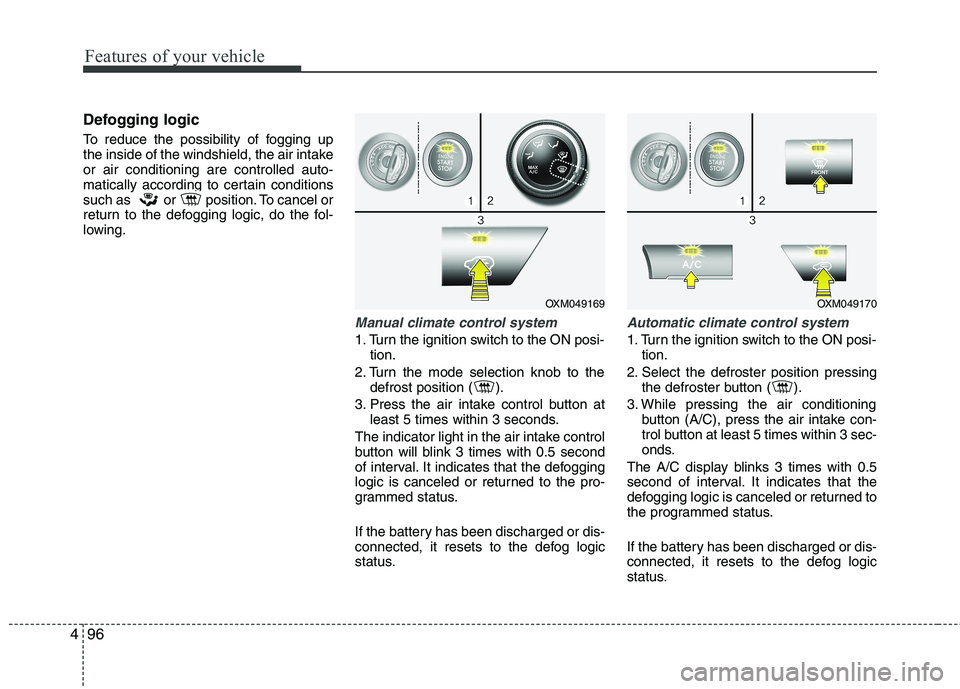
Manual climate control system
1. Turn the ignition switch to the ON posi-
tion.
2. Turn the mode selection knob to the defrost position ( ).
3. Press the air intake control button at least 5 times within 3 seconds.
The indicator light in the air intake control
button will blink 3 times with 0.5 second
of interval. It indicates that the defogging
logic is canceled or returned to the pro-
grammed status.
If the battery has been discharged or dis-
connected, it resets to the defog logic
status.
Automatic climate control system
1. Turn the ignition switch to the ON posi- tion.
2. Select the defroster position pressing the defroster button ( ).
3. While pressing the air conditioning button (A/C), press the air intake con-
trol button at least 5 times within 3 sec-
onds.
The A/C display blinks 3 times with 0.5
second of interval. It indicates that the
defogging logic is canceled or returned to
the programmed status.
If the battery has been discharged or dis-
connected, it resets to the defog logic
status.
OXM049169OXM049170
Page 183 of 399
Features of your vehicle
108
4
VOLUME (VOL +/ -) (1)
• Push up the lever to increase volume.
Push down the lever to decrease vol-
ume.
SEEK/PRESET ( / ) (2)
The SEEK/PRESET button has different
functions base on the system mode. For
the following functions the button should
be pressed for 0.8 seconds or more.
RADIO mode
It will function as the AUTO SEEK select
button.
CDP mode
It will function as the FF/REW button.
CDC mode
It will function as the DISC UP/DOWN
button.
If the SEEK/PRESET button is pressed
for less than 0.8 second, it will work as
follows in each mode. RADIO mode
It will function as the PRESET STATION
select buttons.
CDP mode
It will function as the TRACK UP/DOWN
button.
CDC mode
It will function as the TRACK UP/DOWN
button.
MODE (3)
Press the button to select Radio or CD (compact disc).
Detailed information for audio control
buttons is described in the followingpages in this section.
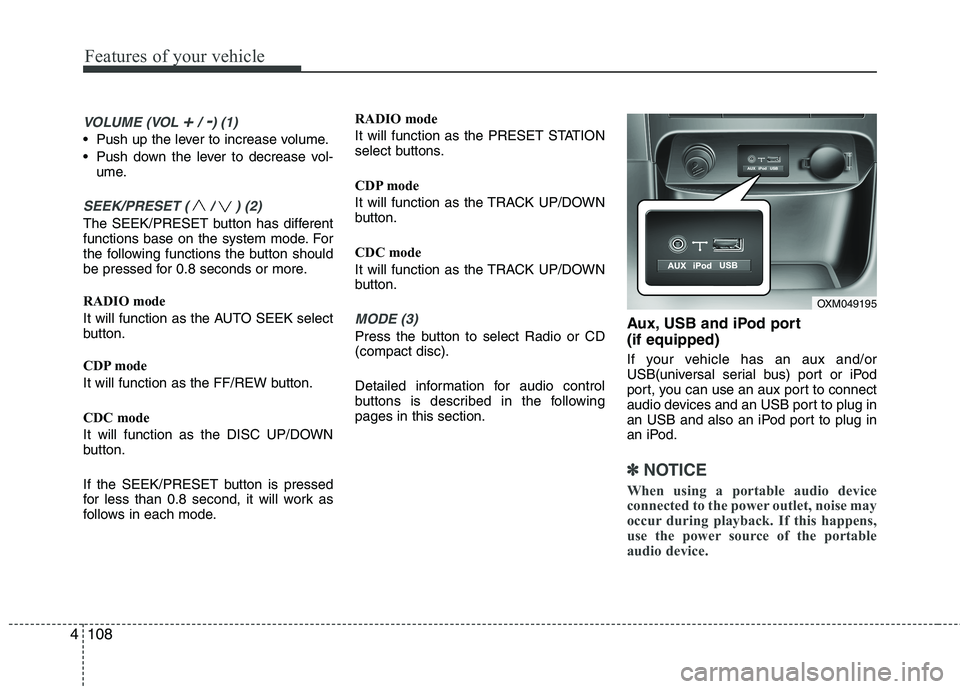
Aux, USB and iPod port (if equipped)
If your vehicle has an aux and/or
USB(universal serial bus) port or iPod
port, you can use an aux port to connect
audio devices and an USB port to plug in
an USB and also an iPod port to plug in
an iPod.
✽✽
NOTICE
When using a portable audio device
connected to the power outlet, noise may
occur during playback. If this happens,
use the power source of the portable
audio device.
OXM049195
Page 188 of 399
4113
Features of your vehicle
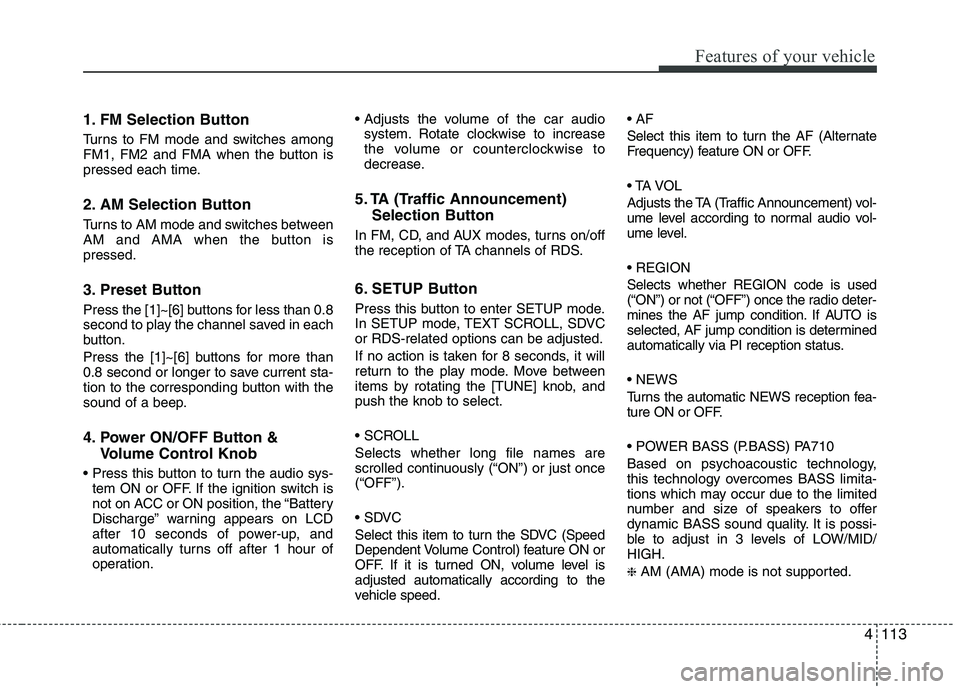
1. FM Selection Button
Turns to FM mode and switches among
FM1, FM2 and FMA when the button is
pressed each time.
2. AM Selection Button
Turns to AM mode and switches between
AM and AMA when the button ispressed.
3. Preset Button
Press the [1]~[6] buttons for less than 0.8
second to play the channel saved in each
button.
Press the [1]~[6] buttons for more than
0.8 second or longer to save current sta-
tion to the corresponding button with the
sound of a beep.
4. Power ON/OFF Button &Volume Control Knob
tem ON or OFF. If the ignition switch is
not on ACC or ON position, the “Battery
Discharge” warning appears on LCD
after 10 seconds of power-up, and
automatically turns off after 1 hour of
operation.
system. Rotate clockwise to increase
the volume or counterclockwise to
decrease.
5. TA (Traffic Announcement) Selection Button
In FM, CD, and AUX modes, turns on/off
the reception of TA channels of RDS.
6. SETUP Button
Press this button to enter SETUP mode.
In SETUP mode, TEXT SCROLL, SDVCor RDS-related options can be adjusted.
If no action is taken for 8 seconds, it will
return to the play mode. Move between
items by rotating the [TUNE] knob, andpush the knob to select.
Selects whether long file names are
scrolled continuously (“ON”) or just once(“OFF”).
Select this item to turn the SDVC (Speed
Dependent Volume Control) feature ON or
OFF. If it is turned ON, volume level isadjusted automatically according to the
vehicle speed.
Select this item to turn the AF (Alternate
Frequency) feature ON or OFF.
Adjusts the TA (Traffic Announcement) vol-
ume level according to normal audio vol-
ume level. Selects whether REGION code is used
(“ON”) or not (“OFF”) once the radio deter-
mines the AF jump condition. If AUTO is
selected, AF jump condition is determined
automatically via PI reception status.
Turns the automatic NEWS reception fea-
ture ON or OFF.
Based on psychoacoustic technology,
this technology overcomes BASS limita-
tions which may occur due to the limited
number and size of speakers to offer
dynamic BASS sound quality. It is possi-
ble to adjust in 3 levels of LOW/MID/HIGH. ❈
AM (AMA) mode is not supported.
Page 191 of 399
Features of your vehicle
116
4
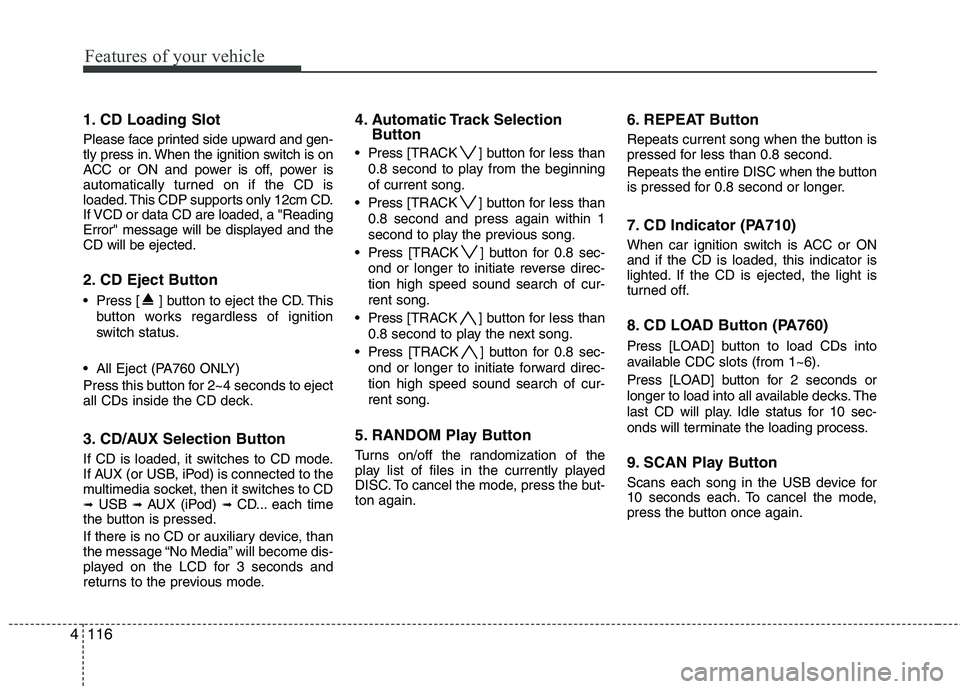
1. CD Loading Slot
Please face printed side upward and gen-
tly press in. When the ignition switch is on
ACC or ON and power is off, power is
automatically turned on if the CD is
loaded. This CDP supports only 12cm CD.
If VCD or data CD are loaded, a "Reading
Error" message will be displayed and theCD will be ejected.
2. CD Eject Button
Press [ ] button to eject the CD. This
button works regardless of ignition
switch status.
All Eject (PA760 ONLY)
Press this button for 2~4 seconds to eject
all CDs inside the CD deck.
3. CD/AUX Selection Button
If CD is loaded, it switches to CD mode.
If AUX (or USB, iPod) is connected to the
multimedia socket, then it switches to CD➟ USB ➟ AUX (iPod) ➟ CD... each time
the button is pressed.
If there is no CD or auxiliary device, than
the message “No Media” will become dis-
played on the LCD for 3 seconds and
returns to the previous mode. 4. Automatic Track Selection
Button
Press [TRACK ] button for less than
0.8 second to play from the beginning of current song.
Press [TRACK ] button for less than
0.8 second and press again within 1
second to play the previous song.
Press [TRACK ] button for 0.8 sec-
ond or longer to initiate reverse direc-tion high speed sound search of cur-rent song.
Press [TRACK ] button for less than
0.8 second to play the next song.
Press [TRACK ] button for 0.8 sec-
ond or longer to initiate forward direc-tion high speed sound search of cur-rent song.
5. RANDOM Play Button
Turns on/off the randomization of the
play list of files in the currently played
DISC. To cancel the mode, press the but-ton again. 6. REPEAT Button
Repeats current song when the button is
pressed for less than 0.8 second.
Repeats the entire DISC when the button
is pressed for 0.8 second or longer.
7. CD Indicator (PA710)
When car ignition switch is ACC or ON and if the CD is loaded, this indicator is
lighted. If the CD is ejected, the light is
turned off.
8. CD LOAD Button (PA760)
Press [LO
AD] button to load CDs into
available CDC slots (from 1~6).
Press [LOAD] button for 2 seconds or
longer to load into all available decks. The
last CD will play. Idle status for 10 sec-
onds will terminate the loading process.
9. SCAN Play Button
Scans each song in the USB device for
10 seconds each. To cancel the mode,
press the button once again.
Page 194 of 399
4119
Features of your vehicle
CAUTION IN USING
USB DEVICE
To use an external USB device, make sure the device is notmounted when starting up thevehicle and mount the deviceafter starting up.
If you start the vehicle when the USB device is mounted, it maydamage the USB device. (USB isnot ESA.)
If the vehicle is started up or turned off while the external USBdevice is connected, the external USB device may not work.
It may not play inauthentic MP3 or WMA files.
1) It can only play MP3 files with the compression rate between8Kbps~320Kbps.
2) It can only play WMA music files with the compression rate
between 8Kbps~320Kbps.
Take cautions for static electricity when mounting or dismountingthe external USB device.
An encoded MP3 PLAYER is not recognizable.
(Continued)
(Continued) Depending on the condition of the external USB device, the con-nected external USB device canbe unrecognizable.
When the formatted byte/sector setting of External USB devices isnot either 512BYTE or 2048BYTE,then the device will not be recog-
nized.
Use only a USB device formatted to FAT 12/16/32.
USB devices without USB IF authentication may not be recog-nizable.
Make sure the USB connection ter- minal does not come in contactwith human bodies or externalobjects.
If you repeat mounting and dis- mounting the USB device in ashort period of time, it may break the device.
You may hear a strange noise when mounting or dismounting a
USB device.
(Continued)(Continued) If you dismount the external USB device during playback in USBmode, the external USB device canbe damaged or malfunction.
Therefore, mount the external USBdevice when the engine is turned off or in another mode.
Depending on the type and capac- ity of the external USB device orthe type of the files stored in thedevice, there is a difference in thetime taken for recognition of the
device, but this is not an indicatorof trouble and you only have to wait.
Do not use the USB device for other purposes than playing music files.
Use of USB accessories such as recharger or heater using USB I/Fmay lower performance or causetrouble.
If you use devices such as a USB hub purchased separately, thevehicle’s audio system may not recognize the USB device.Connect the USB device directly
to the multimedia terminal of the vehicle.
(Continued)