2010 KIA Rio reset
[x] Cancel search: resetPage 111 of 236
Knowing your vehicle
102
3
How to Use SIRIUS Satellite
Radio
Your vehicle is equipped with a 3 month
complimentary period of SIRIUS Satellite
Radio so you have access to over 130
channels of music, information, and
entertainment programming.
Activation
In order to extend or reactivate your sub-
scription to SIRIUS Satellite Radio, you
will need to contact SIRIUS Customer
Care at 888-539-7474. Have your 12 digit
SID (Sirius Identification Number)/ESN
(Electronic Serial Number) ready. To
retrieve the SID/ESN, turn on the radio,
press the [SAT] button and tune to chan-
nel zero. Please note that the vehicle will
need to be turned on, in Sirius mode, and
have an unobstructed view of the sky in
order for the radio to receive the activa-
tion signal.
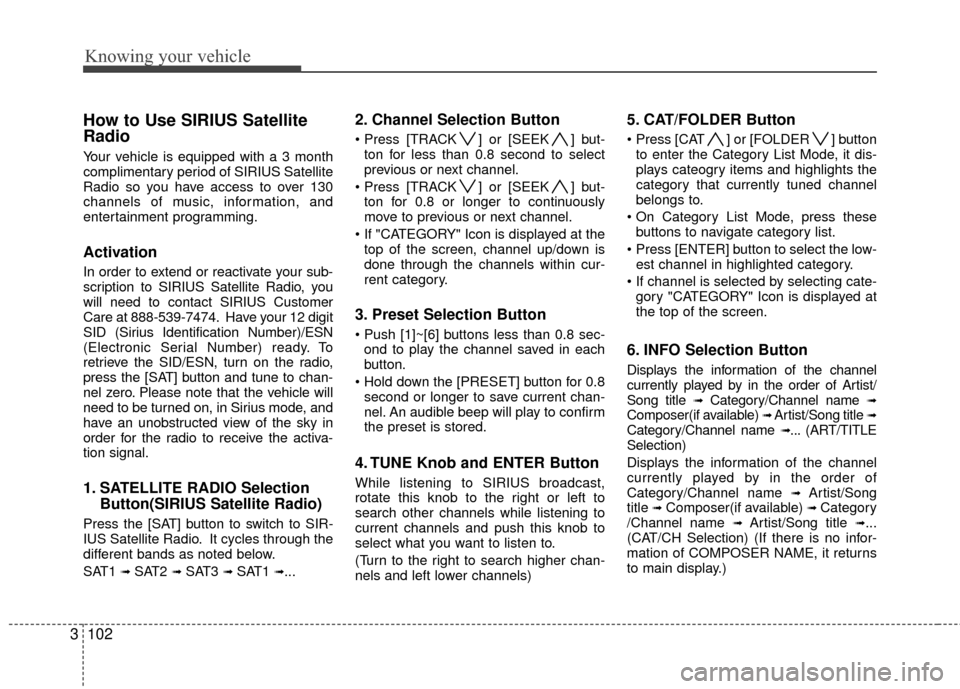
1. SATELLITE RADIO Selection
Button(SIRIUS Satellite Radio)
Press the [SAT] button to switch to SIR-
IUS Satellite Radio. It cycles through the
different bands as noted below.
SAT1
➟ SAT2 ➟ SAT3 ➟ SAT1 ➟...
2. Channel Selection Button
] or [SEEK ] but-
ton for less than 0.8 second to select
previous or next channel.
] or [SEEK ] but- ton for 0.8 or longer to continuously
move to previous or next channel.
top of the screen, channel up/down is
done through the channels within cur-
rent category.
3. Preset Selection Button
ond to play the channel saved in each
button.
second or longer to save current chan-
nel. An audible beep will play to confirm
the preset is stored.
4. TUNE Knob and ENTER Button
While listening to SIRIUS broadcast,
rotate this knob to the right or left to
search other channels while listening to
current channels and push this knob to
select what you want to listen to.
(Turn to the right to search higher chan-
nels and left lower channels)
5. CAT/FOLDER Button
] or [FOLDER ] buttonto enter the Category List Mode, it dis-
plays cateogry items and highlights the
category that currently tuned channel
belongs to.
buttons to navigate category list.
Press [ENTER] button to select the low- est channel in highlighted category.
gory "CATEGORY" Icon is displayed at
the top of the screen.
6. INFO Selection Button
Displays the information of the channel
currently played by in the order of Artist/
Song title
➟Category/Channel name ➟Composer(if available) ➟ Artist/Song title ➟Category/Channel name ➟... (ART/TITLE
Selection)
Displays the information of the channel
currently played by in the order of
Category/Channel name
➟ Artist/Song
title ➟Composer(if available) ➟ Category
/Channel name ➟ Artist/Song title ➟...
(CAT/CH Selection) (If there is no infor-
mation of COMPOSER NAME, it returns
to main display.)
Page 129 of 236
417
Driving your vehicle
Each of these actions will cancel cruise
control operation (the SET indicator light
in the instrument cluster will go off), but it
will not turn the system off. If you wish to
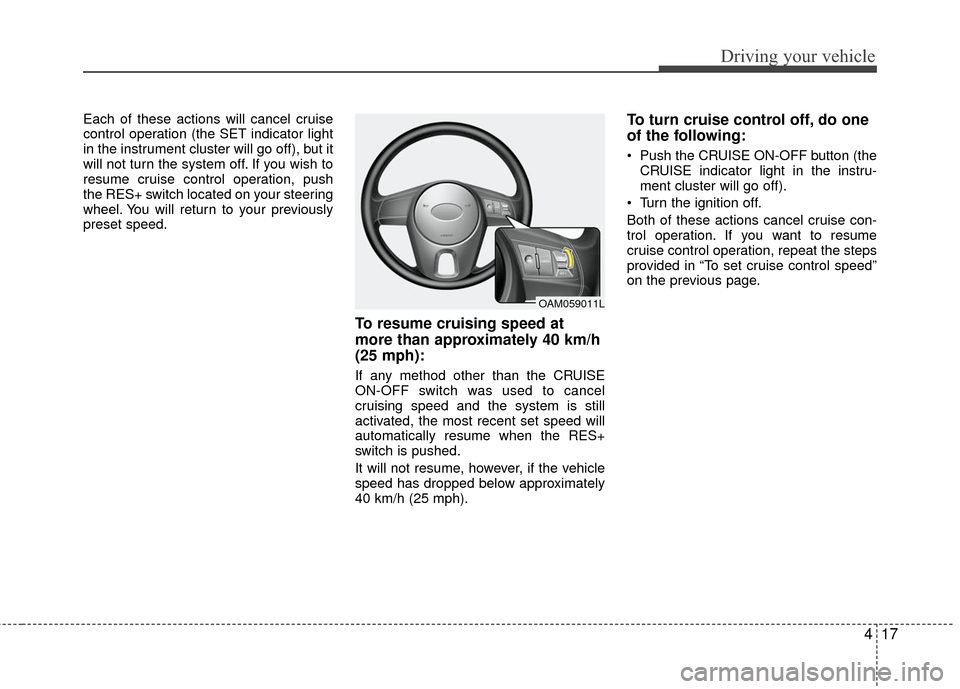
resume cruise control operation, push
the RES+ switch located on your steering
wheel. You will return to your previously
preset speed.
To resume cruising speed at
more than approximately 40 km/h
(25 mph):
If any method other than the CRUISE
ON-OFF switch was used to cancel
cruising speed and the system is still
activated, the most recent set speed will
automatically resume when the RES+
switch is pushed.
It will not resume, however, if the vehicle
speed has dropped below approximately
40 km/h (25 mph).
To turn cruise control off, do one
of the following:
Push the CRUISE ON-OFF button (theCRUISE indicator light in the instru-
ment cluster will go off).
Turn the ignition off.
Both of these actions cancel cruise con-
trol operation. If you want to resume
cruise control operation, repeat the steps
provided in “To set cruise control speed”
on the previous page.
OAM059011L
Page 134 of 236
Driving your vehicle
22
4
Tripmeter
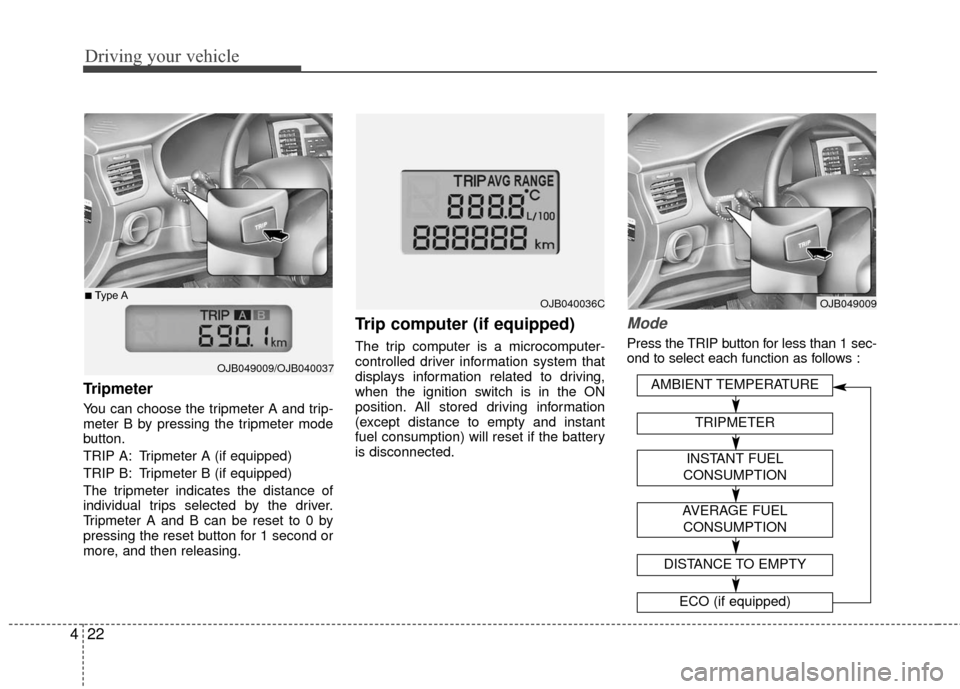
You can choose the tripmeter A and trip-
meter B by pressing the tripmeter mode
button.
TRIP A: Tripmeter A (if equipped)
TRIP B: Tripmeter B (if equipped)
The tripmeter indicates the distance of
individual trips selected by the driver.
Tripmeter A and B can be reset to 0 by
pressing the reset button for 1 second or
more, and then releasing.
Trip computer (if equipped)
The trip computer is a microcomputer-
controlled driver information system that
displays information related to driving,
when the ignition switch is in the ON
position. All stored driving information
(except distance to empty and instant
fuel consumption) will reset if the battery
is disconnected.
Mode
Press the TRIP button for less than 1 sec-
ond to select each function as follows :
OJB049009/OJB040037
■Type AOJB040036COJB049009
AVERAGE FUEL
CONSUMPTION
DISTANCE TO EMPTY
ECO (if equipped)
AMBIENT TEMPERATURE
TRIPMETER
INSTANT FUEL
CONSUMPTION
Page 135 of 236
423
Driving your vehicle
Ambient temperature
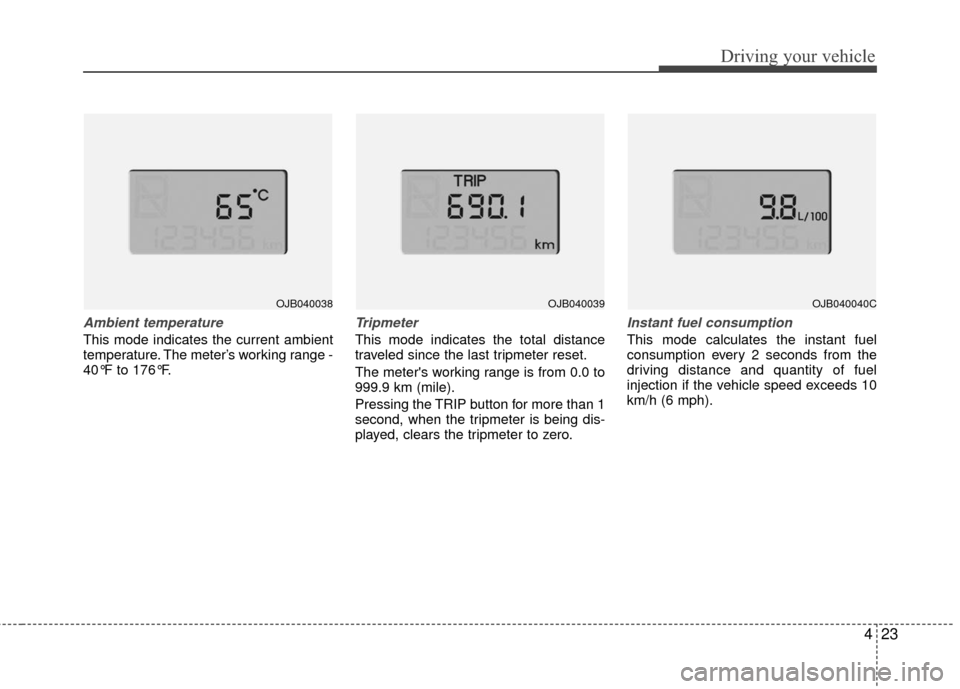
This mode indicates the current ambient
temperature. The meter’s working range -
40°F to 176°F.
Tripmeter
This mode indicates the total distance
traveled since the last tripmeter reset.
The meter's working range is from 0.0 to
999.9 km (mile).
Pressing the TRIP button for more than 1
second, when the tripmeter is being dis-
played, clears the tripmeter to zero.
Instant fuel consumption
This mode calculates the instant fuel
consumption every 2 seconds from the
driving distance and quantity of fuel
injection if the vehicle speed exceeds 10
km/h (6 mph).
OJB040038OJB040039OJB040040C
Page 136 of 236
Driving your vehicle
24
4
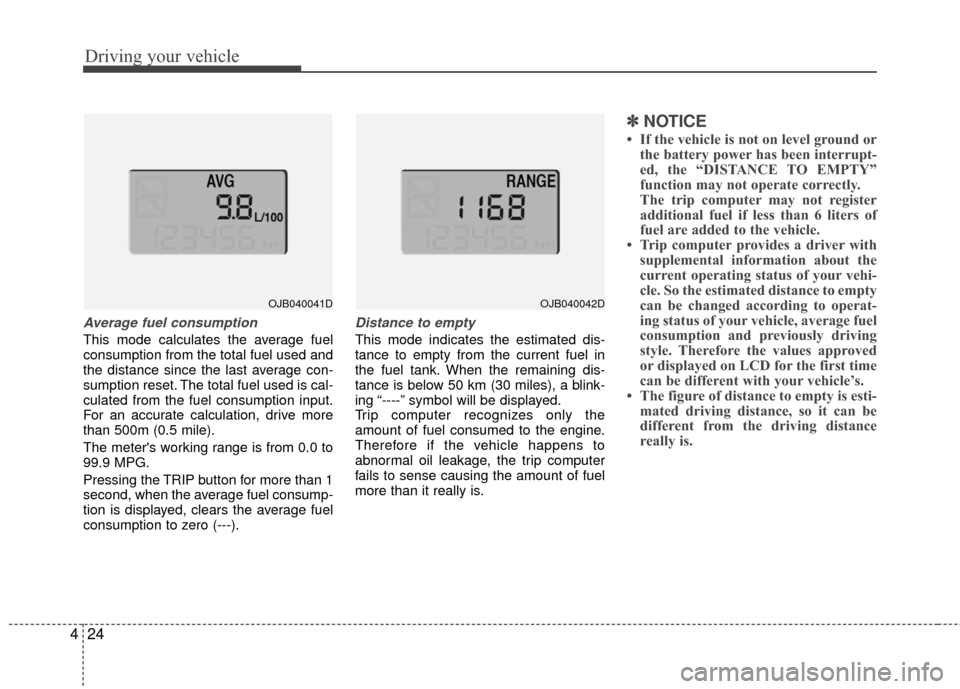
Average fuel consumption
This mode calculates the average fuel
consumption from the total fuel used and
the distance since the last average con-
sumption reset. The total fuel used is cal-
culated from the fuel consumption input.
For an accurate calculation, drive more
than 500m (0.5 mile).
The meter's working range is from 0.0 to
99.9 MPG.
Pressing the TRIP button for more than 1
second, when the average fuel consump-
tion is displayed, clears the average fuel
consumption to zero (---).
Distance to empty
This mode indicates the estimated dis-
tance to empty from the current fuel in
the fuel tank. When the remaining dis-
tance is below 50 km (30 miles), a blink-
ing “----” symbol will be displayed.
Trip computer recognizes only the
amount of fuel consumed to the engine.
Therefore if the vehicle happens to
abnormal oil leakage, the trip computer
fails to sense causing the amount of fuel
more than it really is.
✽ ✽
NOTICE
• If the vehicle is not on level ground or
the battery power has been interrupt-
ed, the “DISTANCE TO EMPTY”
function may not operate correctly.
The trip computer may not register
additional fuel if less than 6 liters of
fuel are added to the vehicle.
• Trip computer provides a driver with supplemental information about the
current operating status of your vehi-
cle. So the estimated distance to empty
can be changed according to operat-
ing status of your vehicle, average fuel
consumption and previously driving
style. Therefore the values approved
or displayed on LCD for the first time
can be different with your vehicle’s.
• The figure of distance to empty is esti- mated driving distance, so it can be
different from the driving distance
really is.
OJB040041DOJB040042D
Page 181 of 236

In case of an emergency
12
6
Memory fuse
Your vehicle is equipped with a memory
fuse to prevent battery discharge if your
vehicle is parked without being operated
for prolonged periods. Use the following
procedures before parking the vehicle for
prolonged period.
1. Turn off the engine.
2. Turn off the headlights and tail lights.
3. Open the driver-side knee bolster
cover and pull up the “MULT B/UP 10A
/ AUDIO 15A”.
✽ ✽NOTICE
• If the memory fuse is pulled up from
the fuse panel, the warning chime,
audio, clock and interior lamps, etc.,
will not operate. Some items must be
reset after replacement.
• Even though the memory fuse is pulled up, the battery can still be dis-
charged by operation of the head-
lights or other electrical devices.
If emergency towing is necessary, we
recommend having it done by an author-
ized Kia dealer or a commercial tow-truck
service. Proper lifting and towing proce-
dures are necessary to prevent damage
to the vehicle. The use of wheel dollies or
flatbed equipment is recommended.
For trailer towing guidelines information,
refer to section 5 “Driving Tips”.
1JBA6010
TOWING
1JBA6501
Page 214 of 236

723
Maintenance
For best battery service :
Keep the battery securely mounted.
Keep the top of the battery clean anddry.
Keep the terminals and connections clean, tight, and coated with petroleum
jelly or terminal grease.
Rinse any spilled electrolyte from the battery immediately with a solution of
water and baking soda.
If the vehicle is not going to be used for an extended time, disconnect the bat-
tery cables.
Battery recharging
Your vehicle has a maintenance-free,
calcium-based battery.
If the battery becomes discharged in ashort time (because, for example, the
headlights or interior lights were left on
while the vehicle was not in use),
recharge it by slow charging (trickle)
for 10 hours.
If the battery gradually discharges because of high electric load while the
vehicle is being used, recharge it at 20-
30A for two hours.
Items to be reset after the battery hasbeen discharged or the battery hasbeen disconnected.
Clock (See Chapter 3)
Audio (See Chapter 3)
Sunroof (See Chapter 3)
✽ ✽ NOTICE
• Before performing maintenance or
recharging the battery, turn off all
accessories and stop the engine.
• The negative battery cable must be removed first and installed last when
the battery is disconnected.
1JBA7017
WARNING- Recharging
battery
When recharging the battery,
observe the following precautions:
The battery must be removed
from the vehicle and placed in an
area with good ventilation.
(Continued)
(Continued)
Do not allow cigarettes, sparks, orflame near the battery.
Watch the battery during charg- ing, and stop or reduce the charg-
ing rate if the battery cells begin
gassing (boiling) violently or if
the temperature of the electrolyte
of any cell exceeds 49°C (120°F).
Wear eye protection when check- ing the battery during charging.
Disconnect the battery charger in the following order.
1. Turn off the battery charger main switch.
2. Unhook the negative clamp from the negative battery terminal.
3. Unhook the positive clamp from the positive battery terminal.
Page 218 of 236
727
Maintenance
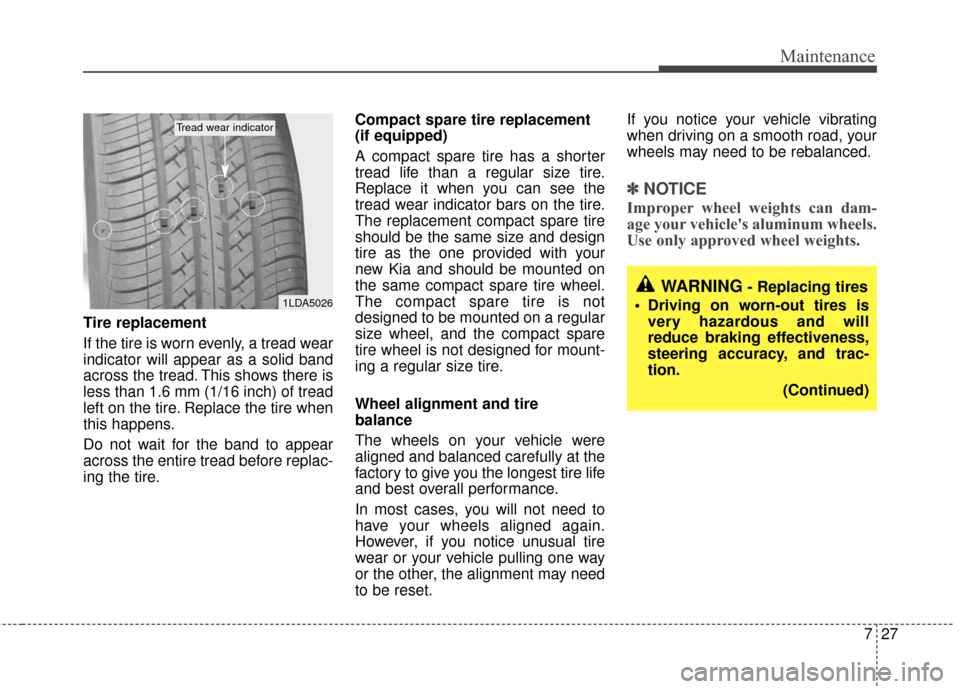
Tire replacement
If the tire is worn evenly, a tread wear
indicator will appear as a solid band
across the tread. This shows there is
less than 1.6 mm (1/16 inch) of tread
left on the tire. Replace the tire when
this happens.
Do not wait for the band to appear
across the entire tread before replac-
ing the tire.Compact spare tire replacement
(if equipped)
A compact spare tire has a shorter
tread life than a regular size tire.
Replace it when you can see the
tread wear indicator bars on the tire.
The replacement compact spare tire
should be the same size and design
tire as the one provided with your
new Kia and should be mounted on
the same compact spare tire wheel.
The compact spare tire is not
designed to be mounted on a regular
size wheel, and the compact spare
tire wheel is not designed for mount-
ing a regular size tire.
Wheel alignment and tire
balance
The wheels on your vehicle were
aligned and balanced carefully at the
factory to give you the longest tire life
and best overall performance.
In most cases, you will not need to
have your wheels aligned again.
However, if you notice unusual tire
wear or your vehicle pulling one way
or the other, the alignment may need
to be reset.If you notice your vehicle vibrating
when driving on a smooth road, your
wheels may need to be rebalanced.
✽ ✽
NOTICE
Improper wheel weights can dam-
age your vehicle's aluminum wheels.
Use only approved wheel weights.
1LDA5026
Tread wear indicator
WARNING- Replacing tires
Driving on worn-out tires is very hazardous and will
reduce braking effectiveness,
steering accuracy, and trac-
tion.
(Continued)