2010 KIA Optima tires
[x] Cancel search: tiresPage 237 of 336

545
Driving your vehicle
E140400ASA
Driving with a trailer
Towing a trailer requires a certain
amount of experience. Before setting out
for the open road, you must get to know
your trailer. Acquaint yourself with the
feel of handling and braking with the
added weight of the trailer. And always
keep in mind that the vehicle you are
driving is now a good deal longer and not
nearly so responsive as your vehicle is
by itself.
Before you start, check the trailer hitch
and platform, safety chains, electrical
connector(s), lights, tires and mirror
adjustment. If the trailer has electric
brakes, start your vehicle and trailer mov-
ing and then apply the trailer brake con-
troller by hand to be sure the brakes are
working. This lets you check your electri-
cal connection at the same time.
During your trip, check occasionally to be
sure that the load is secure, and that the
lights and trailer brakes are still working.
E140401AUN
Following distance
Stay at least twice as far behind the vehi-
cle ahead as you would when driving
your vehicle without a trailer. This can
help you avoid situations that require
heavy braking and sudden turns.
E140402AUN
Passing
You’ll need more passing distance up
ahead when you’re towing a trailer. And,
because of the increased vehicle length,
you’ll need to go much farther beyond the
passed vehicle before you can return to
your lane.
E140403AUN
Backing up
Hold the bottom of the steering wheel
with one hand. Then, to move the trailer
to the left, just move your hand to the left.
To move the trailer to the right, move your
hand to the right. Always back up slowly
and, if possible, have someone guide
you.
E140404AUN
Making turns
When you’re turning with a trailer, make
wider turns than normal. Do this so your
trailer won’t strike soft shoulders, curbs,
road signs, trees, or other objects. Avoid
jerky or sudden maneuvers. Signal well
in advance.
E140405AUN
Turn signals when towing a trailer
When you tow a trailer, your vehicle has
to have a different turn signal flasher and
extra wiring. The green arrows on your
instrument panel will flash whenever you
signal a turn or lane change. Properly
connected, the trailer lights will also flash
to alert other drivers you’re about to turn,
change lanes, or stop.
When towing a trailer, the green arrows
on your instrument panel will flash for
turns even if the bulbs on the trailer are
burned out. Thus, you may think drivers
behind you are seeing your signals
when, in fact, they are not. It’s important
to check occasionally to be sure the trail-
er bulbs are still working. You must also
check the lights every time you discon-
nect and then reconnect the wires.
Do not connect a trailer lighting system
directly to your vehicle’s lighting system.
Use only an approved trailer wiring har-
ness.
Page 245 of 336

553
Driving your vehicle
E150200ABH
Certification label
The certification label is located on
the driver's door sill at the center pil-
lar.
This label shows the maximum
allowable weight of the fully loaded
vehicle. This is called the GVWR
(Gross Vehicle Weight Rating). The
GVWR includes the weight of the
vehicle, all occupants, fuel and
cargo.
This label also tells you the maxi-
mum weight that can be supported
by the front and rear axles, called
Gross Axle Weight Rating (GAWR).
To find out the actual loads on your
front and rear axles, you need to go
to a weigh station and weigh your
vehicle. Your dealer can help you with
this. Be sure to spread out your load
equally on both sides of the center-
line.The label will help you decide how
much cargo and installed equipment
your vehicle can carry.
If you carry items inside your vehicle
- like suitcases, tools, packages, or
anything else - they are moving as
fast as the vehicle. If you have to stop
or turn quickly, or if there is a crash,
the items will keep going and can
cause an injury if they strike the driv-
er or a passenger.WARNING -Over loading
Never exceed the GVWR for your vehicle, the GAWR for
either the front or rear axle
and vehicle capacity weight.
Exceeding these ratings can
cause an accident or vehicle
damage. You can calculate the
weight of your load by weigh-
ing the items (or people)
before putting them in the
vehicle. Be careful not to over-
load your vehicle.
Do not load your vehicle any heavier than the GVWR, either
the maximum front or rear
GAWR and vehicle capacity
weight. If you do, parts,
including tires on your vehicle
can break, and it can change
the way your vehicle handles
and braking ability. This could
cause you to lose control and
crash. Also, overloading can
shorten the life of your vehi-
cle.
Page 246 of 336

Driving your vehicle
54
5
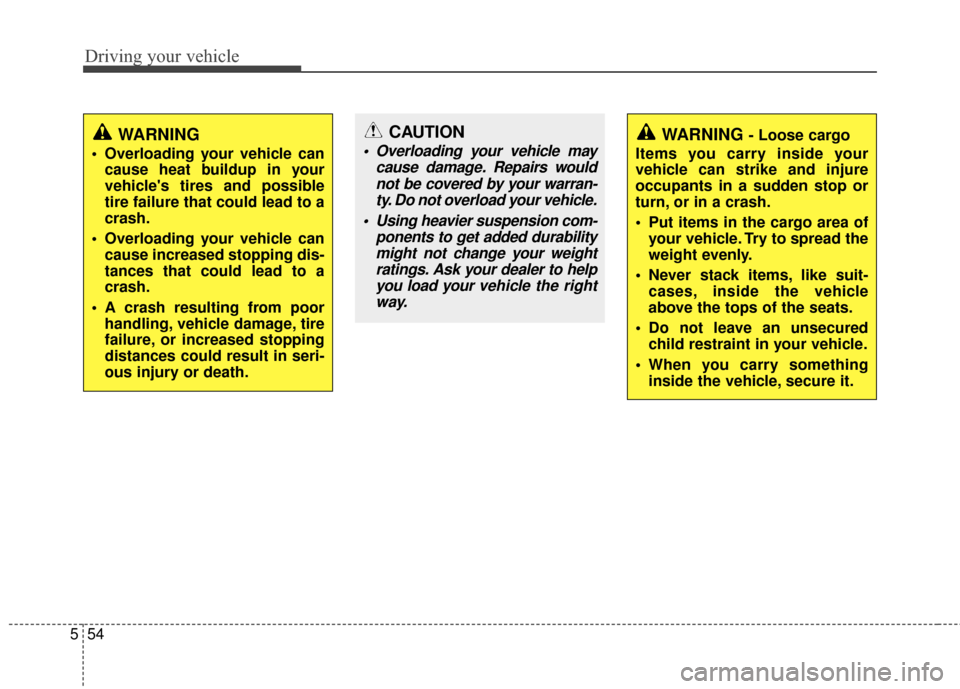
WARNING
Overloading your vehicle can
cause heat buildup in your
vehicle's tires and possible
tire failure that could lead to a
crash.
Overloading your vehicle can cause increased stopping dis-
tances that could lead to a
crash.
A crash resulting from poor handling, vehicle damage, tire
failure, or increased stopping
distances could result in seri-
ous injury or death.
WARNING - Loose cargo
Items you carry inside your
vehicle can strike and injure
occupants in a sudden stop or
turn, or in a crash.
Put items in the cargo area of your vehicle. Try to spread the
weight evenly.
Never stack items, like suit- cases, inside the vehicle
above the tops of the seats.
Do not leave an unsecured child restraint in your vehicle.
When you carry something inside the vehicle, secure it.CAUTION
Overloading your vehicle may
cause damage. Repairs wouldnot be covered by your warran-ty. Do not overload your vehicle.
Using heavier suspension com- ponents to get added durabilitymight not change your weightratings. Ask your dealer to helpyou load your vehicle the rightway.
Page 254 of 336

67
What to do in an emergency
(Continued)
Be sure to use the correctfront and rear jacking posi-
tions on the vehicle; never
use the bumpers or any other
part of the vehicle for jack
support.
The vehicle can easily roll off the jack causing serious
injury or death. No person
should place any portion of
their body under a vehicle that
is supported only by a jack;
use vehicle support stands.
Do not start or run the engine while the vehicle is on the
jack.
Do not allow anyone to remain in the vehicle while it is on the
jack.
Make sure any children pres- ent are in a secure place away
from the road and from the
vehicle to be raised with the
jack.
IF YOU HAVE A FLAT TIRE
F070100ABH
Jack and tools
The jack, jack handle, and wheel lug
nut wrench are stored in the luggage
compartment. Pull up the luggage
box cover to reach this equipment.
(1) Jack handle
(2) Jack
(3) Wheel lug nut wrench
F070101AUN
Jacking instructions
The jack is provided for emergency
tire changing only.
To prevent the jack from “rattling”
while the vehicle is in motion, store it
properly.
Follow jacking instructions to reduce
the possibility of personal injury.
WARNING- Changing tires
Never attempt vehicle repairs in the traffic lanes of a public
road or highway.
Always move the vehicle com- pletely off the road and onto
the shoulder before trying to
change a tire. The jack should
be used on level firm ground.
If you cannot find a firm, level
place off the road, call a tow-
ing service company for
assistance.
(Continued)ONF068001
Page 255 of 336

What to do in an emergency
86
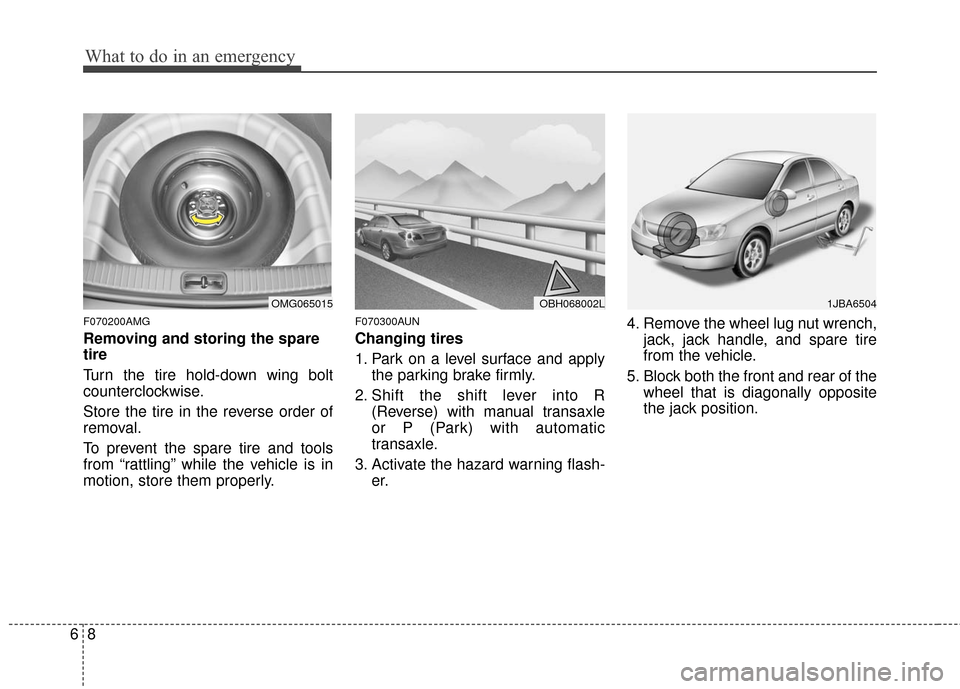
F070200AMG
Removing and storing the spare
tire
Turn the tire hold-down wing bolt
counterclockwise.
Store the tire in the reverse order of
removal.
To prevent the spare tire and tools
from “rattling” while the vehicle is in
motion, store them properly.
F070300AUN
Changing tires
1. Park on a level surface and applythe parking brake firmly.
2. Shift the shift lever into R (Reverse) with manual transaxle
or P (Park) with automatic
transaxle.
3. Activate the hazard warning flash- er. 4. Remove the wheel lug nut wrench,
jack, jack handle, and spare tire
from the vehicle.
5. Block both the front and rear of the wheel that is diagonally opposite
the jack position.
OMG065015OBH068002L1JBA6504
Page 259 of 336

What to do in an emergency
12
6
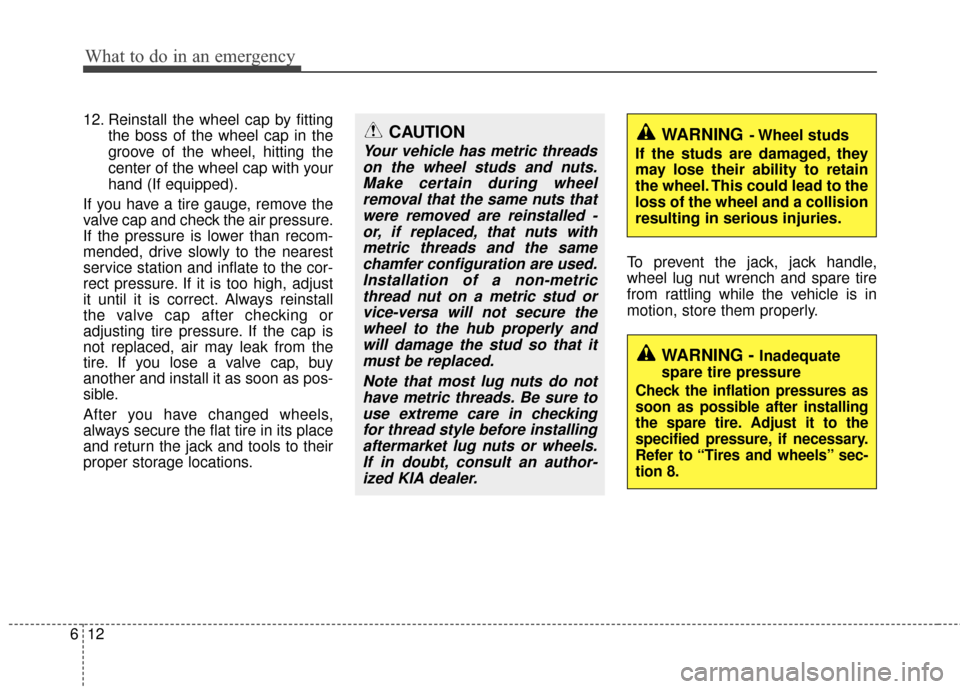
12. Reinstall the wheel cap by fitting
the boss of the wheel cap in the
groove of the wheel, hitting the
center of the wheel cap with your
hand (If equipped).
If you have a tire gauge, remove the
valve cap and check the air pressure.
If the pressure is lower than recom-
mended, drive slowly to the nearest
service station and inflate to the cor-
rect pressure. If it is too high, adjust
it until it is correct. Always reinstall
the valve cap after checking or
adjusting tire pressure. If the cap is
not replaced, air may leak from the
tire. If you lose a valve cap, buy
another and install it as soon as pos-
sible.
After you have changed wheels,
always secure the flat tire in its place
and return the jack and tools to their
proper storage locations. To prevent the jack, jack handle,
wheel lug nut wrench and spare tire
from rattling while the vehicle is in
motion, store them properly.CAUTION
Your vehicle has metric threads
on the wheel studs and nuts.Make certain during wheelremoval that the same nuts thatwere removed are reinstalled -or, if replaced, that nuts withmetric threads and the samechamfer configuration are used.Installation of a non-metricthread nut on a metric stud orvice-versa will not secure thewheel to the hub properly andwill damage the stud so that itmust be replaced.
Note that most lug nuts do nothave metric threads. Be sure touse extreme care in checkingfor thread style before installingaftermarket lug nuts or wheels.If in doubt, consult an author-ized KIA dealer.
WARNING- Wheel studs
If the studs are damaged, they
may lose their ability to retain
the wheel. This could lead to the
loss of the wheel and a collision
resulting in serious injuries.
WARNING - Inadequate
spare tire pressure
Check the inflation pressures as
soon as possible after installing
the spare tire. Adjust it to the
specified pressure, if necessary.
Refer to “Tires and wheels” sec-
tion 8.
Page 261 of 336

What to do in an emergency
14
6
Do not take this vehicle through an
automatic car wash while the com-
pact spare tire is installed.
The compact spare tire should not be installed on the front axle if the
vehicle must be driven in snow or
on ice.
Do not use the compact spare tire on any other vehicle because this
tire has been designed especially
for your vehicle.
The compact spare tire’s tread life is shorter than a regular tire.
Inspect your compact spare tire
regularly and replace worn com-
pact spare tires with the same size
and design, mounted on the same
wheel. The compact spare tire should not
be used on any other wheels, nor
should standard tires, snow tires,
wheel covers or trim rings be used
with the compact spare wheel. If
such use is attempted, damage to
these items or other car compo-
nents may occur.
Do not use more than one compact spare tire at a time.
Do not tow a trailer while the com- pact spare tire is installed.
Page 266 of 336

7
Engine compartment / 7-2
Maintenance services / 7-4
Owner maintenance / 7-5
Normal maintenance schedule / 7-8
Explanation of scheduled maintenance items / 7-12
Engine oil / 7-15
Engine coolant / 7-16
Brake fluid / 7-19
Power steering fluid / 7-20
Automatic transaxle fluid / 7-21
Washer fluid / 7-23
Parking brake / 7-23
Air cleaner / 7-24
Climate control air filter / 7-24
Wiper blades / 7-25
Battery / 7-27
Tires and wheels / 7-30
Fuses / 7-43
Appearance care / 7-52
Emission control system / 7-58
Maintenance