Page 26 of 496
NOTE:If the RKE transmitter is equipped with a screw,
reinstall and tighten the screw until snug.
REMOTE STARTING SYSTEM — IF EQUIPPED
This system uses the Remote Keyless Entry
(RKE) transmitter to start the engine conve-
niently from outside the vehicle while still
maintaining security. The system has a range of
approximately 300 ft (91 m).
NOTE: The vehicle must be equipped with an auto-
matic transmission to be equipped with Remote Start.
How to Use Remote Start
All of the following conditions must be met before the
engine will remote start:
•Shift lever in PARK
•Doors closed
•Hood closed
•Hazard switch off
•Brake switch inactive (brake pedal not pressed)
•Ignition key removed from ignition switch
•Battery at an acceptable charge level
•RKE PANIC button not pressed
WARNING!
•Do not start or run an engine in a closed garage or
confined area. Exhaust gas contains Carbon Mon-
oxide (CO) which is odorless and colorless. Car-
bon Monoxide is poisonous and can cause serious
injury or death when inhaled.
•Keep Remote Keyless Entry (RKE) transmitters
away from children. Operation of the Remote Start
System, windows, door locks or other controls
could cause serious injury or death.
2
THINGS TO KNOW BEFORE STARTING YOUR VEHICLE 25
Page 156 of 496
WARNING!
Electronic Speed Control can be dangerous where the
system cannot maintain a constant speed. Your ve-
hicle could go too fast for the conditions, and you
could lose control. An accident could be the result.
Do not use Electronic Speed Control in heavy traffic
or on roads that are winding, icy, snow-covered or
slippery.
To Accelerate for Passing
Press the accelerator as you would normally. When the
pedal is released, the vehicle will return to the set speed.
Using Electronic Speed Control On Hills
NOTE:The Electronic Speed Control system maintains
speed up and down hills. A slight speed change on
moderate hills is normal. On steep hills a greater speed loss or gain may occur so
it may be preferable to drive without Electronic Speed
Control.
WARNING!
Electronic Speed Control can be dangerous where the
system cannot maintain a constant speed. Your ve-
hicle could go too fast for the conditions, and you
could lose control. An accident could be the result.
Do not use Electronic Speed Control in heavy traffic
or on roads that are winding, icy, snow-covered or
slippery.
GARAGE DOOR OPENER — IF EQUIPPED
HomeLink�
replaces up to three remote controls (hand-
held transmitters) that operate devices such as garage
door openers, motorized gates, lighting or home security
systems. The HomeLink� unit operates off your vehicle’s
battery.
3
UNDERSTANDING THE FEATURES OF YOUR VEHICLE 155
Page 187 of 496
▫Operating Instructions — Video
Entertainment System (VES)™
(If Equipped) ....................... 267
� Remote Sound System Controls —
If Equipped .......................... 268
▫ Radio Operation ..................... 268
▫ CD Player ......................... 269
� CD/DVD Disc Maintenance .............. 269�
Radio Operation And Cellular Phones ....... 270
� Climate Controls ...................... 270
▫ Manual Heating And Air Conditioning ..... 270
▫ Automatic Temperature Control (ATC) —
If Equipped ........................ 274
▫ Operating Tips ...................... 280
186 UNDERSTANDING YOUR INSTRUMENT PANEL
Page 218 of 496
Program Type16-Digit Character
Display
Rhythm and Blues R & B
Religious Music Rel Musc
Religious Talk Rel Talk
Rock Rock
Soft Soft
Soft Rock Soft Rck
Soft Rhythm and Blues SoftR&B Sports Sports
Talk Talk
Top 40 Top 40
Weather Weather
By pressing the SEEK button when the Music Type icon
is displayed, the radio will be tuned to the next frequency station with the same selected Music Type name. The
Music Type function only operates when in the FM
mode.
If a preset button is activated while in the Music Type
(Program Type) mode, the Music Type mode will be
exited and the radio will tune to the preset station.
SETUP Button
Pressing the SETUP button allows you to select between
the following items:
NOTE:
Turn the TUNE/SCROLL control knob to scroll
through the entries. Push the AUDIO/SELECT button to
select an entry and make changes.
•DVD Enter - When the disc is in DVD Menu mode,
selecting DVD Enter will allow you to play the current
highlighted selection. Use the remote control to scroll
up and down the menu (if equipped).
4
UNDERSTANDING YOUR INSTRUMENT PANEL 217
Page 219 of 496
•DISC Play/Pause -You can toggle between
playing the DVD and pausing the DVD by
pushing the SELECT button (if equipped).
•DVD Play Options - Selecting the DVD Play Options
will display the following:
•Subtitle – Repeatedly pressing SELECT will switch
subtitles to different subtitle languages that are
available on the disc (if equipped).
•Audio Stream – Repeatedly pressing SELECT will
switch to different audio languages (if supported on
the disc) (if equipped).
•Angle – Repeatedly pressing SELECT will change
the viewing angle if supported by the DVD disc (if
equipped). NOTE:
•The available selections for each of the above entries
varies depending upon the disc.
•These selections can only be made while playing a
DVD.
•VES™ Power -
Allows you to turn VES™ ON and
OFF (if equipped).
•VES™ Lock - Locks out rear VES™ remote controls (if
equipped).
•VES™ CH1/CH2 - Allows the user to change the
mode of either the IR1 or IR2 wireless headphones by
pressing the AUDIO/SELECT button (if equipped).
•Set Home Clock - Pressing the SELECT button allows
you to set the clock. Turn the TUNE/SCROLL control
knob to adjust the hours and then press and turn the
218 UNDERSTANDING YOUR INSTRUMENT PANEL
Page 221 of 496

Aspect Ratio — If Equipped
Selecting this item allows you to choose between wide
screen, pan scan, and letter box.
AutoPlay — If Equipped
When this is set to On and a DVD video is inserted, it will
bypass the DVD menu screen and automatically play the
movie. In some rare cases, the DVD player may not
auto-play the main title. In such cases, use the MENU
button on the remote control to select desired title to play.
NOTE:The user will have to set these defaults before
loading a disc. If changes are made to these settings after
a disc is loaded, changes will not be effective. Also, the
defaults are effective only if the disc supports the
customer-preferred settings.
AM and FM Buttons
Press the buttons to select AM or FM mode.
SET Button — To Set the Pushbutton Memory
When you are receiving a station that you wish to
commit to pushbutton memory, press the SET button.
The symbol SET 1 will now show in the display window.
Select the button (1-6) you wish to lock onto this station
and press and release that button. If a button is not
selected within five seconds after pressing the SET but-
ton, the station will continue to play but will not be
stored into pushbutton memory.
You may add a second station to each pushbutton by
repeating the above procedure with this exception: Press
the SET button twice and SET 2 will show in the display
window. Each button can be set for SET 1 and SET 2 in
both AM and FM. This allows a total of 12 AM, 12 FM,
and 12 Satellite (if equipped) stations to be stored into
pushbutton memory. The stations stored in SET 2
memory can be selected by pressing the pushbutton
twice.
220 UNDERSTANDING YOUR INSTRUMENT PANEL
Page 269 of 496
REMOTE SOUND SYSTEM CONTROLS — IF
EQUIPPED
The remote sound system controls are located on the rear
surface of the steering wheel. Reach behind the wheel to
access the switches.The right-hand control is a rocker type switch with a
pushbutton in the center. Pressing the top of the switch
will increase the volume, and pressing the bottom of the
switch will decrease the volume.
The button located in the center of the right-hand control
will switch modes to Radio or CD.
The left-hand control is a rocker type switch with a
pushbutton in the center. The function of the left-hand
control is different depending on which mode you are in.
The following describes the left-hand control operation in
each mode.
Radio Operation
Press the top of the switch to SEEK up for the next
listenable station. Press the bottom of the switch to SEEK
down for the next listenable station.
Remote Sound System Controls (Back View Of Steering
Wheel)
268 UNDERSTANDING YOUR INSTRUMENT PANEL
Page 272 of 496
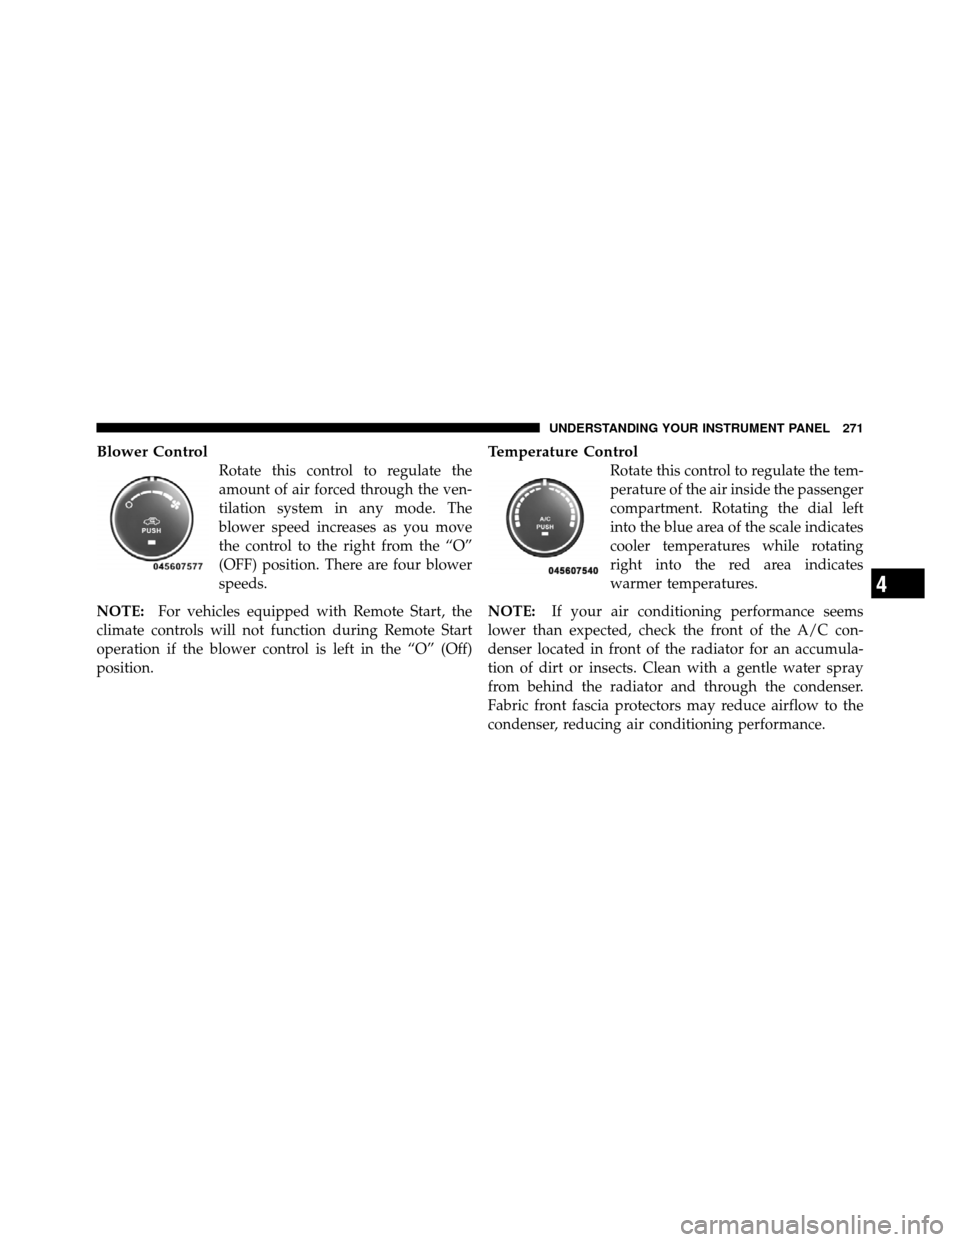
Blower Control
Rotate this control to regulate the
amount of air forced through the ven-
tilation system in any mode. The
blower speed increases as you move
the control to the right from the “O”
(OFF) position. There are four blower
speeds.
NOTE: For vehicles equipped with Remote Start, the
climate controls will not function during Remote Start
operation if the blower control is left in the “O” (Off)
position.
Temperature Control
Rotate this control to regulate the tem-
perature of the air inside the passenger
compartment. Rotating the dial left
into the blue area of the scale indicates
cooler temperatures while rotating
right into the red area indicates
warmer temperatures.
NOTE: If your air conditioning performance seems
lower than expected, check the front of the A/C con-
denser located in front of the radiator for an accumula-
tion of dirt or insects. Clean with a gentle water spray
from behind the radiator and through the condenser.
Fabric front fascia protectors may reduce airflow to the
condenser, reducing air conditioning performance.
4
UNDERSTANDING YOUR INSTRUMENT PANEL 271