Page 99 of 496

Voice Command ButtonActual button location may vary with the ra-
dio. The individual buttons are described in the
“Operation” section.
The Uconnect™ Phone can be used with any Hands-Free
Profile certified Bluetooth� cellular phone. See the
Uconnect™ website for supported phones. If your cellu-
lar phone supports a different profile (e.g., Headset
Profile) you may not be able to use any Uconnect™
Phone features. Refer to your cellular service provider or
the phone manufacturer for details.
The Uconnect™ Phone is fully integrated with the vehi-
cle’s audio system. The volume of the Uconnect™ Phone
can be adjusted either from the radio volume control
knob or from the steering wheel radio control (right
switch), if so equipped. The radio display will be used for visual prompts from
the Uconnect™ Phone such as
�CELL�or caller ID on
certain radios.
Operation
Voice commands can be used to operate the Uconnect™
Phone and to navigate through the Uconnect™ Phone
menu structure. Voice commands are required after most
Uconnect™ Phone prompts. You will be prompted for a
specific command and then guided through the available
options.
•Prior to giving a voice command, one must wait for
the beep, which follows the �Ready�prompt or another
prompt.
•For certain operations, compound commands can be
used. For example, instead of saying �Setup�and then
�Phone Pairing,� the following compound command
can be said: �Setup Phone Pairing.�
98 UNDERSTANDING THE FEATURES OF YOUR VEHICLE
Page 152 of 496
CAUTION!
In cold weather, always turn off the wiper switch and
allow the wipers to return to the park position before
turning off the engine. If the wiper switch is left on
and the wipers freeze to the windshield, damage to
the wiper motor may occur when the vehicle is
restarted.
TILT STEERING COLUMN
This feature allows you to tilt the steering column
upward or downward. The tilt control handle is located
on the left side of the steering column, below the turn
signal lever.
Push down on the lever to unlock the steering column.
With one hand firmly on the steering wheel, move the
steering column up or down, as desired. Push the lever
up to lock the steering column firmly in place.
Tilting Steering Column Control
3
UNDERSTANDING THE FEATURES OF YOUR VEHICLE 151
Page 153 of 496
WARNING!
Do not adjust the steering column while driving.
Adjusting the steering column while driving or driv-
ing with the steering column unlocked, could cause
the driver to lose control of the vehicle. Be sure the
steering column is locked before driving your ve-
hicle. Failure to follow this warning may result in
serious injury or death.
ELECTRONIC SPEED CONTROL — IF EQUIPPED
When engaged, Electronic Speed Control takes over
accelerator operation at speeds greater than 25 mph
(40 km/h). The Electronic Speed Control lever is located
on the right side of the steering wheel.NOTE:
In order to ensure proper operation, the Elec-
tronic Speed Control System has been designed to shut
down if multiple Speed Control functions are operated at
the same time. If this occurs, the Electronic Speed ControlElectronic Speed Control Lever
152 UNDERSTANDING THE FEATURES OF YOUR VEHICLE
Page 198 of 496

maintain correct tire pressure, even if under-inflation has
not reached the level to trigger illumination of the TPMS
low tire pressure telltale.
Your vehicle has also been equipped with a TPMS
malfunction indicator to indicate when the system is not
operating properly. The TPMS malfunction indicator is
combined with the low tire pressure telltale. When the
system detects a malfunction, the telltale will flash for
approximately one minute and then remain continuously
illuminated. This sequence will continue upon subse-
quent vehicle start-ups as long as the malfunction exists.
When the malfunction indicator is illuminated, the sys-
tem may not be able to detect or signal low tire pressure
as intended. TPMS malfunctions may occur for a variety
of reasons, including the installation of replacement or
alternate tires or wheels on the vehicle that prevent the
TPMS from functioning properly. Always check the
TPMS malfunction telltale after replacing one or moretires or wheels on your vehicle, to ensure that the
replacement or alternate tires and wheels allow the TPMS
to continue to function properly.
CAUTION!
The TPMS has been optimized for the original
equipment tires and wheels. TPMS pressures and
warning have been established for the tire size
equipped on your vehicle. Undesirable system opera-
tion or sensor damage may result when using re-
placement equipment that is not of the same size,
type, and/or style. Aftermarket wheels can cause
sensor damage. Do not use tire sealant from a can, or
balance beads if your vehicle is equipped with a
TPMS, as damage to the sensors may result.
23. Odometer/Trip Odometer
This display indicates the total distance the vehicle has
been driven.
4
UNDERSTANDING YOUR INSTRUMENT PANEL 197
Page 202 of 496

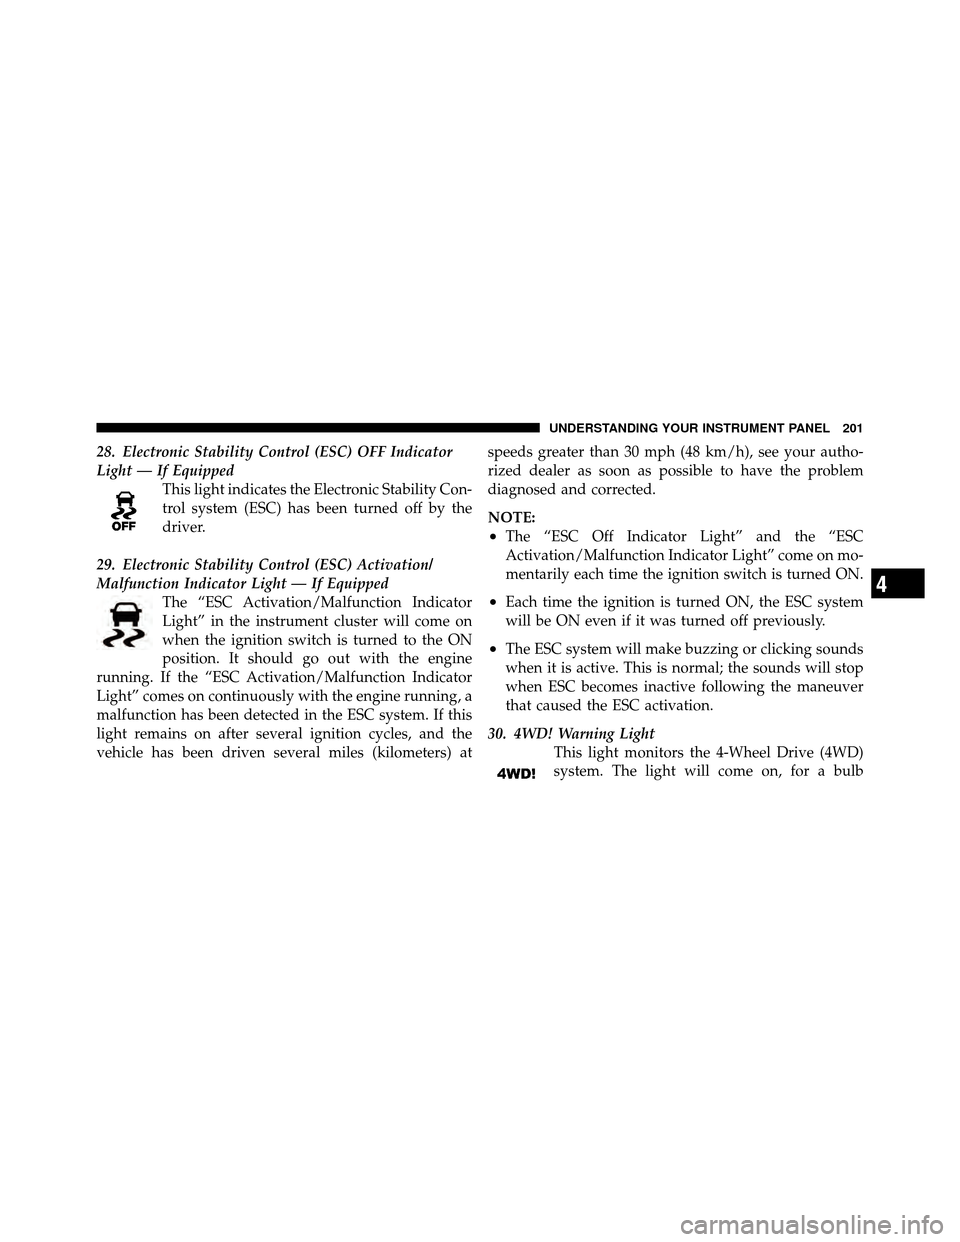
28. Electronic Stability Control (ESC) OFF Indicator
Light — If EquippedThis light indicates the Electronic Stability Con-
trol system (ESC) has been turned off by the
driver.
29. Electronic Stability Control (ESC) Activation/
Malfunction Indicator Light — If Equipped The “ESC Activation/Malfunction Indicator
Light” in the instrument cluster will come on
when the ignition switch is turned to the ON
position. It should go out with the engine
running. If the “ESC Activation/Malfunction Indicator
Light” comes on continuously with the engine running, a
malfunction has been detected in the ESC system. If this
light remains on after several ignition cycles, and the
vehicle has been driven several miles (kilometers) at speeds greater than 30 mph (48 km/h), see your autho-
rized dealer as soon as possible to have the problem
diagnosed and corrected.
NOTE:
•The “ESC Off Indicator Light” and the “ESC
Activation/Malfunction Indicator Light” come on mo-
mentarily each time the ignition switch is turned ON.
•Each time the ignition is turned ON, the ESC system
will be ON even if it was turned off previously.
•The ESC system will make buzzing or clicking sounds
when it is active. This is normal; the sounds will stop
when ESC becomes inactive following the maneuver
that caused the ESC activation.
30. 4WD! Warning Light This light monitors the 4-Wheel Drive (4WD)
system. The light will come on, for a bulb
4
UNDERSTANDING YOUR INSTRUMENT PANEL 201
Page 261 of 496

•Use the <> buttons to jump to the
previous or next track. If the << SEEKbutton is
pressed during the first two seconds of the track, it will
jump to the previous track in the list; pressing this
button at any other time in the track, it will jump to the
beginning of the track. Pressing the SEEK>> button
during play mode, it will jump to the next track in the
list.
•While a track is playing, press the INFObutton to see
the associated metadata (artist, track title, album, etc.)
for that track. Pressing the INFObutton again jumps
to the next screen of data for that track. Once all
screens have been viewed, the last INFObutton press
will go back to the play mode screen on the radio.
•Pressing the REPEATbutton will change the iPod�
mode to repeat the current playing track.
•Press the SCANbutton to use iPod� scan mode, which
will play the first five seconds of each track in the current list and then forward to the next song. To stop
SCAN mode and start playing the desired track, when
it is playing the track, press the
SCANbutton again.
During Scan mode, pressing the << SEEKandSEEK
>> buttons will select the previous and next tracks.
•RND button (available on sales code RES radio only):
Pressing this button toggles between Shuffle ON and
Shuffle OFF modes for the iPod�.IftheRND icon is
showing on the radio display, then the shuffle mode is
ON.
List Or Browse Mode
During Play mode, pressing any of the buttons described
below, will bring up List mode. List mode enables
scrolling through the list of menus and tracks on the
iPod�.
•TUNE control knob: The TUNEcontrol knob functions
in a similar manner as the scroll wheel on the iPod�.
260 UNDERSTANDING YOUR INSTRUMENT PANEL
Page 262 of 496

•Turning it clockwise (forward) and counterclock-
wise (backward) scrolls through the lists, displaying
the track detail on the radio display. Once the track
to be played is highlighted on the radio display,
press theTUNEcontrol knob to select and start
playing the track. Turning the TUNEcontrol knob
fast will scroll through the list faster. During fast
scroll, a slight delay in updating the information on
the radio display may be noticed.
•During all List modes, the iPod� displays all lists in
“wrap-around” mode. So if the track is at the
bottom of the list, just turn the wheel backwards
(counter-clockwise) to get to the track faster.
•In List mode, the radio PRESETbuttons are used as
shortcuts to the following lists on the iPod�.
•Preset 1 – Playlists
•Preset 2 – Artists
•Preset 3 – Albums
•Preset 4 – Genres
•Preset 5 – Audiobooks
•Preset 6 – Podcasts
•Pressing a PRESET button will display the current
list on the top line and the first item in that list on
the second line.
•To Exit List mode without selecting a track, press the
same PRESET button again to go back to Play
mode.
•LIST button: The LISTbutton will display the top
level menu of the iPod�. Turn the TUNEcontrol knob
to list the top-menu item to be selected and press the
TUNE control knob. This will display the next sub-
menu list item on the iPod� then follow the same steps
4
UNDERSTANDING YOUR INSTRUMENT PANEL 261
Page 269 of 496
REMOTE SOUND SYSTEM CONTROLS — IF
EQUIPPED
The remote sound system controls are located on the rear
surface of the steering wheel. Reach behind the wheel to
access the switches.The right-hand control is a rocker type switch with a
pushbutton in the center. Pressing the top of the switch
will increase the volume, and pressing the bottom of the
switch will decrease the volume.
The button located in the center of the right-hand control
will switch modes to Radio or CD.
The left-hand control is a rocker type switch with a
pushbutton in the center. The function of the left-hand
control is different depending on which mode you are in.
The following describes the left-hand control operation in
each mode.
Radio Operation
Press the top of the switch to SEEK up for the next
listenable station. Press the bottom of the switch to SEEK
down for the next listenable station.
Remote Sound System Controls (Back View Of Steering
Wheel)
268 UNDERSTANDING YOUR INSTRUMENT PANEL