Page 227 of 522
•Left Front Low Pressure (with a single chime). Refer to
“Tire Pressure Monitoring System” in Section 5 of this
manual.
•Left Rear Low Pressure (with a single chime). Refer to
“Tire Pressure Monitoring System” in Section 5 of this
manual.
•Right Front Low Pressure (with a single chime). Refer
to “Tire Pressure Monitoring System” in Section 5 of
this manual.
•Right Rear Low Pressure (with a single chime). Refer
to “Tire Pressure Monitoring System” in Section 5 of
this manual.
•Check TPM System (with a single chime). Refer to
“Tire Pressure Monitoring System” in Section 5 of this
manual.
•Check Gascap (refer to “Adding Fuel” in Section 5 of
this manual for more details)
•Service Park Assist System (with a single chime)
•Oil Change Required (with a single chime)
•ECO (Fuel Saver Indicator) — if equipped
Oil Change Required
Your vehicle is equipped with an engine oil change
indicator system. The “Oil Change Required” message
will flash in the EVIC display for approximately 10 sec-
onds after a single chime has sounded to indicate the next
scheduled oil change interval. The engine oil change
indicator system is duty cycle based, which means the
engine oil change interval may fluctuate dependent upon
your personal driving style.
226 UNDERSTANDING YOUR INSTRUMENT PANEL
Page 228 of 522
Unless reset, this message will continue to display each
time you turn the ignition switch to the ON position. To
turn off the message temporarily, press and release the
MENU button. To reset the oil change indicator system
(after performing the scheduled maintenance) perform
the following procedure:
1. Turn the ignition switch to the ON position.Do not
start the engine.
2. Fully depress the accelerator pedal slowly three times
within 10 seconds.
3. Turn the ignition switch to the LOCK position.
NOTE: If the indicator message illuminates when you
start the vehicle, the oil change indicator system did not
reset. If necessary, repeat this procedure.Trip Functions
Press and release the MENU button until one of the
following Trip Functions displays in the EVIC:
•Average Fuel Economy
•Distance To Empty
•Elapsed Time
•Display Units of Measure in
Press the SCROLL button to cycle through all the Trip
Computer functions.
The Trip Functions mode displays the following information:
•Average Fuel Economy
Shows the average fuel economy since the last reset. When
the fuel economy is reset, the display will read “RESET” or
show dashes for two seconds. Then, the history informa-
tion will be erased, and the averaging will continue from
the last fuel average reading before the reset.
4
UNDERSTANDING YOUR INSTRUMENT PANEL 227
Page 230 of 522
Compass Display / ECO (Fuel Saver Mode) — If
Equipped
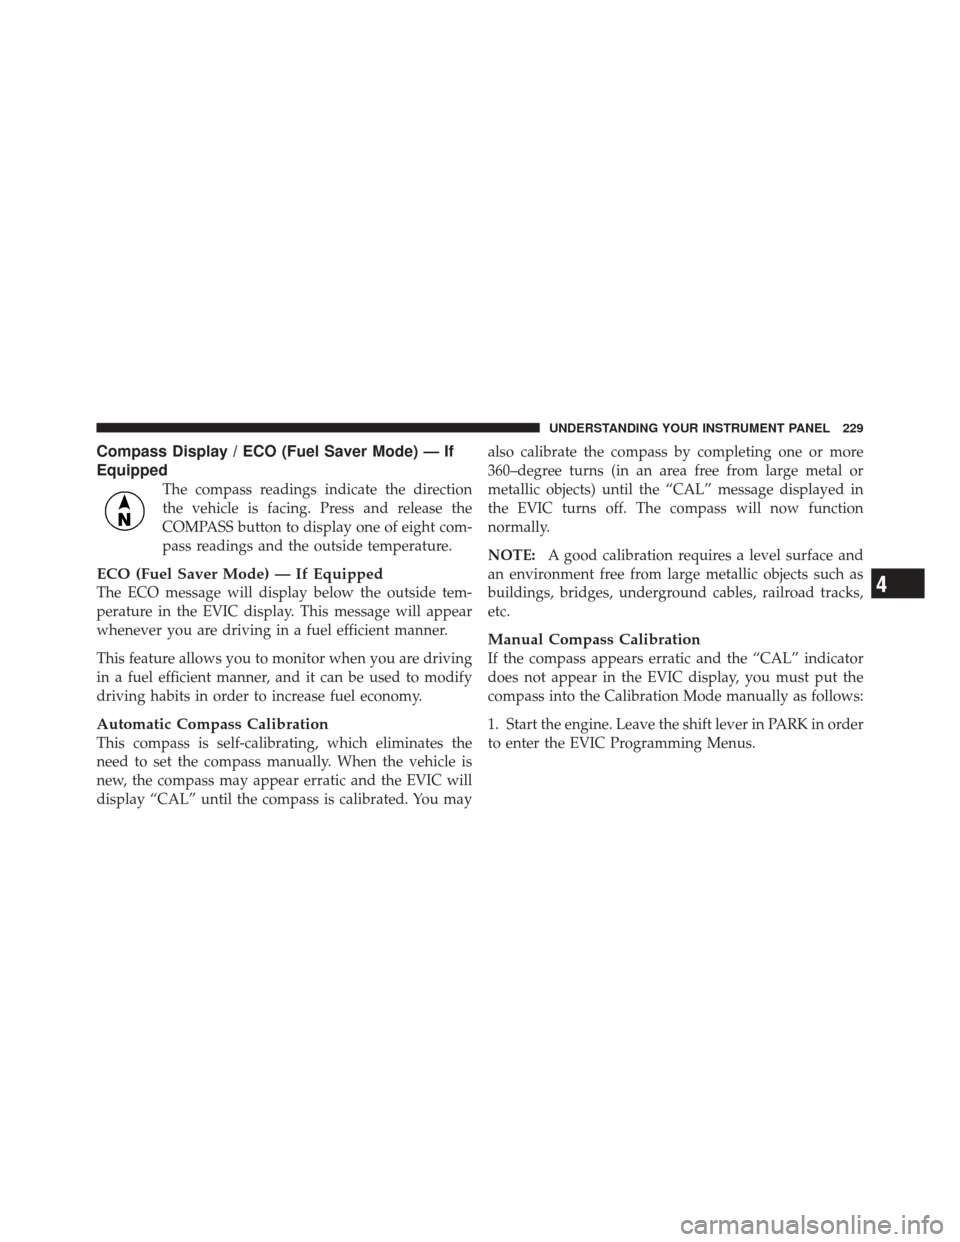
The compass readings indicate the direction
the vehicle is facing. Press and release the
COMPASS button to display one of eight com-
pass readings and the outside temperature.
ECO (Fuel Saver Mode) — If Equipped
The ECO message will display below the outside tem-
perature in the EVIC display. This message will appear
whenever you are driving in a fuel efficient manner.
This feature allows you to monitor when you are driving
in a fuel efficient manner, and it can be used to modify
driving habits in order to increase fuel economy.
Automatic Compass Calibration
This compass is self-calibrating, which eliminates the
need to set the compass manually. When the vehicle is
new, the compass may appear erratic and the EVIC will
display “CAL” until the compass is calibrated. You mayalso calibrate the compass by completing one or more
360–degree turns (in an area free from large metal or
metallic objects) until the “CAL” message displayed in
the EVIC turns off. The compass will now function
normally.
NOTE:
A good calibration requires a level surface and
an environment free from large metallic objects such as
buildings, bridges, underground cables, railroad tracks,
etc.
Manual Compass Calibration
If the compass appears erratic and the “CAL” indicator
does not appear in the EVIC display, you must put the
compass into the Calibration Mode manually as follows:
1. Start the engine. Leave the shift lever in PARK in order
to enter the EVIC Programming Menus.
4
UNDERSTANDING YOUR INSTRUMENT PANEL 229
Page 251 of 522
Operating Instructions - uconnect™ studios
(Satellite Radio) (If Equipped)
Refer to “uconnect™ studios (Satellite Radio)” in this
section.
Operating Instructions - Video Entertainment
System (VES)™ (If Equipped)
Refer to separate “Video Entertainment System (VES)™
Guide.”
Dolby�
Manufactured under license from Dolby�Laboratories.
�Dolby�� and the double-D symbol are trademarks of
Dolby� Laboratories.
Macrovision
This product incorporates copyright protection technol-
ogy that is protected by U.S. patents and other intellec-
tual property rights. Use of this copyright protection
technology must be authorized by Macrovision, and is intended for home and other limited viewing uses only,
unless otherwise authorized by Macrovision. Reverse
engineering or disassembly is prohibited.
DTS™
�DTS™�
and�DTS™ 2.0� are trademarks of Digital The-
ater Systems, Inc.SALES CODE (RER/REN) — AM/FM/CD/DVD
RADIO – IF EQUIPPED
NOTE: The sales code is located on the lower right side
of the unit’s faceplate.
The REN and RER radios contain a CD/DVD player, USB
port, and a 30-gigabyte hard drive (HDD). Sirius Satellite
Radio is optional. The 6.5 in (16.5 cm) touch screen allows
for easy menu selection.
The RER radio also contains a Global Positioning System
(GPS)-based Navigation system.
250 UNDERSTANDING YOUR INSTRUMENT PANEL
Page 286 of 522
NOTE:The air conditioning compressor will not engage
until the engine has been running for about 10 seconds.
•MAX A/C
For maximum cooling use the A/C and recirculation
buttons at the same time.
•ECONOMY MODE
If economy mode is desired, press the A/C button to turn
OFF the indicator light and the A/C compressor. Then,
move the temperature control to the desired temperature.
Automatic Temperature Control (ATC) — If
Equipped
Automatic Operation
The Automatic Temperature Control system automati-
cally maintains the climate in the cabin of the vehicle at
the comfort levels desired by the driver and passenger.
Automatic Temperature Control
4
UNDERSTANDING YOUR INSTRUMENT PANEL 285
Page 292 of 522
•Extended use of recirculation may cause the windows
to fog. If the interior of the windows begins to fog,
press the Recirculation button to return to outside air.
Some temp/humidity conditions will cause captured
interior air to condense on windows and hamper
visibility. For this reason, the system will not allow
Recirculation to be selected while in floor, defrost, or
defrost/floor mode. Attempting to use the recircula-
tion while in these modes will cause the LED in the
control button to blink and then turn off.
•Most of the time, when in Automatic Operation, you
can temporarily put the system into Recirculation
Mode by pressing the Recirculation button. However,
under certain conditions, while in Automatic Mode,
the system is blowing air out the defrost vents. When
these conditions are present, and the Recirculation
button is pressed, the indicator will flash and then turn
off. This tells you that you are unable to go into
Recirculation Mode at this time. If you would like thesystem to go into Recirculation Mode, you must first
move the Mode knob to Panel, Panel/Floor and then
press the Recirculation button. This feature reduces the
possibility of window fogging.
Operating Tips
NOTE:
Refer to the chart at the end of this section for
suggested control settings for various weather condi-
tions.
Summer Operation
The engine cooling system in air-conditioned vehicles
must be protected with a high-quality antifreeze coolant
to provide proper corrosion protection and to protect
against engine overheating. A solution of 50% ethylene
glycol antifreeze coolant and 50% water is recommended.
Refer to “Maintenance Procedures” in Section 7 of this
manual for proper coolant selection.
4
UNDERSTANDING YOUR INSTRUMENT PANEL 291
Page 296 of 522
STARTING AND OPERATING
CONTENTS
�Starting Procedures .................... 299
▫ Normal Starting ..................... 299
▫ Extreme Cold Weather
(Below –20°F Or –29°C) ................ 300
▫ If Engine Fails To Start ................ 300
▫ After Starting ....................... 301
� Engine Block Heater — If Equipped ........ 301
� Automatic Transmission ................. 302
▫ Key Ignition Park Interlock ............. 303▫
Brake/Transmission Shift Interlock System . . 303
▫ Brake/Transmission Interlock Manual
Override .......................... 303
▫ Four–Speed Automatic Transmission ....... 305
▫ Gear Ranges ........................ 305
� Four-Wheel Drive Operation ............. 309
▫ MP1522 Command-Trac� Transfer Case —
If Equipped ........................ 309
▫ MP3022 Selec-Trac� II Transfer Case —
If Equipped ........................ 315
5
Page 300 of 522
STARTING PROCEDURES
Before starting your vehicle, adjust your seat, adjust both
inside and outside mirrors, and fasten your seat belts.
WARNING!
Do not leave children or animals inside parked
vehicles in hot weather. Interior heat build-up may
cause serious injury or death.
Start the engine with the shift lever in the NEUTRAL or
PARK position. Apply the brake before shifting to any
driving range.
Normal Starting
NOTE: Normal starting of either a cold or a warm
engine is obtained without pumping or pressing the
accelerator pedal. Turn the ignition switch to the START position and
release when the engine starts. If the engine fails to start
within 10 seconds, turn the ignition switch to the LOCK
position, wait 10 to 15 seconds, then repeat the “Normal
Starting” procedure.
Tip Start Feature
Turn the ignition switch to START position and release it
as soon as the starter engages. The starter motor will
continue to run, but will automatically disengage itself
when the engine is running. If the engine fails to start, the
starter will disengage automatically in 10 seconds. If this
occurs, turn the ignition switch to the LOCK position,
wait 10 to 15 seconds, then repeat the “Normal Starting”
procedure.
5
STARTING AND OPERATING 299