Page 99 of 407

driving position when the key is placed into the
ignition, and turned out of the LOCK position toward
the ACC/ON position.
The Easy Entry/Exit feature will be automatically dis-
abled if the seat is already positioned closer than 0.9 in
(23 mm) forward of the rear stop. At this position, there
is no benefit to the driver by moving the seat for Easy
Exit/Entry.
Each stored memory setting will have an associated Easy
Entry/Exit position.
NOTE: The Easy Entry/Exit feature is not enabled
when the vehicle is delivered from the factory. The Easy
Entry/Exit feature is enabled (or later disabled) through
the programmable features in the Electronic Vehicle
Information Center (EVIC). Refer to “Electronic Vehicle
Information Center (EVIC)/Customer-Programmable
Features” in “Understanding Your Instrument Panel” for
further information.TO OPEN AND CLOSE THE HOOD
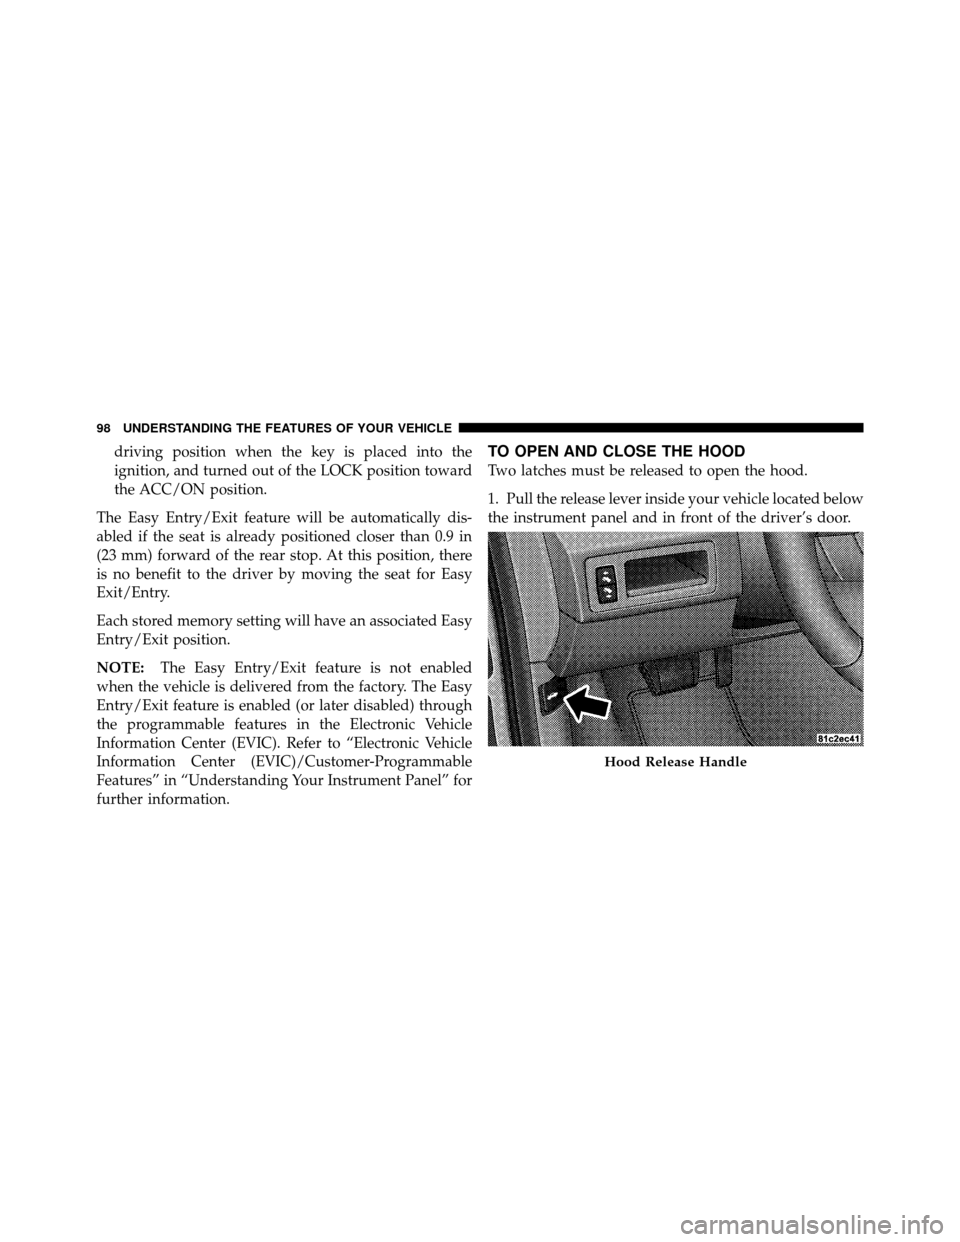
Two latches must be released to open the hood.
1. Pull the release lever inside your vehicle located below
the instrument panel and in front of the driver’s door.
Hood Release Handle
98 UNDERSTANDING THE FEATURES OF YOUR VEHICLE
Page 104 of 407

NOTE:Broken, muddy, or obstructed headlights and
taillights of vehicles in the field of view will cause
headlights to remain on longer (closer to the vehicle).
Also, dirt, film, and other obstructions (sticker, toll box,
etc.) on the windshield or camera lens will cause the
system to function improperly.
Daytime Running Lights — If Equipped
The high beam headlights come on at a low intensity
level whenever the engine is running, and the transmis-
sion is not in the PARK position. The lights will remain
on until the ignition switch is turned to LOCK/ACC or
the parking brake is engaged. The headlight switch must
be used for normal nighttime driving.
Automatic Headlight Leveling — HID Headlights
Only
This feature prevents the headlights from interfering
with the vision of oncoming drivers. Headlight leveling
automatically adjusts the height of the headlight beam in
reaction to changes in vehicle pitch.
Instrument Panel Dimmer
Rotate the center potion of the lever to the extreme
bottom position to fully dim the instrument panel lights
and prevent the interior lights from illuminating when a
door is opened.
Rotate the center portion of the lever up to increase the
brightness of the instrument panel lights when the park-
ing lights or headlights are on.
Rotate the center portion of the lever upward to the next
detent position to brighten the odometer and radio when
the parking lights or headlights are on.
3
UNDERSTANDING THE FEATURES OF YOUR VEHICLE 103
Page 105 of 407
Rotate the center portion of the lever upward to the last
detent to turn on the interior lighting.Battery Saver Feature
If the multifunction lever is left in the interior light
position, parking light position, or the headlight position
when the ignition switch is moved to the LOCK position,
the battery saver feature will automatically turn off the
exterior and interior lights after eight minutes. Normal
operation will resume when the ignition is turned ON or
when the headlight switch is turned to another position.
Lights-On Reminder
If the headlights or parking lights are on after the ignition
switch has been turned to LOCK/ACC, a chime will
sound when the driver’s door is opened.
Dimmer Control
104 UNDERSTANDING THE FEATURES OF YOUR VEHICLE
Page 108 of 407

Headlight Time Delay
This feature delays turning off the headlights for 30, 60 or
90 seconds after the ignition switch is turned OFF. To
activate the headlight delay, the multifunction lever must
be rotated to the “Off” position after the ignition switch
is turned to LOCK/ACC. Only the headlights will illu-
minate during this time. Refer to “Electronic Vehicle
Information Center (EVIC)/Customer-Programmable
Features” in “Understanding Your Instrument Panel” for
further information.
Interior Lights
The interior lighting consists of courtesy lights (below the
instrument panel), an overhead console light (which
contains both driver and passenger reading lights), read-
ing lights (located above the rear doors), and a rear cargo
light. Opening a door, pressing the UNLOCK button on
the Remote Keyless Entry (RKE) transmitter or turning
the center of the multifunction lever to the extreme up
position, will activate all interior courtesy lights.
3
UNDERSTANDING THE FEATURES OF YOUR VEHICLE 107
Page 129 of 407

Press the lens to turn these lights on. Press a second time
to turn the lights off.
The lights also turn on when a front door or rear door is
opened. The lights will also turn on when the UNLOCK
button on the Remote Keyless Entry (RKE) transmitter is
pressed.
Sunglasses Storage
At the rear of the console a compartment is provided for
the storage of a pair of sunglasses.
The storage compartment access is a “push/push” de-
sign. Push the finger depression on the overhead console
to open. Push the finger depression to close.
GARAGE DOOR OPENER — IF EQUIPPED
HomeLink�replaces up to three remote controls (hand-
held transmitters) that operate devices such as garage
door openers, motorized gates, lighting or home security systems. The HomeLink�
unit operates off your vehicle’s
battery.
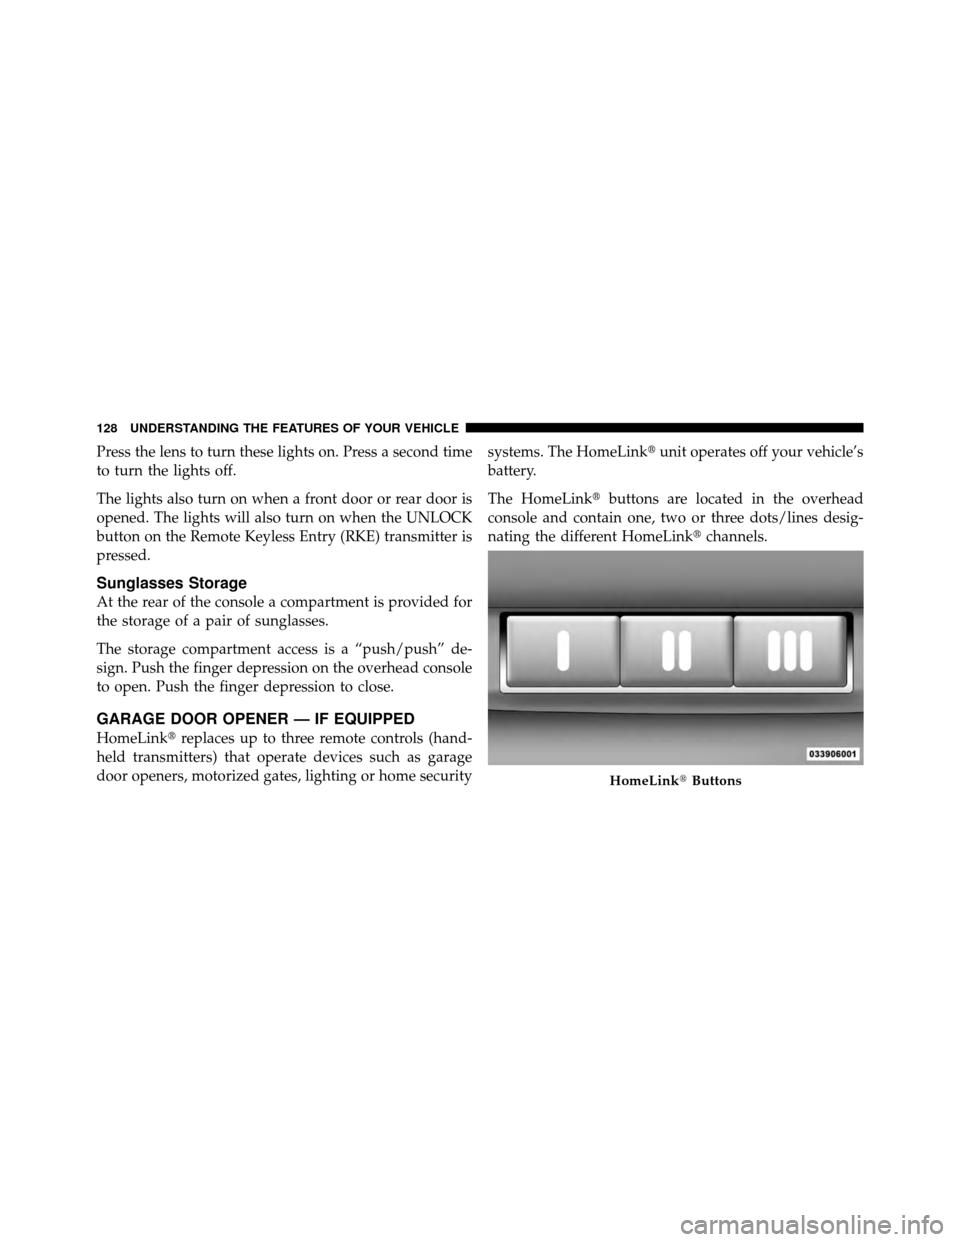
The HomeLink� buttons are located in the overhead
console and contain one, two or three dots/lines desig-
nating the different HomeLink� channels.
HomeLink�Buttons
128 UNDERSTANDING THE FEATURES OF YOUR VEHICLE
Page 134 of 407

Then proceed with Step 4 under “Programming
HomeLink�” earlier in this section.
Using HomeLink�
To operate, press and release the programmed
HomeLink�button. Activation will now occur for the
trained device (i.e., garage door opener, gate operator,
security system, entry door lock, home/office lighting,
etc.,). The handheld transmitter of the device may also be
used at any time.
Reprogramming A Single HomeLink� Button
To reprogram a channel that has been previously trained,
follow these steps:
1. Turn the ignition switch to the ON/RUN position.
2. Press and hold the desired HomeLink� button for
20 seconds until the EVIC display states “CHANNEL #
TRAINING.” Do not release the button. 3.
Without releasing the button, proceed with Program-
ming HomeLink� Step 2 and follow all remaining steps.
Security
It is advised to erase all channels before you sell or turn
in your vehicle.
To do this, press and hold the two outside buttons for
20 seconds until the EVIC message states “CHANNELS
CLEARED.” Note that all channels will be erased. Indi-
vidual channels cannot be erased.
The HomeLink�Universal Transceiver is disabled when
the Vehicle Security Alarm is active.
Troubleshooting Tips
If you are having trouble programming HomeLink �, here
are some of the most common solutions:
•Replace the battery in the original transmitter.
3
UNDERSTANDING THE FEATURES OF YOUR VEHICLE 133
Page 181 of 407

NOTE:The EVIC will not change the Uconnect™ lan-
guage selection. Please refer to “Language Selection” in
Uconnect™ Phone for details.
Auto Door Locks
When YES (Y) is selected, all of the doors will lock
automatically when the vehicle reaches a speed of
15 mph (24 km/h). To make your selection, press and
release the FUNCTION SELECT button until YES (Y) or
NO (N) appears.
Auto Unlock On Exit
When YES (Y) is selected, all of the doors will unlock
when the vehicle is stopped, and the transmission is in
the PARK or NEUTRAL position and the driver’s door is
opened. To make your selection, press and release the
FUNCTION SELECT button until YES (Y) or NO (N)
appears.
Remote Key Unlock
When “Driver Door 1st Press” is selected, only the
driver’s door will unlock on the first press of the Remote
Keyless Entry RKE transmitter UNLOCK button. When
“Driver Door 1st Press” is selected, you must press the
RKE transmitter UNLOCK button twice to unlock the
passenger’s doors. When “All Doors 1st Press” is se-
lected, all of the doors will unlock on the first press of the
RKE transmitter UNLOCK button. To make your selec-
tion, press and release the FUNCTION SELECT button
until “Driver Door 1st Press” or “All Doors 1st Press”
appears.
Sound Horn with Lock
When YES (Y) is selected, a short horn sound will occur
when the RKE transmitter LOCK button is pressed. This
feature may be selected with or without the “Flash
Lamps with Lock” feature. To make your selection, press
and release the FUNCTION SELECT button until YES (Y)
or NO (N) appears.
180 UNDERSTANDING YOUR INSTRUMENT PANEL
Page 182 of 407

Flash Lamps with Lock
When YES (Y) is selected, the front and rear turn signals
will flash when the doors are locked or unlocked with the
RKE transmitter. This feature may be selected with or
without the “Sound Horn with Lock” feature. To make
your selection, press and release the FUNCTION SE-
LECT button until YES (Y) or NO (N) appears.
Headlamp Off Delay
When this feature is selected, the driver can choose to
have the headlights remain on for 0, 30, 60, or 90 seconds
when exiting the vehicle. To make your selection, press
and release the FUNCTION SELECT button until “0,”
“30,” “60,” or “90” appears.
Auto High Beams (Available with SmartBeam™
Only)
When this feature is selected, the high beam headlights
will deactivate automatically under certain conditions. To
make your selection, press and release the FUNCTIONSELECT button until YES (Y) or NO (N) appears. Refer to
“Lights/SmartBeam™ — If Equipped” in “Understand-
ing The Features Of Your Vehicle” for further
information.
Headlamps On with Wipers (Available with
Automatic Headlamps Only)
When YES (Y) is selected, and the headlight switch is in
the AUTO position, the headlights will turn on approxi-
mately 10 seconds after the wipers are turned on. The
headlights will also turn off when the wipers are turned
off if they were turned on by this feature. To make your
selection, press and release the FUNCTION SELECT
button until YES (Y) or NO (N) appears.
NOTE:
Turning the headlights on during the daytime
causes the instrument panel lights to dim. To increase the
brightness, refer to “Lights” in “Understanding The
Features Of Your Vehicle”.4
UNDERSTANDING YOUR INSTRUMENT PANEL 181