Page 28 of 78

NOTE:uconnect™ phone and Voice Recognition are vehicle options which must be
ordered separately. The buttons on the radio will only be active if the vehicle has been
equipped with the option.
• The radio sales code is located on the lower right side of the radio faceplate.
• Unless otherwise noted, the information provided on the operation and functionality of the radios in this section is common to all non-touch-screen radios.
Seek Up/Down Buttons
• Press and release to search for and stop at the next listenable station in AM/FM mode.
• Holding either button will bypass stations without stopping.
Audio Settings
• Press the TUNE/SCROLL control knob and BASS, MID, TREBLE, BALANCE and FADE willdisplay. Rotate the TUNE/SCROLL control knob to select the desired setting.
Auxiliary Mode
• The auxiliary (AUX) jack allows a portable device, such as an MP3 player or a cassetteplayer, to be plugged into the radio and utilize the vehicle’s audio system and play
through the vehicle speakers.
Clock Setting
• Press and hold the TIME button until the hours blink; turn the TUNE/SCROLL controlknob to set the hours.
• Press the TUNE/SCROLL control knob until the minutes begin to blink; turn the TUNE/SCROLL control knob to set the minutes.
• Press the TUNE/SCROLL control knob to save the time change.
• To exit, press any button/knob or wait five seconds.
Station Presets
• Press the SET/RND button once and SET 1 will show in the display. Then select the button (1–6).
• A second station may be added to each push button. Press the SET/RND button twice and SET 2 will show in the display, then select button (1–6).
ELECTRONICS
26
Page 30 of 78

NOTE:uconnect™ phone and Voice Recognition are vehicle options which must be
ordered separately. The buttons on the radio will only be active if the vehicle has been
equipped with the option.
• The radio sales code is located on the lower right side of the radio faceplate.
• Unless otherwise noted, the information provided on the operation and functionality of the radios in this section is common to all touch-screen radios.
Seek Up/Down
• Press to seek through radio stations in AM, FM, or SAT bands. Seek through tracks in CDor iPod®modes or through songs in the HDD playlist.
Radio Mode
• Press the RADIO/MEDIA hard-key to display the different radio modes, then press thedesired soft-key to select AM, FM, SAT, TV, HDD, Disk, Aux or Video Entertainment
System (VES)™ modes.
Auxiliary Mode
• The auxiliary (AUX) jack allows a portable device, such as an MP3 player or a cassetteplayer, to be plugged into the radio and utilize the vehicle’s audio system and play
through the vehicle speakers.
Clock Setting
• Turn the radio on, then touch the screen where the time is displayed.
• Touch the USER CLOCK soft-key (Navigation radio only).
• To adjust the hours, touch either the HOUR FORWARD or HOUR BACKWARD soft-key.
• To adjust the minutes, touch either the MINUTE FORWARD or MINUTE BACKWARDsoft-key.
• To save the new time setting, touch the screen where the word “Save” is displayed.
Store Radio Presets
• Press the RADIO/MEDIA hard-key repeatedly until AM FM SAT is displayed in the upper left corner of the screen.
• Select the radio band by touching either the AM, FM, or SAT soft-key.
• Find the station to store by either pressing the SEEK UP/DOWN hard-key, or touching the SCAN soft-key, DIRECT TUNE soft-key or the left and right arrows.
• Once the station is found, touch and hold one of the PRESET soft-keys in the list to the right, until you hear a confirmation beep.
ELECTRONICS
28
Page 51 of 78

Spare Tire Stowage
• To remove or stow the spare, use the jack handle to rotate the “spare tire drive” nut whichis located under a plastic cover under the cargo load floor, just inside the liftgate opening.
• Lower the spare tire by turning the drive nut counterclockwise with the jack-handle assembly until the spare tire is on the ground with enough cable slack to allow you to
pull the spare tire out from underneath the vehicle.
• When the spare is clear, tilt the retainer at the end of the cable and pull it through the center of the wheel.
Preparations For Jacking
• Park on a firm, level surface. Avoid ice or slippery areas.
• Set the parking brake and shift the automatic transmission into PARK.
• Turn the ignition to LOCK and turn on the Hazard Warning flasher.
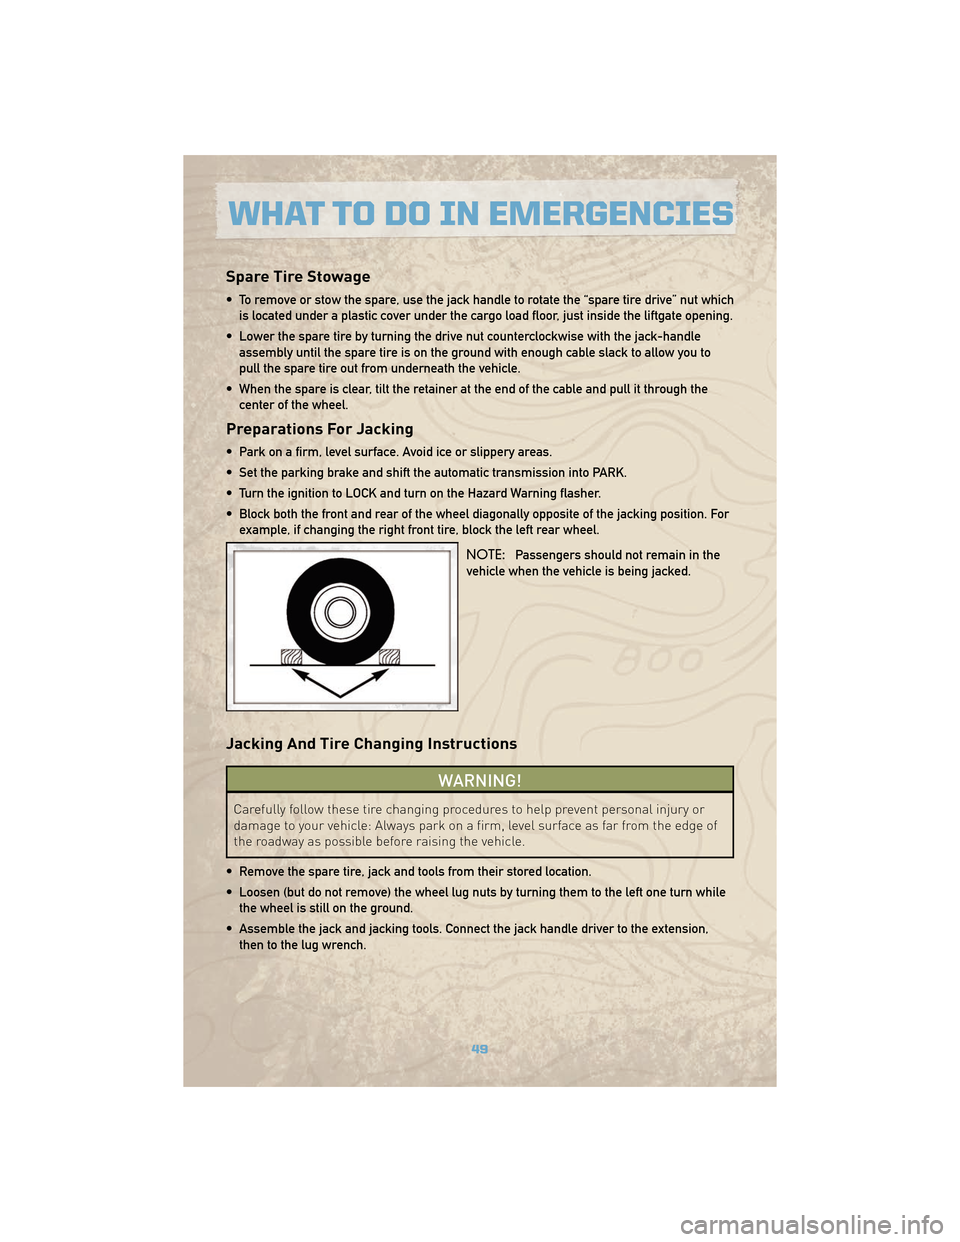
• Block both the front and rear of the wheel diagonally opposite of the jacking position. Forexample, if changing the right front tire, block the left rear wheel.
NOTE:Passengers should not remain in the
vehicle when the vehicle is being jacked.
Jacking And Tire Changing Instructions
WARNING!
Carefully follow these tire changing procedures to help prevent personal injury or
damage to your vehicle: Always park on a firm, level surface as far from the edge of
the roadway as possible before raising the vehicle.
• Remove the spare tire, jack and tools from their stored location.
• Loosen (but do not remove) the wheel lug nuts by turning them to the left one turn while the wheel is still on the ground.
• Assemble the jack and jacking tools. Connect the jack handle driver to the extension, then to the lug wrench.
49
WHAT TO DO IN EMERGENCIES