Page 203 of 425

4121
Features of your vehicle
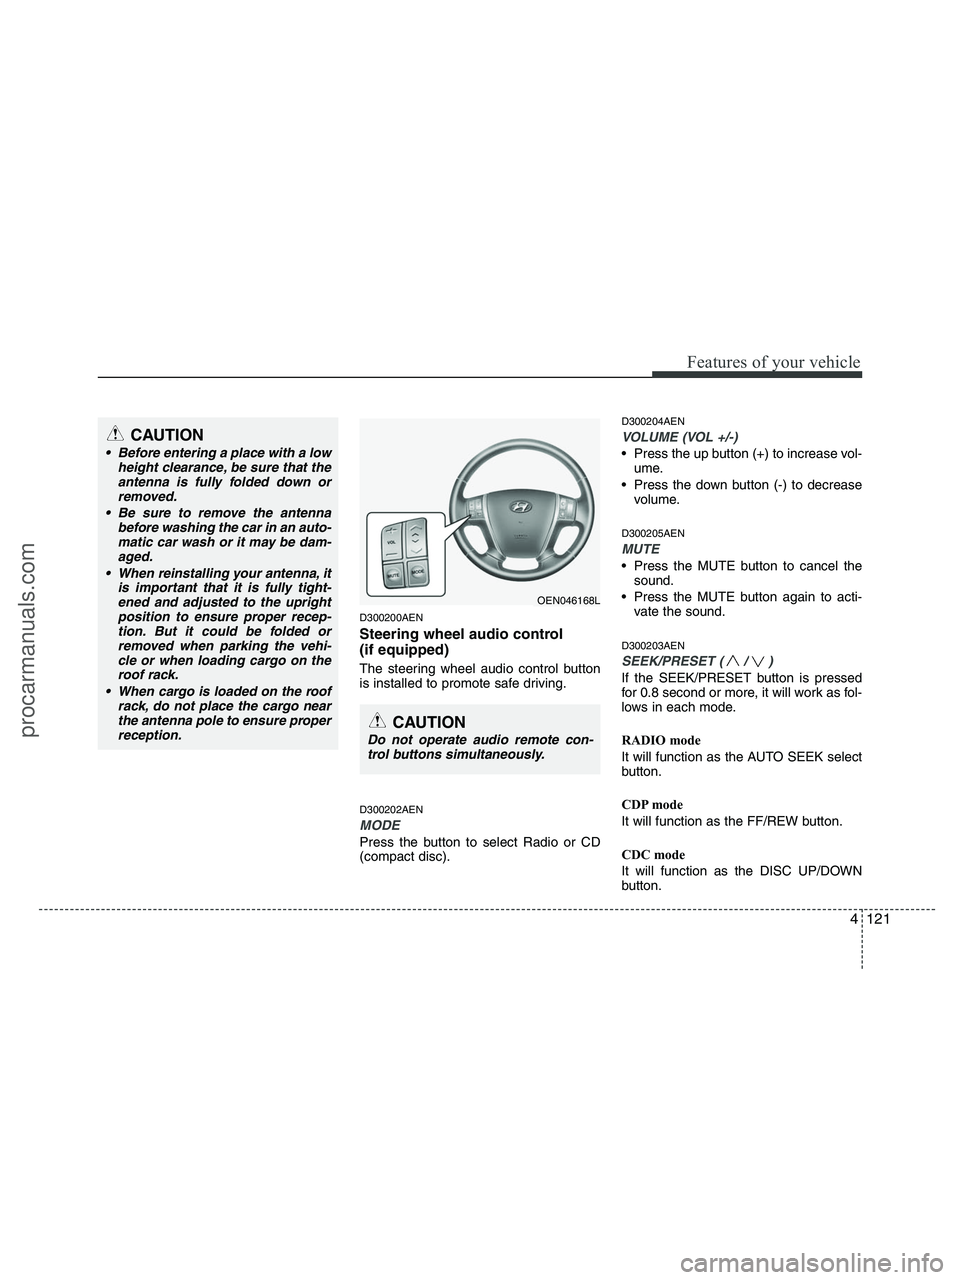
D300200AEN
Steering wheel audio control
(if equipped)
The steering wheel audio control button
is installed to promote safe driving.
D300202AEN
MODE
Press the button to select Radio or CD
(compact disc).
D300204AEN
VOLUME (VOL +/-)
• Press the up button (+) to increase vol-
ume.
Press the down button (-) to decrease
volume.
D300205AEN
MUTE
Press the MUTE button to cancel the
sound.
Press the MUTE button again to acti-
vate the sound.
D300203AEN
SEEK/PRESET ( / )
If the SEEK/PRESET button is pressed
for 0.8 second or more, it will work as fol-
lows in each mode.
RADIO mode
It will function as the AUTO SEEK select
button.
CDP mode
It will function as the FF/REW button.
CDC mode
It will function as the DISC UP/DOWN
button.
CAUTION
• Before entering a place with a low
height clearance, be sure that the
antenna is fully folded down or
removed.
Be sure to remove the antenna
before washing the car in an auto-
matic car wash or it may be dam-
aged.
When reinstalling your antenna, it
is important that it is fully tight-
ened and adjusted to the upright
position to ensure proper recep-
tion. But it could be folded or
removed when parking the vehi-
cle or when loading cargo on the
roof rack.
When cargo is loaded on the roof
rack, do not place the cargo near
the antenna pole to ensure proper
reception.
OEN046168L
CAUTION
Do not operate audio remote con-
trol buttons simultaneously.
procarmanuals.com
Page 204 of 425

Features of your vehicle
122 4
If the SEEK/PRESET button is pressed
for less than 0.8 second, it will work as
follows in each mode.
RADIO mode
It will function as the PRESET STATION
select buttons.
CDP mode
It will function as the TRACK UP/DOWN
button.
CDC mode
It will function as the TRACK UP/DOWN
button.
Detailed information for audio control
buttons is described in the following
pages in this section.
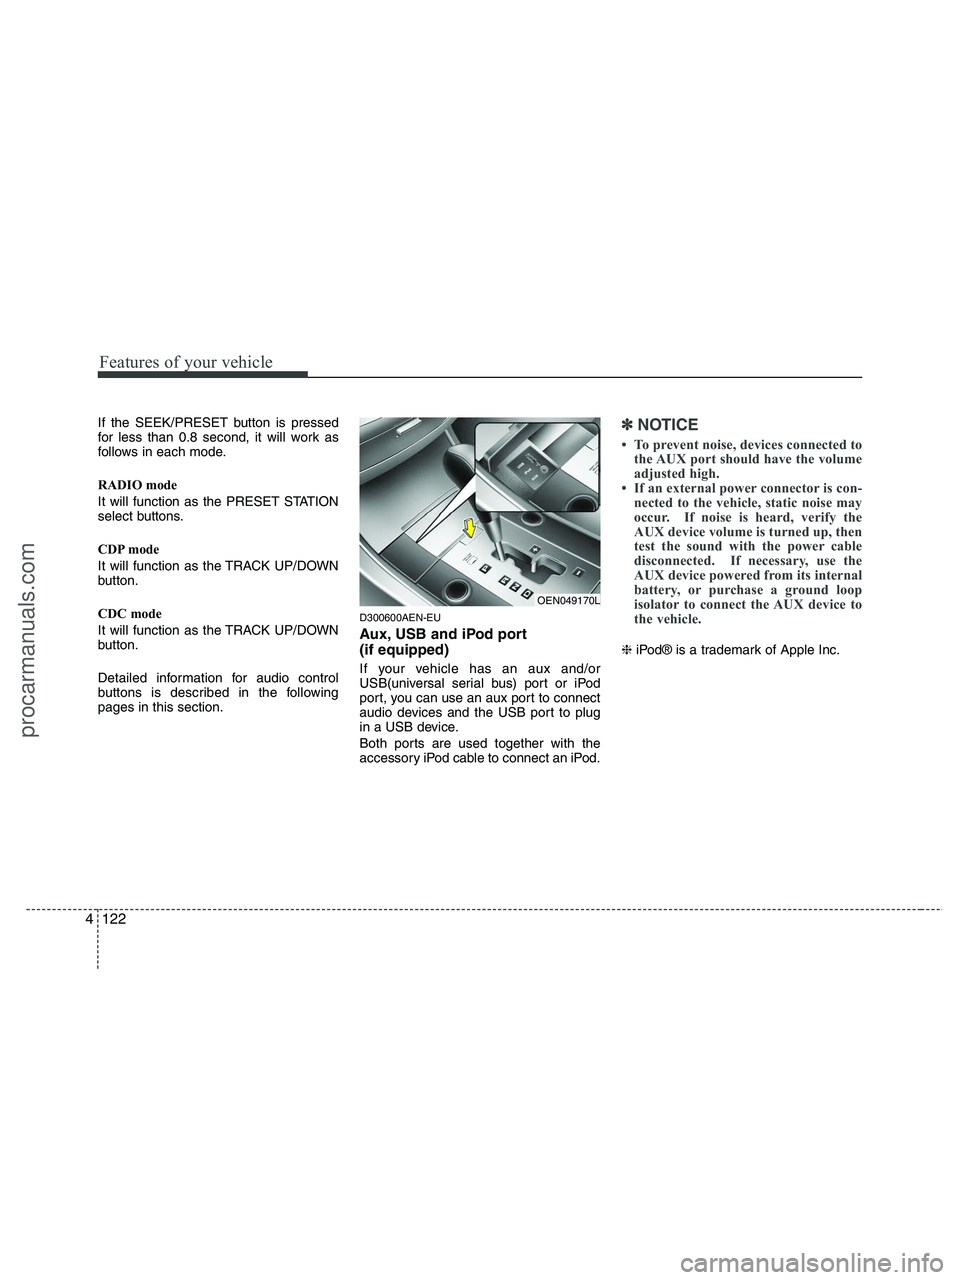
D300600AEN-EU
Aux, USB and iPod port
(if equipped)
If your vehicle has an aux and/or
USB(universal serial bus) port or iPod
port, you can use an aux port to connect
audio devices and the USB port to plug
in a USB device.
Both ports are used together with the
accessory iPod cable to connect an iPod.
✽ ✽
NOTICE
• To prevent noise, devices connected to
the AUX port should have the volume
adjusted high.
• If an external power connector is con-
nected to the vehicle, static noise may
occur. If noise is heard, verify the
AUX device volume is turned up, then
test the sound with the power cable
disconnected. If necessary, use the
AUX device powered from its internal
battery, or purchase a ground loop
isolator to connect the AUX device to
the vehicle.
❈iPod® is a trademark of Apple Inc.
OEN049170L
procarmanuals.com
Page 206 of 425

Features of your vehicle
124 4
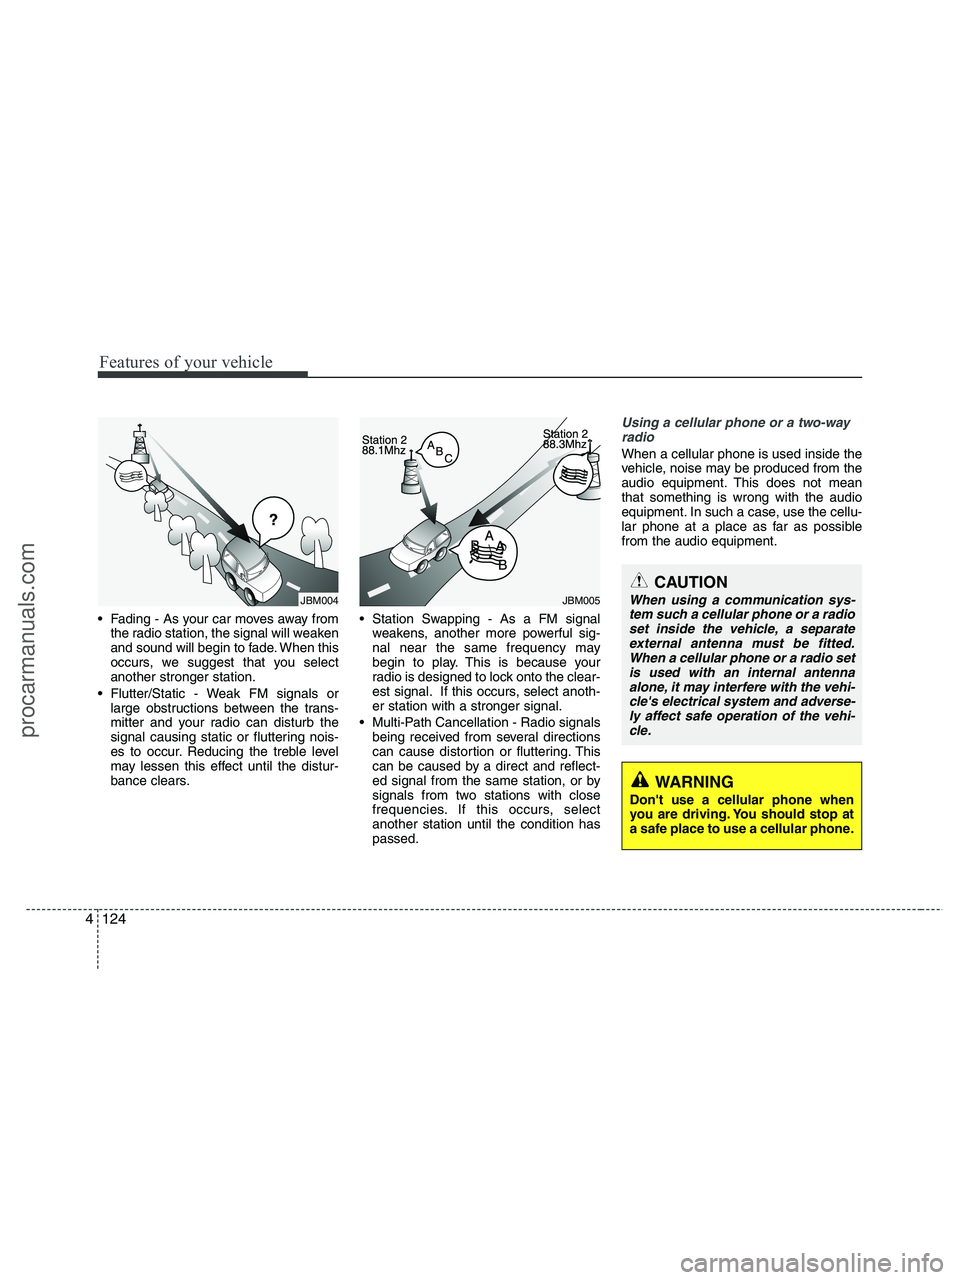
Fading - As your car moves away from
the radio station, the signal will weaken
and sound will begin to fade. When this
occurs, we suggest that you select
another stronger station.
Flutter/Static - Weak FM signals or
large obstructions between the trans-
mitter and your radio can disturb the
signal causing static or fluttering nois-
es to occur. Reducing the treble level
may lessen this effect until the distur-
bance clears. Station Swapping - As a FM signal
weakens, another more powerful sig-
nal near the same frequency may
begin to play. This is because your
radio is designed to lock onto the clear-
est signal. If this occurs, select anoth-
er station with a stronger signal.
Multi-Path Cancellation - Radio signals
being received from several directions
can cause distortion or fluttering. This
can be caused by a direct and reflect-
ed signal from the same station, or by
signals from two stations with close
frequencies. If this occurs, select
another station until the condition has
passed.
Using a cellular phone or a two-way
radio
When a cellular phone is used inside the
vehicle, noise may be produced from the
audio equipment. This does not mean
that something is wrong with the audio
equipment. In such a case, use the cellu-
lar phone at a place as far as possible
from the audio equipment.
JBM005
CAUTION
When using a communication sys-
tem such a cellular phone or a radio
set inside the vehicle, a separate
external antenna must be fitted.
When a cellular phone or a radio set
is used with an internal antenna
alone, it may interfere with the vehi-
cle's electrical system and adverse-
ly affect safe operation of the vehi-
cle.
WARNING
Don't use a cellular phone when
you are driving. You should stop at
a safe place to use a cellular phone.
¢¢¢
JBM004
procarmanuals.com
Page 208 of 425
Features of your vehicle
126 4
A-200ENL
1. Power ON/OFF Button & Volume Control
Knob
2. FM/AM Selection Button
3. Automatic Channel Selection Button
4. Preset Button
5. Manual Channel Selection Knob &
SETUP Button
6. SCAN Button
RADIO, SET UP, VOLUME, AUDIO CONTROL(PA710S)
procarmanuals.com
Page 209 of 425
4127
Features of your vehicle
1. Power ON/OFF Button & Volume Control
Knob
2. FM/AM Selection Button
3. Automatic Channel Selection Button
4. Preset Button
5. Manual Channel Selection Knob &
SETUP Button
6. SCAN Button
7. MUTE Button
RADIO, SET UP, VOLUME, AUDIO CONTROL(PA760S)
A-300ENL
procarmanuals.com
Page 210 of 425
Features of your vehicle
128 4
1. Power ON/OFF Button & Volume Control
Knob
2. FM/AM Selection Button
3. Automatic Channel Selection Button
4. Preset Button
5. Manual Channel Selection Knob &
SETUP Button
6. SCAN Button
RADIO, SET UP, VOLUME, AUDIO CONTROL(PA760S RSE)
A-350CML
procarmanuals.com
Page 211 of 425

4129
Features of your vehicle
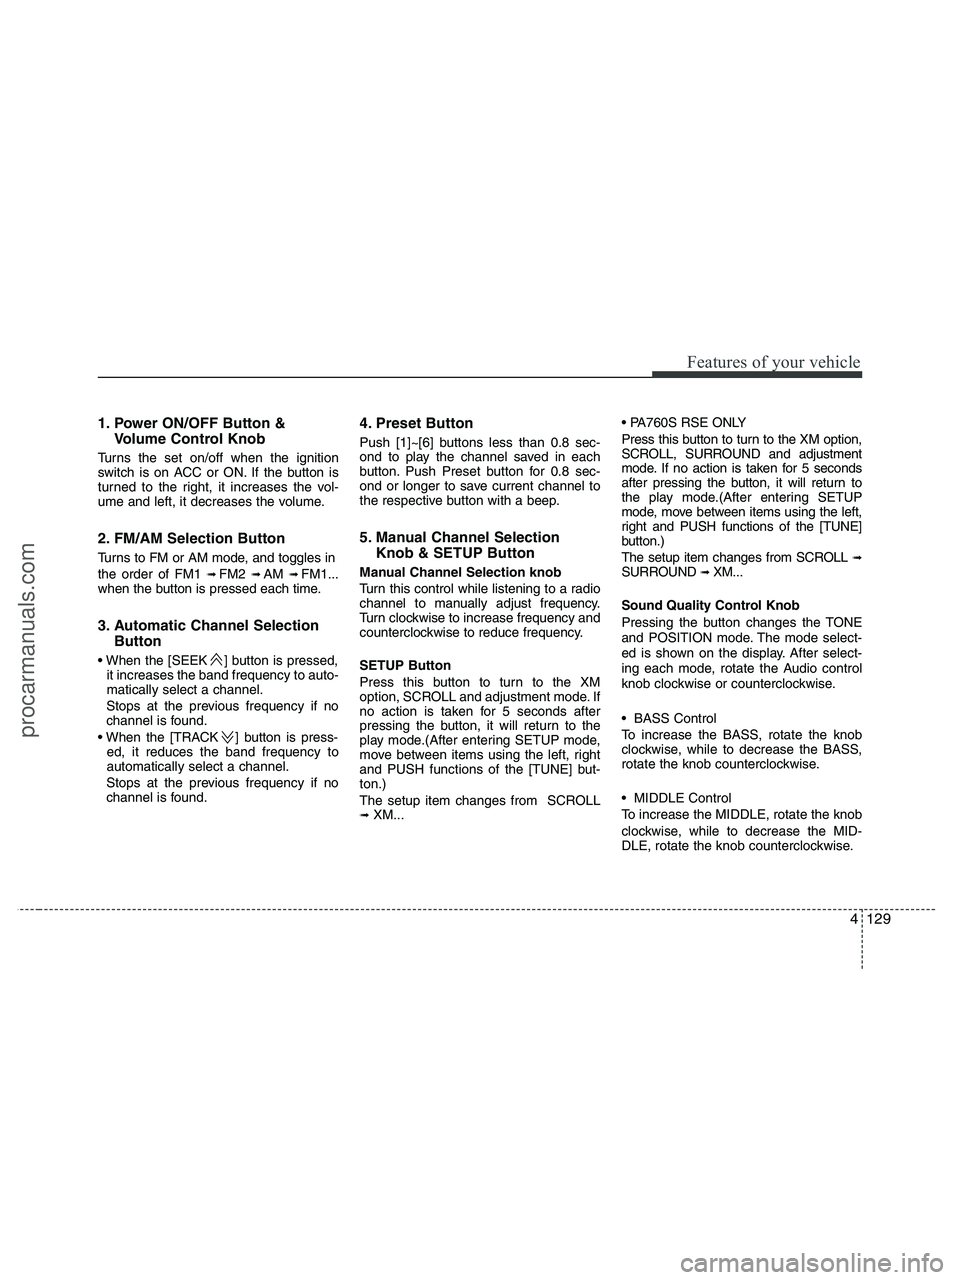
1. Power ON/OFF Button &
Volume Control Knob
Turns the set on/off when the ignition
switch is on ACC or ON. If the button is
turned to the right, it increases the vol-
ume and left, it decreases the volume.
2. FM/AM Selection Button
Turns to FM or AM mode, and toggles in
the order of FM1
➟ FM2 ➟ AM ➟ FM1...
when the button is pressed each time.
3. Automatic Channel Selection
Button
] button is pressed,
it increases the band frequency to auto-
matically select a channel.
Stops at the previous frequency if no
channel is found.
] button is press-
ed, it reduces the band frequency to
automatically select a channel.
Stops at the previous frequency if no
channel is found.
4. Preset Button
Push [1]~[6] buttons less than 0.8 sec-
ond to play the channel saved in each
button. Push Preset button for 0.8 sec-
ond or longer to save current channel to
the respective button with a beep.
5. Manual Channel Selection
Knob & SETUP Button
Manual Channel Selection knob
Turn this control while listening to a radio
channel to manually adjust frequency.
Turn clockwise to increase frequency and
counterclockwise to reduce frequency.
SETUP Button
Press this button to turn to the XM
option, SCROLL and adjustment mode. If
no action is taken for 5 seconds after
pressing the button, it will return to the
play mode.(After entering SETUP mode,
move between items using the left, right
and PUSH functions of the [TUNE] but-
ton.)
The setup item changes from SCROLL
➟ XM...
Press this button to turn to the XM option,
SCROLL, SURROUND and adjustment
mode. If no action is taken for 5 seconds
after pressing the button, it will return to
the play mode.(After entering SETUP
mode, move between items using the left,
right and PUSH functions of the [TUNE]
button.)
The setup item changes from SCROLL
➟SURROUND ➟ XM...
Sound Quality Control Knob
Pressing the button changes the TONE
and POSITION mode. The mode select-
ed is shown on the display. After select-
ing each mode, rotate the Audio control
knob clockwise or counterclockwise.
BASS Control
To increase the BASS, rotate the knob
clockwise, while to decrease the BASS,
rotate the knob counterclockwise.
MIDDLE Control
To increase the MIDDLE, rotate the knob
clockwise, while to decrease the MID-
DLE, rotate the knob counterclockwise.
procarmanuals.com
Page 229 of 425
4147
Features of your vehicle
1. XM Selection Button
2. INFO Button
3. Automatic Channel Selection Button
4. SCAN Button
5. CATEGORY Search Button
6. Manual Channel Selection Knob
7. Preset Button
XM SATELLITE RADIO(PA710S)
A-200ENL
procarmanuals.com