Page 124 of 441

Make sure that the f olded up right
rear seat does not interf ere with the
f ront passenger’s seat-back. This will
cause the f ront passenger’s weight
sensors and the f ront passenger’s
seat belt reminder indicator to work
improperly (see page ). Also
check the passenger airbag of f
indicator to assure proper operation
of the passenger’s advanced f ront
airbag.
Reverse this procedure to return the
seat to the upright position.
Make sure the seat is securely
latched bef ore driving.
When you are not using the
fastening strap, store the strap into
the slit on the seat-back.Make sure both outer seat belts are
positioned in side of the rear seat-
backs.
Make sure all items in the cargo area
are secured. Loose items can f ly
f orward and cause injury if you have
to brake hard (See
on page ).
Do not use the dual deck cargo shelf
(if equipped) when the seats are
folded down or forward.
The seat belt in the rear center seat
is equipped with a detachable anchor.
This allows the center seat belt to be
unlatched when the rear center seat
back is f olded down or the right side
rear seat is folded forward.
In the center seating position of the
rear seat, be sure the detachable
anchor is latched securely bef ore
using the seat belt (see next column).
33
304
CONT INUED
Carrying CargoDetachable A nchor
Seats
Inst rument s and Cont rols
109
Using the seat belt with the
detachable anchor unlatched
increases the chance of serious
injury or death in a crash.
Before using the seat belt,
make sure the detachable
anchor is correctly latched.
Table of Contents
Page 125 of 441
Pull out the small latch plate and the
latch plate f rom each holding slot in
the ceiling, and pull out the seat belt
to extend it.Line up the triangle marks on the
small latch plate and anchor buckle
when reattaching the belt and buckle.
Tug on the seat belt to verify that
the detachable anchor is securely
latched. Make sure the seat belt is
not twisted.To unlatch the detachable anchor,
insert the latch plate into the slot on
the side of the anchor buckle. Store
the detachable anchor and seat belt
latch plates in the retractor housing.
Seats
110
TRIANGLE
MARKS
ANCHOR BUCKLE
SMALL LATCH PLATE
LATCH PLATE LATCH PLATE
ANCHOR BUCKLE
Table of Contents
Page 136 of 441
To use the vanity mirror on the back
of the sun visor, pull up the cover.
Open the upper glove box by
pushing up the lever. Close it by
pulling down on the edge under the
lever.
The vanity mirror lights come on
when you pull up the cover.
Except LX model
Vanity Mirror
Upper Glove Box
Interior Convenience Items
Inst rument s and Cont rols
121
EDGE
LEVERAn open glove box can cause
serious injury to your passenger
inacrash,evenifthe
passenger is wearing the seatbelt.
Always keep the glove box
closed while driving.
Table of Contents
Page 328 of 441
Check the adjustment of the
inside and outside mirrors (see
page ).
Check the steering wheel
adjustment (see page ).
Fasten your seat belt. Check that
your passengers have f astened
their seat belts (see page ).
Make sure the doors and the
tailgate are securely closed and
locked.
Youshoulddothefollowingchecks
and adjustments bef ore you drive
your vehicle.
Make sure all windows, mirrors,
and outside lights are clean and
unobstructed. Remove f rost, snow,
or ice.
Check that the hood is f ully closed.
Visually check the tires. If a tire
looks low, use a gauge to check its
pressure.
Check that any items you may be
carrying are stored properly or
f astened down securely. When you start the engine, check
the gauges and indicators in the
instrument panel (see pages to
).
Check the seat adjustment (see
pages and ).
1. 2.
10.
3. 4. 5. 6. 7. 8. 9.
114
81
15
68 61
97 98
Preparing to Drive
Driving
313
Table of Contents
Page 351 of 441

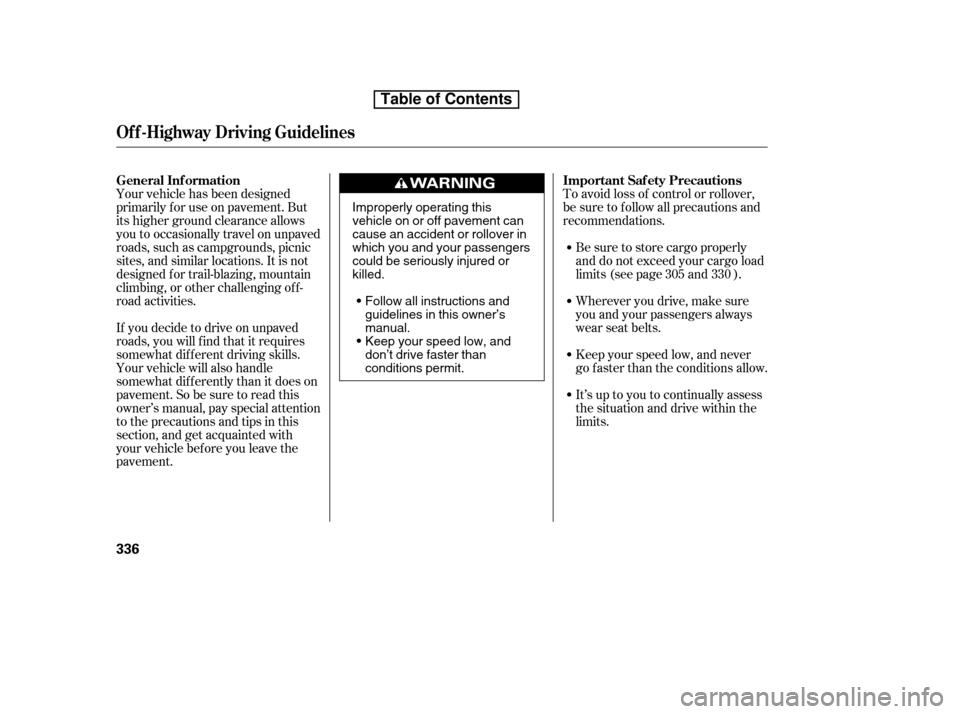
To avoid loss of control or rollover,
be sure to f ollow all precautions and
recommendations.
If you decide to drive on unpaved
roads, you will f ind that it requires
somewhat dif f erent driving skills.
Your vehicle will also handle
somewhat dif f erently than it does on
pavement. So be sure to read this
owner’s manual, pay special attention
to the precautions and tips in this
section, and get acquainted with
your vehicle before you leave the
pavement.
Your vehicle has been designed
primarily f or use on pavement. But
its higher ground clearance allows
you to occasionally travel on unpaved
roads, such as campgrounds, picnic
sites, and similar locations. It is not
designed f or trail-blazing, mountain
climbing, or other challenging of f -
road activities.
Be sure to store cargo properly
and do not exceed your cargo load
limits (see page and ).
Wherever you drive, make sure
you and your passengers always
wear seat belts.
Keep your speed low, and never
go faster than the conditions allow.
It’s up to you to continually assess
the situation and drive within the
limits.305 330
General Inf ormation
Important Saf ety Precautions
Of f -Highway Driving Guidelines
336
Follow all instructions and
guidelines in this owner’smanual.
Keep your speed low, and
don’t drive faster than
conditions permit.
Improperly operating this
vehicle on or off pavement can
cause an accident or rollover in
which you and your passengers
could be seriously injured orkilled.
Table of Contents
Page 354 of 441

This section explains why it is
important to keep your vehicle well
maintained and how to f ollow basic
maintenance saf ety precautions.
If you have the skills and tools to
perf orm more complex maintenance
tasks on your vehicle, you may want
to purchase the service manual. See
page f or inf ormation on how to
obtain a copy, or see your dealer.
This section also includes
instructions on how to read the
maintenance minder messages on
the information display, and
instructions f or simple maintenance
tasks you may want to take care of
yourself .
......................Maintenance Saf ety . 340
....................
Maintenance Minder . 341
..............................
Fluid Locations . 348
........................
Adding Engine Oil . 349
Changing the Engine Oil and
...........................................
Filter . 350
..............................
Engine Coolant . 352
....................
Windshield Washers . 354
....
Automatic Transmission Fluid . 355
.................
Rear Dif f erential Fluid . 357
....................................
Brake Fluid . 357
....................
Power Steering Fluid . 358
.............................................
Lights . 359
................
Cleaning the Seat Belts . 365
.....................................
Floor Mats . 365
..............................
Audio Antenna . 366
..................
Dust and Pollen Filter . 366
.................................
Wiper Blades . 367
...............................................
Tires . 370
...........................................
Wheels . 376
...................
Checking the Battery . 376
.............................
Vehicle Storage . 378
425
Maintenance
Maint enance
339
Page 362 of 441

�Î
�Î �Î
�Ì �Ì�Ì
�Î
�Î
Maintenance Minder
347
:See information on maintenance and emissions warranty on page .Inspect idle speed every 160,000 miles (256,000 km).
Adjust the valves during services A, B, 1, 2, or 3 only if they are noisy.
If the message ‘‘SERVICE’’ does not appear more than 12 months after the
display is reset, change the engine oil every year.
Independent of the maintenance items in the information display, replace
the brake fluid every 3 years.
NOTE: 1:
2: 4WD
346
Maintenance Sub Items
Rotate tires
Replace air cleaner element If you drive in dusty conditions, replace every
15,000 miles (24,000 km).
Replace dust and pollen filter If you drive primarily in urban areas that have high
concentrations of soot in the air from industry and
from diesel-powered vehicles, replace every 15,000
miles (24,000 km).
Inspect drive belt
Replace transmission fluid If you tow a CR-V behind a motorhome, the
transmission fluid must be changed every 2 years
or 30,000 miles (48,000 km), whichever comes first.
Replace spark plugs
Inspect valve clearance
Replace engine coolant
Replace rear differential fluid
Maintenance Main Items
Replace engine oil
Replace engine oil and oil filter
Inspect front and rear brakes
Check parking brake adjustment
Inspect these items:
Tie rod ends, steering gear box, and boots
Suspension components
Driveshaft boots
Brake hoses and lines (including ABS/VSA)
All fluid levels and condition of fluids
Exhaust system
Fuel lines and connections
AB
Symbol
Symbol
12 3 4 5 6
2
11
Maintenance Minder
Table of Contents
Page 380 of 441

CONT INUED
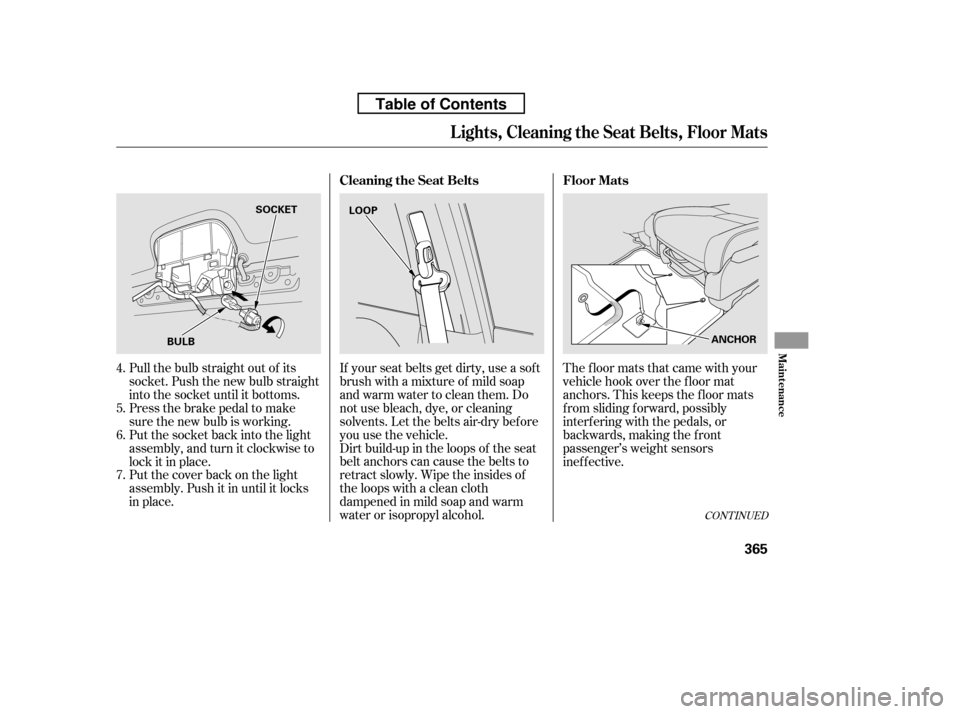
Dirt build-up in the loops of the seat
belt anchors can cause the belts to
retract slowly. Wipe the insides of
the loops with a clean cloth
dampened in mild soap and warm
water or isopropyl alcohol.
If your seat belts get dirty, use a sof t
brush with a mixture of mild soap
and warm water to clean them. Do
not use bleach, dye, or cleaning
solvents. Let the belts air-dry bef ore
you use the vehicle.
Pull the bulb straight out of its
socket. Push the new bulb straight
into the socket until it bottoms.
Press the brake pedal to make
sure the new bulb is working.
Put the socket back into the light
assembly, and turn it clockwise to
lock it in place.
Put the cover back on the light
assembly. Push it in until it locks
in place. The floor mats that came with your
vehicle hook over the f loor mat
anchors. This keeps the f loor mats
f rom sliding f orward, possibly
interf ering with the pedals, or
backwards, making the f ront
passenger’s weight sensors
inef f ective.
4. 5. 6. 7. Floor Mats
Cleaning the Seat Belts
Lights, Cleaning the Seat Belts, Floor Mats
Maint enance
365
BULB SOCKET
LOOP
ANCHOR
Table of Contents