2010 GMC YUKON XL door lock
[x] Cancel search: door lockPage 36 of 614

OnStar®
OnStar®uses several innovative technologies and live
advisors to provide a wide range of safety, security,
navigation, diagnostics, and calling services.
Automatic Crash Response
In a crash, built in sensors can automatically alert an
OnStar advisor who is immediately connected to the
vehicle to see if you need help.
How OnStar Service Works
Q
: This blue button connects you to a specially
trained OnStar advisor to verify your account
information and to answer questions.
]: Push this red emergency button to get priority help
from specially trained OnStar emergency advisors.
X: Push this button for hands‐free, voice‐activated
calling and to give voice commands for turn‐by‐turn
navigation. Crisis Assist, Stolen Vehicle Assistance, Vehicle
Diagnostics, Remote Door Unlock, Roadside
Assistance, Turn‐by‐Turn Navigation and Hands‐Free
Calling are available on most vehicles. Not all OnStar
services are available on all vehicles. For more
information see the OnStar Owner's Guide or visit
www.onstar.com (U.S.) or www.onstar.ca (Canada),
contact OnStar at 1-888-4-ONSTAR (1‐888‐466‐7827)
or TTY 1‐877‐248‐2080, or press
Qto speak with an
OnStar advisor 24 hours a day, 7 days a week.
For a full description of OnStar services and system
limitations, see the OnStar Owner's Guide in the
glove box.
OnStar service is subject to the OnStar terms and
conditions included in the OnStar Subscriber
Information.
OnStar service cannot work unless the vehicle is in a
place where OnStar has an agreement with a wireless
service provider for service in that area. OnStar service
also cannot work unless the vehicle is in a place where
the wireless service provider OnStar has hired for that
area has coverage, network capacity and reception
when the service is needed, and technology that is
compatible with the OnStar service. Not all services are
available everywhere, particularly in remote or enclosed
areas, or at all times.
1-30
Page 49 of 614

To recall the memory positions, the vehicle must be in
P (Park). Press and release either button 1 or button 2
corresponding to the desired driving position. The seat,
outside mirrors, and adjustable throttle and brake
pedals will move to the position previously stored.
You will hear a single beep.
If you use the remote keyless entry transmitter to enter
your vehicle and the remote recall memory feature is
on, automatic seat, adjustable mirror, and adjustable
pedal movements will occur. See“MEMORY SEAT
RECALL” underDIC Vehicle Customization (With DIC
Buttons)
on page 4‑72for more information.
To stop recall movement of the memory function at any
time, press one of the power seat controls, memory
buttons, power mirror buttons, or adjustable pedal
switch.
If something has blocked the driver ’s seat and/or the
adjustable pedals while recalling a memory position,
the driver ’s seat and/or the adjustable pedals recall may
stop working. If this happens, remove the obstruction
and press the appropriate control for the area that is not
responding for two seconds. Try recalling the memory
position again by pressing the appropriate memory
button. If the memory position is still not recalling,
see your dealer for service.
Easy Exit Seat
The control for this feature is located on the driver ’s
door panel between buttons 1 and 2.
With the vehicle in P (Park), the driver's seat exit
position can be recalled by pressing the exit button.
You will hear a single beep, and the driver ’s seat will
move back approximately 8 cm (3 in). To move the seat
back further, press the exit button again until the seat is
all the way back.
If the easy exit seat feature is programmed in the Driver
Information Center (DIC), automatic seat movement will
occur when the key is removed from the ignition. See
“EASY EXIT SEAT” underDIC Vehicle Customization
(With DIC Buttons)
on page 4‑72for more information.
The memory seat and easy exit features can also be
programmed using the DIC.
For programming information, see DIC Vehicle
Customization (With DIC Buttons) on page 4‑72.
2-11
Page 58 of 614
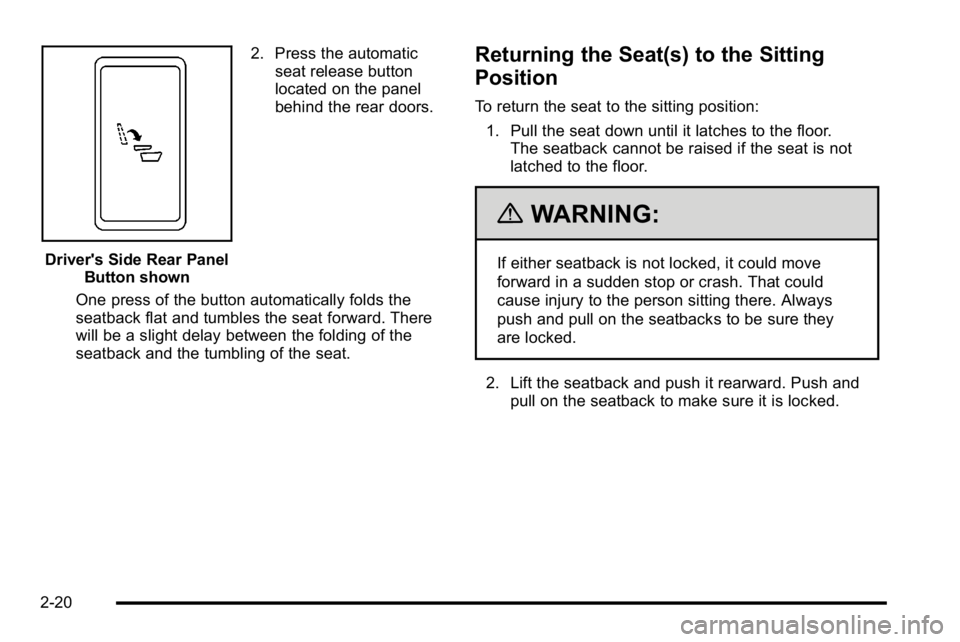
Driver's Side Rear PanelButton shown 2. Press the automatic
seat release button
located on the panel
behind the rear doors.
One press of the button automatically folds the
seatback flat and tumbles the seat forward. There
will be a slight delay between the folding of the
seatback and the tumbling of the seat.
Returning the Seat(s) to the Sitting
Position
To return the seat to the sitting position: 1. Pull the seat down until it latches to the floor. The seatback cannot be raised if the seat is not
latched to the floor.
{WARNING:
If either seatback is not locked, it could move
forward in a sudden stop or crash. That could
cause injury to the person sitting there. Always
push and pull on the seatbacks to be sure they
are locked.
2. Lift the seatback and push it rearward. Push and pull on the seatback to make sure it is locked.
2-20
Page 64 of 614
Folding and Tumbling the Second Row
Seat(s) from the Third Row Seats or
Outside
{WARNING:
Using the third row seating position while the
second row is folded, or folded and tumbled, could
cause injury in a sudden stop or crash. Be sure to
return the seat to the passenger seating position.
Push and pull on the seat to make sure it is
locked into place.
To fold and tumble the seat from the third row seats,
if your vehicle has them, do the following: 1. Make sure that there is nothing under, in front of, or on the seat.
Notice: Folding a rear seat with the safety belts
still fastened may cause damage to the seat or the
safety belts. Always unbuckle the safety belts and
return them to their normal stowed position before
folding a rear seat.
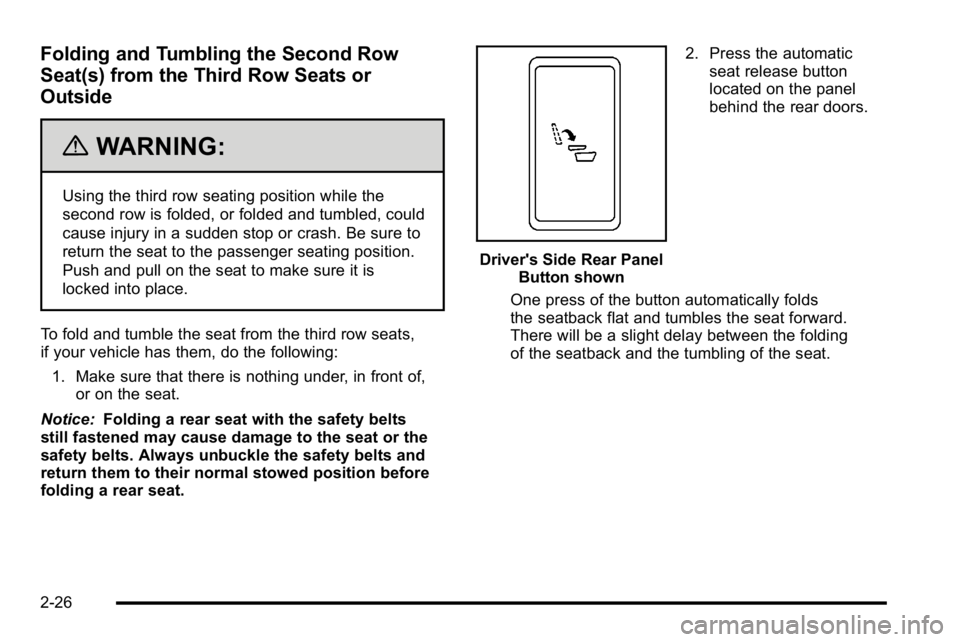
Driver's Side Rear Panel Button shown 2. Press the automatic
seat release button
located on the panel
behind the rear doors.
One press of the button automatically folds
the seatback flat and tumbles the seat forward.
There will be a slight delay between the folding
of the seatback and the tumbling of the seat.
2-26
Page 87 of 614
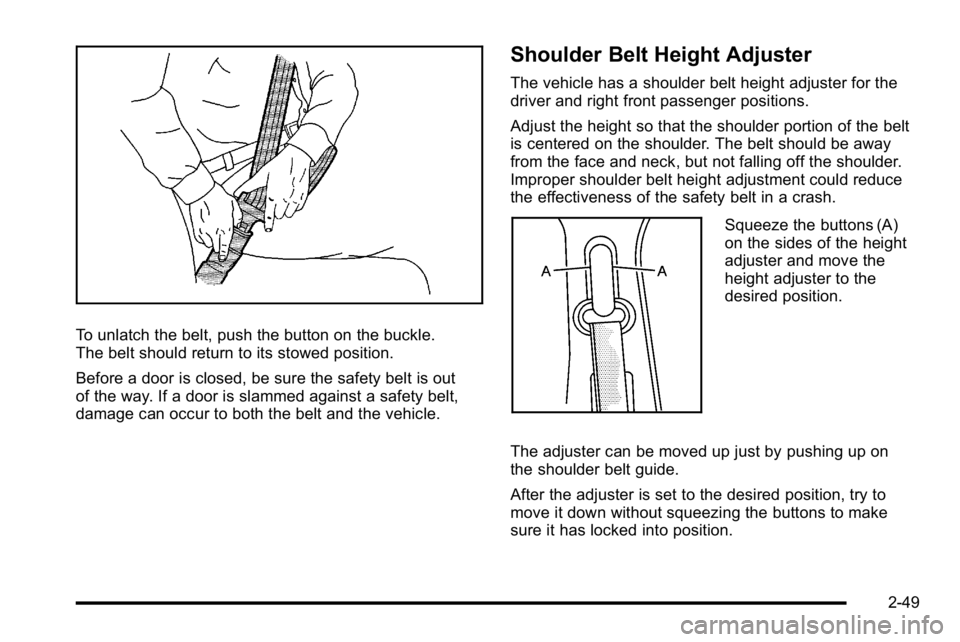
To unlatch the belt, push the button on the buckle.
The belt should return to its stowed position.
Before a door is closed, be sure the safety belt is out
of the way. If a door is slammed against a safety belt,
damage can occur to both the belt and the vehicle.
Shoulder Belt Height Adjuster
The vehicle has a shoulder belt height adjuster for the
driver and right front passenger positions.
Adjust the height so that the shoulder portion of the belt
is centered on the shoulder. The belt should be away
from the face and neck, but not falling off the shoulder.
Improper shoulder belt height adjustment could reduce
the effectiveness of the safety belt in a crash.
Squeeze the buttons (A)
on the sides of the height
adjuster and move the
height adjuster to the
desired position.
The adjuster can be moved up just by pushing up on
the shoulder belt guide.
After the adjuster is set to the desired position, try to
move it down without squeezing the buttons to make
sure it has locked into position.
2-49
Page 126 of 614
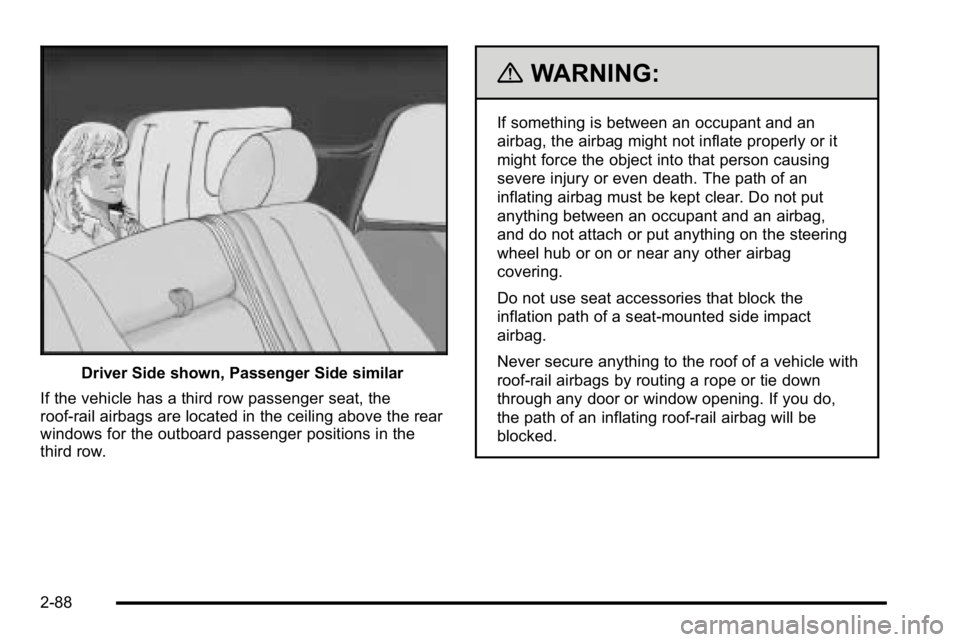
Driver Side shown, Passenger Side similar
If the vehicle has a third row passenger seat, the
roof-rail airbags are located in the ceiling above the rear
windows for the outboard passenger positions in the
third row.
{WARNING:
If something is between an occupant and an
airbag, the airbag might not inflate properly or it
might force the object into that person causing
severe injury or even death. The path of an
inflating airbag must be kept clear. Do not put
anything between an occupant and an airbag,
and do not attach or put anything on the steering
wheel hub or on or near any other airbag
covering.
Do not use seat accessories that block the
inflation path of a seat-mounted side impact
airbag.
Never secure anything to the roof of a vehicle with
roof-rail airbags by routing a rope or tie down
through any door or window opening. If you do,
the path of an inflating roof-rail airbag will be
blocked.
2-88
Page 130 of 614
What Will You See After an Airbag
Inflates?
After the frontal airbags and seat-mounted side impact
airbags inflate, they quickly deflate, so quickly that
some people may not even realize an airbag inflated.
Roof-rail airbags may still be at least partially inflated
for some time after they deploy. Some components
of the airbag module may be hot for several minutes.
For location of the airbag modules, seeWhat Makes an
Airbag Inflate? on page 2‑91.
The parts of the airbag that come into contact with you
may be warm, but not too hot to touch. There may be
some smoke and dust coming from the vents in the
deflated airbags. Airbag inflation does not prevent the
driver from seeing out of the windshield or being able
to steer the vehicle, nor does it prevent people from
leaving the vehicle.
{WARNING:
When an airbag inflates, there may be dust in the
air. This dust could cause breathing problems for
people with a history of asthma or other breathing
trouble. To avoid this, everyone in the vehicle
should get out as soon as it is safe to do so.
If you have breathing problems but cannot get
out of the vehicle after an airbag inflates, then get
fresh air by opening a window or a door. If you
experience breathing problems following an airbag
deployment, you should seek medical attention.
The vehicle has a feature that may automatically unlock
the doors, turn on the interior lamps and hazard warning
flashers, and shut off the fuel system after the airbags
inflate. You can lock the doors, turn off the interior
lamps and hazard warning flashers by using the
controls for those features.
2-92
Page 143 of 614

Section 3 Features and Controls
Keys. . . . . . . . . . . . . . . . . . . . . . . . . . . . . . . . . . . . . . . . . . . . . . . . 3-3
Remote Keyless Entry (RKE) System . . . . . . . . . . . 3-4
Remote Keyless Entry (RKE) System Operation . . . . . . . . . . . . . . . . . . . . . . . . . . . . . . . . . . . . . 3-5
Remote Vehicle Start . . . . . . . . . . . . . . . . . . . . . . . . . . . 3-8
Doors and Locks . . . . . . . . . . . . . . . . . . . . . . . . . . . . . . . . . 3-10
Door Locks . . . . . . . . . . . . . . . . . . . . . . . . . . . . . . . . . . . . 3-10
Power Door Locks . . . . . . . . . . . . . . . . . . . . . . . . . . . . . 3-11
Delayed Locking . . . . . . . . . . . . . . . . . . . . . . . . . . . . . . . 3-11
Programmable Automatic Door Locks . . . . . . . . . . 3-11
Rear Door Security Locks . . . . . . . . . . . . . . . . . . . . . 3-12
Lockout Protection . . . . . . . . . . . . . . . . . . . . . . . . . . . . . 3-12
Liftgate/Liftglass . . . . . . . . . . . . . . . . . . . . . . . . . . . . . . . 3-13
Power Liftgate . . . . . . . . . . . . . . . . . . . . . . . . . . . . . . . . . 3-15
Power Assist Steps . . . . . . . . . . . . . . . . . . . . . . . . . . . . 3-18
Windows . . . . . . . . . . . . . . . . . . . . . . . . . . . . . . . . . . . . . . . . . . 3-19
Power Windows . . . . . . . . . . . . . . . . . . . . . . . . . . . . . . . 3-20
Sun Visors . . . . . . . . . . . . . . . . . . . . . . . . . . . . . . . . . . . . . 3-22
Theft-Deterrent Systems . . . . . . . . . . . . . . . . . . . . . . . . .3-23
Content Theft-Deterrent . . . . . . . . . . . . . . . . . . . . . . . . 3-23
PASS-Key
®III+ Electronic Immobilizer . . . . . . . . . 3-25
PASS-Key®III+ Electronic Immobilizer
Operation . . . . . . . . . . . . . . . . . . . . . . . . . . . . . . . . . . . . 3-25 Starting and Operating Your Vehicle
. . . . . . . . . . . .3-27
New Vehicle Break-In . . . . . . . . . . . . . . . . . . . . . . . . . . 3-27
Ignition Positions . . . . . . . . . . . . . . . . . . . . . . . . . . . . . . 3-28
Retained Accessory Power (RAP) . . . . . . . . . . . . . 3-29
Starting the Engine . . . . . . . . . . . . . . . . . . . . . . . . . . . . 3-29
Adjustable Throttle and Brake Pedal . . . . . . . . . . . 3-31
Engine Coolant Heater . . . . . . . . . . . . . . . . . . . . . . . . . 3-31
Active Fuel Management™ . . . . . . . . . . . . . . . . . . . . 3-33
Automatic Transmission Operation . . . . . . . . . . . . . 3-33
Tow/Haul Mode . . . . . . . . . . . . . . . . . . . . . . . . . . . . . . . . 3-39
Four-Wheel Drive (Two Speed Automatic Transfer Case) . . . . . . . . . . . . . . . . . . . . . . . . . . . . . . 3-41
Four-Wheel Drive (Single Speed Automatic Transfer Case) . . . . . . . . . . . . . . . . . . . . . . . . . . . . . . 3-46
Parking Brake . . . . . . . . . . . . . . . . . . . . . . . . . . . . . . . . . 3-48
Shifting Into Park . . . . . . . . . . . . . . . . . . . . . . . . . . . . . . 3-49
Shifting Out of Park . . . . . . . . . . . . . . . . . . . . . . . . . . . . 3-51
Parking Over Things That Burn . . . . . . . . . . . . . . . . 3-51
Engine Exhaust . . . . . . . . . . . . . . . . . . . . . . . . . . . . . . . . 3-52
Running the Vehicle While Parked . . . . . . . . . . . . . 3-53
3-1