2010 GMC TERRAIN four wheel drive
[x] Cancel search: four wheel drivePage 246 of 410

8-38 Driving and Operating
Fuel Economy Mode
The vehicle may have a Fuel
Economy Mode. When engaged,
fuel economy mode can improve the
vehicle's fuel economy.
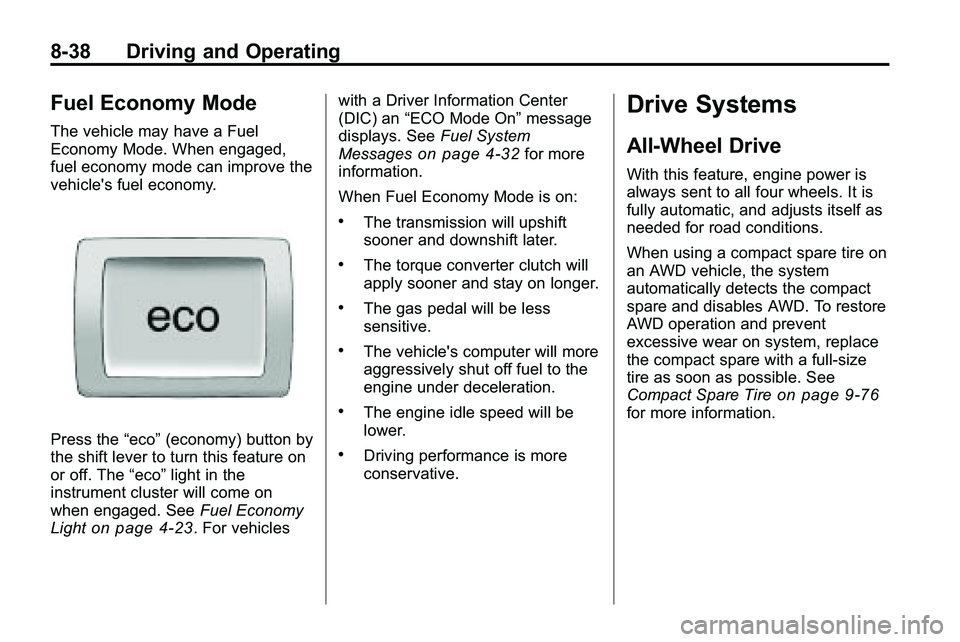
Press the“eco”(economy) button by
the shift lever to turn this feature on
or off. The “eco”light in the
instrument cluster will come on
when engaged. See Fuel Economy
Light
on page 4‑23. For vehicles with a Driver Information Center
(DIC) an
“ECO Mode On” message
displays. See Fuel System
Messages
on page 4‑32for more
information.
When Fuel Economy Mode is on:
.The transmission will upshift
sooner and downshift later.
.The torque converter clutch will
apply sooner and stay on longer.
.The gas pedal will be less
sensitive.
.The vehicle's computer will more
aggressively shut off fuel to the
engine under deceleration.
.The engine idle speed will be
lower.
.Driving performance is more
conservative.
Drive Systems
All-Wheel Drive
With this feature, engine power is
always sent to all four wheels. It is
fully automatic, and adjusts itself as
needed for road conditions.
When using a compact spare tire on
an AWD vehicle, the system
automatically detects the compact
spare and disables AWD. To restore
AWD operation and prevent
excessive wear on system, replace
the compact spare with a full-size
tire as soon as possible. See
Compact Spare Tire
on page 9‑76for more information.
Page 331 of 410

Vehicle Care 9-57
TPMS Sensor Matching
Process
Each TPMS sensor has a unique
identification code. Any time you
rotate your vehicle's tires or replace
one or more of the TPMS sensors,
the identification codes will need to
be matched to the new tire/wheel
position. The sensors are matched
to the tire/wheel positions in the
following order: driver side front tire,
passenger side front tire, passenger
side rear tire, and driver side rear
tire using a TPMS diagnostic tool.
See your dealer/retailer for service.
The TPMS sensors can also be
matched to each tire/wheel position
by increasing or decreasing the
tire's air pressure. If increasing the
tire's air pressure, do not exceed
the maximum inflation pressure
indicated on the tire's sidewall.To decrease air-pressure out of a
tire you can use the pointed end of
the valve cap, a pencil-style air
pressure gauge, or a key.
You have two minutes to match
the first tire/wheel position, and
five minutes overall to match all four
tire/wheel positions. If it takes longer
than two minutes, to match the first
tire and wheel, or more than
five minutes to match all four tire
and wheel positions the matching
process stops and you need to
start over.
The TPMS sensor matching process
is outlined below:
1. Set the parking brake.
2. Turn the ignition switch to
ON/RUN with the engine off. 3. Press the Remote Keyless Entry
(RKE) transmitter's lock and
unlock buttons at the same time
for approximately five seconds.
The horn sounds twice to signal
the receiver is in relearn mode
and Tire Learning Active
message displays on the DIC
screen.
4. Start with the driver side front tire.
5. Remove the valve cap from the valve cap stem. Activate the
TPMS sensor by increasing or
decreasing the tire's air pressure
for five seconds, or until a
horn chirp sounds. The horn
chirp, which may take up to
30 seconds to sound, confirms
that the sensor identification
code has been matched to this
tire and wheel position.
6. Proceed to the passenger side front tire, and repeat the
procedure in Step 5.
Page 332 of 410

9-58 Vehicle Care
7. Proceed to the passenger siderear tire, and repeat the
procedure in Step 5.
8. Proceed to the driver side rear tire, and repeat the procedure
in Step 5. The horn sounds
two times to indicate the sensor
identification code has been
matched to the driver side rear
tire, and the TPMS sensor
matching process is no longer
active. The Tire Learning Active
message on the DIC display
screen goes off.
9. Turn the ignition switch to LOCK/OFF.
10. Set all four tires to the recommended air pressure
level as indicated on the Tire
and Loading Information label.
11. Put the valve caps back on the valve stems.Tire Inspection
We recommend that you
regularly inspect your vehicle's
tires, including the spare tire,
if the vehicle has one, for signs
of wear or damage. See When It
Is Time for New Tires
on
page 9‑59
for more information.
Tire Rotation
Tires should be rotated every
8 000 to 13 000 km (5,000 to
8,000 miles). See Scheduled
Maintenance
on page 10‑2.
The purpose of a regular tire
rotation is to achieve a uniform
wear for all tires on the vehicle.
This will ensure that the vehicle
continues to perform most like it
did when the tires were new. Any time you notice unusual
wear, rotate the tires as soon as
possible and check wheel
alignment. Also check for
damaged tires or wheels. See
When It Is Time for New Tires
on page 9‑59and
Wheel
Replacement
on page 9‑65.
When rotating the vehicle's tires,
always use the correct rotation
pattern shown here.
Do not include the compact
spare tire in the tire rotation.
Page 356 of 410

9-82 Vehicle Care
Here are some important things to
consider before recreational vehicle
towing:
.What is the towing capacity of
the towing vehicle? Be sure to
read the tow vehicle
manufacturer's
recommendations.
.What is the distance that will be
travelled? Some vehicles have
restrictions on how far and how
long they can tow.
.Is the proper towing equipment
going to be used? See your
dealer/retailer or trailering
professional for additional advice
and equipment
recommendations.
.Is the vehicle ready to be
towed? Just as preparing the
vehicle for a long trip, make sure
the vehicle is prepared to be
towed.
Dinghy Towing
Front-wheel‐drive and
all-wheel-drive vehicles may be
dinghy towed from the front. These
vehicles can also be towed by
placing them on a platform trailer
with all four wheels off of the
ground. For other towing options,
see“Dolly Towing” following in this
section.
For vehicles being dinghy towed,
the vehicle should be run at the
beginning of each day and at each
RV fuel stop for about five minutes.
This will ensure proper lubrication of
transmission components.
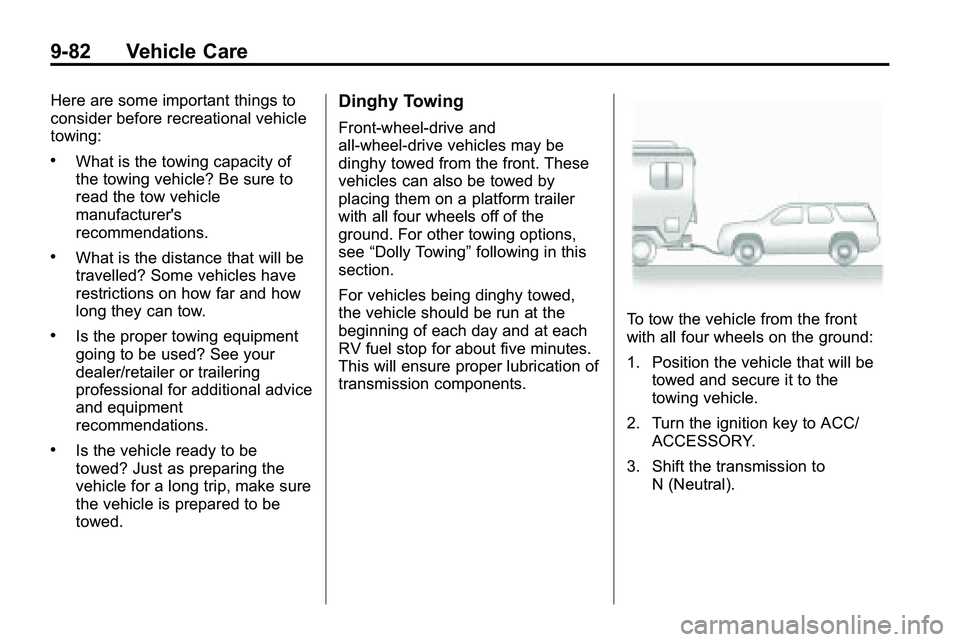
To tow the vehicle from the front
with all four wheels on the ground:
1. Position the vehicle that will be towed and secure it to the
towing vehicle.
2. Turn the ignition key to ACC/ ACCESSORY.
3. Shift the transmission to N (Neutral).
Page 357 of 410

Vehicle Care 9-83
4. Turn all accessories off.
5. To prevent the battery fromdraining while the vehicle is
being towed, remove fuse 32,
the Discrete Logic Ignition
Switch fuse, from the instrument
panel fuse block and store it in a
safe location. See Instrument
Panel Fuse Block on page 9‑42.
Notice: If the vehicle is towed
without performing each of the
steps listed under “Dinghy
Towing,” the automatic
transmission could be damaged.
Be sure to follow all steps of the
dinghy towing procedure prior to
and after towing the vehicle.
Notice: If 105 km/h (65 mph) is
exceeded while towing the
vehicle, it could be damaged.
Never exceed 105 km/h (65 mph)
while towing the vehicle. Once the destination has been
reached:
1. Set the parking brake.
2. Shift the transmission to
P (Park).
3. Turn the ignition key to LOCK/OFF.
4. Install fuse 32, the Discrete Logic Ignition Switch fuse. See
Instrument Panel Fuse Block
on
page 9‑42.
5. Start the engine and let it idle for more than three minutes before
driving the vehicle.
Notice: Too much or too
little fluid can damage the
transmission. Be sure that the
transmission fluid is at the proper
level before towing with all four
wheels on the ground. Notice:
Do not tow a vehicle with
the front drive wheels on the
ground if one of the front tires is
a compact spare tire. Towing with
two different tire sizes on the
front of the vehicle can cause
severe damage to the
transmission.
Dolly Towing
(All-Wheel‐Drive Vehicles)
All-wheel‐drive vehicles should not
be towed with two wheels on the
ground. To properly tow these
vehicles, they should be placed on
a platform trailer with all four wheels
off of the ground or dinghy towed
from the front.