2010 GMC SIERRA ignition
[x] Cancel search: ignitionPage 160 of 630

Starting Procedure
1. With your foot off the accelerator pedal, turn theignition key to START. When the engine starts, let
go of the key. The idle speed will go down as your
engine gets warm. Do not race the engine
immediately after starting it. Operate the engine
and transmission gently to allow the oil to warm up
and lubricate all moving parts.
The vehicle has a Computer-Controlled Cranking
System. This feature assists in starting the engine
and protects components. If the ignition key is
turned to the START position, and then released
when the engine begins cranking, the engine will
continue cranking for a few seconds or until the
vehicle starts. If the engine does not start and the
key is held in START for many seconds, cranking
will be stopped after 15 seconds to prevent
cranking motor damage. To prevent gear damage,
this system also prevents cranking if the engine
is already running. Engine cranking can be
stopped by turning the ignition switch to the
ACC/ACCESSORY or LOCK/OFF position.
Notice: Cranking the engine for long periods of
time, by returning the key to the START position
immediately after cranking has ended, can overheat
and damage the cranking motor, and drain the
battery. Wait at least 15 seconds between each try,
to let the cranking motor cool down. 2. If the engine does not start after 5‐10 seconds,
especially in very cold weather (below 0°F or
−18°C), it could be flooded with too much gasoline.
Try pushing the accelerator pedal all the way to the
floor and holding it there as you hold the key in
START for up to 15 seconds. Wait at least
15 seconds between each try, to allow the cranking
motor to cool down. When the engine starts, let go
of the key and accelerator. If the vehicle starts
briefly but then stops again, do the same thing.
This clears the extra gasoline from the engine.
Do not race the engine immediately after starting it.
Operate the engine and transmission gently until
the oil warms up and lubricates all moving parts.
Notice: The engine is designed to work with the
electronics in the vehicle. If you add electrical
parts or accessories, you could change the way
the engine operates. Before adding electrical
equipment, check with your dealer/retailer. If you
do not, the engine might not perform properly.
Any resulting damage would not be covered by the
vehicle warranty.
3-24
Page 164 of 630

Automatic Transmission Operation
If the vehicle is a Two-mode Hybrid, see the Two-mode
Hybrid manual for more information.
Vehicles with an automatic transmission have an
electronic shift position indicator within the instrument
panel cluster. This display comes on when the ignition
key is turned to the ON/RUN position.
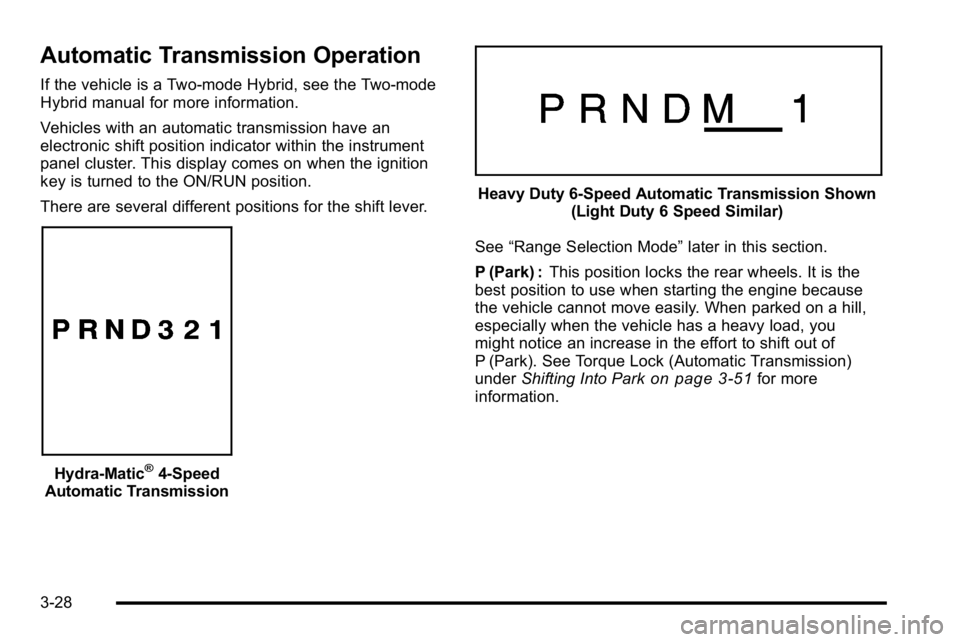
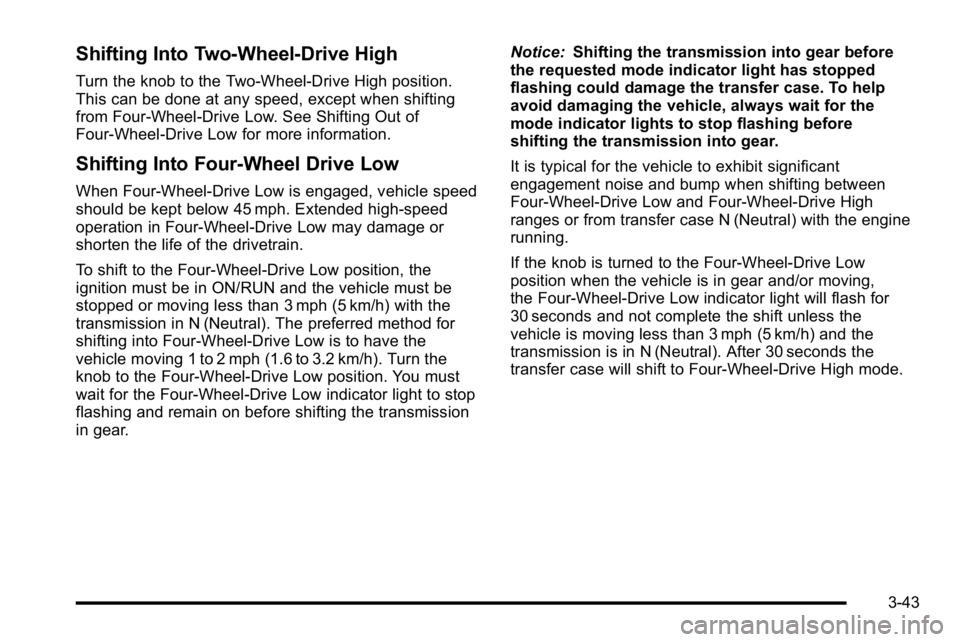
There are several different positions for the shift lever.
Hydra-Matic®4-Speed
Automatic Transmission
Heavy Duty 6-Speed Automatic Transmission Shown (Light Duty 6 Speed Similar)
See “Range Selection Mode” later in this section.
P (Park) : This position locks the rear wheels. It is the
best position to use when starting the engine because
the vehicle cannot move easily. When parked on a hill,
especially when the vehicle has a heavy load, you
might notice an increase in the effort to shift out of
P (Park). See Torque Lock (Automatic Transmission)
under Shifting Into Park
on page 3‑51for more
information.
3-28
Page 177 of 630

Electronic Transfer Case
The transfer case knob
is located next to the
steering column.
Use the dial to shift into and out of four-wheel drive.
Recommended Transfer Case Settings
Driving Conditions Transfer Case Settings
2m 4m4n N
Normal YES
Severe YES
Extreme YES
Vehicle in Tow* YES
*See Recreational Vehicle Towing
on page 5‑43or
Towing Your Vehicle on page 5‑43
You can choose among four driving settings:
Indicator lights in the dial show which setting you are in.
The indicator lights will come on briefly when you
turn on the ignition and one will stay on. If the lights
do not come on, you should take the vehicle to your
dealer/retailer for service. An indicator light flashes
while shifting the transfer case and remains illuminated
when the shift is complete. If for some reason the
transfer case cannot make a requested shift, it will
return to the last chosen setting.
2
m(Two-Wheel-Drive High): This setting is used for
driving in most street and highway situations. The front
axle is not engaged in Two-Wheel Drive. This setting
also provides the best fuel economy.
3-41
Page 179 of 630

Shifting Into Two-Wheel-Drive High
Turn the knob to the Two-Wheel-Drive High position.
This can be done at any speed, except when shifting
from Four-Wheel-Drive Low. See Shifting Out of
Four-Wheel-Drive Low for more information.
Shifting Into Four-Wheel Drive Low
When Four-Wheel-Drive Low is engaged, vehicle speed
should be kept below 45 mph. Extended high-speed
operation in Four-Wheel-Drive Low may damage or
shorten the life of the drivetrain.
To shift to the Four-Wheel-Drive Low position, the
ignition must be in ON/RUN and the vehicle must be
stopped or moving less than 3 mph (5 km/h) with the
transmission in N (Neutral). The preferred method for
shifting into Four-Wheel-Drive Low is to have the
vehicle moving 1 to 2 mph (1.6 to 3.2 km/h). Turn the
knob to the Four-Wheel-Drive Low position. You must
wait for the Four-Wheel-Drive Low indicator light to stop
flashing and remain on before shifting the transmission
in gear.Notice:
Shifting the transmission into gear before
the requested mode indicator light has stopped
flashing could damage the transfer case. To help
avoid damaging the vehicle, always wait for the
mode indicator lights to stop flashing before
shifting the transmission into gear.
It is typical for the vehicle to exhibit significant
engagement noise and bump when shifting between
Four-Wheel-Drive Low and Four-Wheel-Drive High
ranges or from transfer case N (Neutral) with the engine
running.
If the knob is turned to the Four-Wheel-Drive Low
position when the vehicle is in gear and/or moving,
the Four-Wheel-Drive Low indicator light will flash for
30 seconds and not complete the shift unless the
vehicle is moving less than 3 mph (5 km/h) and the
transmission is in N (Neutral). After 30 seconds the
transfer case will shift to Four-Wheel-Drive High mode.
3-43
Page 180 of 630

Shifting Out of Four-Wheel-Drive Low
To shift from Four-Wheel-Drive Low to
Four-Wheel-Drive High, or Two-Wheel-Drive High, the
vehicle must be stopped or moving less than 3 mph
(5 km/h) with the transmission in N (Neutral) and the
ignition in ON/RUN. The preferred method for shifting
out of Four-Wheel-Drive Low is to have the vehicle
moving 1 to 2 mph (1.6 to 3.2 km/h). Turn the knob to the
Four-Wheel-Drive High, or Two-Wheel-Drive High
position. You must wait for the Four-Wheel-Drive High,
or Two-Wheel-Drive High indicator light to stop flashing
and remain on before shifting the transmission
into gear.
Notice:Shifting the transmission into gear before
the requested mode indicator light has stopped
flashing could damage the transfer case. To help
avoid damaging the vehicle, always wait for the
mode indicator lights to stop flashing before
shifting the transmission into gear.
It is typical for the vehicle to exhibit significant
engagement noise and bump when shifting between
Four-Wheel-Drive Low and Four-Wheel-Drive High
ranges or from transfer case N (Neutral) with the engine
running. If the knob is turned to the Four-Wheel-Drive High,
or Two-Wheel-Drive High switch position when the
vehicle is in gear and/or moving, the Four-Wheel-Drive
High, or Two-Wheel-Drive High indicator light will flash
for 30 seconds but will not complete the shift unless
your vehicle is moving less than 3 mph (5 km/h) and the
transmission is in N (Neutral).
Shifting into Neutral
To shift the transfer case to N (Neutral) do the following:
1. Make sure the vehicle is parked so that it will not roll.
2. Set the parking brake and press and hold the regular brake pedal. See Parking Brake
on
page 3‑50for more information.
3. Start the vehicle or turn the ignition to ON/RUN.
4. Shift the transmission to N (Neutral).
5. Shift the transfer case to Two-Wheel-Drive High.
6. Turn the transfer case dial clockwise to N (Neutral) until it stops and hold it there until the Neutral light
starts blinking. This will take at least 10 seconds.
Then slowly release the dial to the four low
position. The N (Neutral) light will come on when
the transfer case shift to N (Neutral) is complete.
3-44
Page 181 of 630

7. If the engine is running, verify that the transfercase is in N (Neutral) by shifting the transmission
to R (Reverse) for one second, then shift the
transmission to D (Drive) for one second.
8. Turn the ignition to ACC/ACCESSORY, which will turn the engine off.
9. Place the transmission shift lever in P (Park).
10. Release the parking brake prior to moving the vehicle.
11. Turn the ignition to LOCK/OFF.
Shifting Out of Neutral
To shift the transfer case out of N (Neutral) do the
following: 1. Set the parking brake and apply the regular brake pedal.
2. Turn the ignition to ON/RUN with the engine off, and shift the transmission to N (Neutral). 3. Turn the transfer case dial to
Two-Wheel-Drive High.
After the transfer case has shifted out of
N (Neutral), the N (Neutral) light will go out.
4. Release the parking brake prior to moving the vehicle.
Notice: Shifting the transmission into gear before
the requested mode indicator light has stopped
flashing could damage the transfer case. To help
avoid damaging the vehicle, always wait for the
mode indicator lights to stop flashing before
shifting the transmission into gear.
5. Start the engine and shift the transmission to the desired position.
Excessively shifting the transfer case into or out of the
different modes may cause the transfer case to enter
the shift protection mode. This will protect the transfer
case from possible damage and will only allow the
transfer case to respond to one shift per 10 seconds.
The transfer case may stay in this mode for up to
three minutes.
3-45
Page 182 of 630

Automatic Transfer Case
The transfer case knob
is located next to the
steering column.
Use the dial to shift into and out of Four-Wheel Drive.
You can choose among five driving settings:
Indicator lights in the dial show which setting you are in.
The indicator lights will come on briefly when you turn
on the ignition and one will stay on. If the lights do not
come on, you should take the vehicle to your dealer/
retailer for service. An indicator light will flash while
shifting the transfer case. It will remain illuminated when
the shift is complete. If for some reason the transfer
case cannot make a requested shift, it will return to the
last chosen setting. 2
m(Two-Wheel-Drive High):
This setting is used for
driving in most street and highway situations. The front
axle is not engaged in Two-Wheel Drive. This setting
also provides the best fuel economy.
AUTO (Automatic Four-Wheel Drive) : This setting is
ideal for use when road surface traction conditions are
variable. When driving the vehicle in AUTO, the front
axle is engaged, but the vehicle's power is sent only to
the front and rear wheels automatically based on driving
conditions. Driving in this mode results in slightly lower
fuel economy than Two-Wheel-Drive High.
4
m(Four-Wheel-Drive High): Use the
Four-Wheel-Drive High position when extra traction is
needed, such as on snowy or icy roads or in most
off-road situations. This setting also engages the front
axle to help drive the vehicle. This is the best setting to
use when plowing snow.
4
n(Four-Wheel-Drive Low): This setting also engages
the front axle and delivers extra torque. You may never
need this setting. It sends maximum power to all four
wheels. You might choose Four-Wheel-Drive Low if you
are driving off-road in deep sand, deep mud, deep
snow, and while climbing or descending steep hills.
3-46
Page 183 of 630

If the vehicle has StabiliTrak®, shifting into
Four-Wheel-Drive Low will turn Traction Control and
StabiliTrak
®off. See StabiliTrak®System on page 5‑6.
{WARNING:
Shifting the transfer case to N (Neutral) can cause
the vehicle to roll even if the transmission is in
P (Park). You or someone else could be seriously
injured. Be sure to set the parking brake before
placing the transfer case in N (Neutral). See
Parking Brake on page 3‑50.
N (Neutral) : Shift the vehicle's transfer case to
N (Neutral) only when towing the vehicle. See
Recreational Vehicle Towing
on page 5‑43or Towing
Your Vehicleon page 5‑43for more information.
If the SERVICE 4–Wheel Drive message stays on,
you should take the vehicle to your dealer/retailer for
service. See “Service 4–Wheel Drive message” under
DIC Warnings and Messages on page 4‑65.
Shifting Into Four-Wheel-Drive High or
AUTO (Automatic Four-Wheel Drive)
Turn the knob to the Four-Wheel-Drive High or AUTO
position. This can be done at any speed, except when
shifting from Four-Wheel-Drive Low. The indicator light
will flash while shifting. It will remain on when the shift is
completed.
Shifting Into Two-Wheel-Drive High
Turn the knob to the Two-Wheel-Drive High position.
This can be done at any speed, except when shifting
from Four-Wheel-Drive Low. The indicator light will
flash while shifting. It will remain on when the shift is
completed.
Shifting Into Four-Wheel-Drive Low
When Four-Wheel-Drive Low is engaged, vehicle speed
should be kept below 45 mph. Extended high-speed
operation in Four-Wheel-Drive Low may damage or
shorten the life of the drivetrain.
To shift to the Four-Wheel-Drive Low position, the
ignition must be in ON/RUN and the vehicle must be
stopped or moving less than 3 mph (5 km/h) with the
transmission in N (Neutral). The preferred method for
shifting into Four-Wheel-Drive Low is to have the
vehicle moving 1 to 2 mph (1.6 to 3.2 km/h). Turn the
knob to the Four-Wheel-Drive Low position.
3-47